Flower Tie-Dye Technique
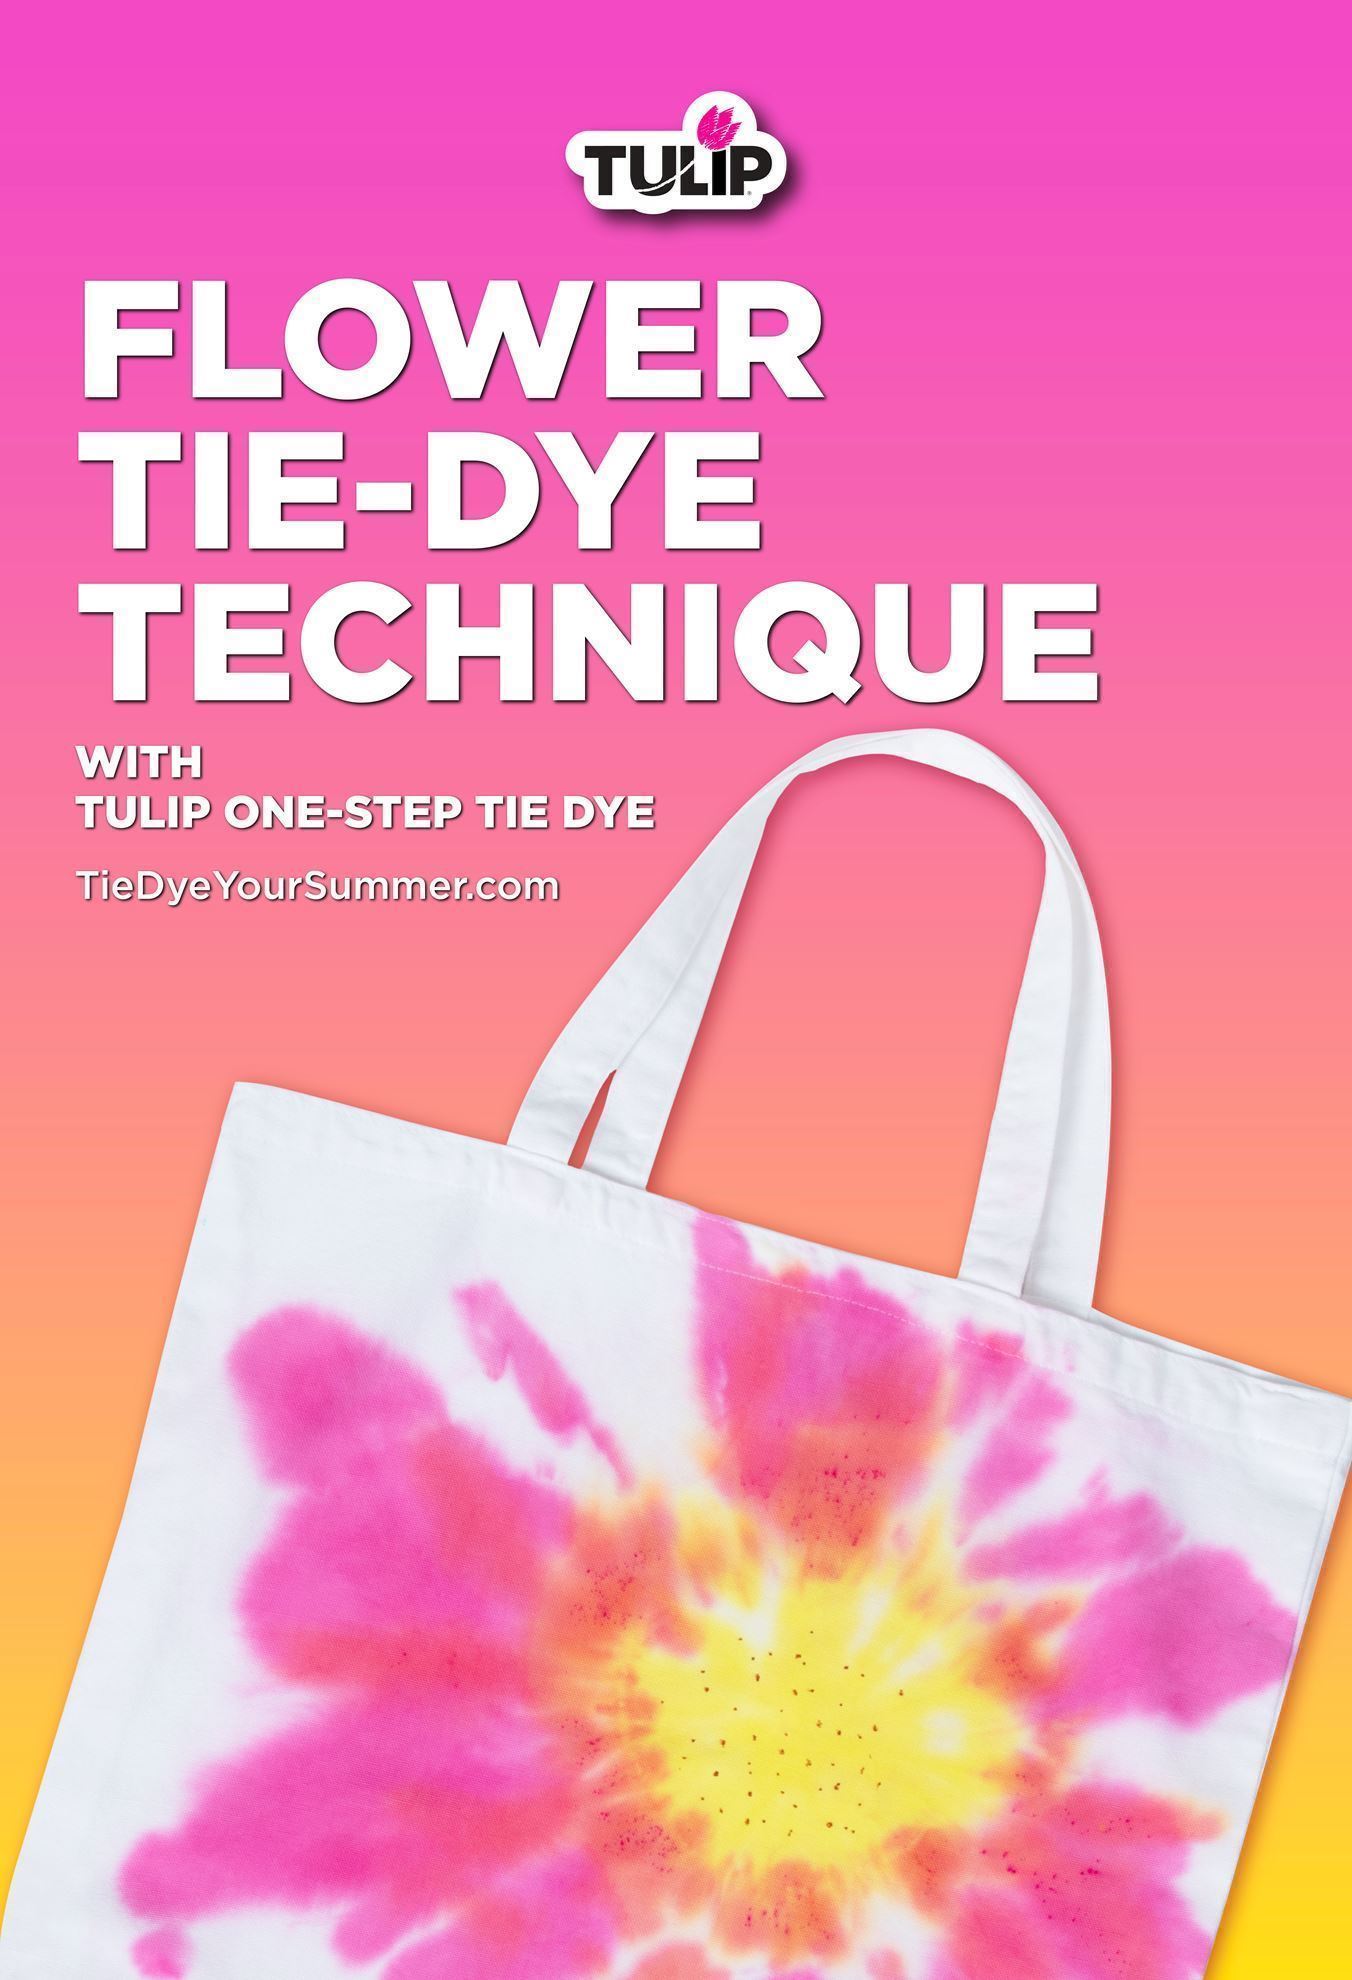
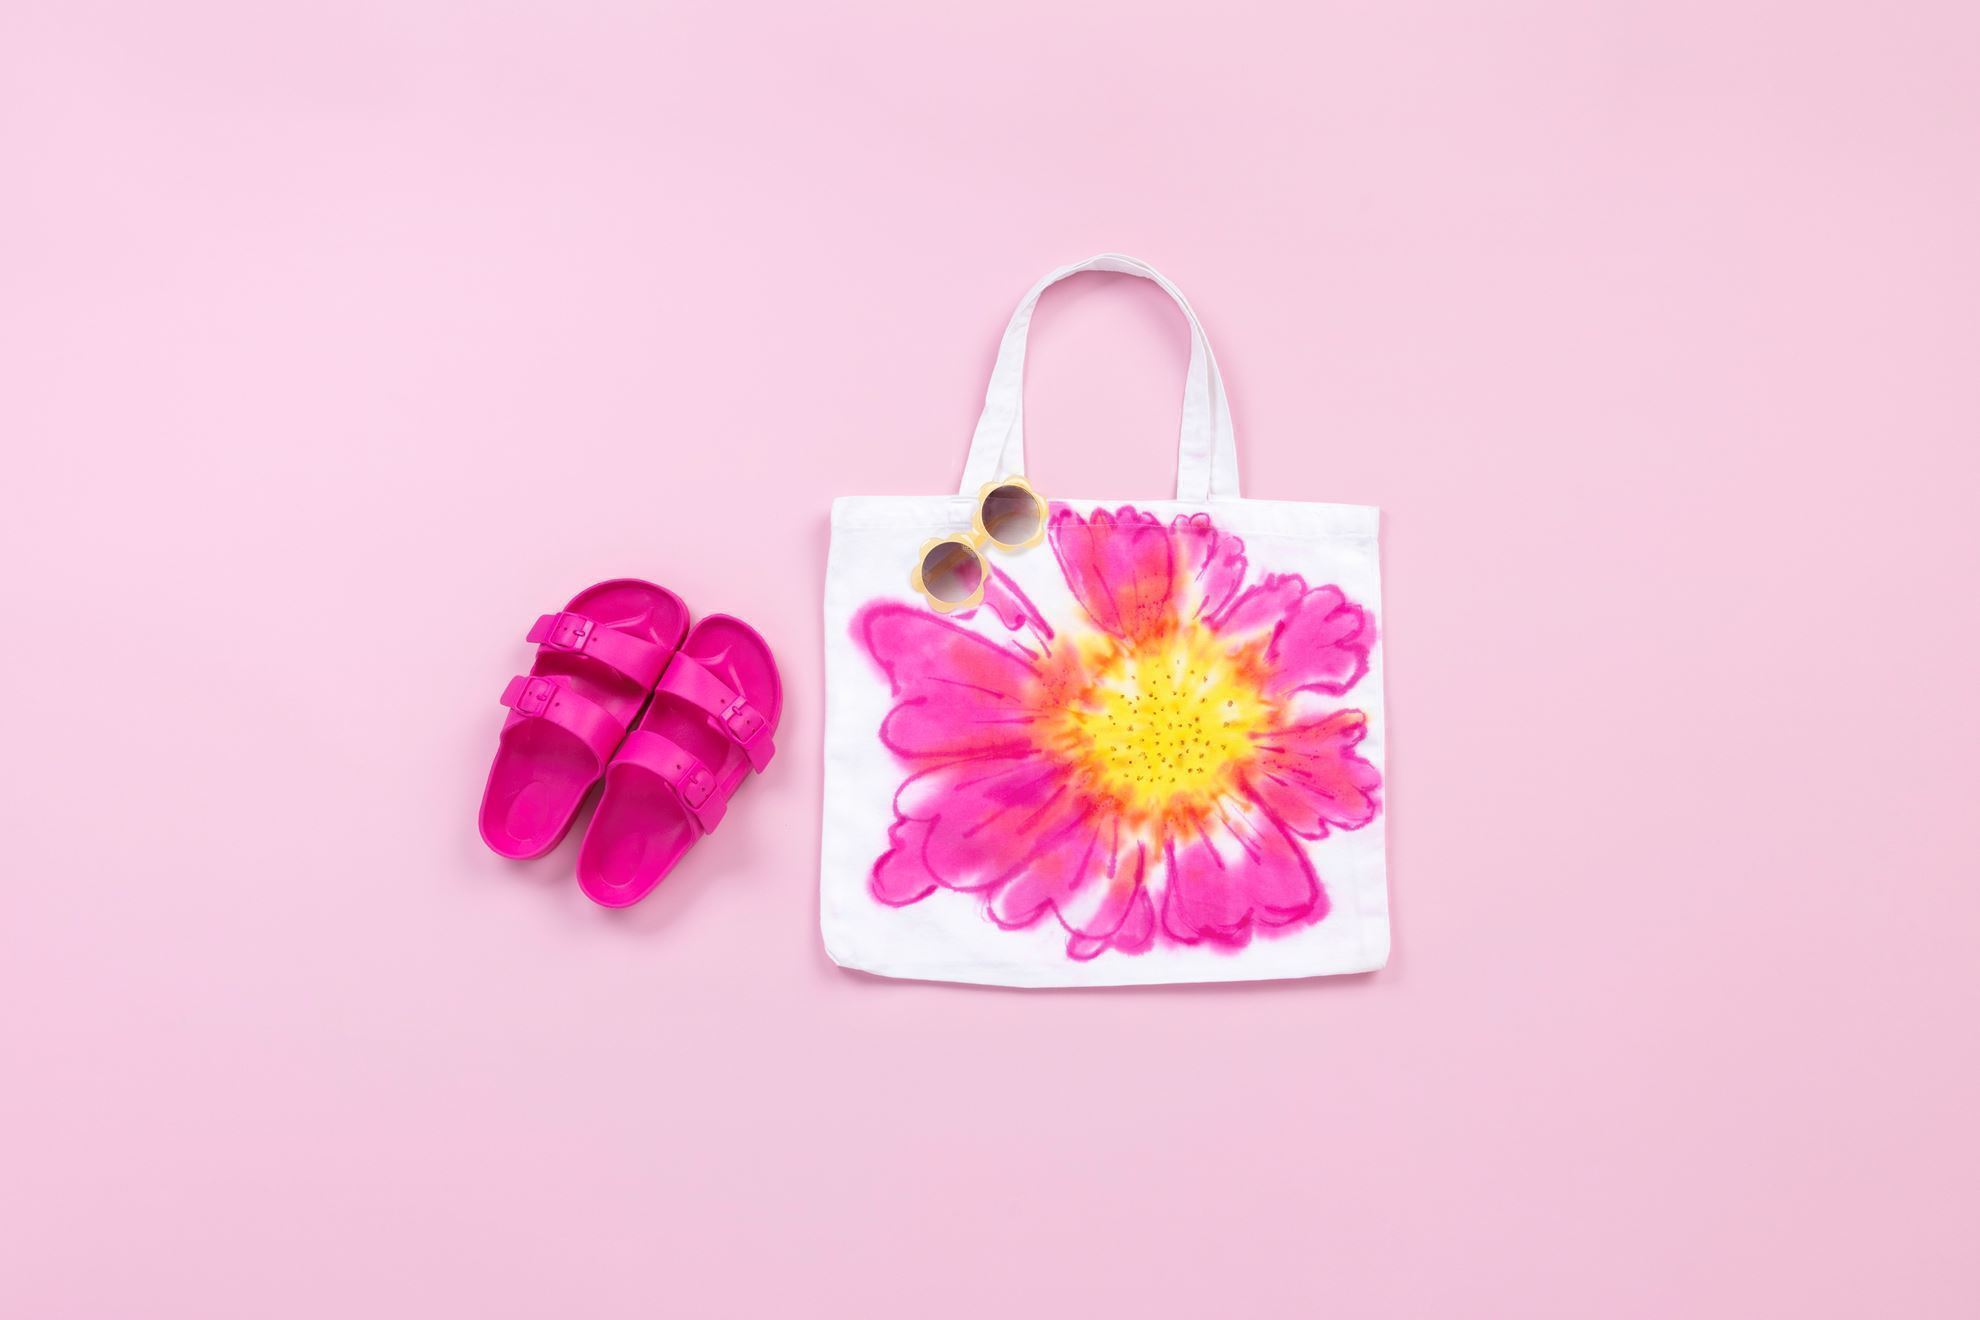
If you’re a fan of flowers, this tie-dye technique is perfect for you! Check out our step-by-step tutorial and learn how to use Tulip One-Step Tie Dye to create a tote bag with a vibrant flower tie-dye design. This fun flower tote is the perfect accessory for any occasion!
Step 1: Prepare your project
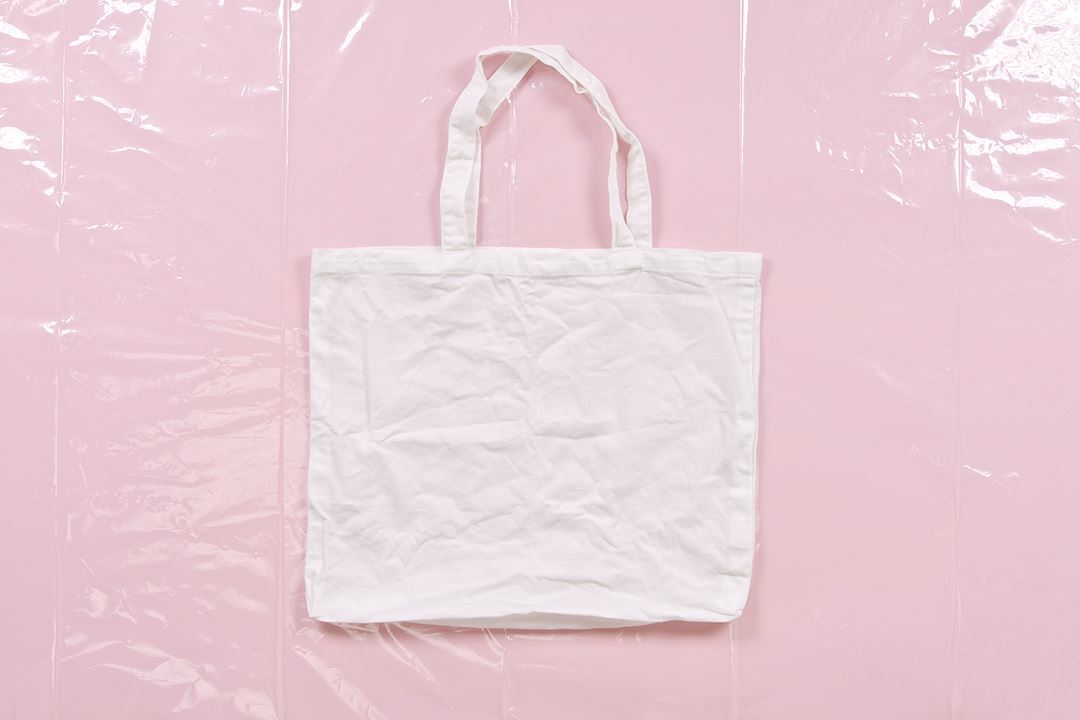
Before you get started on your flower tie-dye project, prewash the substrate that you’ll be dyeing and lay the damp fabric flat on a protected work surface. Prepare your tie-dye solutions by adding water to the dye bottles, filling to the neck. Replace the cap tightly and shake well until dye powder is fully dissolved.
Step 2: Pinch and bind project
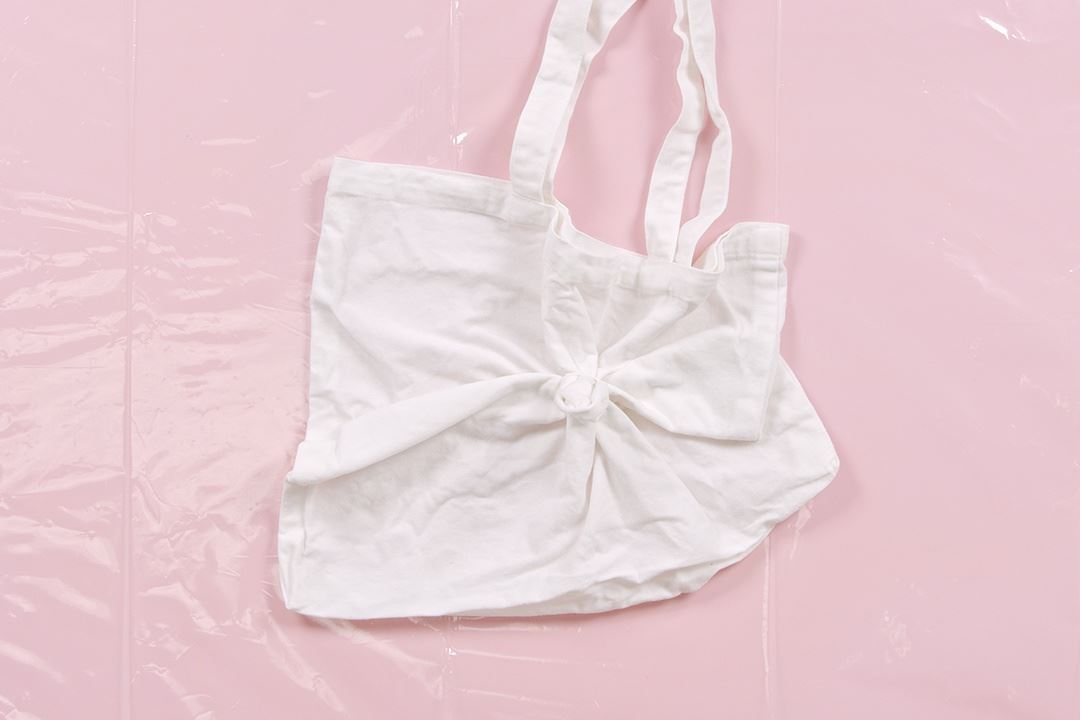
Pinch fabric at the center of where your flower tie-dye design will be and pull upward into a cone shape, guiding the fabric with other hand. Wrap a rubber band 1 to 2 inches below the tip of fabric.
Step 3: Apply dye to center
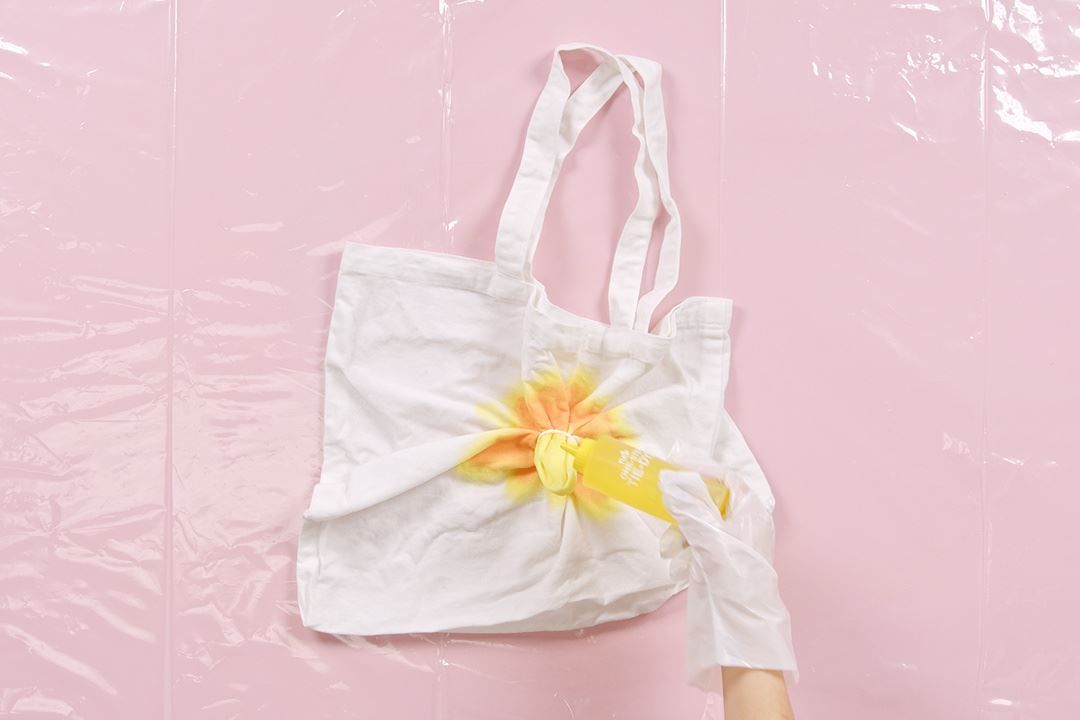
Apply yellow dye to the center and orange dye around the bound section, creating a yellow-orange gradient for the center of your flower tie-dye design. Always remember to wear gloves when working with tie dye!
Step 4: Brush on petals
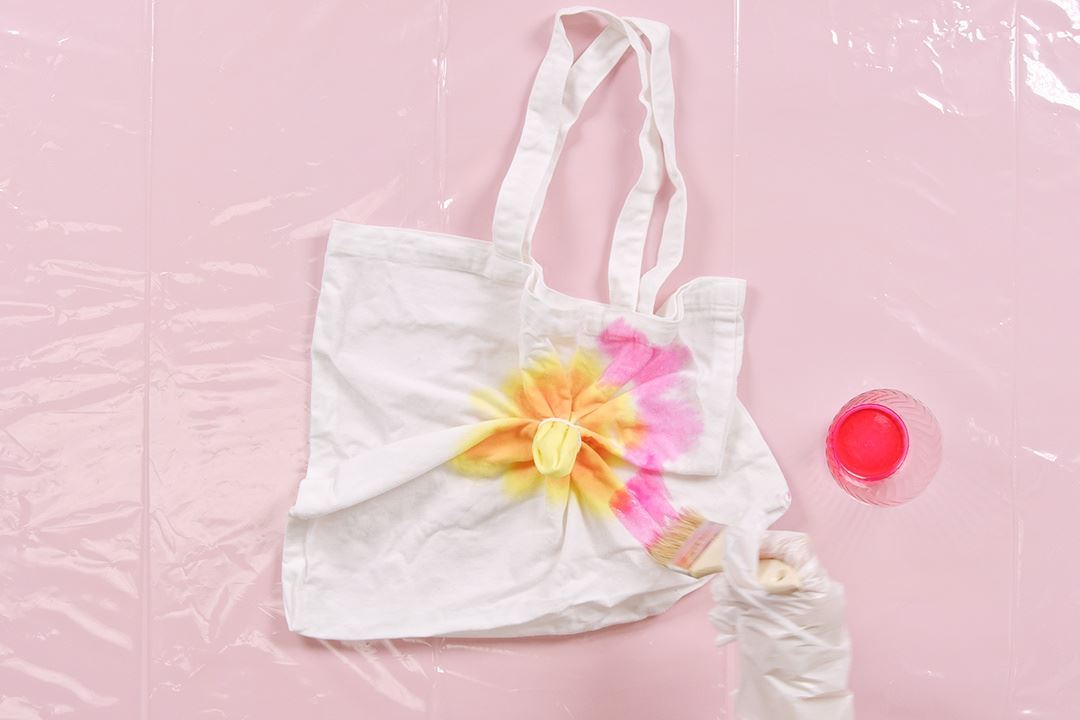
For this project, we’re creating a flower tie-dye design with vibrant fuchsia petals! Pour the prepared fuchsia dye into a disposable plastic cup, then dip a medium-sized paintbrush into the dye solution. Brush the dye onto fabric to create your flower petals.
Step 5: Wrap and let set
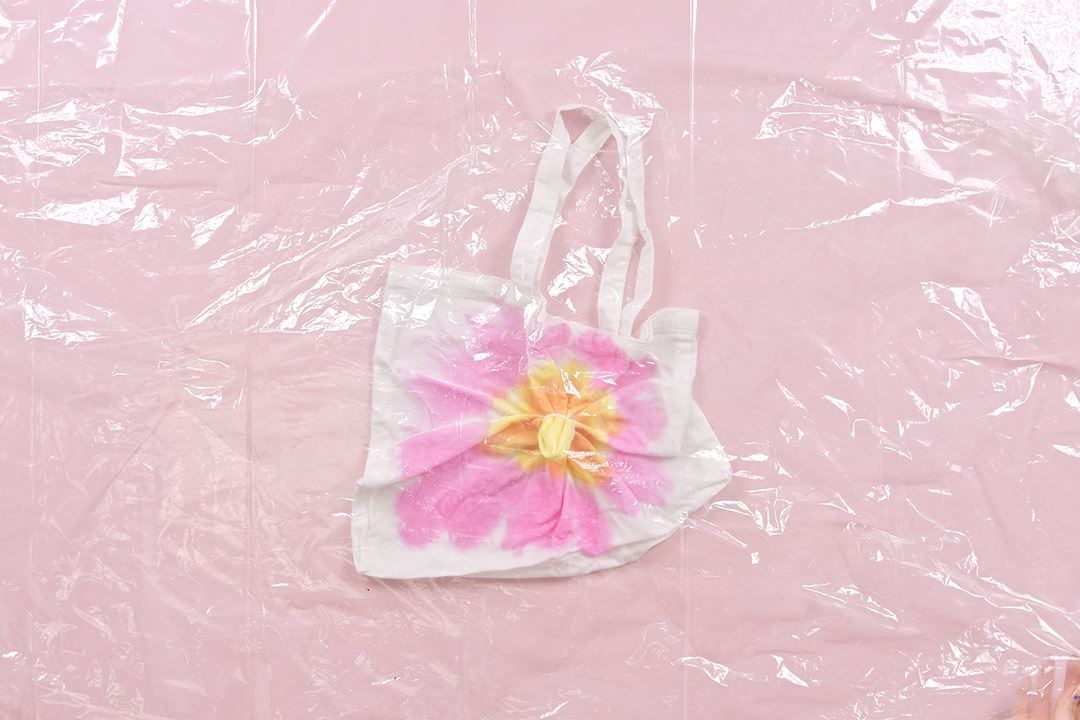
Once you’ve finished applying dyes to your flower tie-dye project, cover with plastic wrap or place your project into a sealable plastic bag. Allow the dyes to set for 6-8 hours or overnight for more vibrant results.
Step 6: Draw details
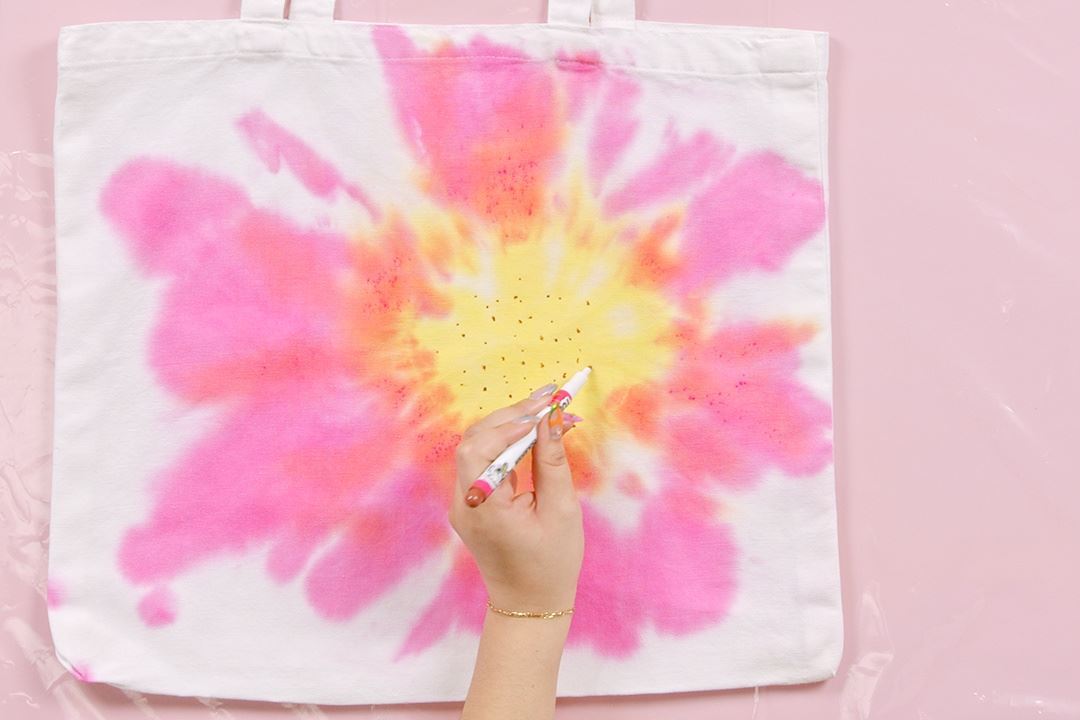
After the dye processes, remove the rubber bands, rinse, and launder according to package instructions. Use a Tulip Fabric Marker to add details to your flower tie-dye design as desired.
Step 7: Outline petals
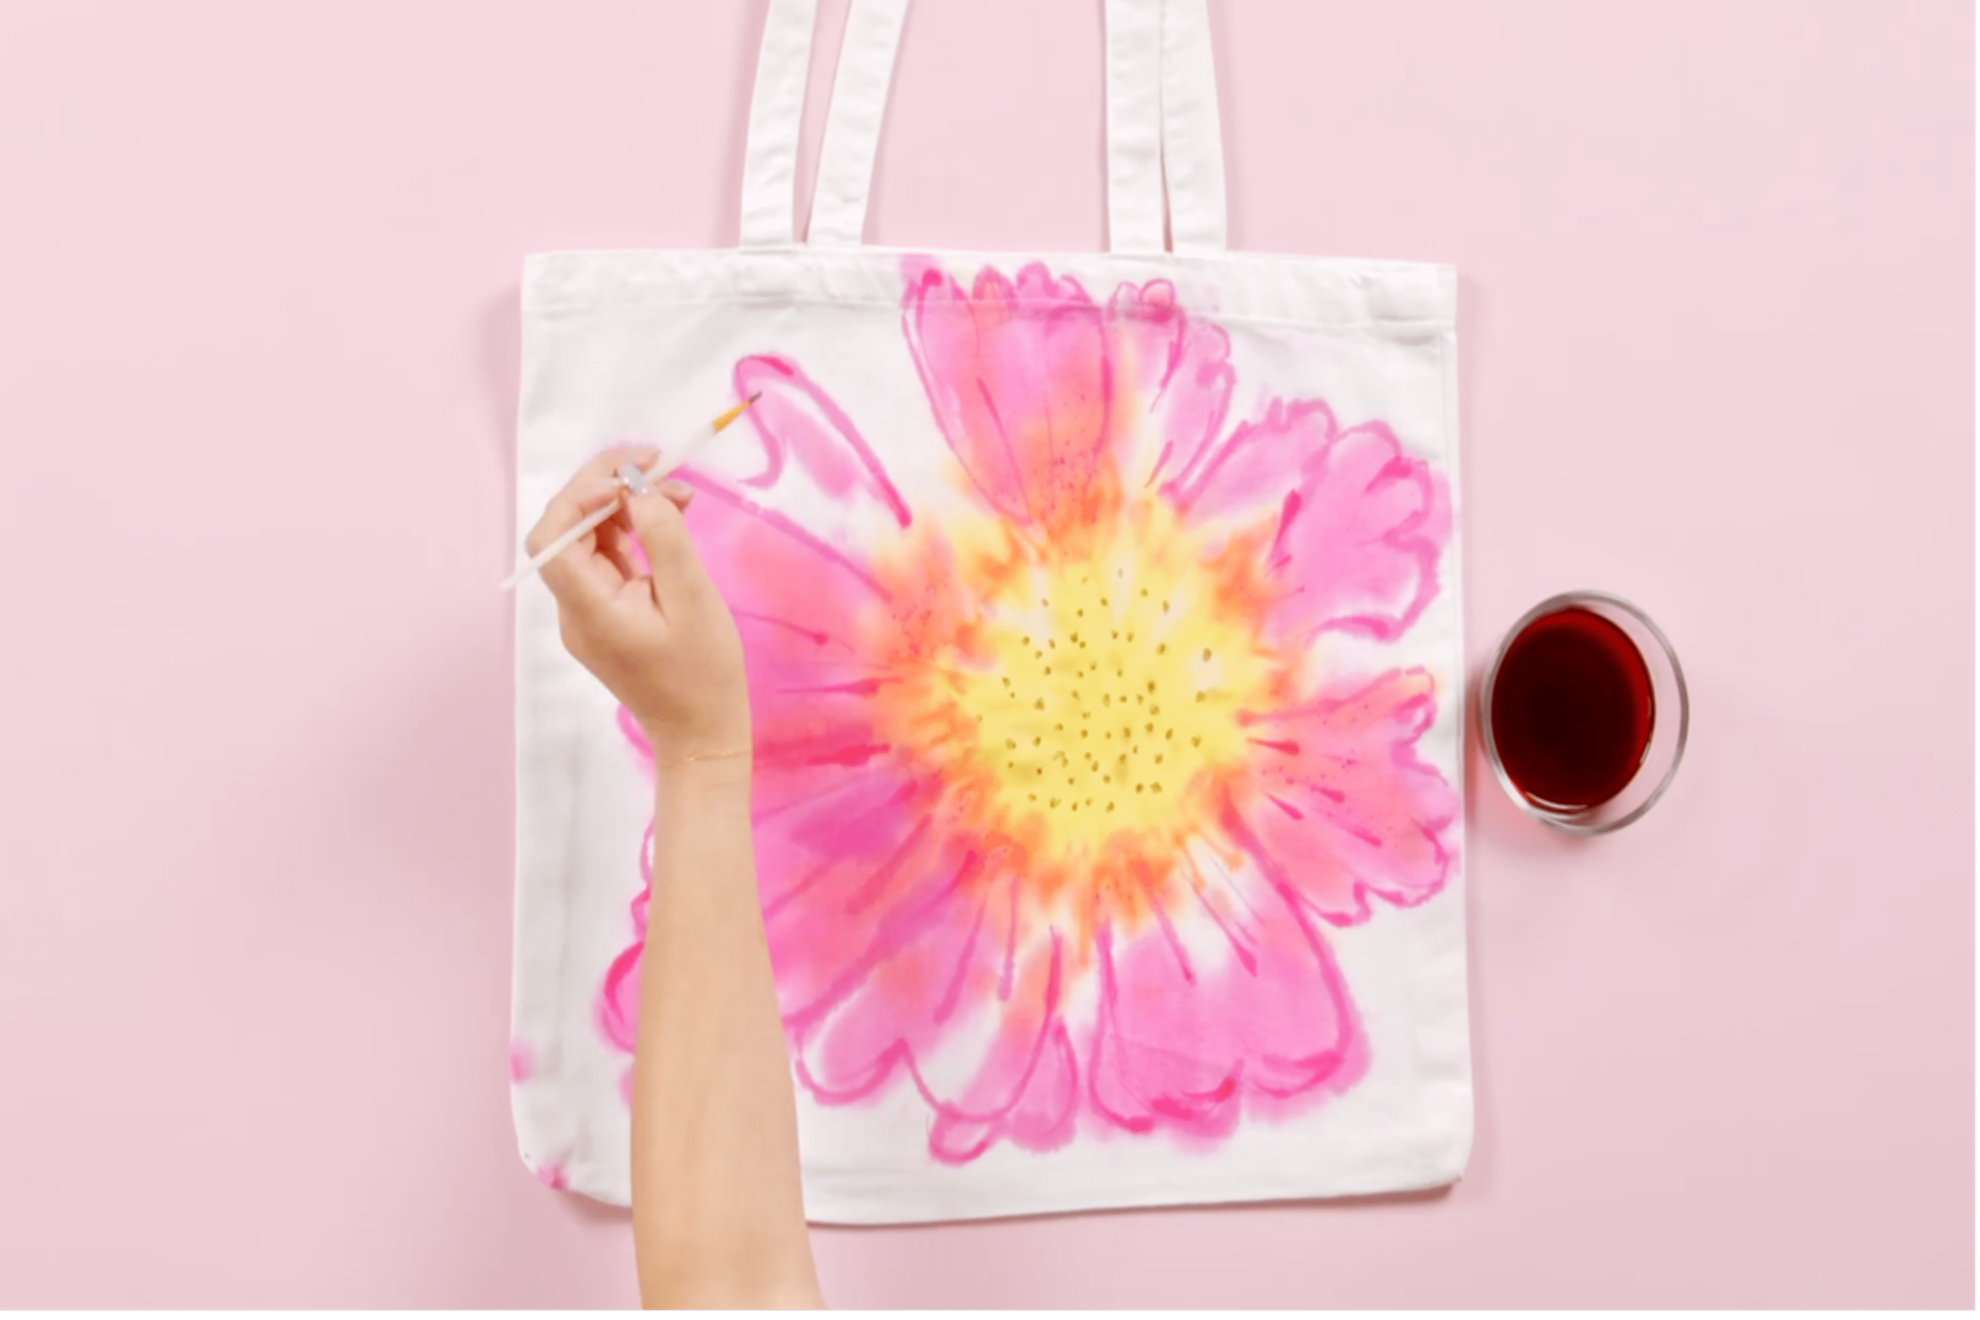
For a more defined flower design, use a small paintbrush dipped in dye to outline your flower petals. This will give abstract petals a more precise shape! Once you’ve finished the flower tie-dye outline, wrap your project, let set, rinse, and launder.
Step 8: Reveal!
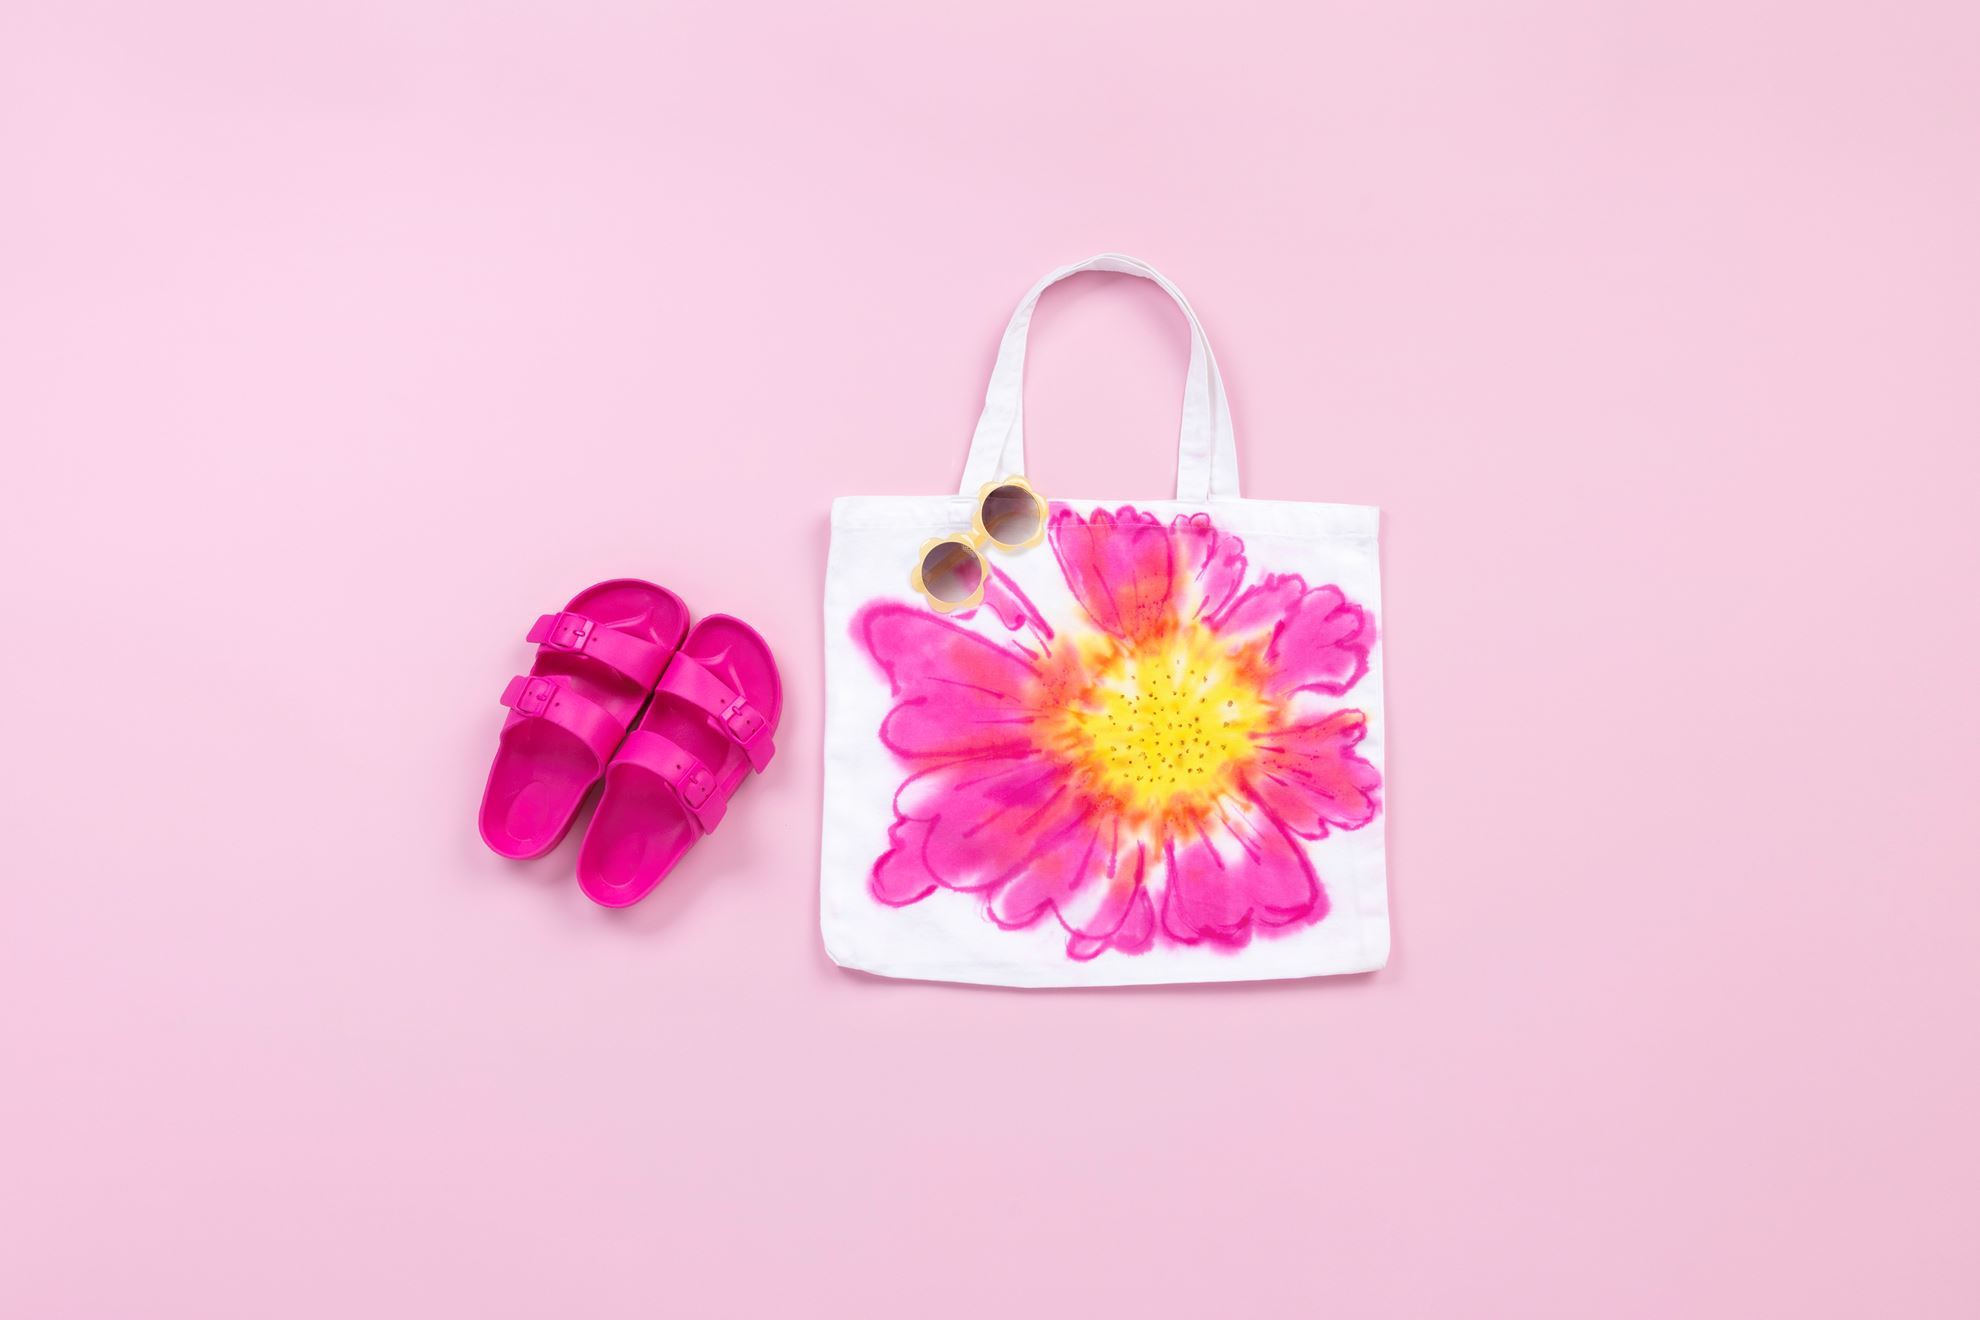
Your flower tie dye is ready to display! This tie-dye tote bag is a great way to add a vibrant pop of color to your everyday looks!
How are you using Tulip for your DIY fashion accessories? Create your own colorful flower tie-dye designs and tag us on social media @TulipColorCrafts!
Pin This Project

