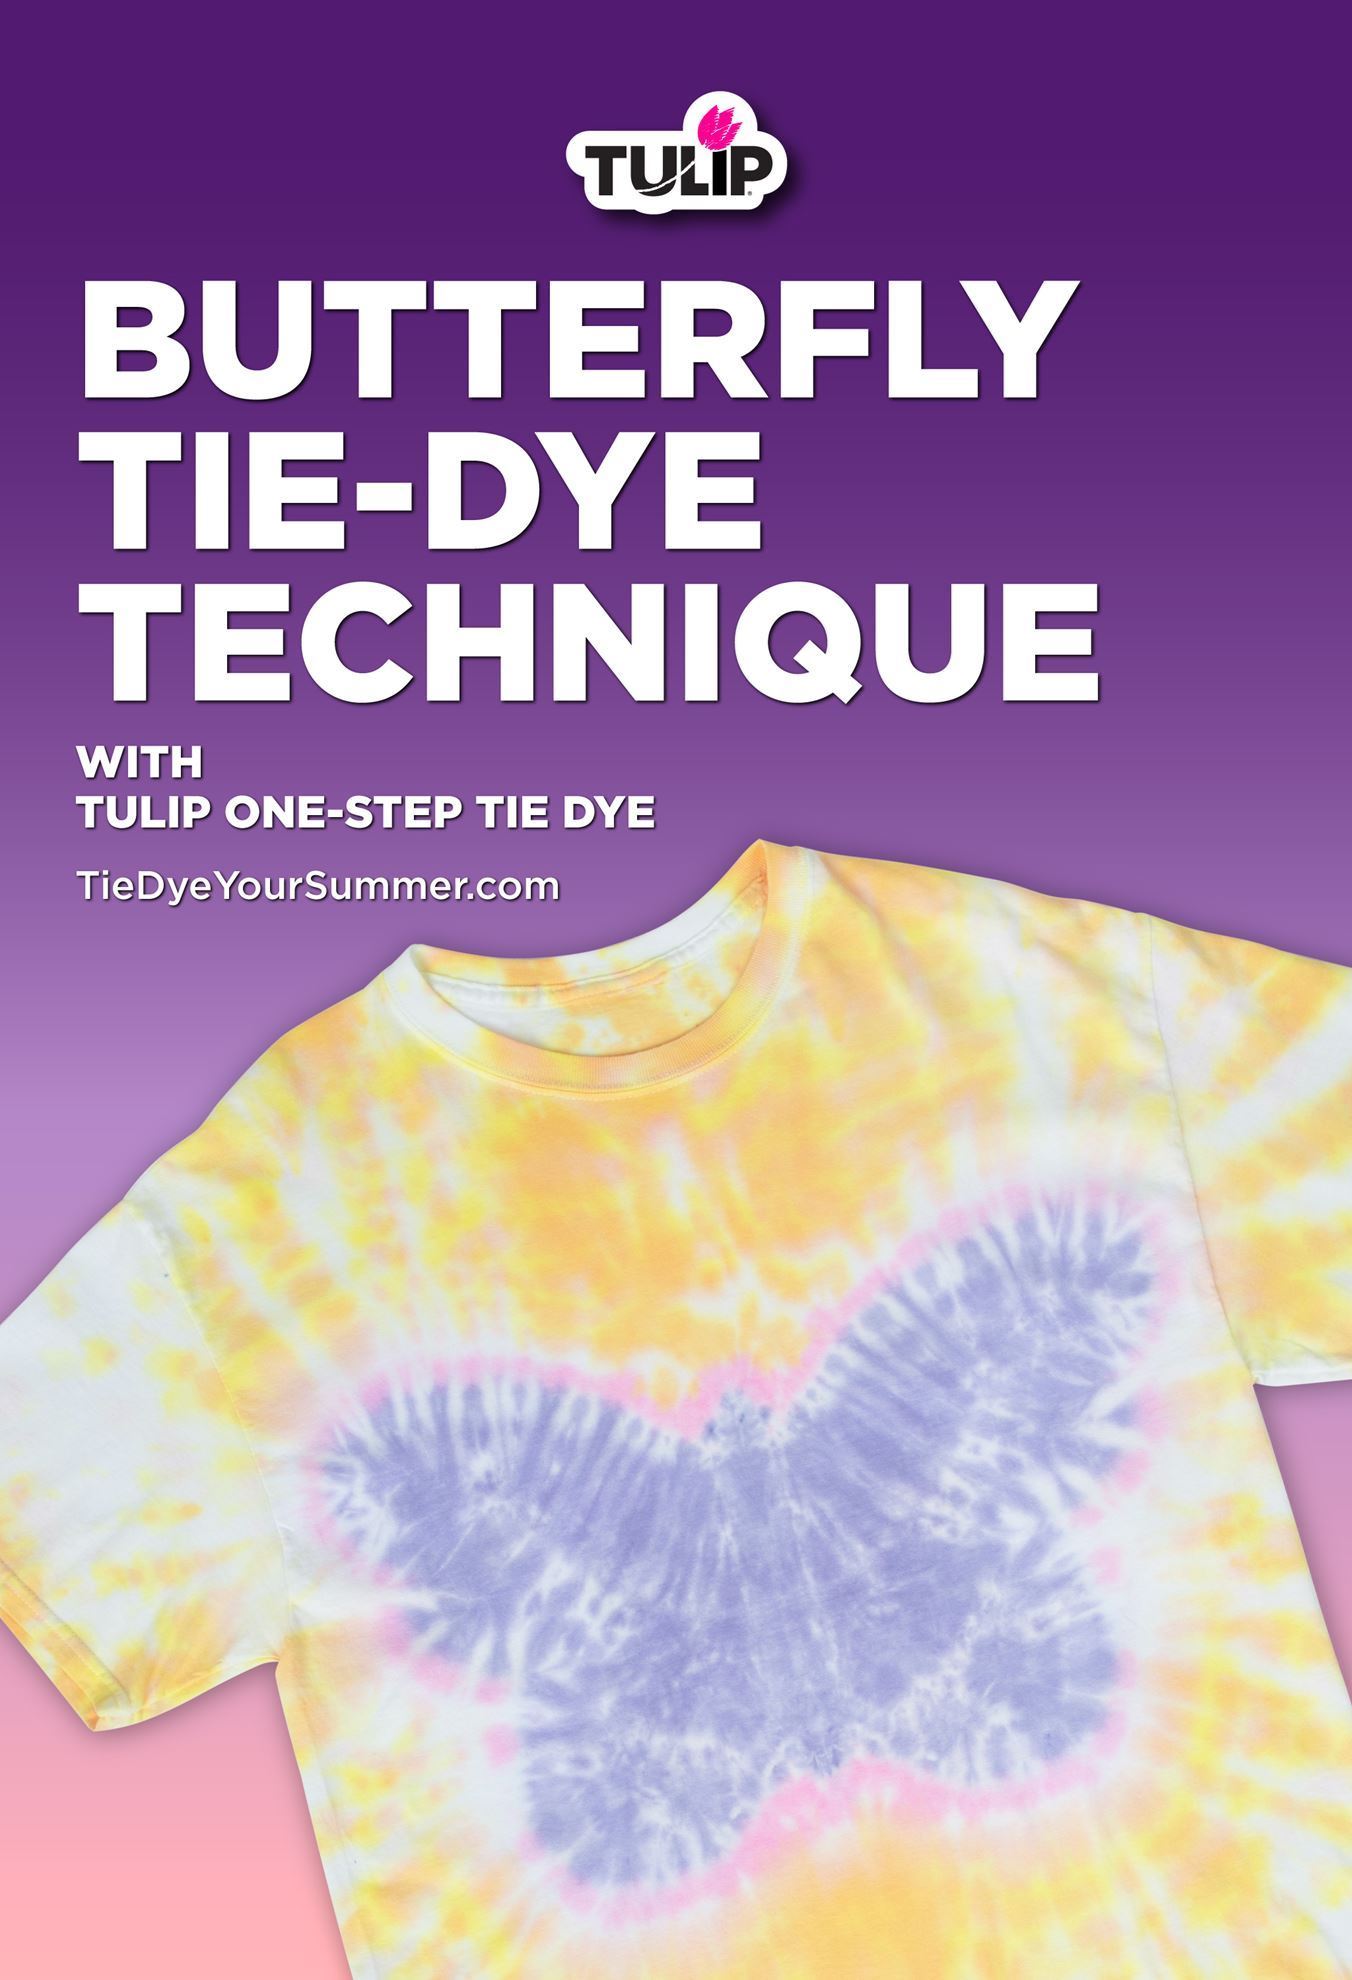
Butterfly Technique
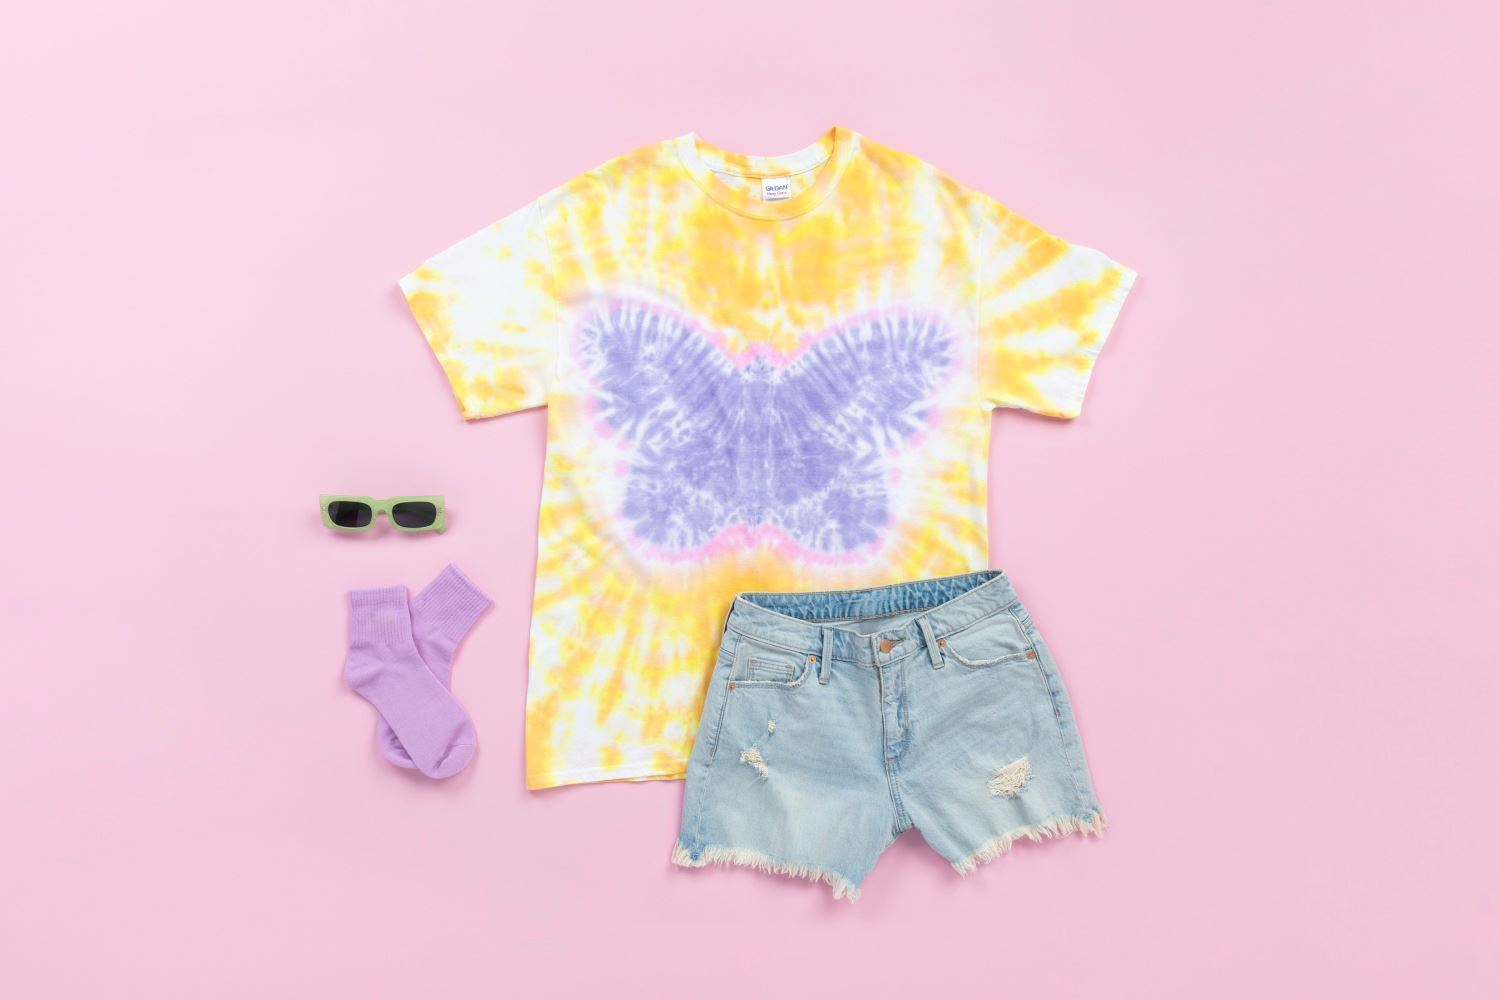
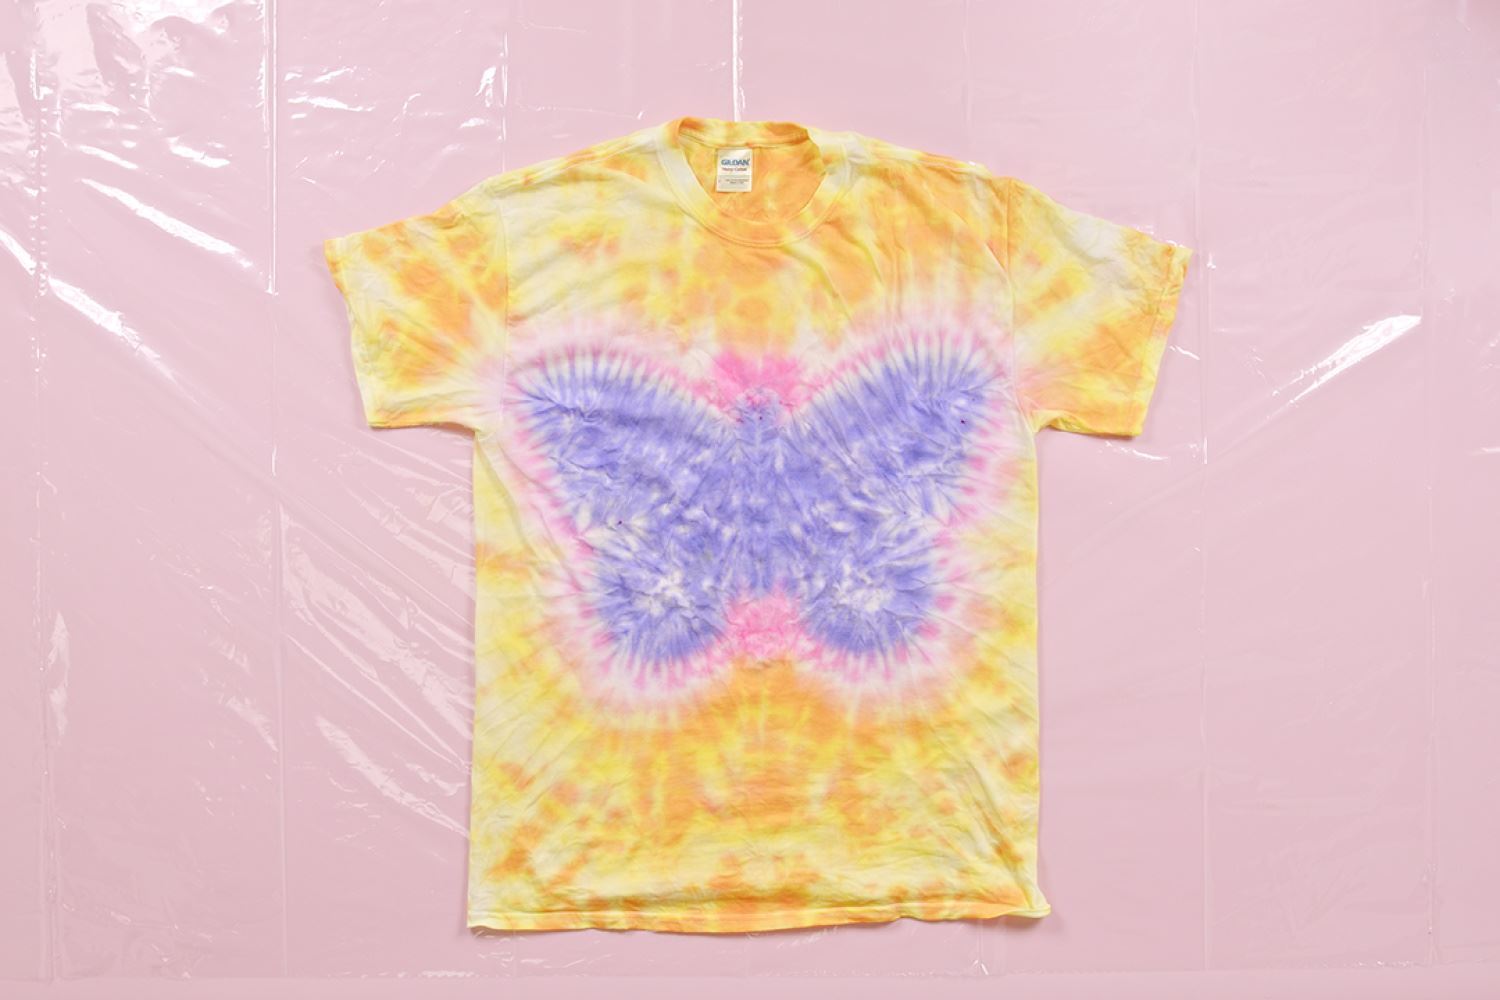
Learn how to use your favorite Tulip One-Step Tie-Dye Kit to create a colorful butterfly tie-dye design that’s perfect for the any season.
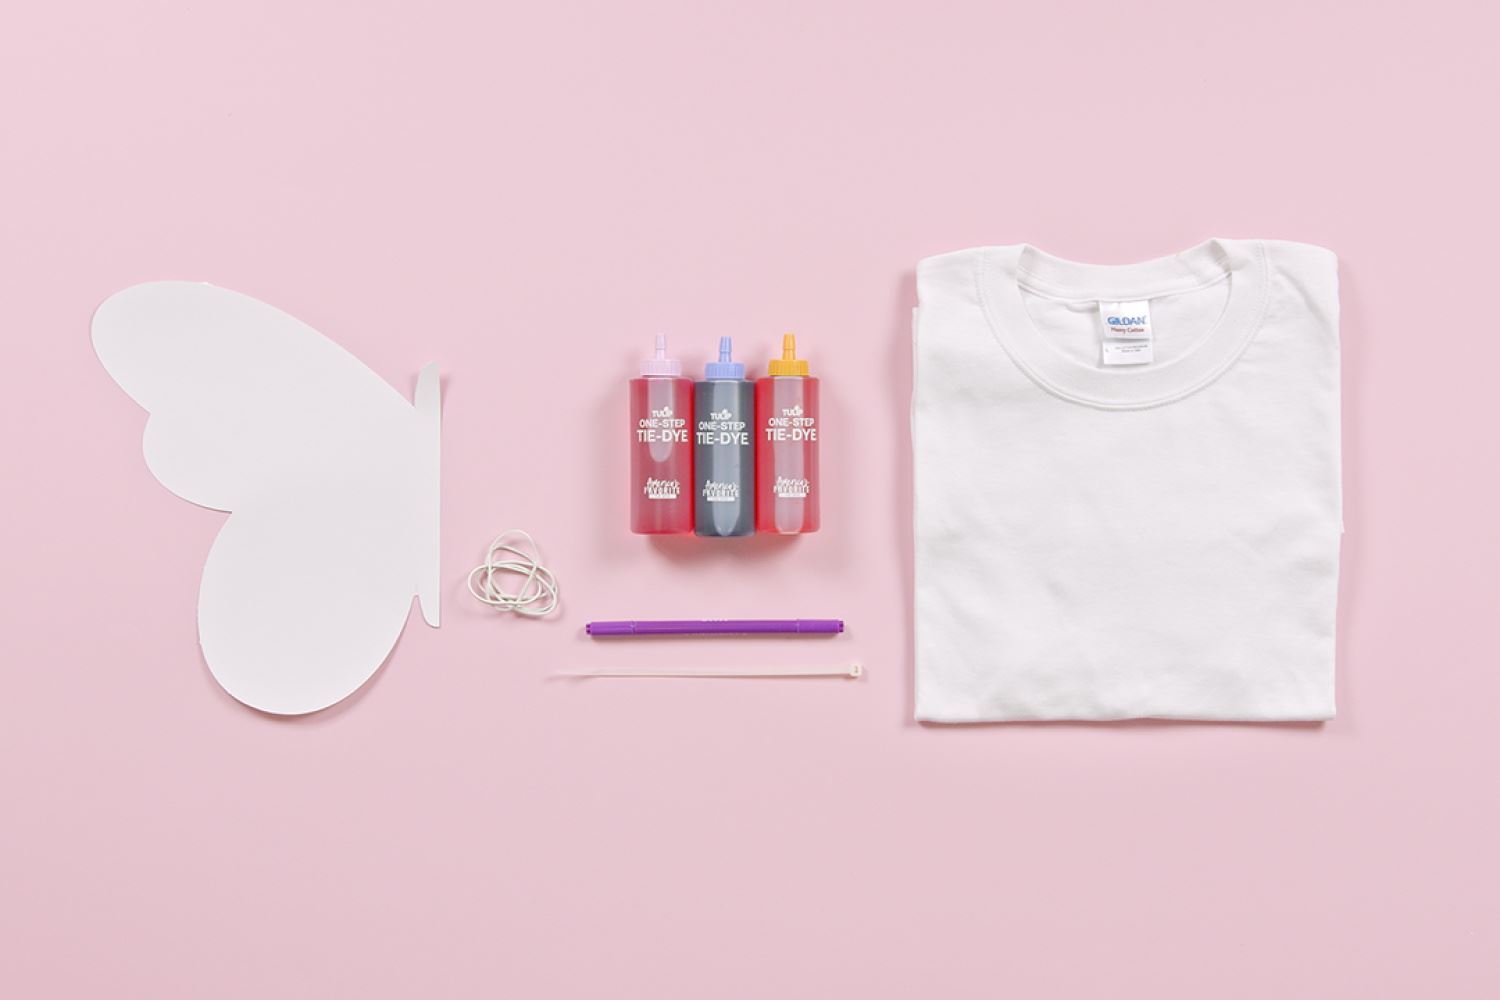
Step 1 Gather Supplies
Supplies:
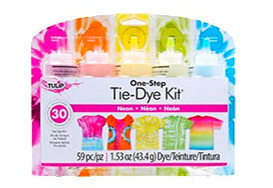
- Tulip One-Step Tie-Dye
- 100% cotton T-shirt
- Butterfly template
- Rubber bands or zip tie
- Washable marker
- Disposable gloves
- Protective surface cover
- Plastic wrap or sealable plastic bag
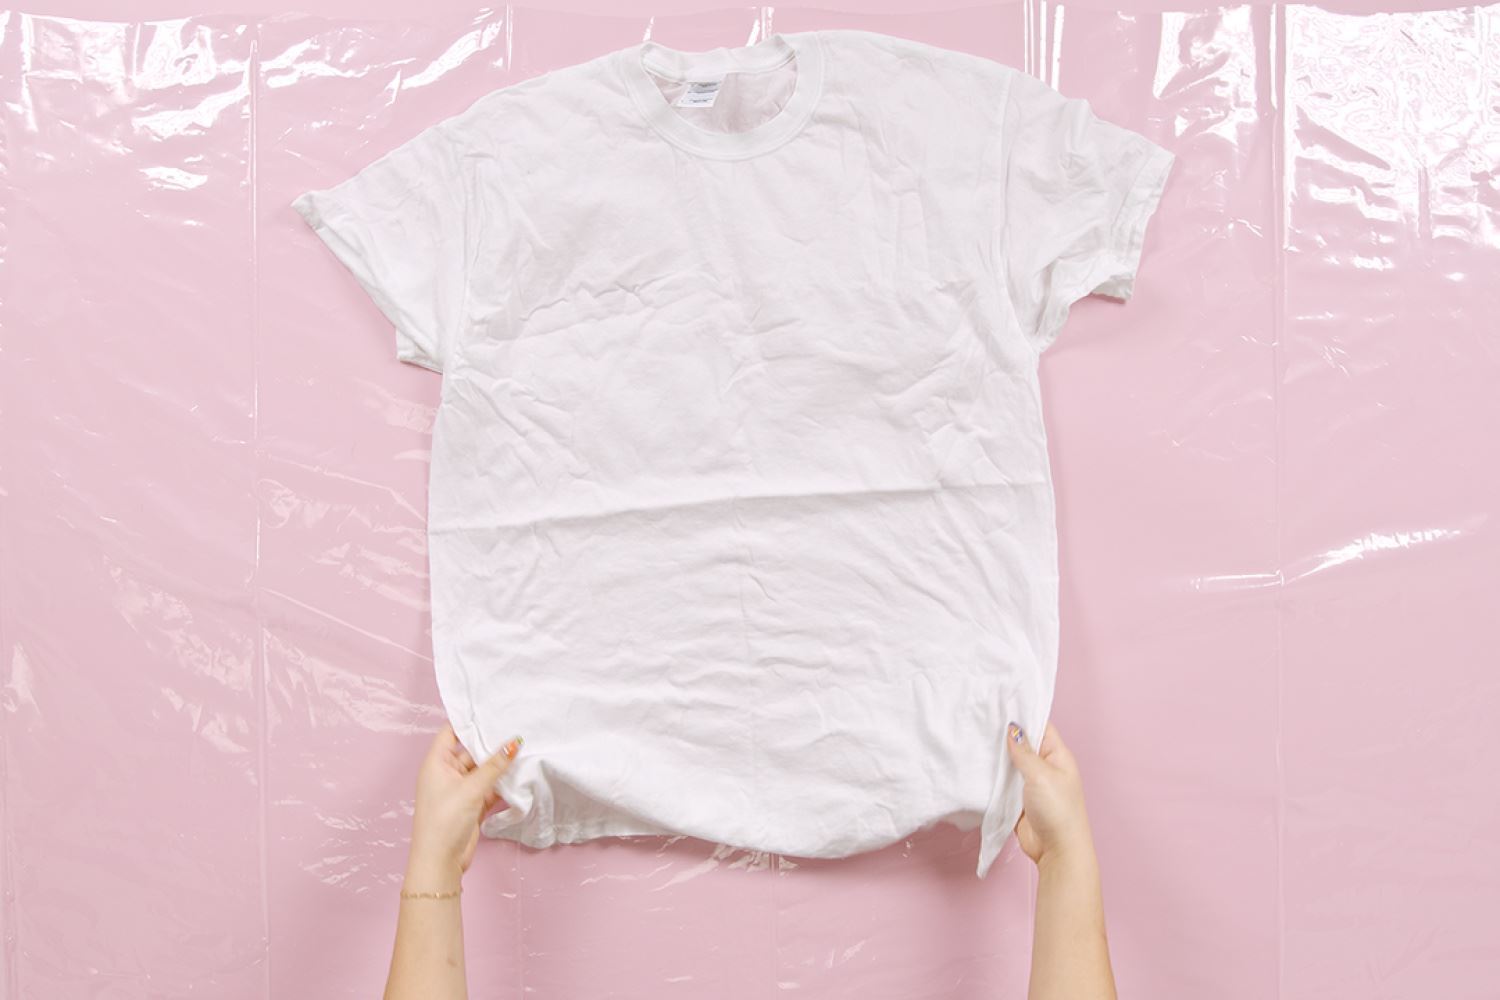
Step 2 Prepare your project
Before you get started on your butterfly tie-dye project, prewash the substrate that you’ll be dyeing and lay the damp fabric flat on a protected work surface. Prepare your tie-dye solutions by adding water to the dye bottles, filling to the neck. Replace the cap tightly and shake well until dye powder is fully dissolved.
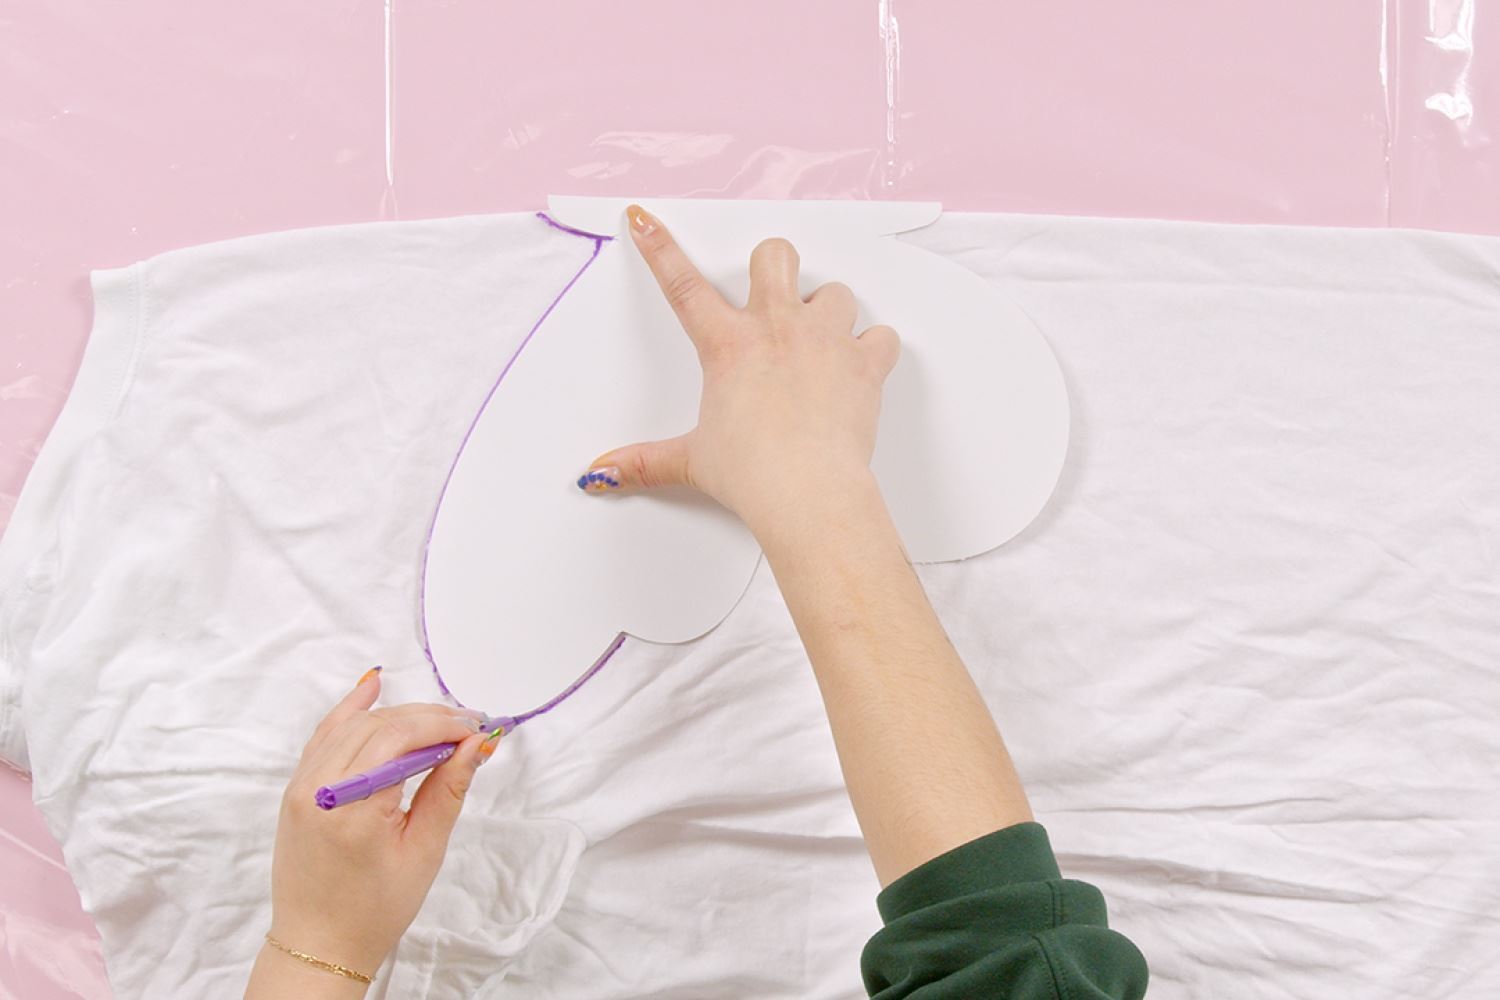
Step 3 Trace butterfly design
Fold your damp T-shirt vertically in half and smooth out on your work surface. Use a washable marker to trace a half butterfly design, with the center aligning along the fold.
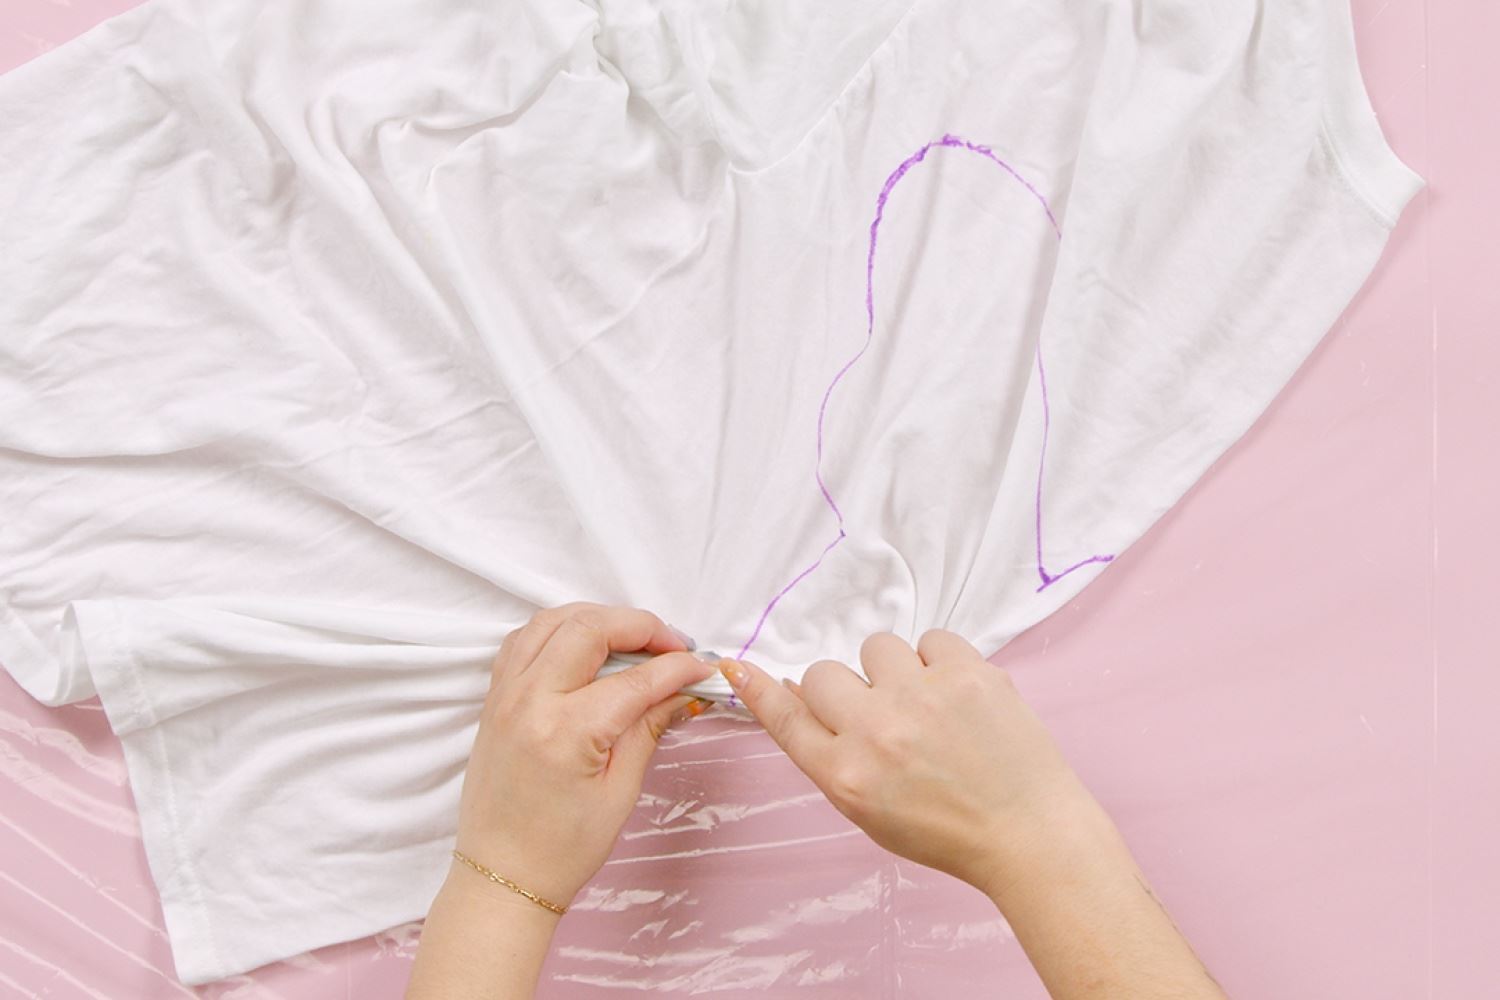
Step 4 Pleat and bind
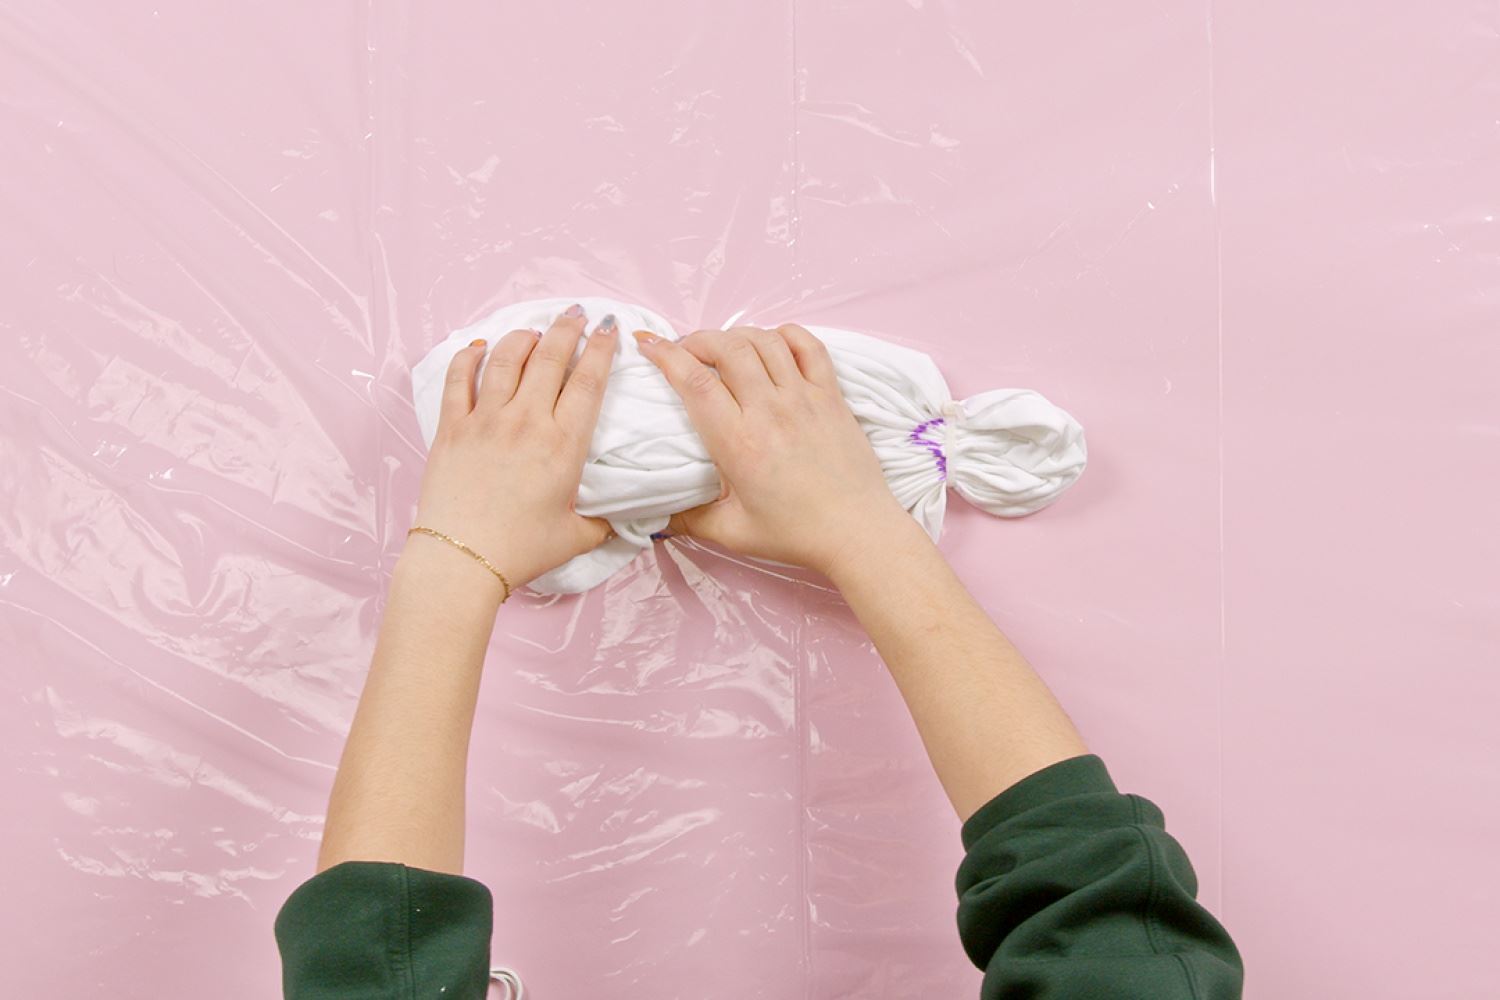
Tightly pleat your shirt along the marker line so that the line appears as straight as possible when all the pleats are together. Wrap a rubber band or zip tie tightly around the pleated fabric at this marker line.
Step 5 Bind remaining sections
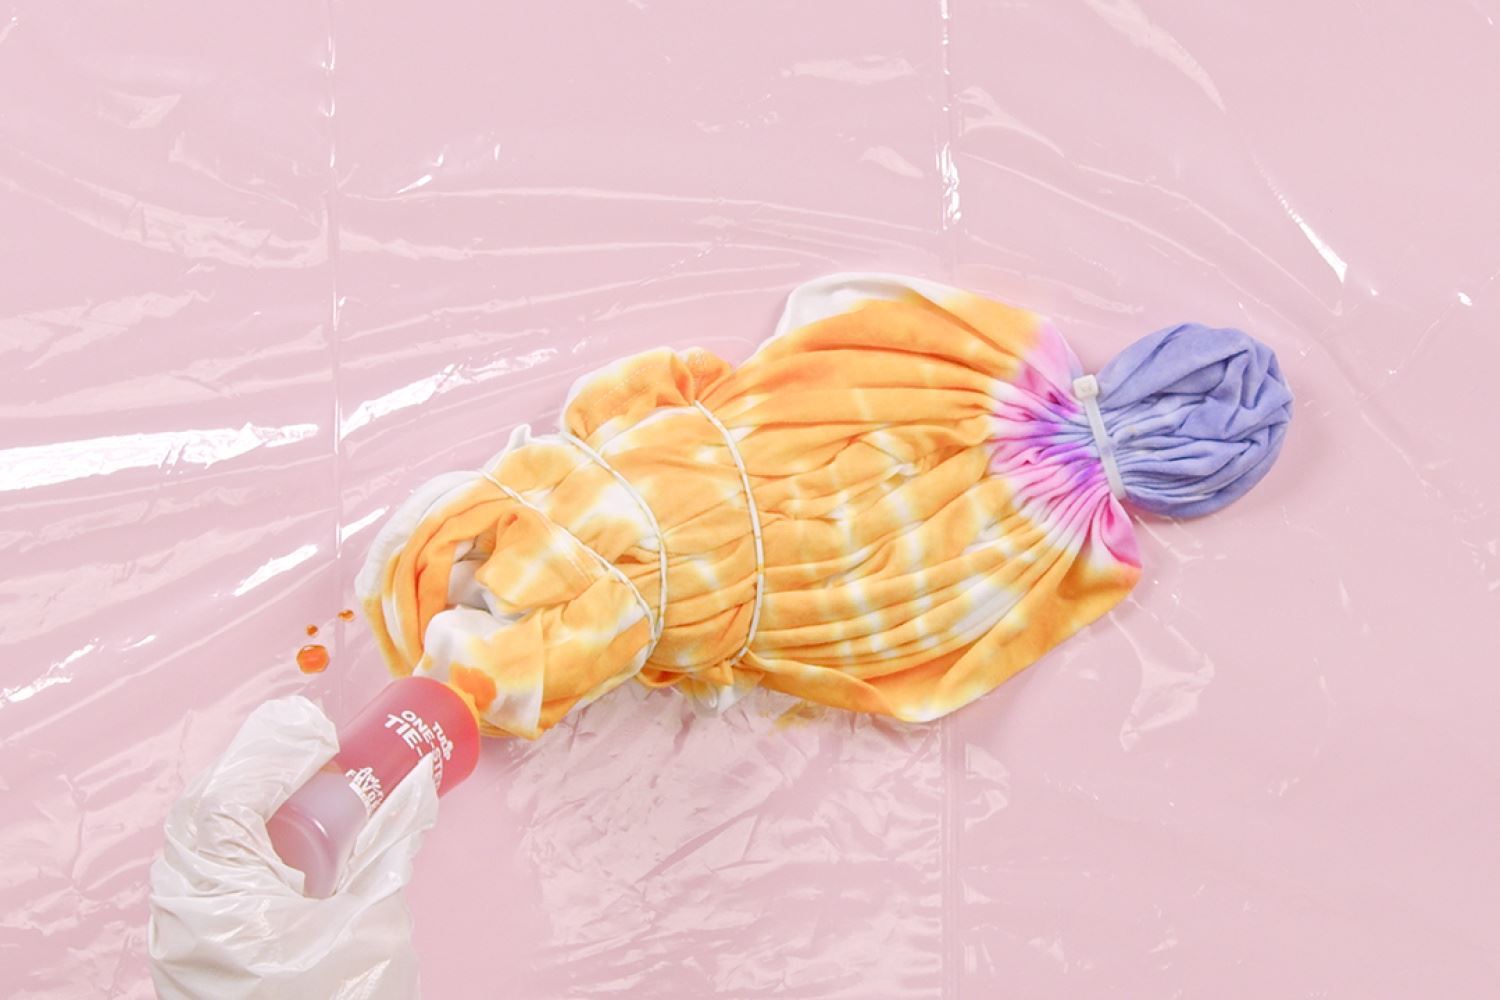
Wrap another rubber band a few inches below the first. You can stop here or continue adding a few more rubber bands down the length of your shirt, depending on how many dyed sections you want. Each banded section can be a new dye color!
Step 6 Apply dye
Apply dye to the butterfly, then use another tie-dye color to outline the butterfly design. Continue applying dye to your T-shirt as desired, then flip your project and apply dye to the other side. Always remember to wear gloves when working with tie dye!
Step 7 Wrap and let set
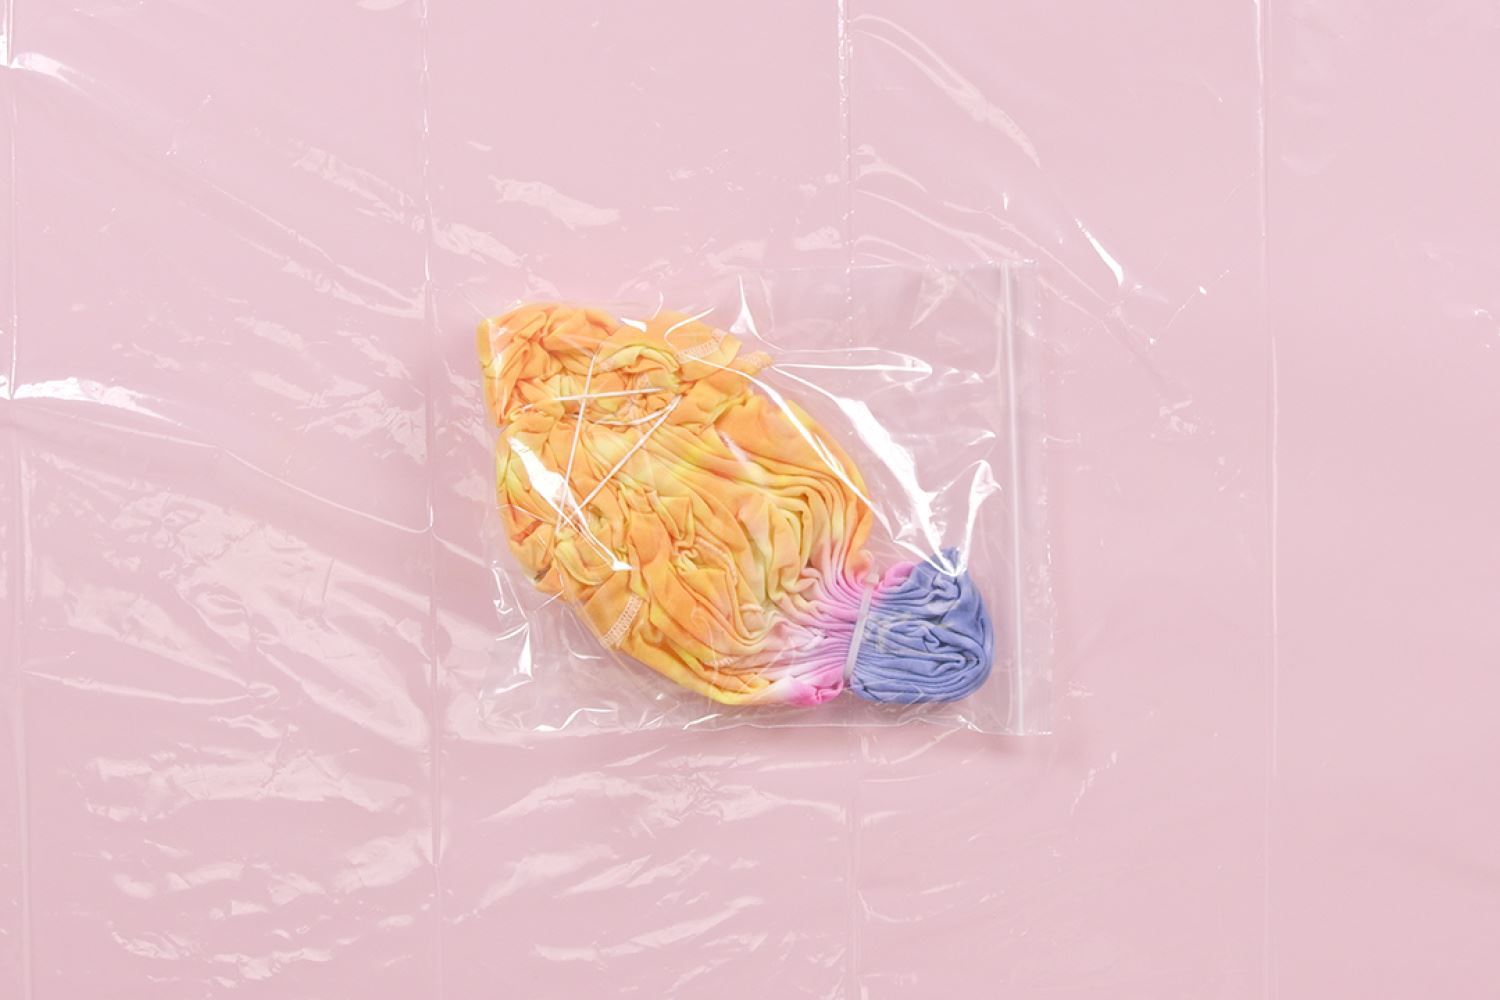
Once you’ve finished applying dyes to your butterfly tie-dye tee, cover with plastic wrap or place your project into a sealable plastic bag. Allow the dyes to set for 6-8 hours or overnight for more vibrant results.
Step 8 Reveal!
After the dye processes, remove the rubber bands, rinse, and launder according to package instructions. Your butterfly tie-dye T-shirt is now ready to wear!
How are you using tie dye to add color to your spring wardrobe? Show us your butterfly tie dye and tag us on social media @TulipColorCrafts!
Pin This Project

