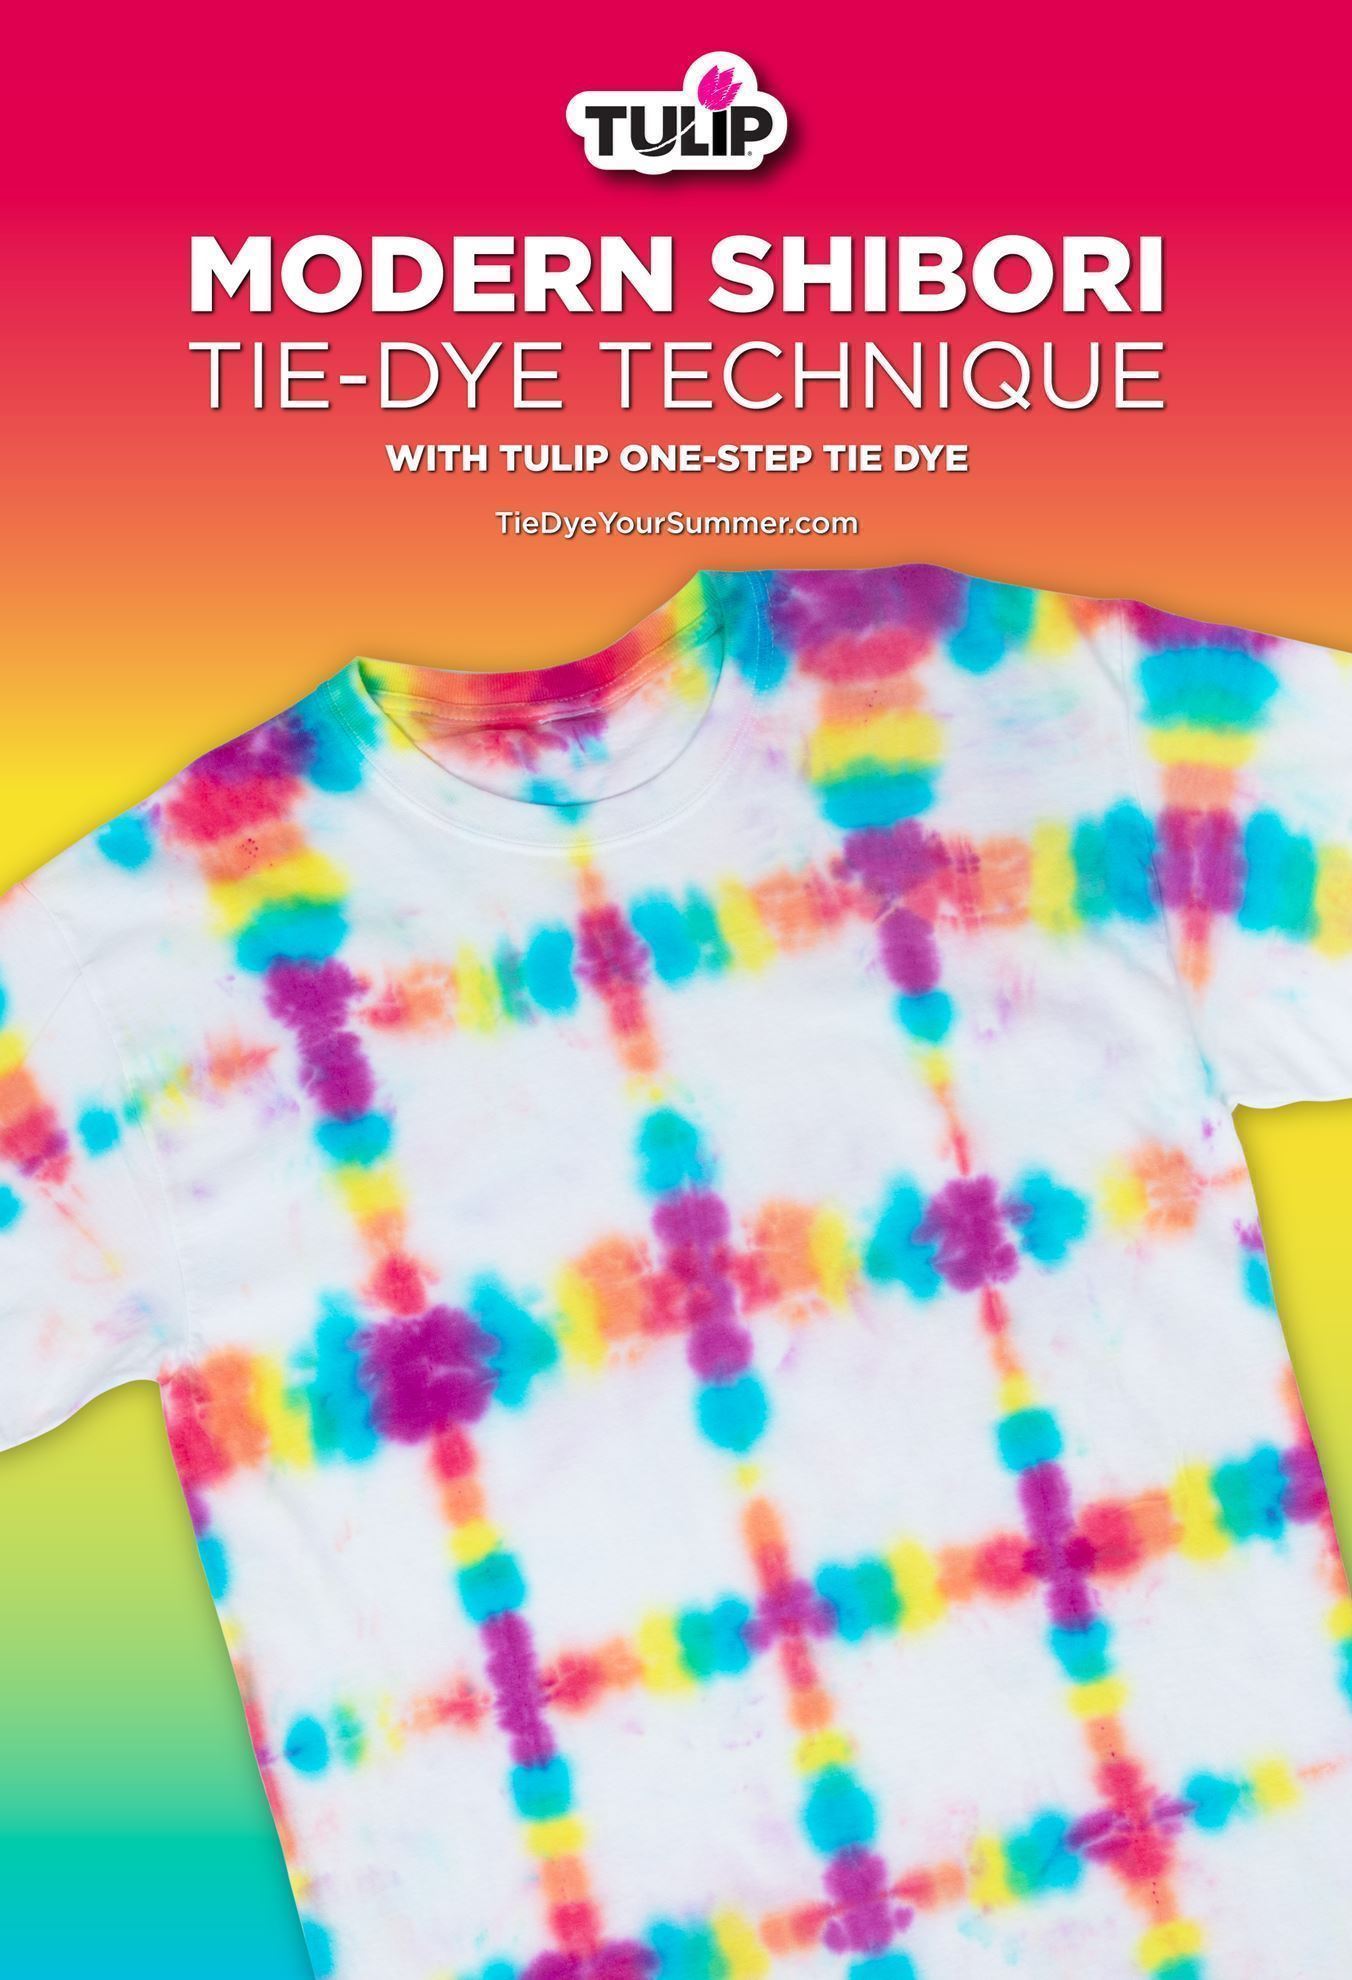
Modern Shibori Technique
If you’re a fan of tie dye, you’ve probably heard of the Japanese style of dyeing called “shibori.” This timeless technique typically uses indigo dyes, but we’re giving it a modern makeover with Tulip One-Step Tie Dye! Learn how to elevate the classic itajime-style shibori technique with our step-by-step tutorial. Our One-Step Dyes are great for adding bold, vibrant color to this modern shibori tie-dye technique!
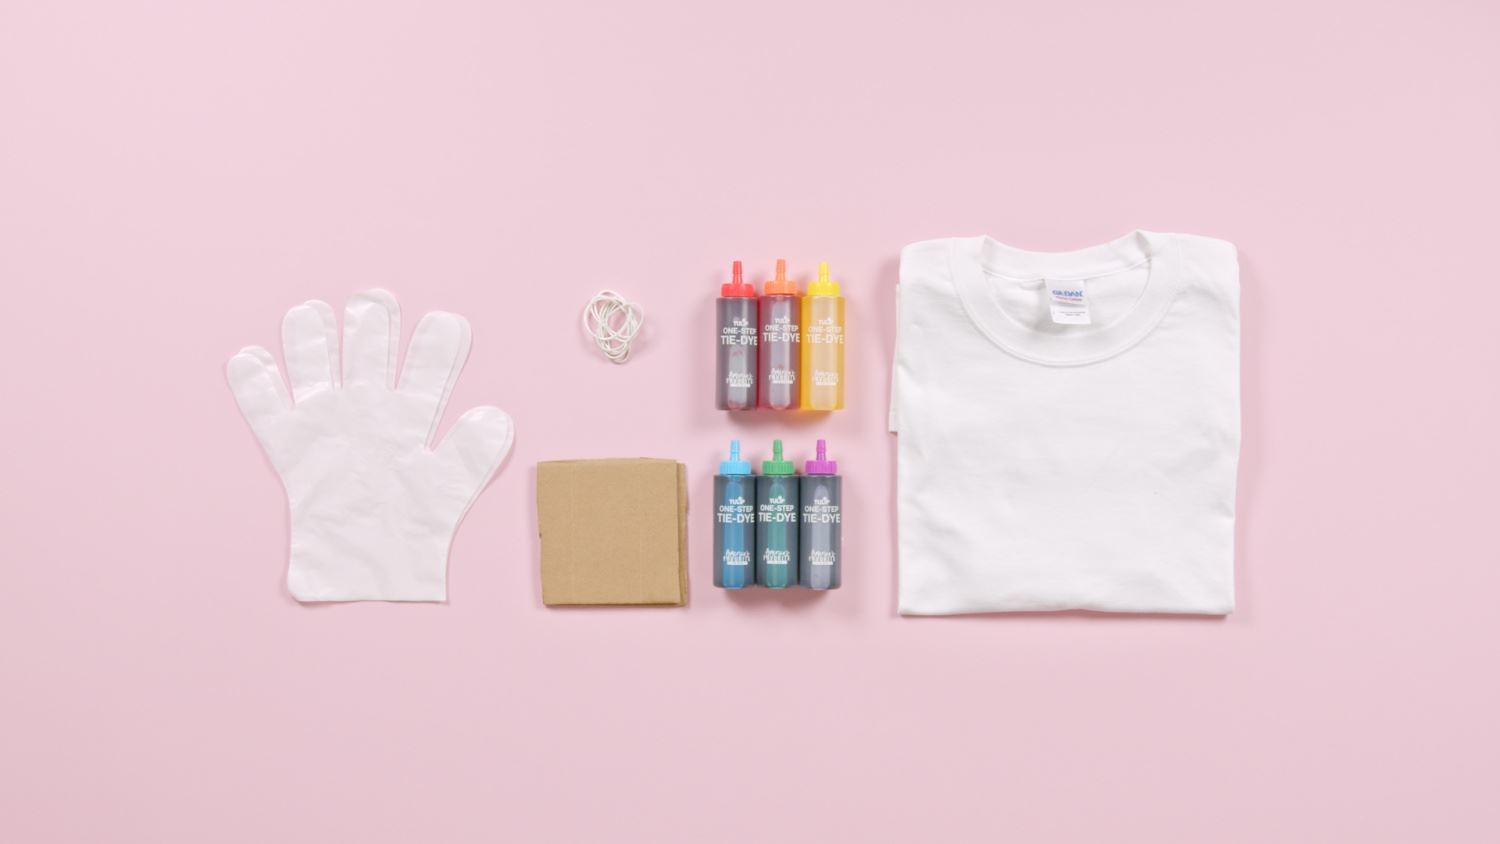
Step 1 Gather Supplies
- Tulip One-Step Tie-Dye
- 100% cotton T-shirt
- Cardboard squares
- Rubber bands
- Disposable gloves
- Protective surface cover
- Plastic wrap or sealable plastic bag
Step 2 Prepare your project
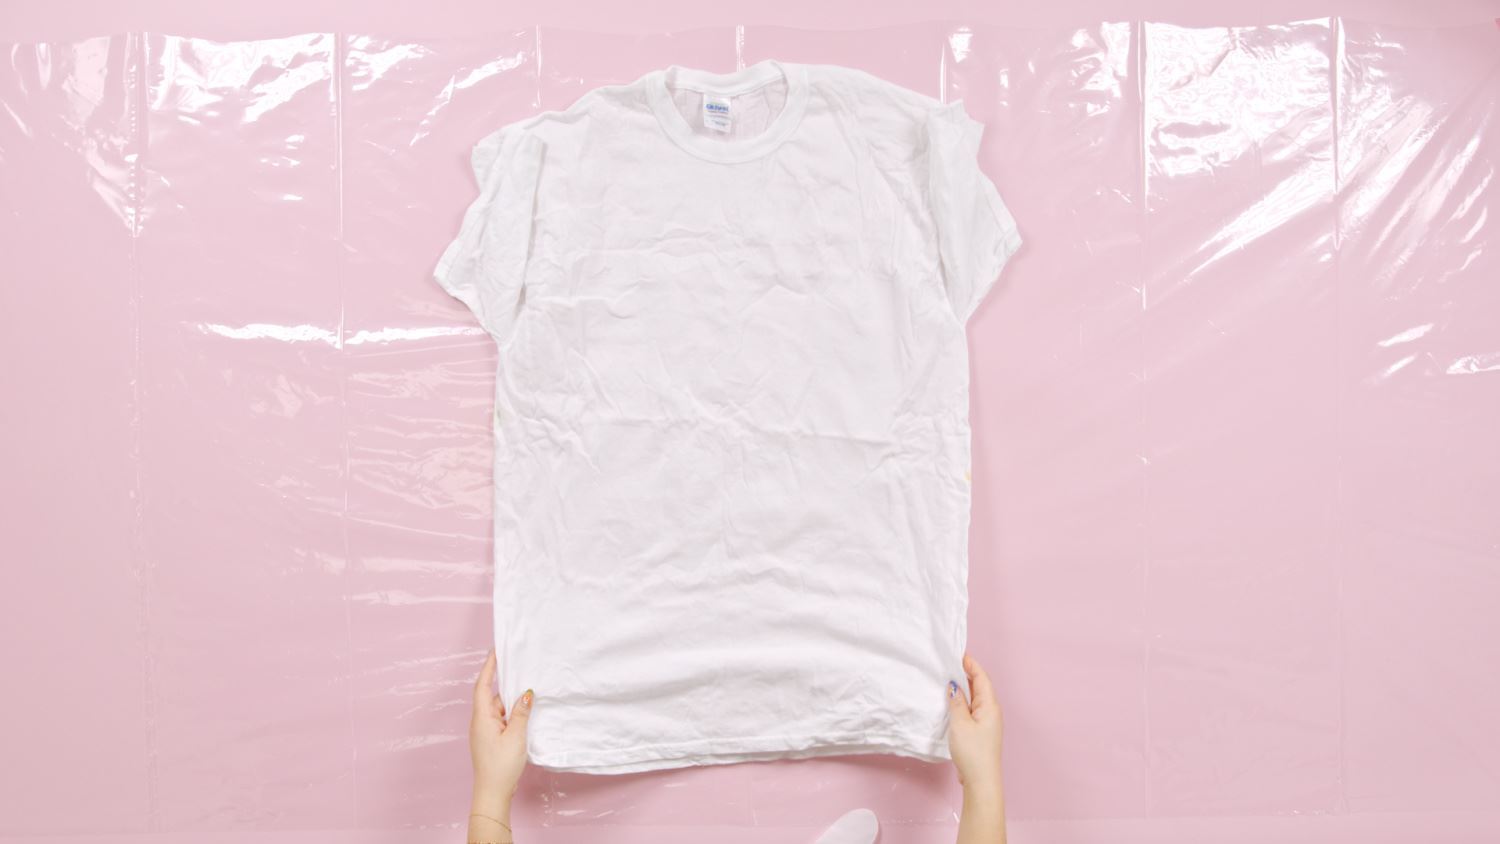
Before you get started on your modern shibori tie dye, prewash the substrate that you’ll be dyeing and lay the damp fabric flat on a protected work surface. Prepare your tie-dye solutions by adding water to the dye bottles, filling to the neck. Replace the cap tightly and shake well until dye powder is fully dissolved.
Step 3 Fold into square
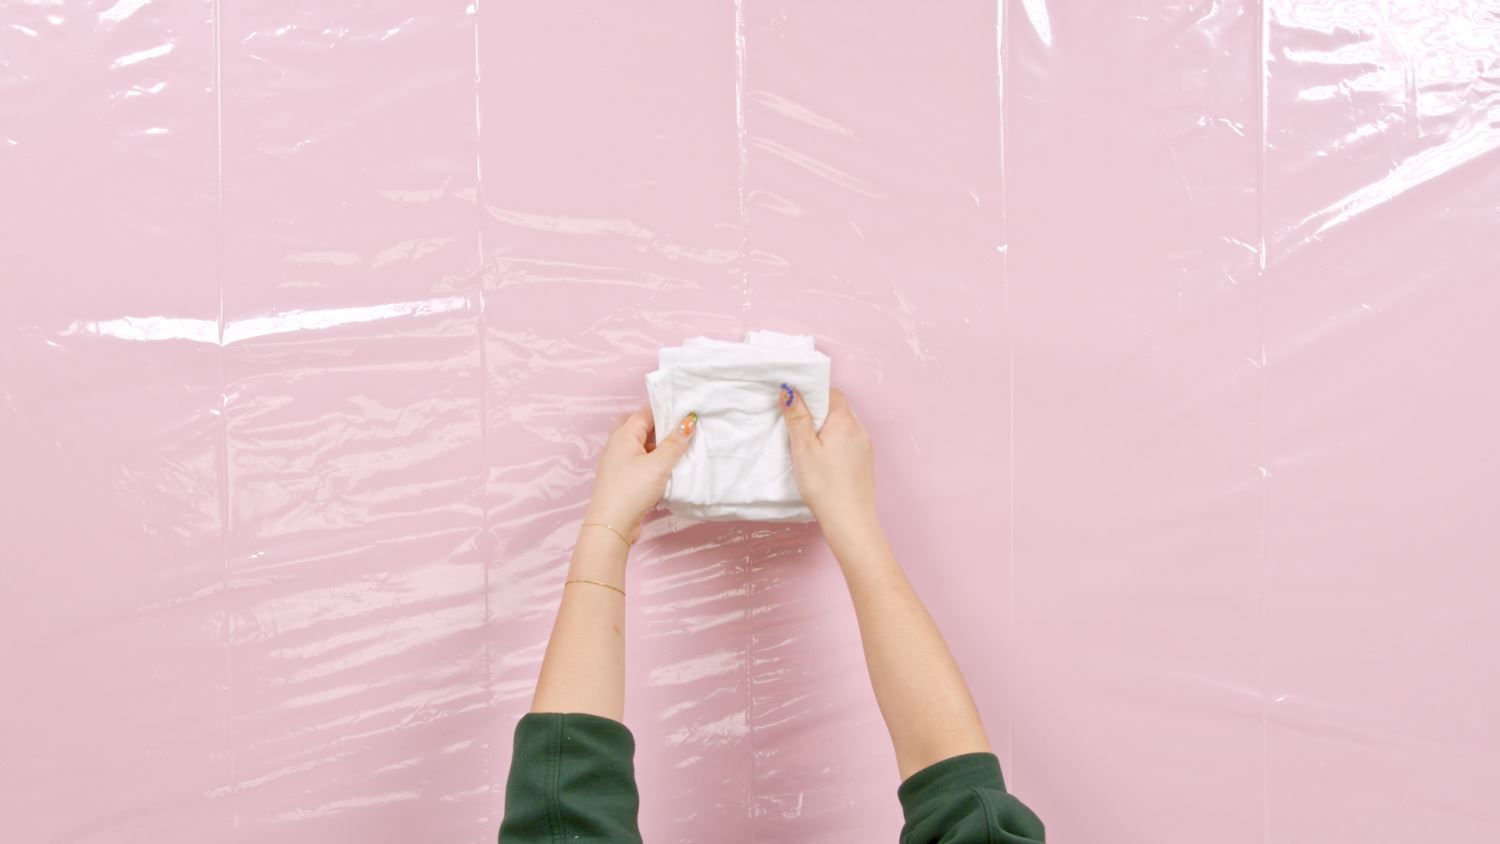
Fold your damp T-shirt vertically in quarter sections, then accordion fold the shirt into a square slightly larger than the size of your cardboard.
Step 4 Place cardboard & bind
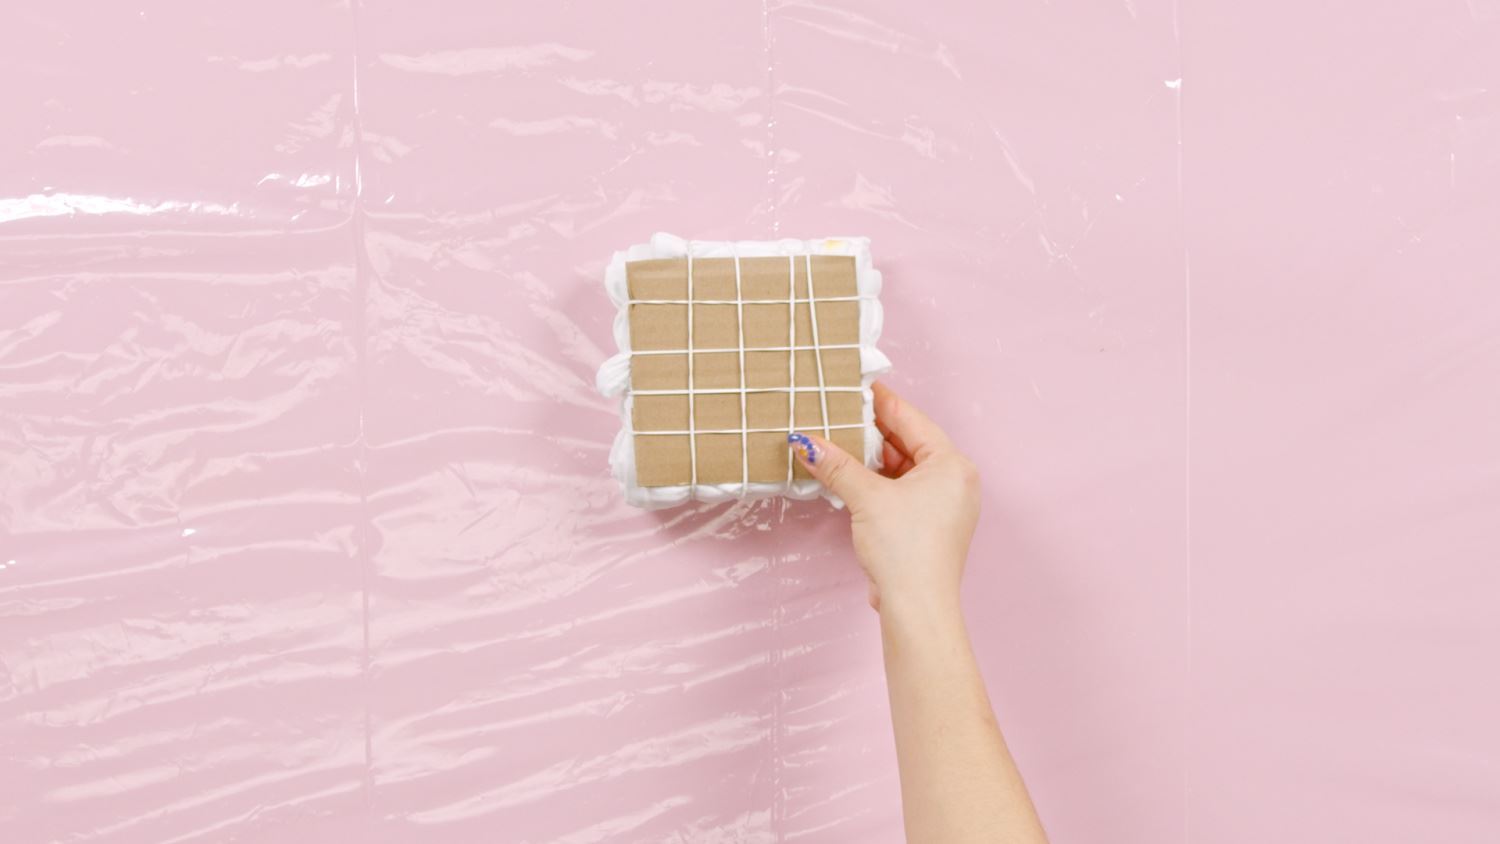
Sandwich your folded substrate between two squares of cardboard, then use rubber bands to secure the cardboard in place.
Step 5 Apply dye
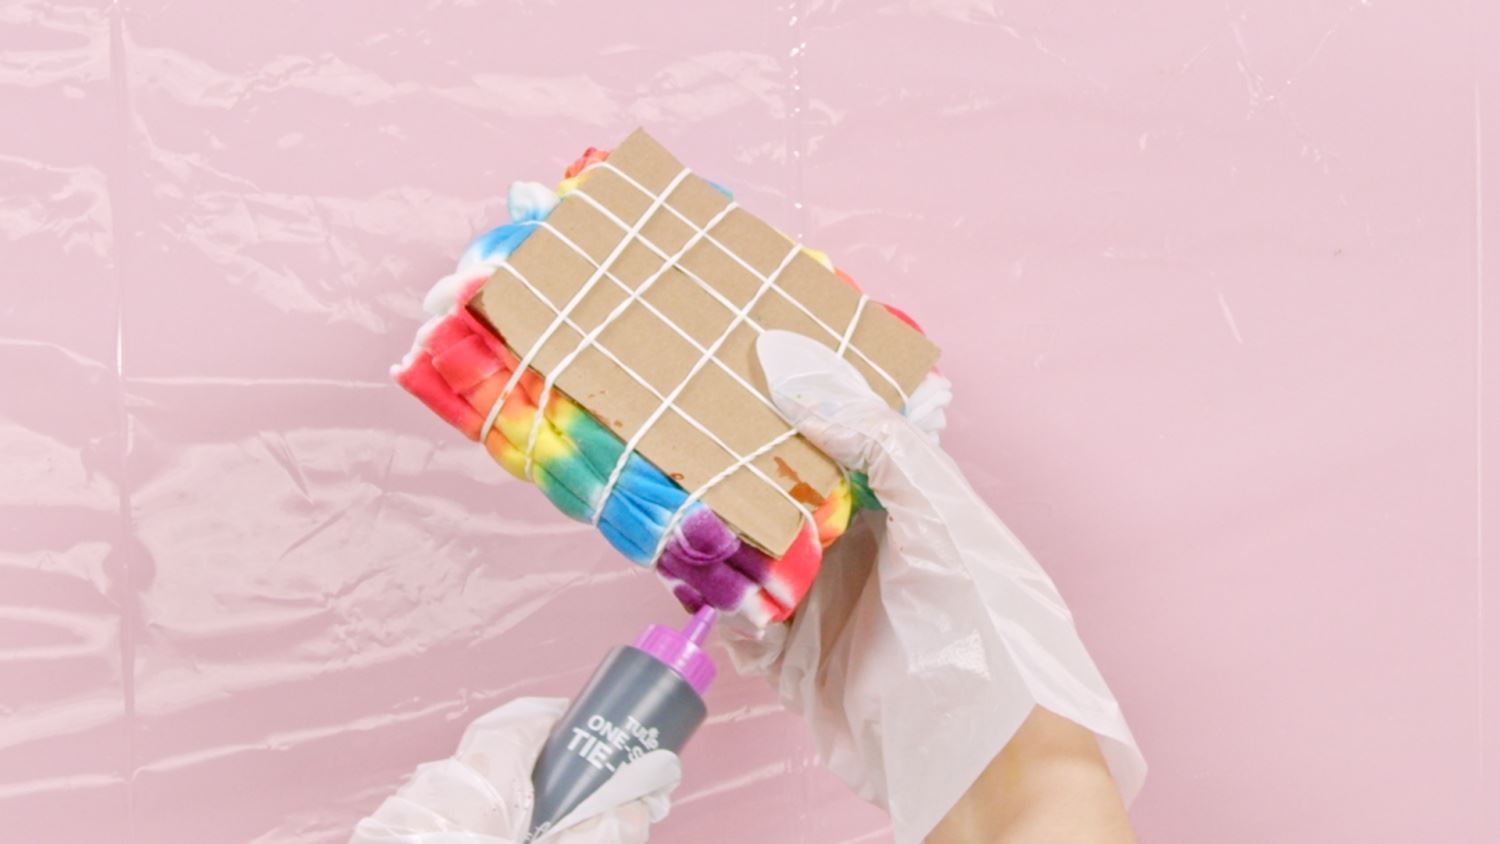
We’re using a vibrant rainbow palette for this modern shibori tie-dye technique! Apply the dye solution to each side of the exposed fabric. Always wear gloves when working with tie dye.
Step 6 Wrap & let set
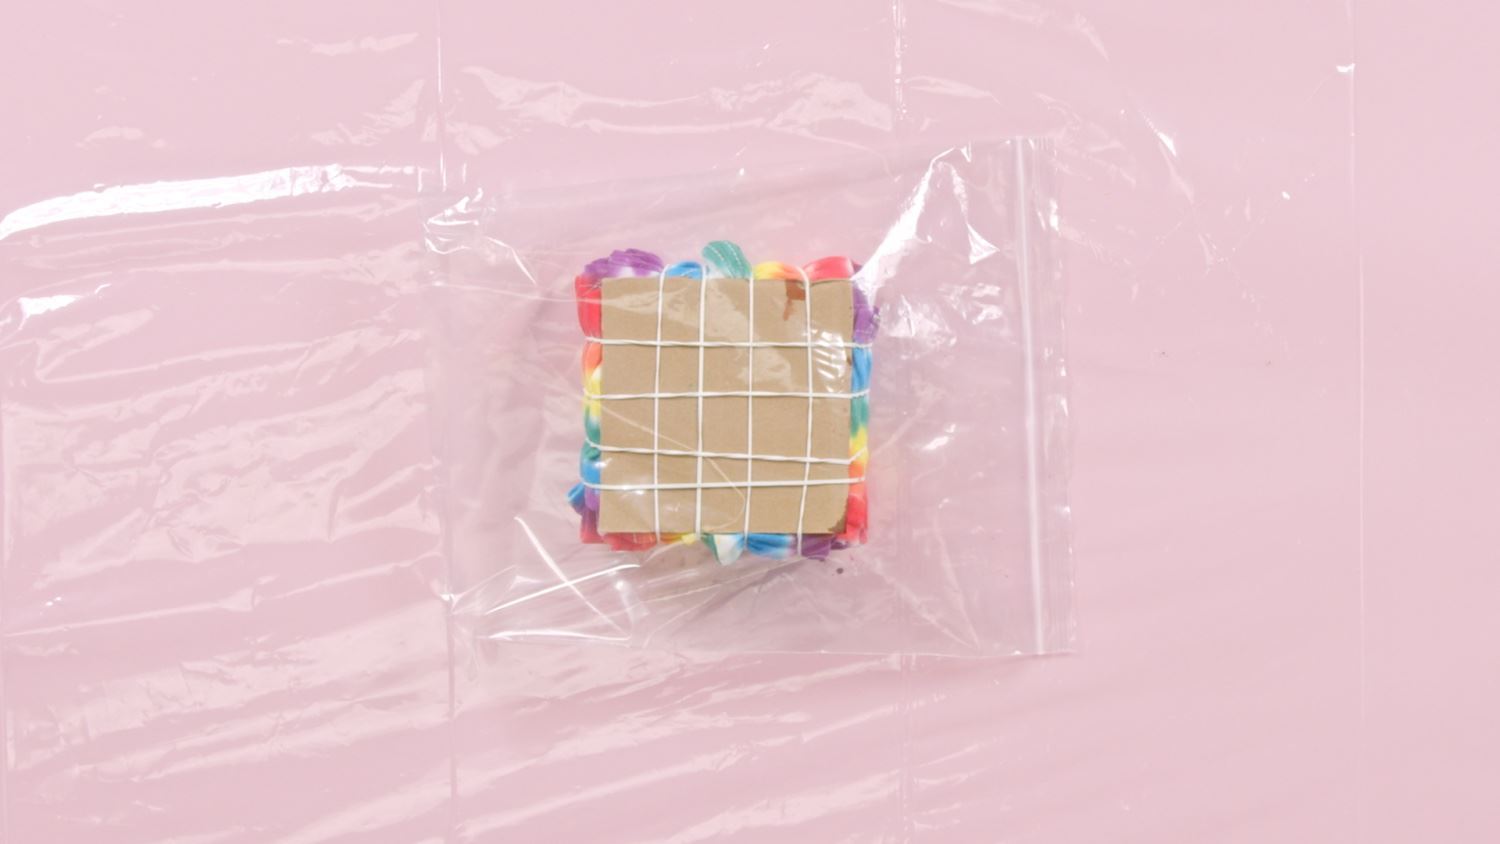
Once you’ve finished applying dyes to your modern shibori tie-dye tee, cover with plastic wrap or place your project into a sealable plastic bag. Allow the dyes to set for 6-8 hours or overnight for more vibrant results.
Step 7 Reveal!
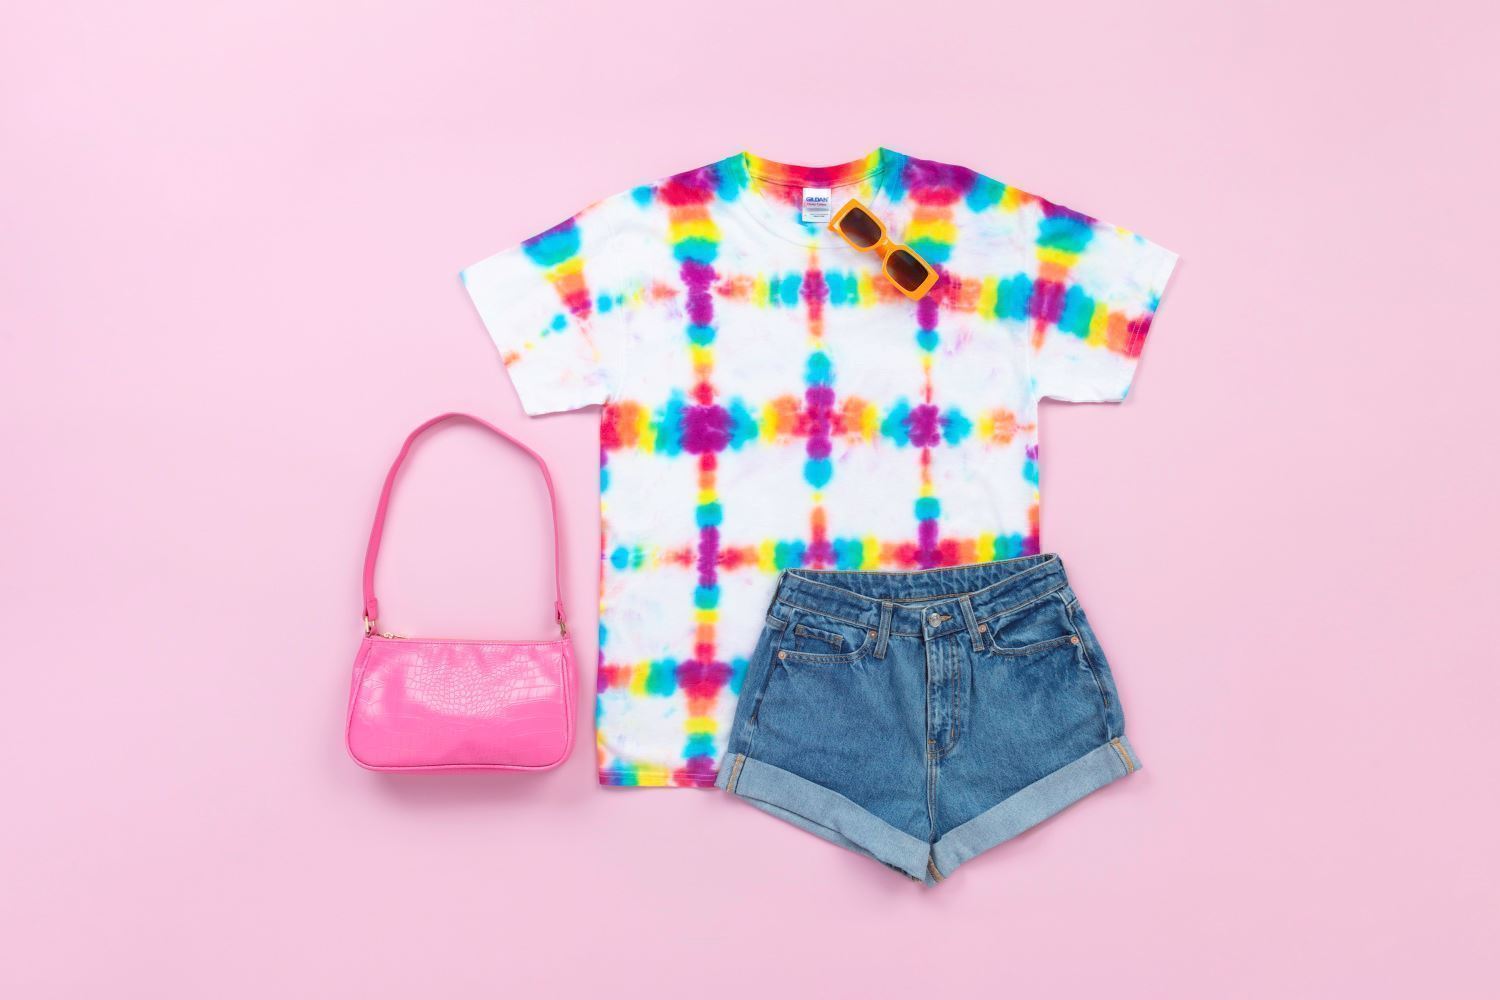
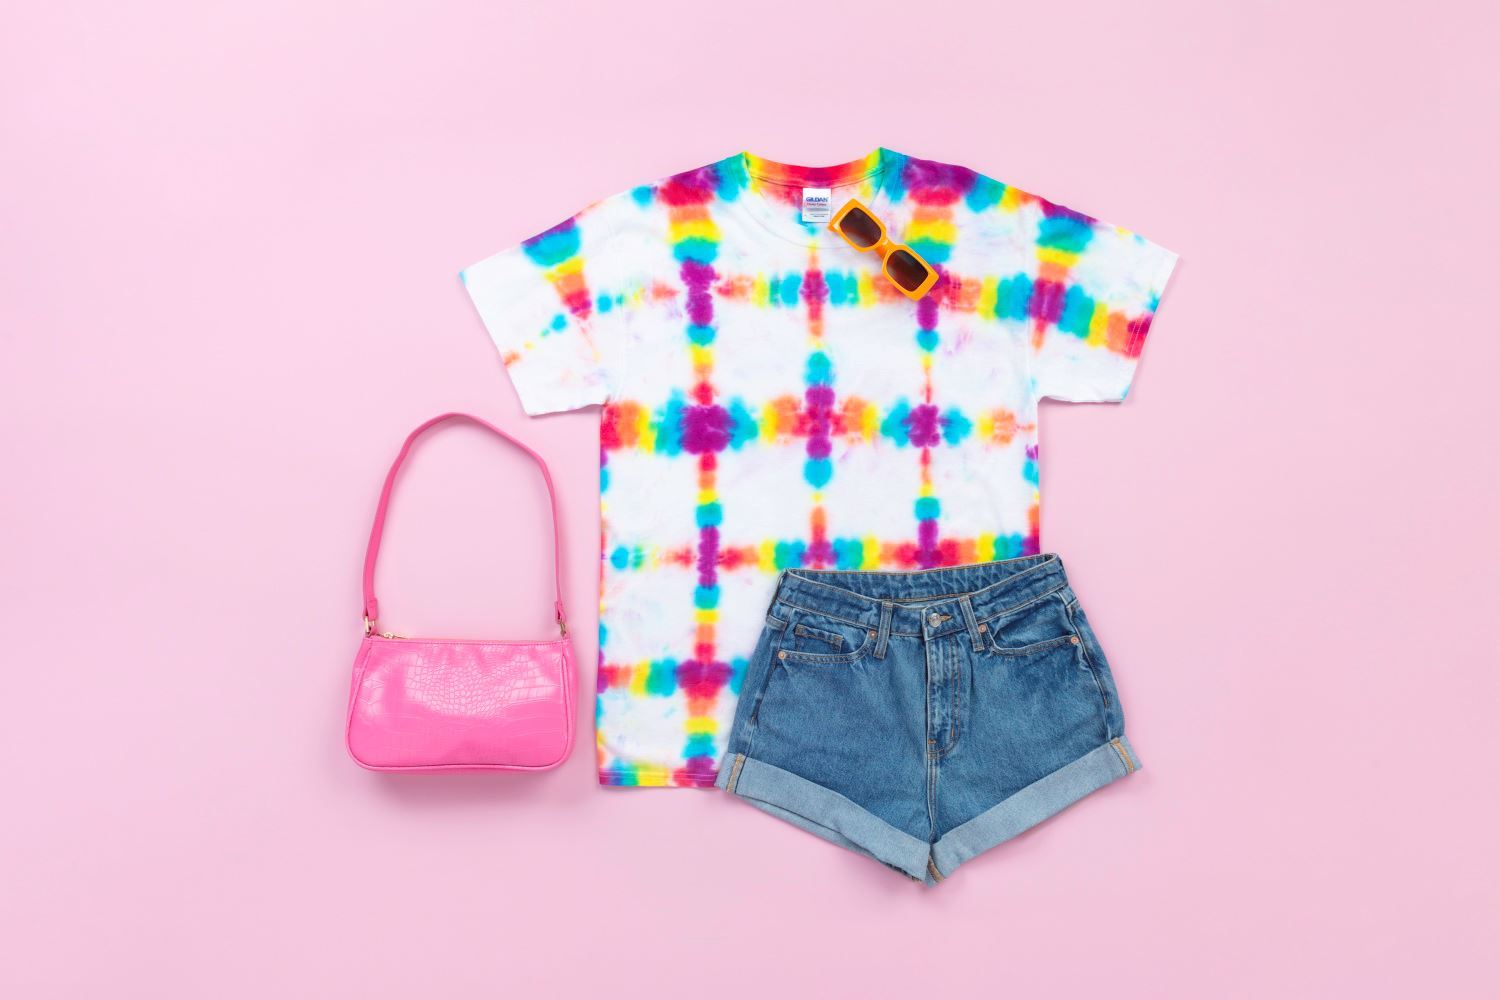
After the dye processes, remove the rubber bands and cardboard from your substrate, then rinse and launder according to package instructions. This modern shibori tie dye technique is a creative way to combine bold white space with vibrant rainbow colors!
Will you be trying this modern shibori tie-dye technique? Show us your trendy tie-dye designs and tag us on social media @TulipColorCrafts!
Pin This Project

