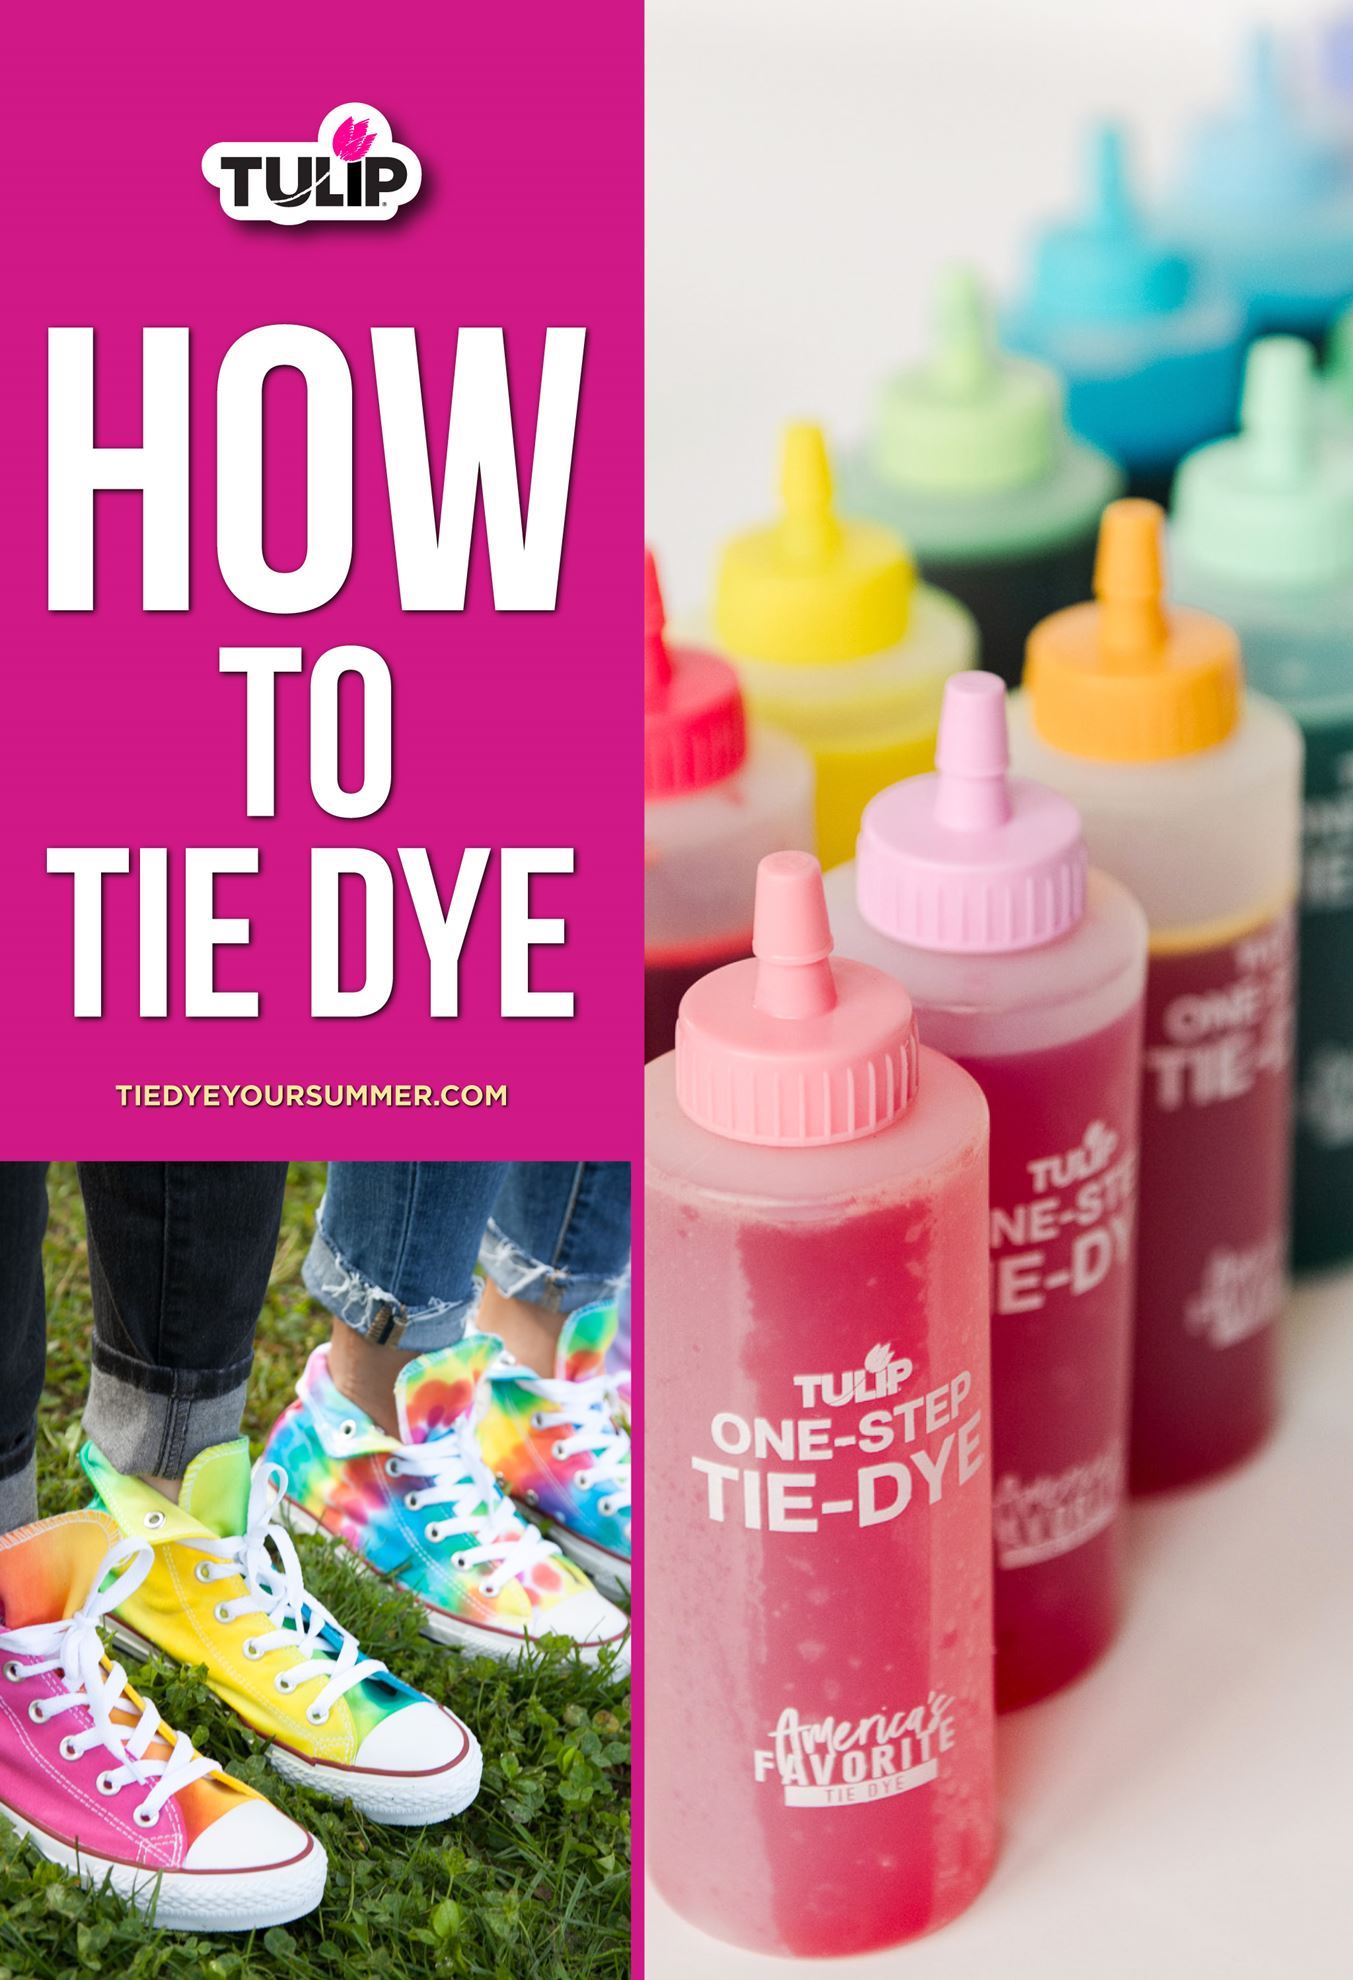
We have a lot of different tie-dye techniques on our site that show you how to tie dye like a pro, but here are some tie-dye basics to help set you up for success! Whether you are wondering how to tie dye a T-shirt, how to dye socks or pretty much anything else, here’s what you need to know.

What you’ll need: Basic supplies
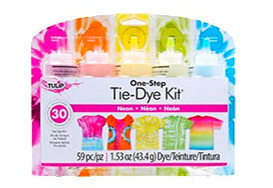
Here's an easy checklist to follow when getting ready to tie dye most projects. Your Tulip One-Step Tie-Dye Kit always comes with the basic tie-dye essentials you'll need for your tie-dye project:
- Easy-squeeze bottles with dye powder
- Disposable plastic gloves
- Rubber bands
- Instructions/inspiration guide
Additional tie-dye supplies we recommend:
- 100% natural fiber fabric item
Tie-dye is best practiced on natural fabrics, such as cotton, rayon, and silk, rather than synthetic fabrics. Synthetic fibers require the use of specialized dyes and much higher temperatures; they might look like they’re absorbing the dye, but all the colors will wash out when rinsing.
- Protective surface cover
Excess dye dust can appear invisible until it reacts with water! Protect your work surface to avoid staining the area. For extra protection and easy cleanup, we recommend using a wire rack placed on top of a baking sheet to catch excess dye and prevent your project from sitting in the pooled dye underneath it. Newspaper, trash bags, and disposable plastic tablecloths will also work in a pinch.
- Sealable plastic bag or plastic wrap
It is very important to keep your tie-dye project damp while it sets! Our One-Step Dyes react with cotton and other plant fibers to form a permanent chemical bond; for the reaction to take place, the fabric must stay damp. Keeping your fabric in a sealed plastic bag or plastic wrap will ensure the dyes can properly absorb into the fabric and produce the vibrant tie-dye colors you love!
- Washable marker
If you’re working on a more complex tie-dye technique such as hearts or mandalas, it helps to outline any shapes with a washable marker for more precise patterns. It will wash out, so there’s no need to worry about unsightly marks on your final tie-dye designs!
Step 1: Pick your project
There are so many items you can tie dye! Whether you want to tie dye a T-shirt or something else like tie-dye socks, tie-dye shoes, tie-dye shorts or even tie-dye bedding, the most important thing for a successful tie-dye project is to make sure your item is made from 100% natural fibers like cotton, rayon, or silk.
Once you have your item to tie dye, you do not have to presoak it in soda ash because our One-Step Dyes have been specially formulated to stay bright without the use of soda ash. However, you should prewash your fabric before tie dyeing, especially if it’s new. New fabrics are coated in a chemical called sizing to help keep them wrinkle and stain free, but sizing can block the dye from fully absorbing into the fabric. Wash fabrics without fabric softener, which can also block dye absorption.
At this point, you can either leave your item damp or dry it. Dry and minimally damp fabrics will result in sharper tie-dye patterns with less color blending. Completely damp and wet fabrics allow the dye colors to flow through the fabric for more diffused dye patterns and color blending.
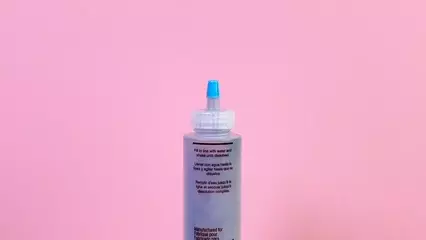
Step 2: Prep your dye
Tulip One-Step Dye bottles come with the dye powder in the bottles. To mix your dye, remove the nozzle and add tap water to the fill line on each bottle. Replace the nozzle with the cap still on and shake each bottle thoroughly until all dye powder dissolves. For refill packets, after dye bottle has been used, rinse out bottle, open dye packet wearing protective gloves, pour dye into bottle and continue with instructions above to mix and use.
Wait to mix your dyes until you are ready to apply them. Dyes left unapplied for more than 72 hours might lose their concentration and might not appear as vibrant after dyeing. Want to try something a little more unique? Our Color Mixing Kit allows you to mix custom colors for super creative tie-dye fun!

Step 3: Bind the fabric
Lay your damp T-shirt (or fabric) out flat onto your covered work surface. Pick out a folding pattern you’d like to try; if you need some help deciding, we’ve got a whole page dedicated to different tie-dye techniques!
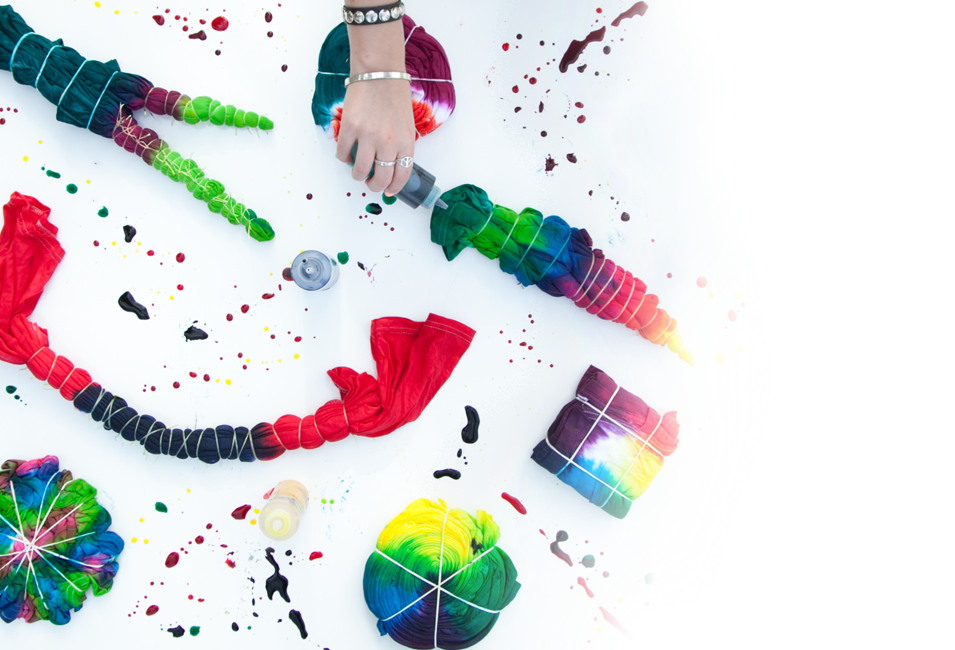
For this project, we’re demonstrating the classic Spiral Tie-Dye Technique. To make a perfect center spiral, locate the center of the collar and the section just under the sleeves. This is your center point for your spiral tie dye! Pinch the fabric at this point and twist into a swirl. Keep twisting the fabric tightly until the entire shirt is formed into a spiral shape. Use 3 rubber bands to hold your spiraled shirt in place, crisscrossing the rubber bands to create 6 wedge shapes.
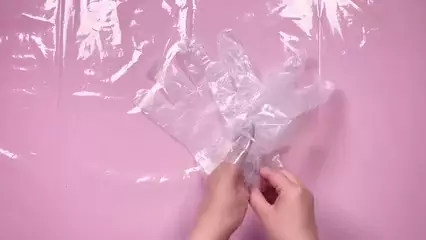
Step 4: Apply dye
Wearing the plastic gloves from your kit, place your project on a wire rack if using. You can apply as many dye colors as there are sections created with the rubber bands, or as few as one dye color. There’s no wrong way to tie dye! However you decide to apply your dyes, flip over your project and match the dyes in the same color pattern on the back.
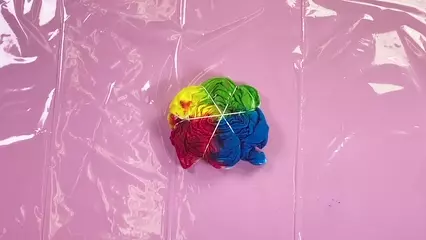
Step 5: Let set
Place your dyed project into a sealable plastic bag or wrap in plastic wrap to keep it damp while the dye completely processes. This will take 6 to 8 hours or overnight if you want to give it some extra time. Note: It’s important for the fabric to remain damp while the dye sets so it can fully absorb into the fabric fibers.
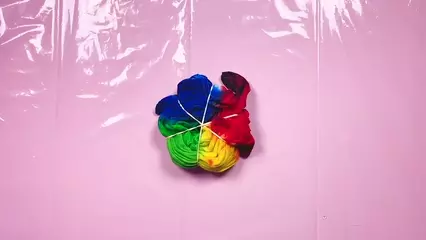
Step 6: Rinse and wash
Once the dye has fully processed, remove the rubber bands check out your tie dye! Rinse your project well to remove excess dye. Fill washer to "large load" setting with cold water and a small amount of laundry soap. Wash and dry separately. Your tie-dye creation is now ready to wear!
Now that you know the basics on how to tie dye, you’ll want to tie dye EVERYTHING! You can tie dye more than just shirts— learn how to tie dye all your fabrics from head to toe! When all the tie-dye fun is done, don’t forget to tag us in your colorful projects @TulipColorCrafts!
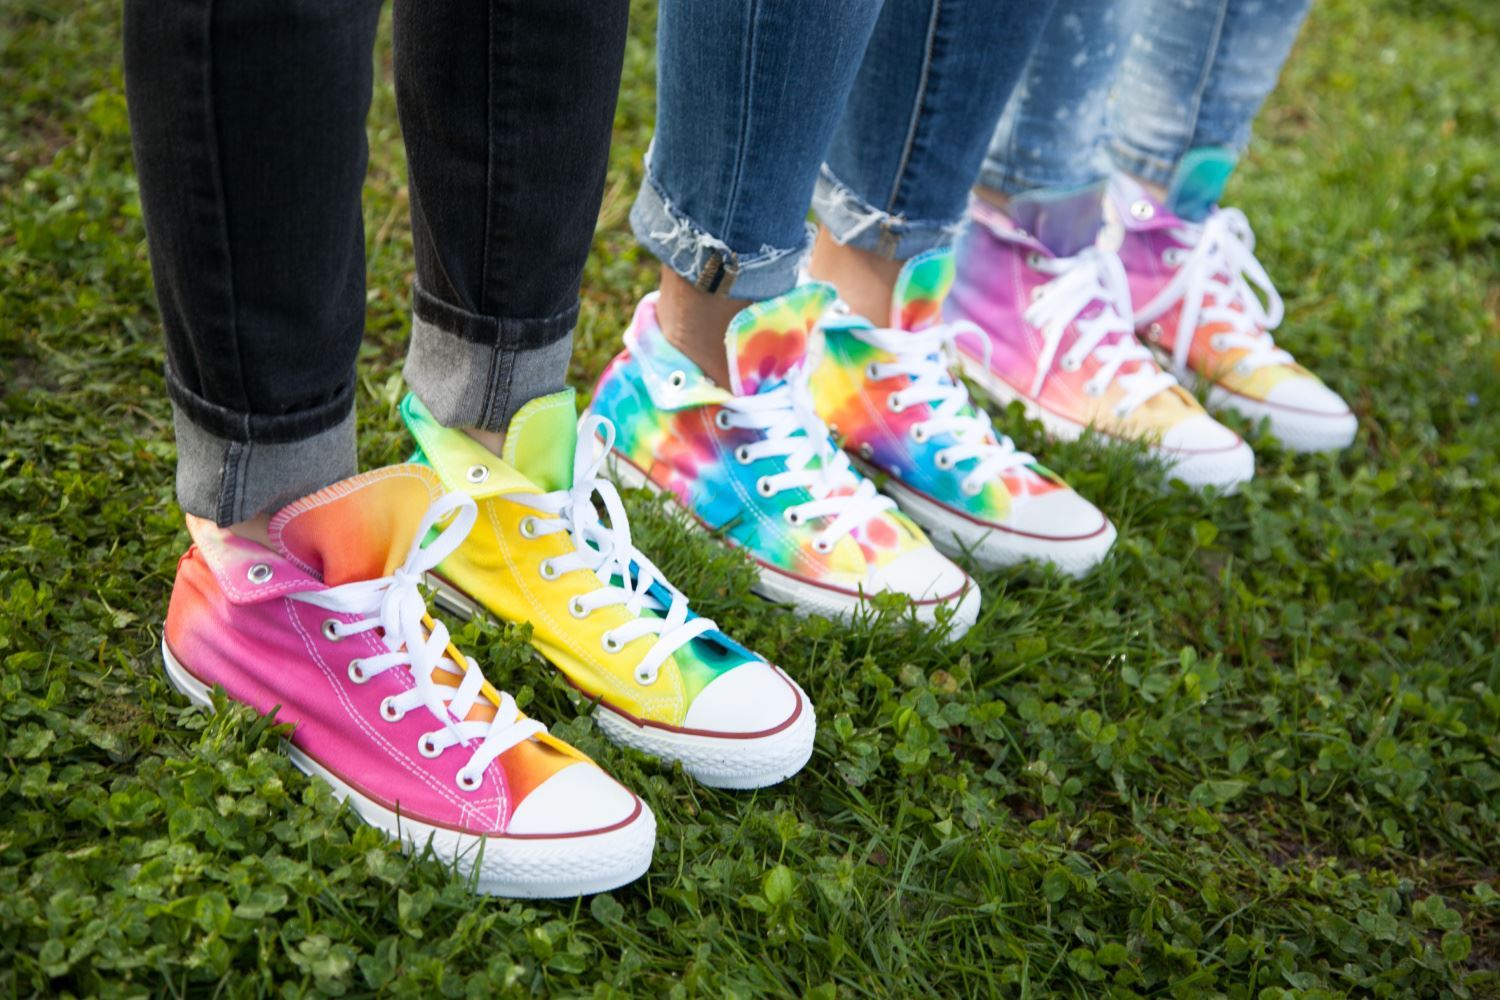
How to Tie Dye Shoes
It’s easy to add colorful tie-dye style to your shoes! Learn how to tie dye shoes and get inspired to try new tie-dye designs with our in-depth tutorial. Remember to remove any laces and use masking tape on the soles before you start!
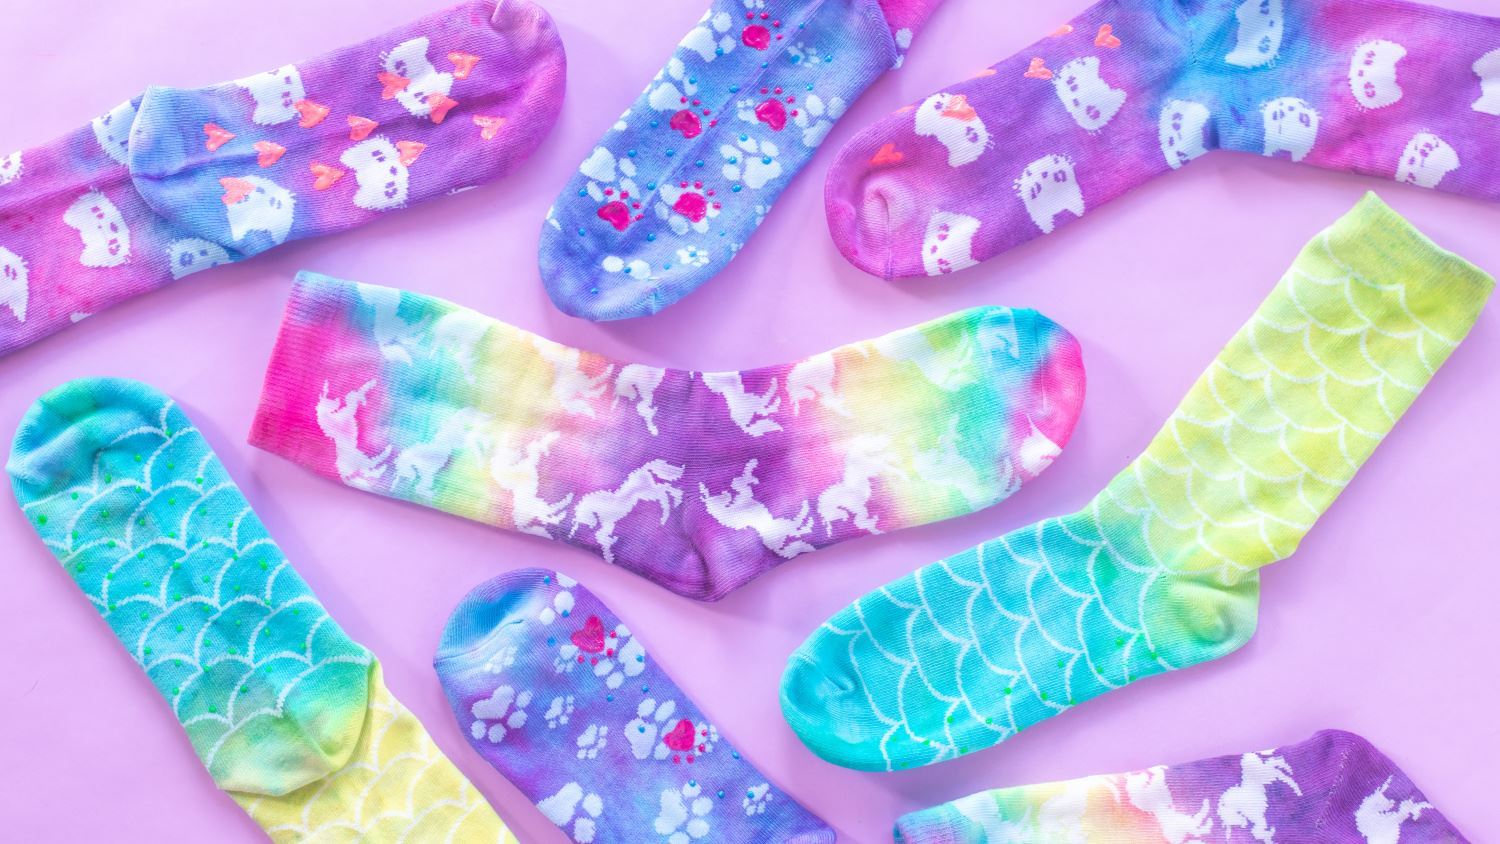
How to Tie Dye Socks
Socks are super easy to tie-dye! Check out our step-by-step tutorial on how to tie dye socks and treat your feet to even more color.
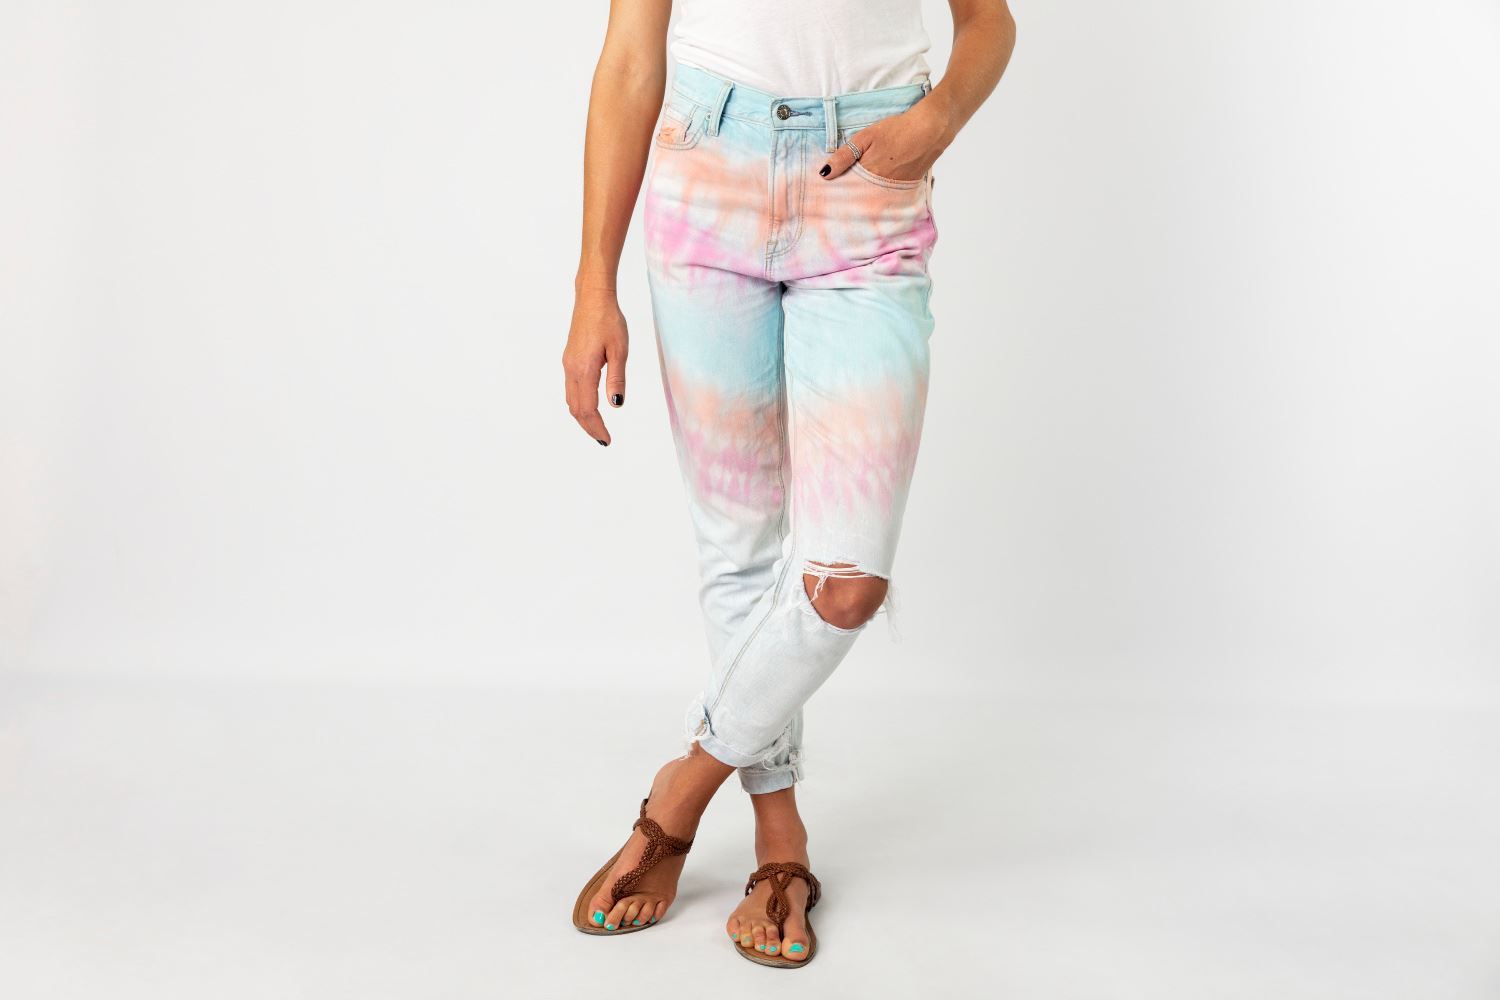
How to Tie Dye Jeans
Tie dye your denim to add an extra pop of color to your pants! Learn how to tie dye jeans and other denim garments with this quick tutorial. Whether you’re rocking a jean jacket, jean shorts, or just classic jeans, you can use tie dye to turn denim into a colorful work of art!
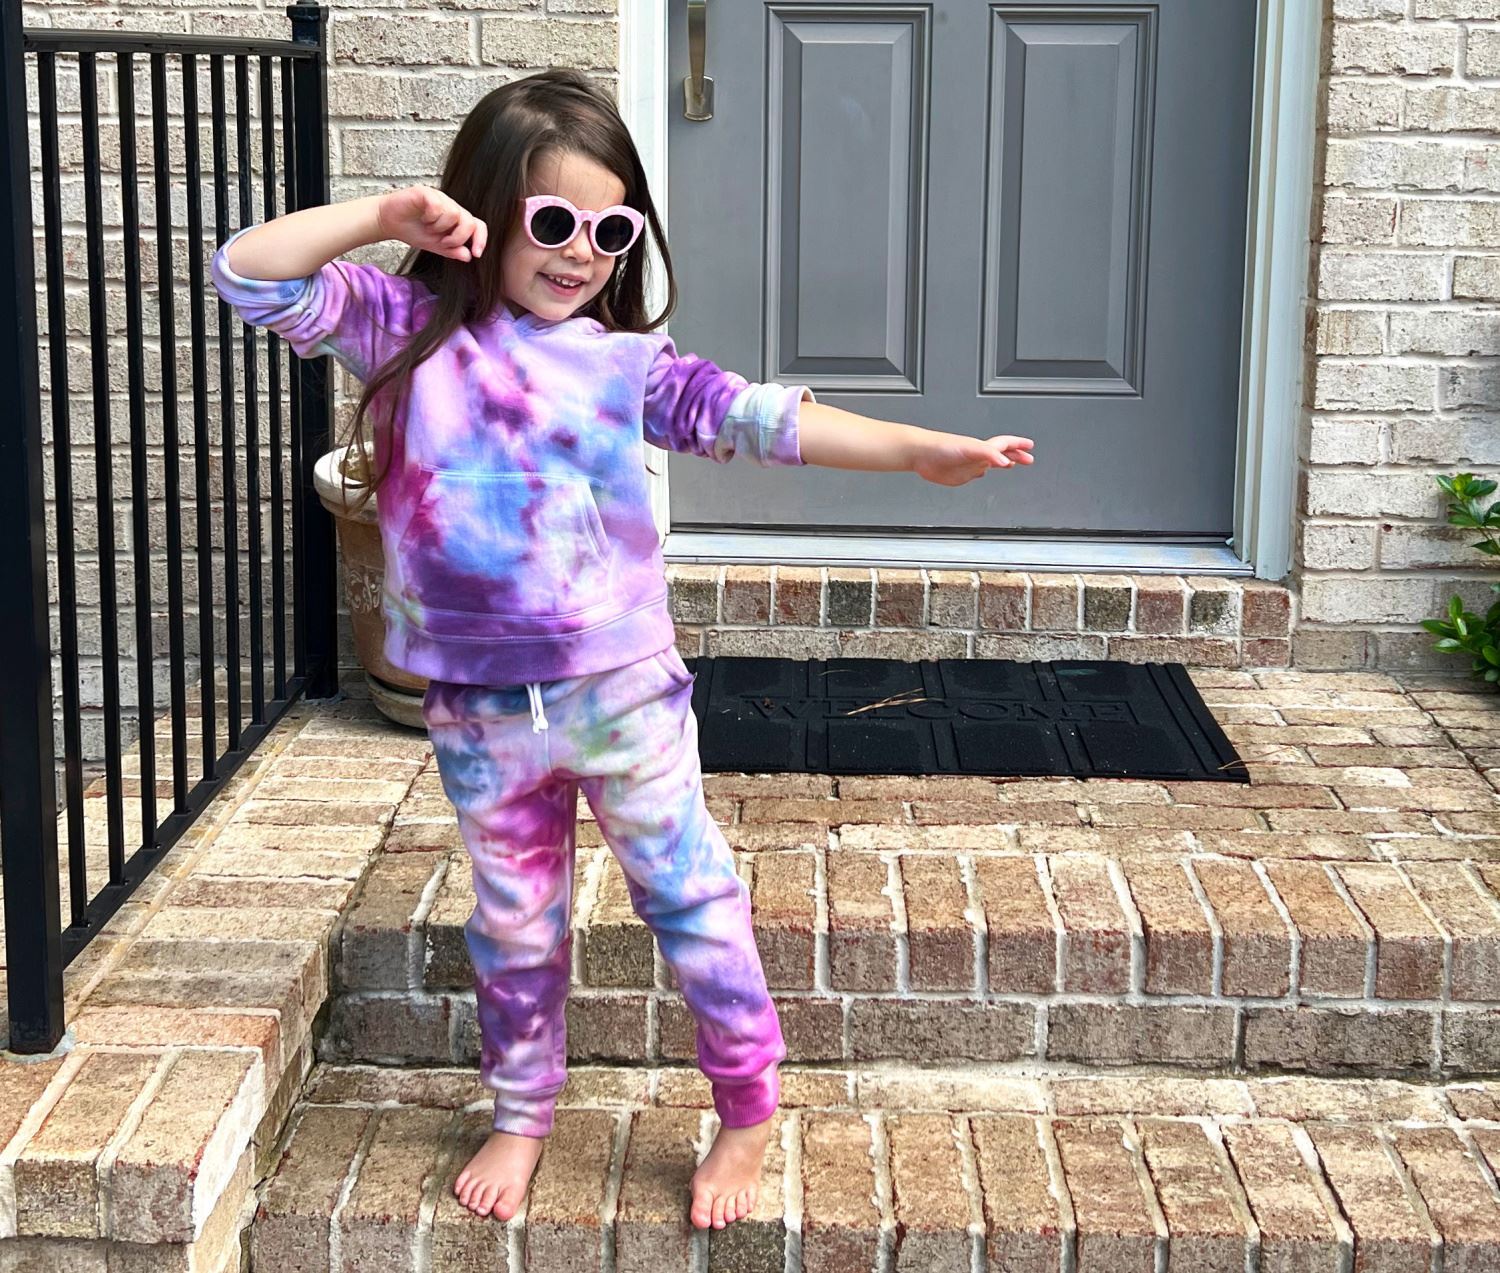
How to Tie Dye Hoodies and Sweatpants
Hoodies and sweatpants are great for tie dye! We recommend sticking with organic patterns such as the crumple technique or ice dye technique for thicker fabrics. It’s easy to learn how to tie dye sweatsuits for comfy tie-dye fashion that you can wear year-round!
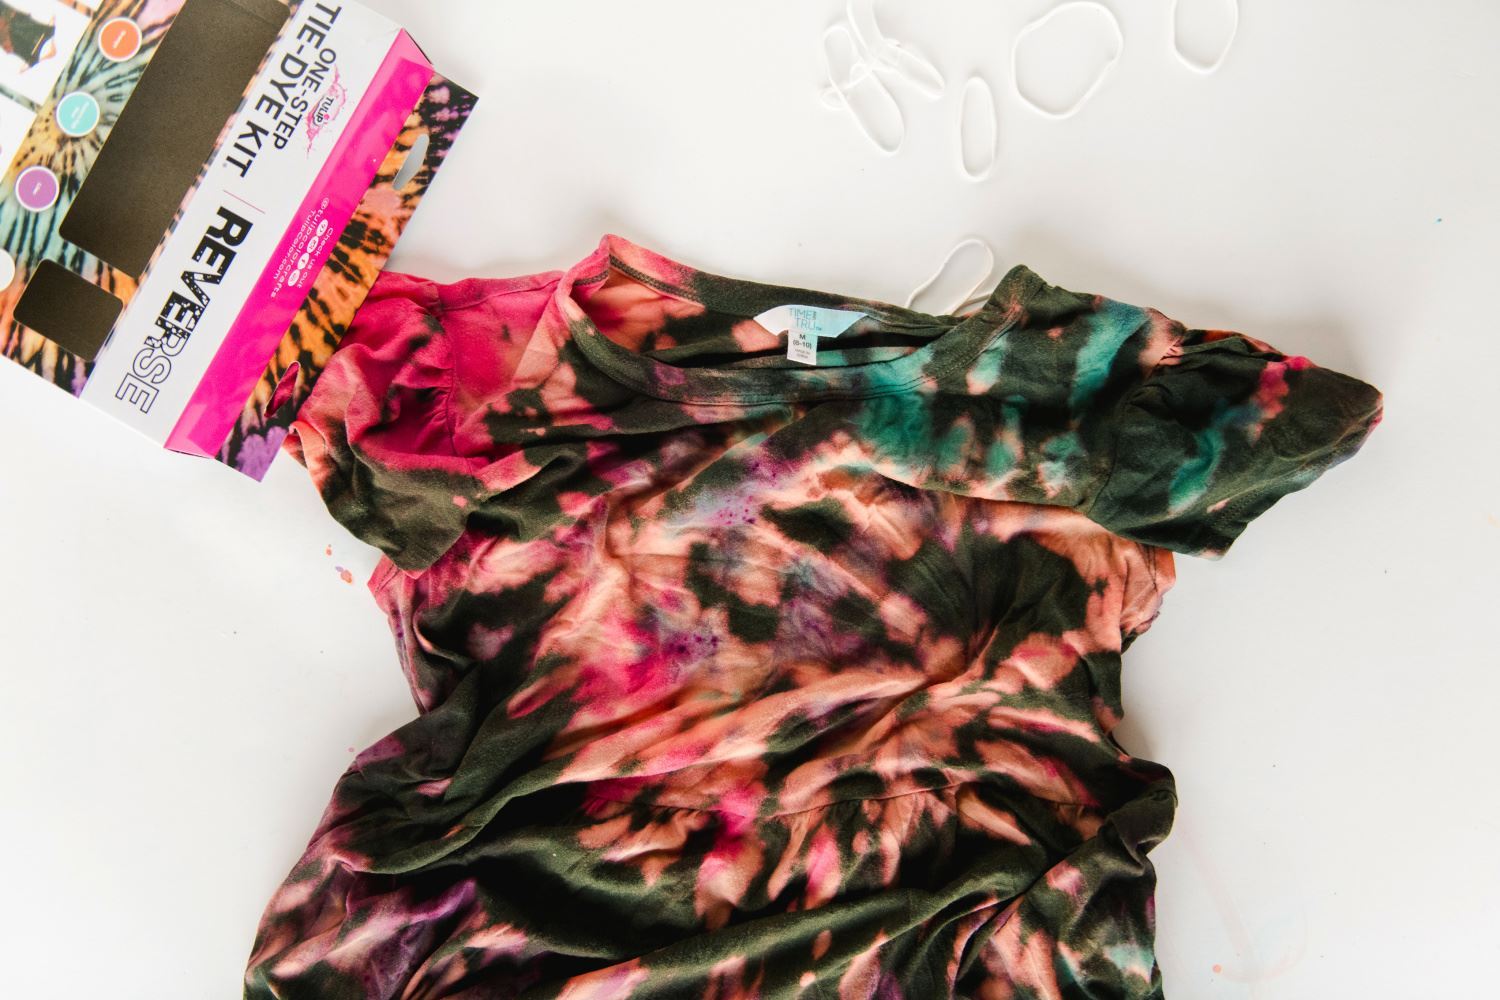
How to Tie Dye with Bleach
Take the traditional look of tie dye to a whole new level by removing color instead of adding it! Find out how to tie dye on dark fabrics with bleach with this step-by-step tutorial— you’ll learn everything you need to know about bleach tie-dye.
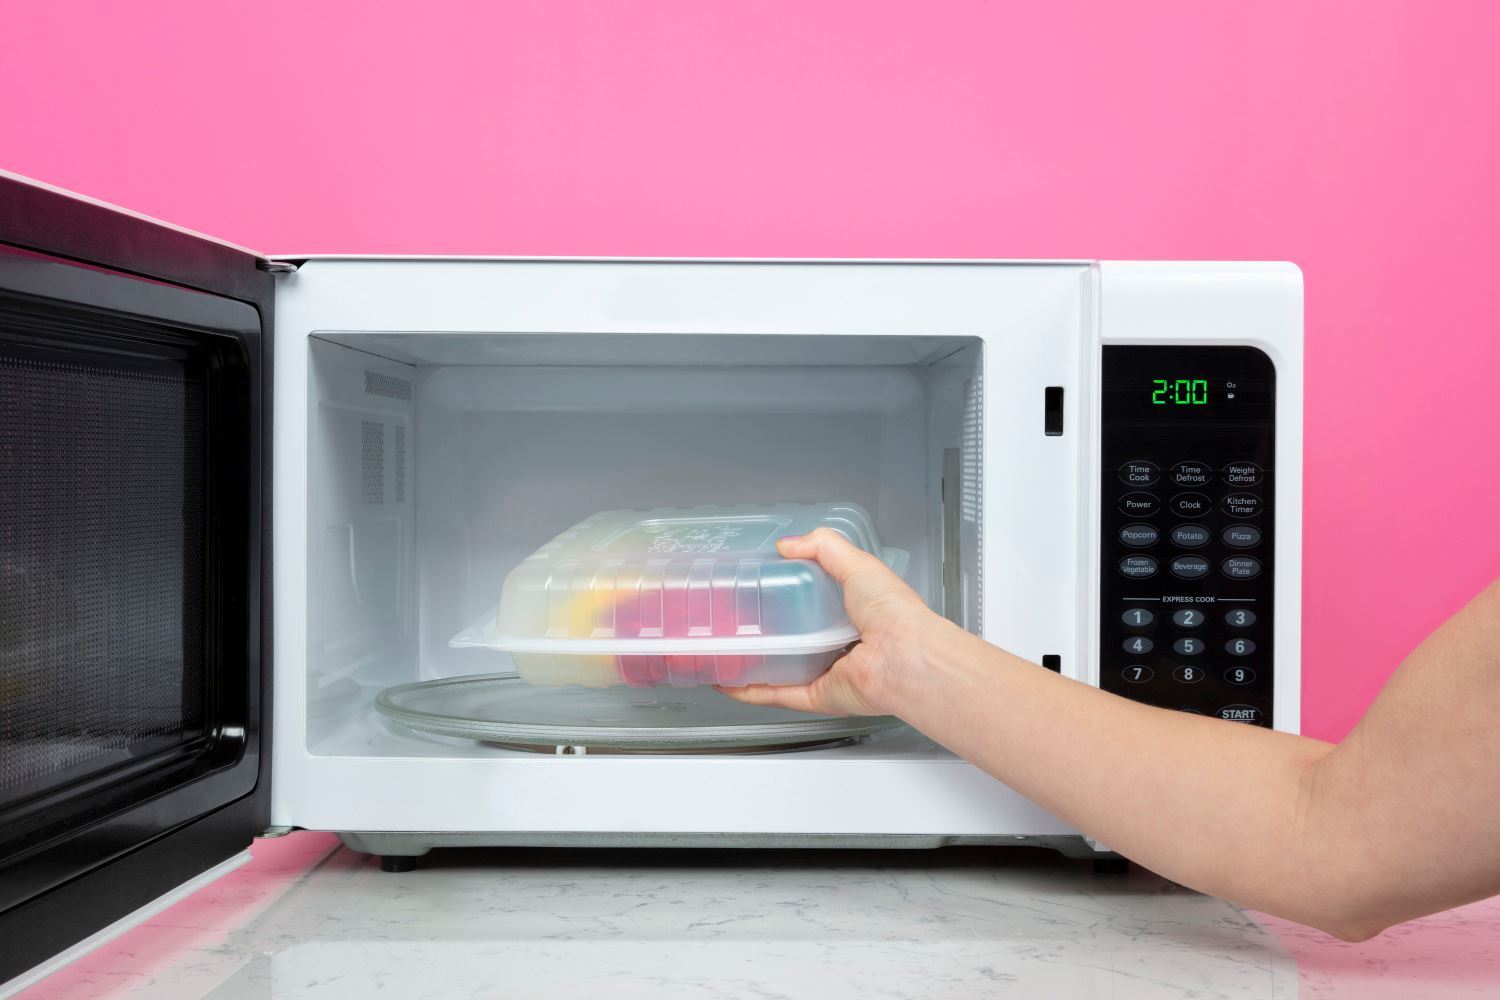
How to Tie Dye in Minutes
Looking to shorten set times on your cotton tie-dye projects? Try our Two-Minute Tie-Dye Kits! Tulip Two-Minute Tie-Dye Containers speed up the dye set process from 8 hours to 2 minutes with the same vibrant results. This patent-pending process features specially made reusable microwaveable containers designed specifically for use with any Tulip One-Step Tie-Dye Kit to make tie-dye magic in just minutes!
Need a little more inspiration for your next tie-dye project? Check out these helpful links!
Pin This Project

