Tie dye has long been a part of music scene style. Even if you aren’t hitting up any shows this summer, you can still dress the part! Here are 10 looks that put a twist on traditional tie dye, and they’ll definitely have you feeling center stage, whether you’re vibing in a crowd or hanging with your crew downtown.
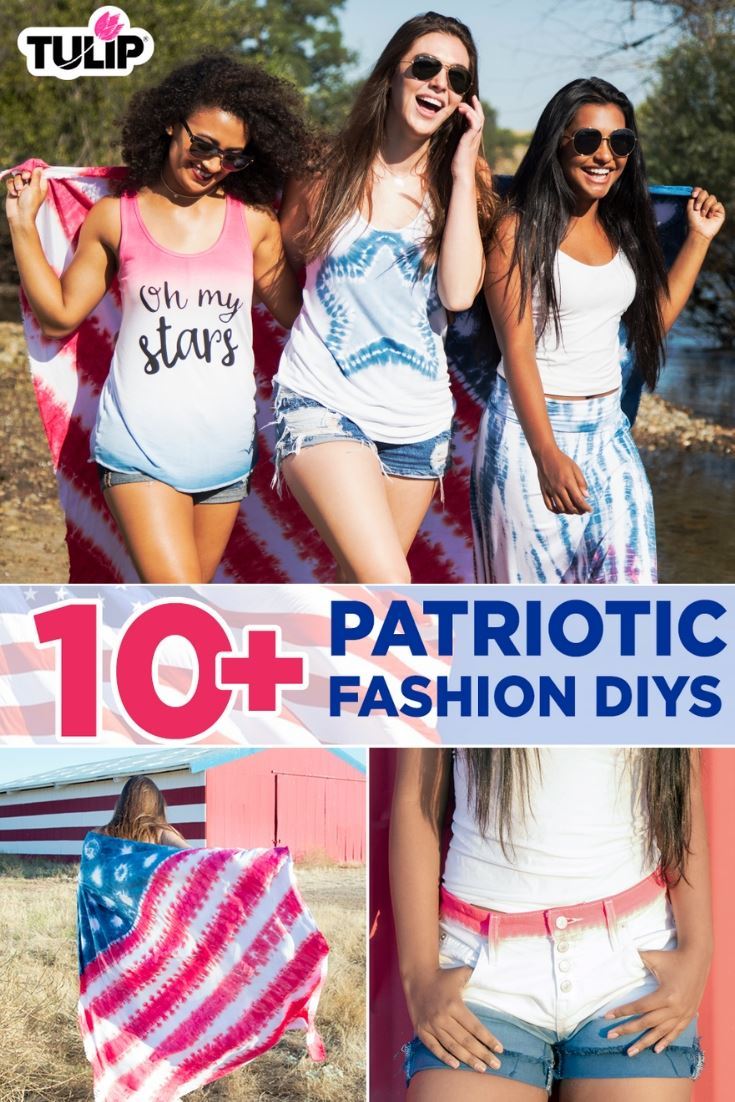
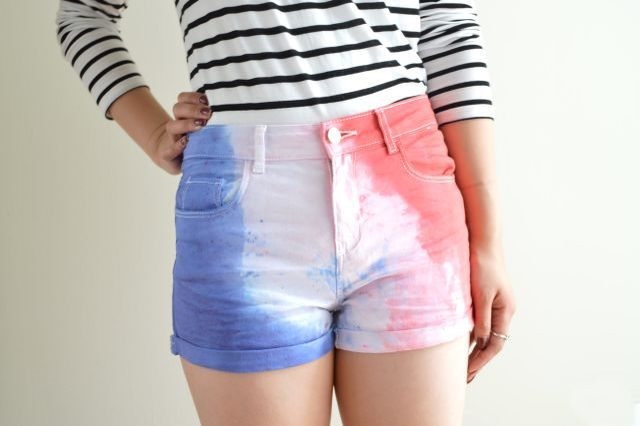
When you think of summer, what comes to mind? For us, it’s a whole lot of Tie-Dye! We know your summer will be filled with BBQs, fireworks and fun! So why not make sure you look great while doing it? We’ve rounded up our favorite patriotic looks, to make sure you’re looking right during summer.
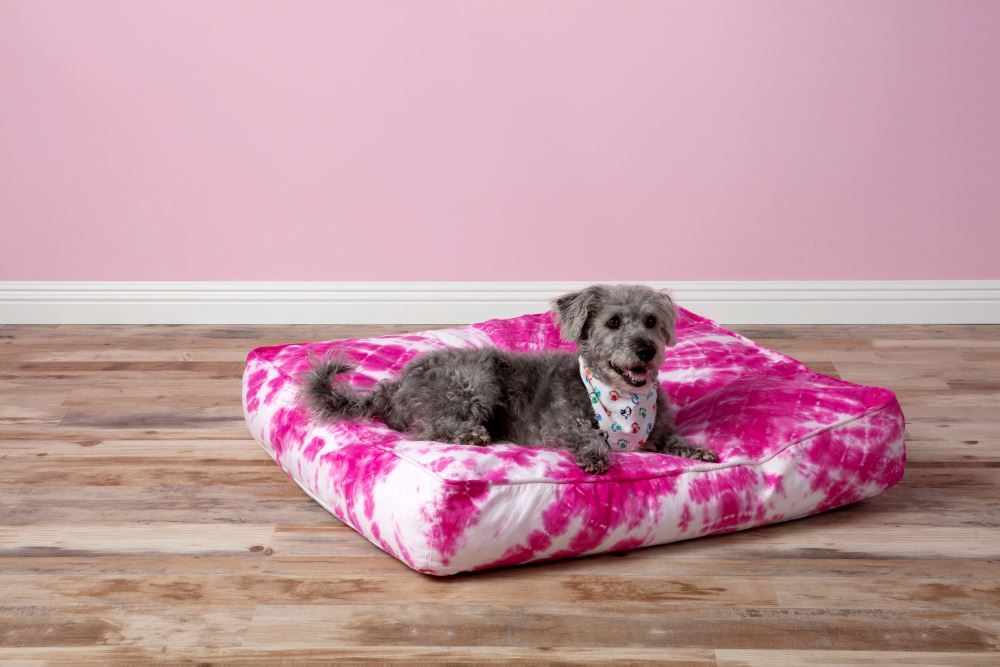
It's probably pretty obvious that we're big fans of all things tie dye, so it shouldn't come as a surprise that we think our furry friends should be able to enjoy it too! We decided to try our hand at tie dyeing a dog bed (because how cute will a cushy, colorful tie-dye bed look in any room in the house?!), but you can also tie dye pet shirts, scarves and other accessories as long as they're cotton. Think it's hard to tie dye a pet bed? Spoiler alert: it's actually super easy with our One-Step Tie Dye! Skip the buckets and the stress and create a colorful tie-dye pet bed in no time. We'll show you how!
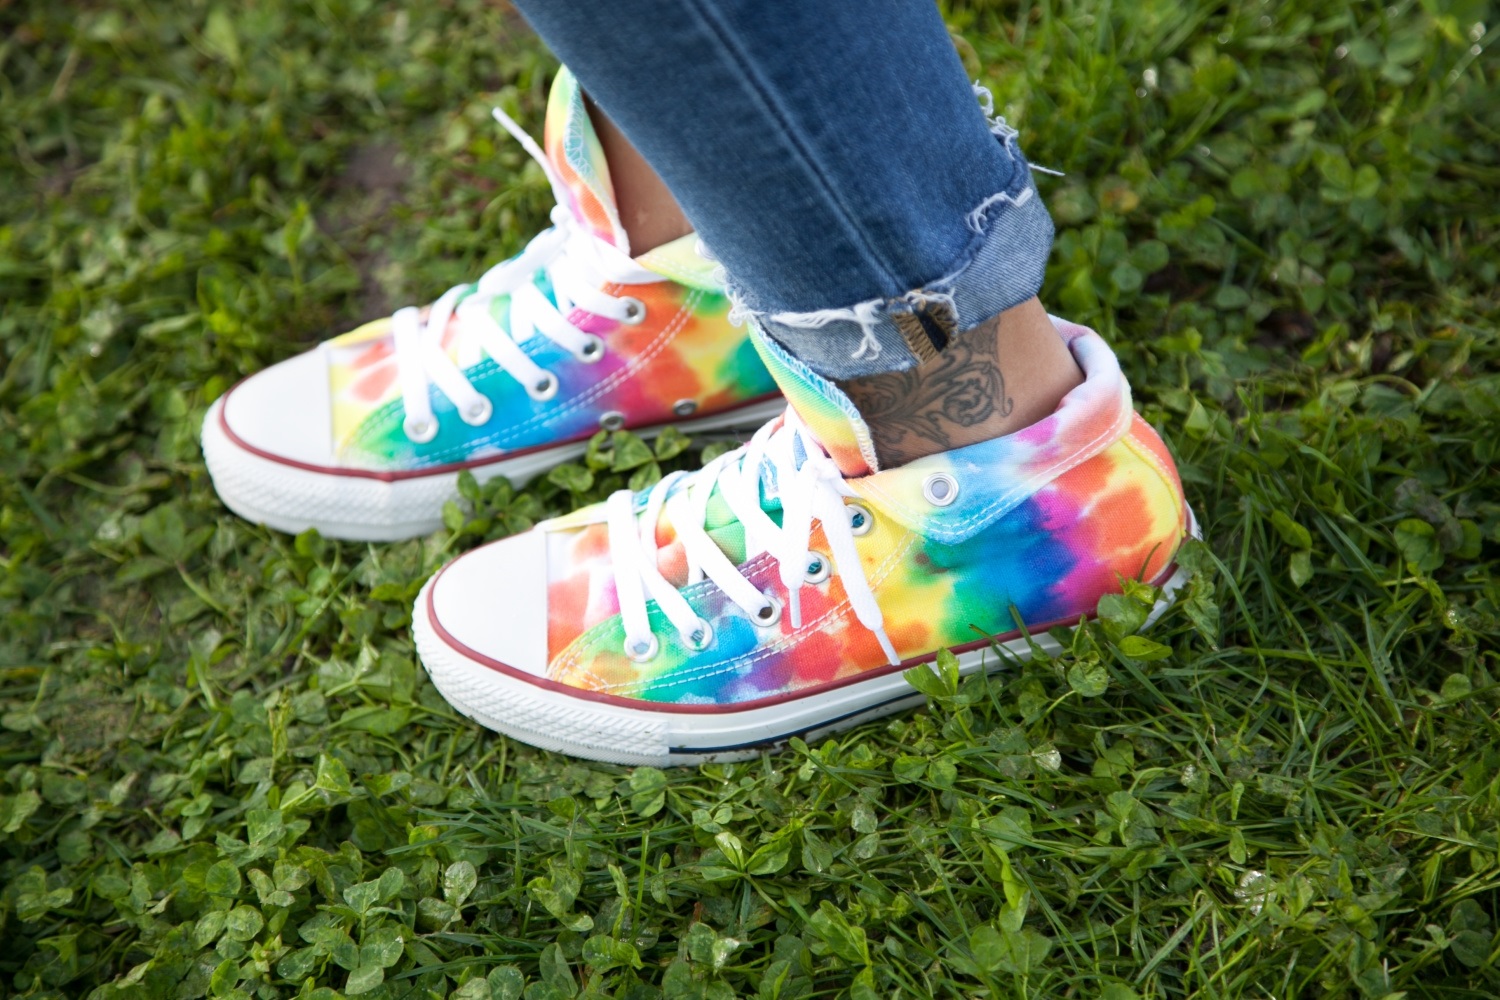
Tie-dye season is here and nothing is off limits! That’s right we’re dyeing everything, including shoes! Summertime is full of fun, so your clothes should be too! We’ve rounded up some of our favorite tie-dye shoes, and we know you’ll love them too.
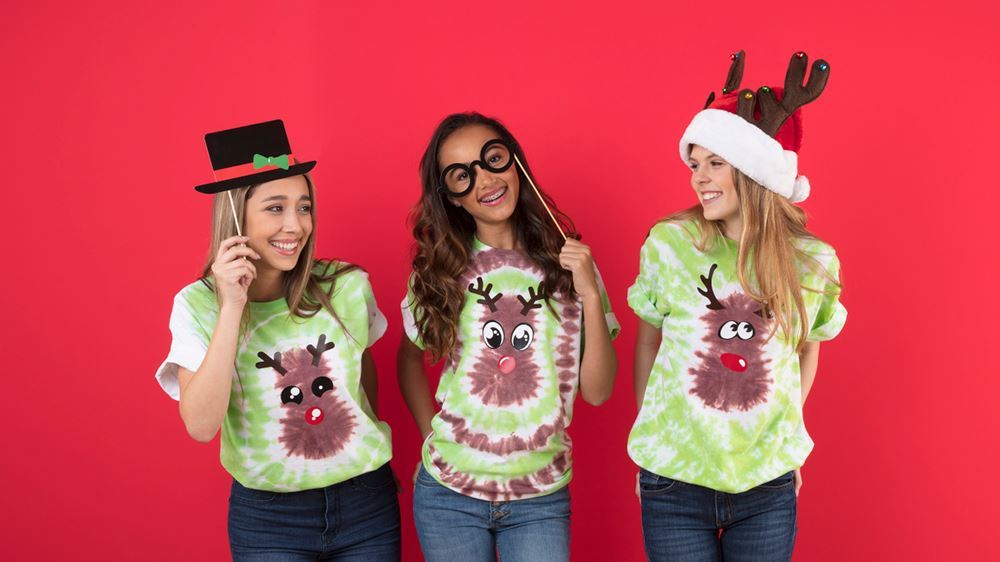
"Sleigh" all day in a reindeer tie-dye T-shirt (or hoodie) that will have Santa and all of his elves trading in their furry coats for some tricked out tie dye! Perfect for ugly Christmas sweater parties or just a fun holiday wearable, this reindeer tie-dye technique is super easy to create with Tulip Tie Dye - so grab your crew and read on for the tutorial.
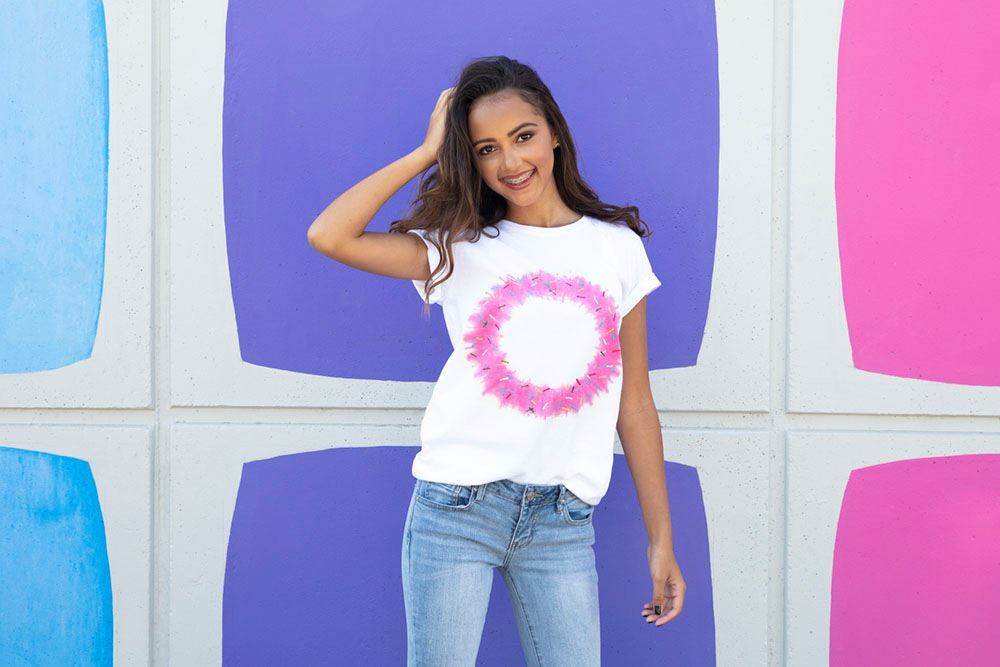
The next best thing to eating a donut is wearing one! Not literally, of course, but a donut tie-dye T-shirt is just about as fun as the real deal. Read on to see how easy it is to create your very own sweet tee complete with sprinkles on top.
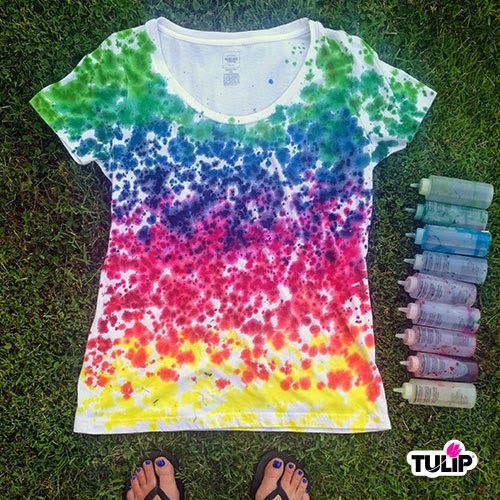
Tie dye season is upon us and here at Tie Dye Your Summer we are bursting at the seams with tie dye ideas using our Tulip One-Step Tie-Dyes! We just love the look of dripped dye and wanted to combine it with the love of all things RAINBOW! This tee is especially perfect if you have leftover dyes from previous tie-dye projects that you want to use up. It's so the perfect stash buster project to use up all that dye! Let us show you just how easy it is!
What you need:– Tulip One-Step Tie-Dye kit - Super Big (this kit contained the rainbow of colors I was going for)– Water pitcher– 100% cotton shirt
– Plastic surface cover or tablecloth or just tie dyed on the grass, cause there's really no harm in it and it's pretty much mess free!– Optional: Plastic bag or freezer paper to put inside shirt so it won't bleed to the back side NOTE: One of the important aspects of this process is that you DON'T wet your shirt before you begin. Most tie dye projects work best if you wet the shirt and can absorb the dye, but not this one.1) The easiest first step in all of crafting history...lay the dry shirt flat on the ground.
2) Next, fill up your bottles of dye or use your leftovers (day-old dye works great for this). Now start slowly dripping your color from the bottom in small and medium drops. You'll get a hand for it as you go.3) Do the next color in color order. In this example, we went in the following order up the shirt: Yellow, Orange, Fuchsia, Purple, Violet, Blue, Turquoise, Green, and Lime. You can use any color combo you want and in your own order.4) Cover in plastic, let it set for 6-8 hours, then rinse it out until the water runs clear. Put it in the washer on a light load with a small amount of soap and dry!The final result is so cool!!! Now, the dye might drip to the back and that's okay...it's tie dye after all. OK, technically, it's not "tie" dye, but tie dye sounds so much more cooler than just dye.
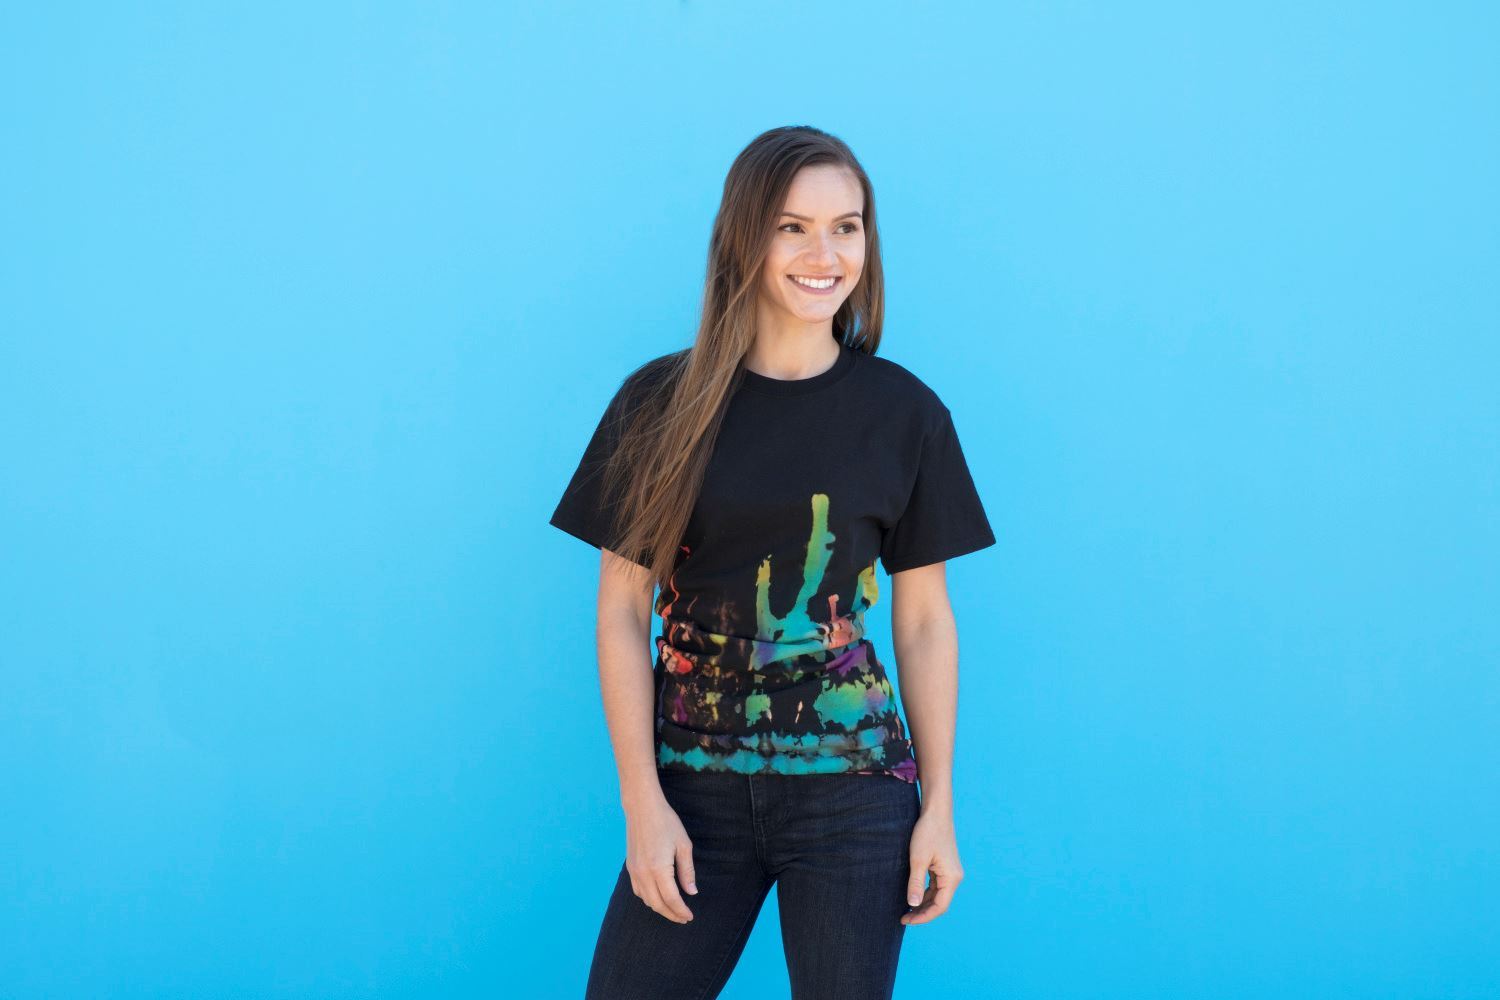
Here's a real twist on tie-dyeing...the reverse method! All you need to reverse tie-dye is water and liquid bleach. Instead of applying dyes to a plain white fabric, you start with a solid color and alter the existing color. You take away the manufacturers' color and then add your own for a look that's out of this world!
- Wash and dry black T-shirt.
- Tie shirt in desired tie technique.
- Mix bleach solution- 1 part bleach to 3 parts water and pour into squeeze bottle.
- Apply bleach solution to your shirt as you would dye. Keep an eye on your shirt and when it reaches desired lightness, remove bands and rinse under running water. Shirt may still be slightly brown in bleached areas. Should only take 30- 40 mins, maybe less. Don’t leave bleach on too long or it will burn holes in your garment.
- Wash shirt and leave damp. Lay out flat on covered work surface.
- Mix desired dye colors and apply to bleached areas of shirt, making sure dye saturates to back of shirt.
- Allow to set 6-8 hours overnight then wash and dry shirt as fabric requires.
What You Need:
Tulip® One-Step Tie-Dye Kit Super Big
Black cotton T-shirt
Bleach
Plastic squeeze bottle
Disposable plastic table cover
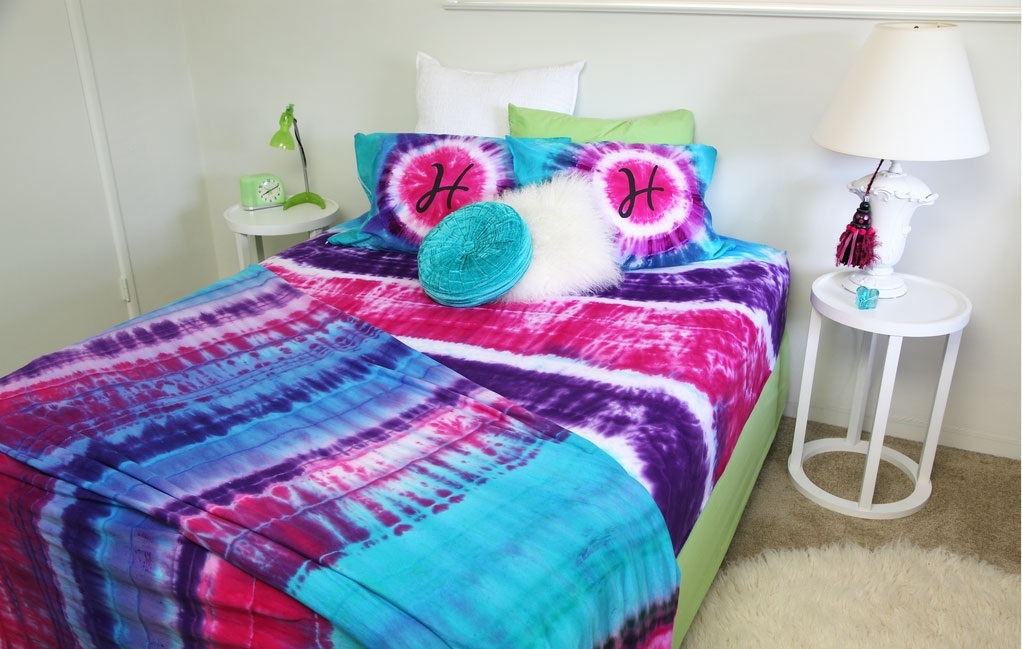
Have you ever thought about tie-dying your sheets? Probably not your first thought, but you could totally do it! Just because they stay on your bed and aren’t on display for everyone, doesn’t mean they have to be simple and boring. Tulip One-Step Tie-Dye makes it super easy to be creative and add color to almost everything!
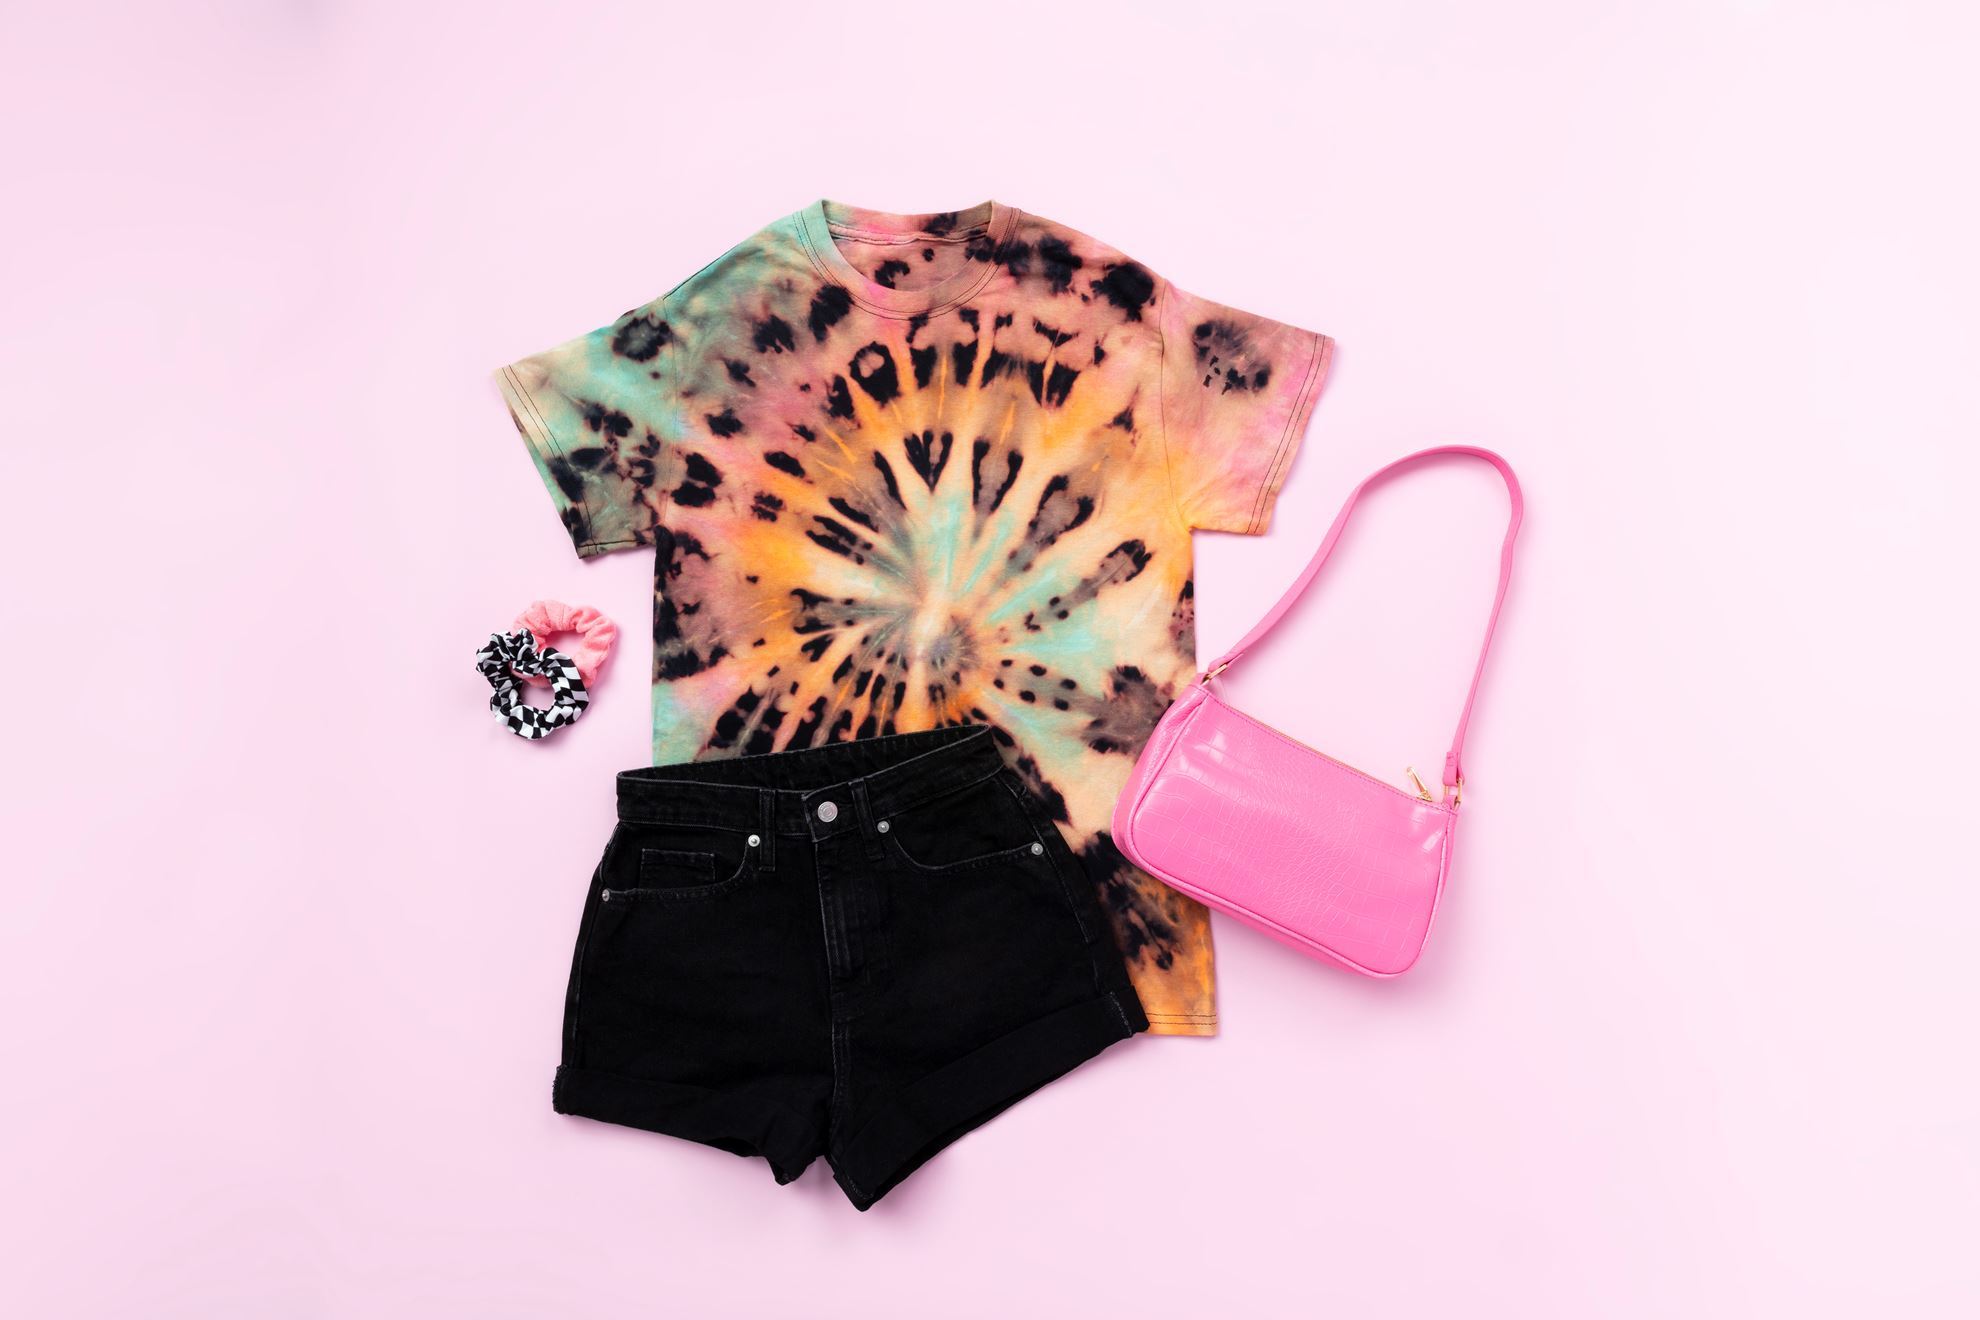
Summer time means two things; shorts and tie-dye! In case you didn’t know, tie-dye isn’t just for shirts. You can dye pretty much anything! So since the weather is getting warmer, why not add some color to your favorite pair of shorts? Here are 3 ways you can use Tulip One-Step Tie-Dye to give your shorts a fun spin.


 if (Model.AutoCompleteEnabled) { }