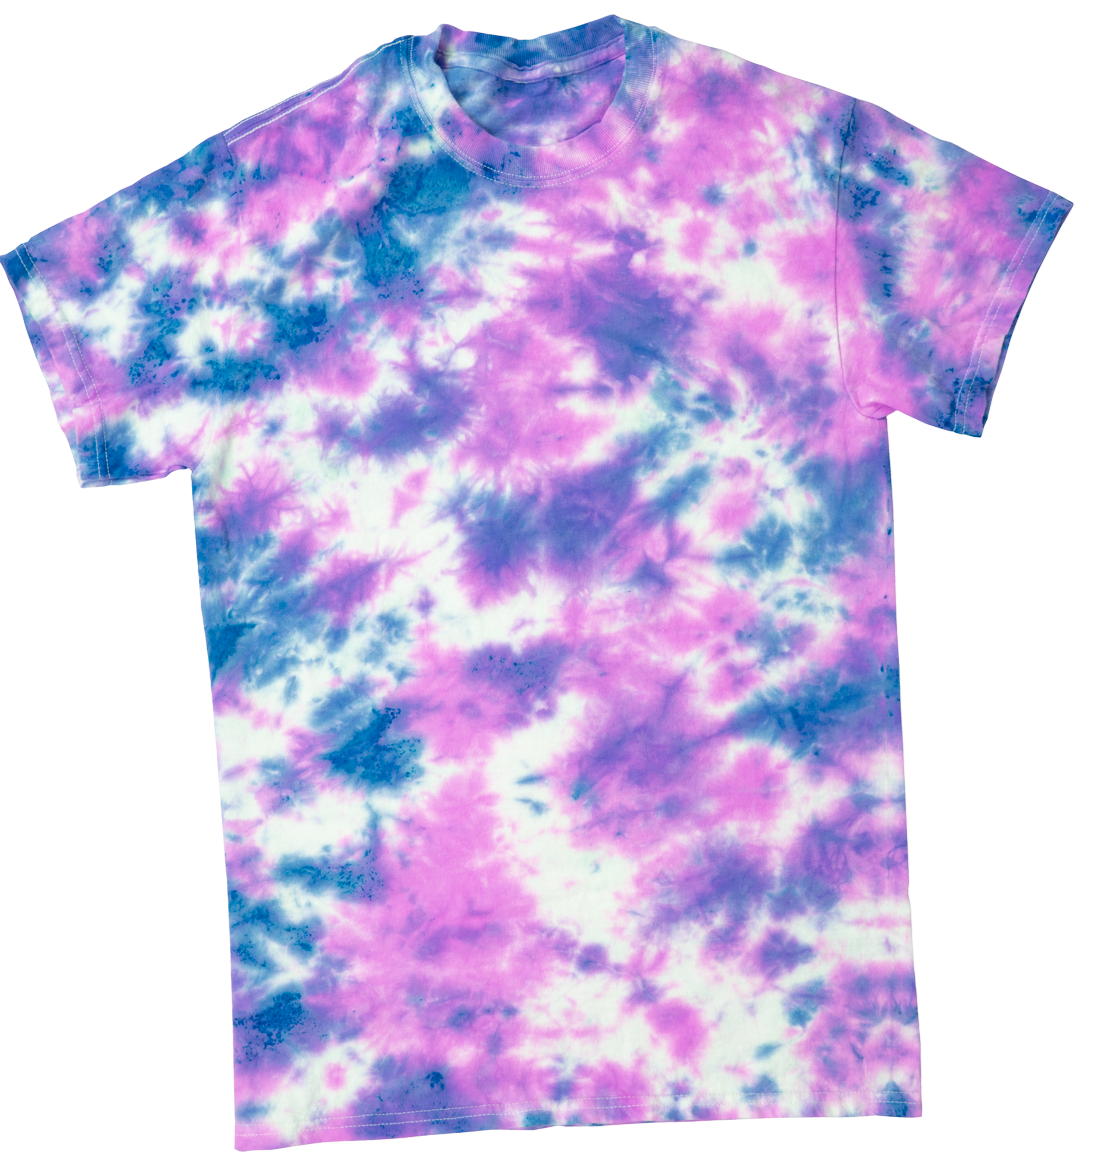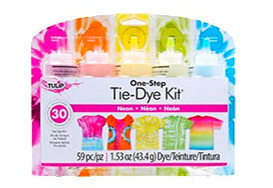
Step 1:
Wash your shirt (or other fabric item) and leave damp. You don't have to presoak your fabric in soda ash before dyeing because Tulip One-Step Tie Dye contains soda ash in the formula! Lay your damp fabric out flat on your covered work surface and decide which tie-dye technique you would like to create before adding your dyes. With the ice dye technique, the crumple tie-dye technique (shown) works great, but you can experiement with other techniques if you want. There's no wrong way to tie dye!

Step 2:
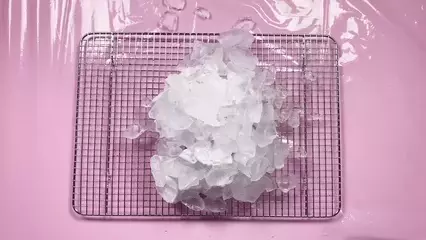
Place your damp shirt on a wire rack (over a bucket is recommended to catch the dye as it melts). Scrunch your shirt into a tight mound and use rubber bands to hold the fabric tightly in place. Cover your entire project with ice.
Step 3:
For the ice tie-dye technique, you don’t need to mix your One-Step Dyes with water before dyeing your project. The ice is going to do the work! Remove the nozzles from your dye bottles and sprinkle the powder randomly over the ice. Get creative with it – there’s no dye placement strategy here! You can add as many dye colors as you like.

Step 4:
Once you’ve added your dye powders, let the ice completely melt. As the ice melts, it will transfer the dyes to the shirt underneath for cool watercolor patterns. Depending on where you live and the weather temperature, it could take a while for the ice to melt or not much time at all. If the ice melts quickly, you can then place your project into a sealable bag and allow the dye to set for 6 to 8 hours. If it takes about this long for the ice to melt, it’s time to skip the bag and move on to the next tie-dye step!
Step 5:
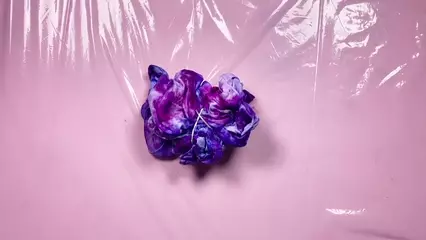
Once your ice has melted, remove the rubber bands and check out your cool ice crumple tie dye! Rinse, wash and dry according to your instruction guide.
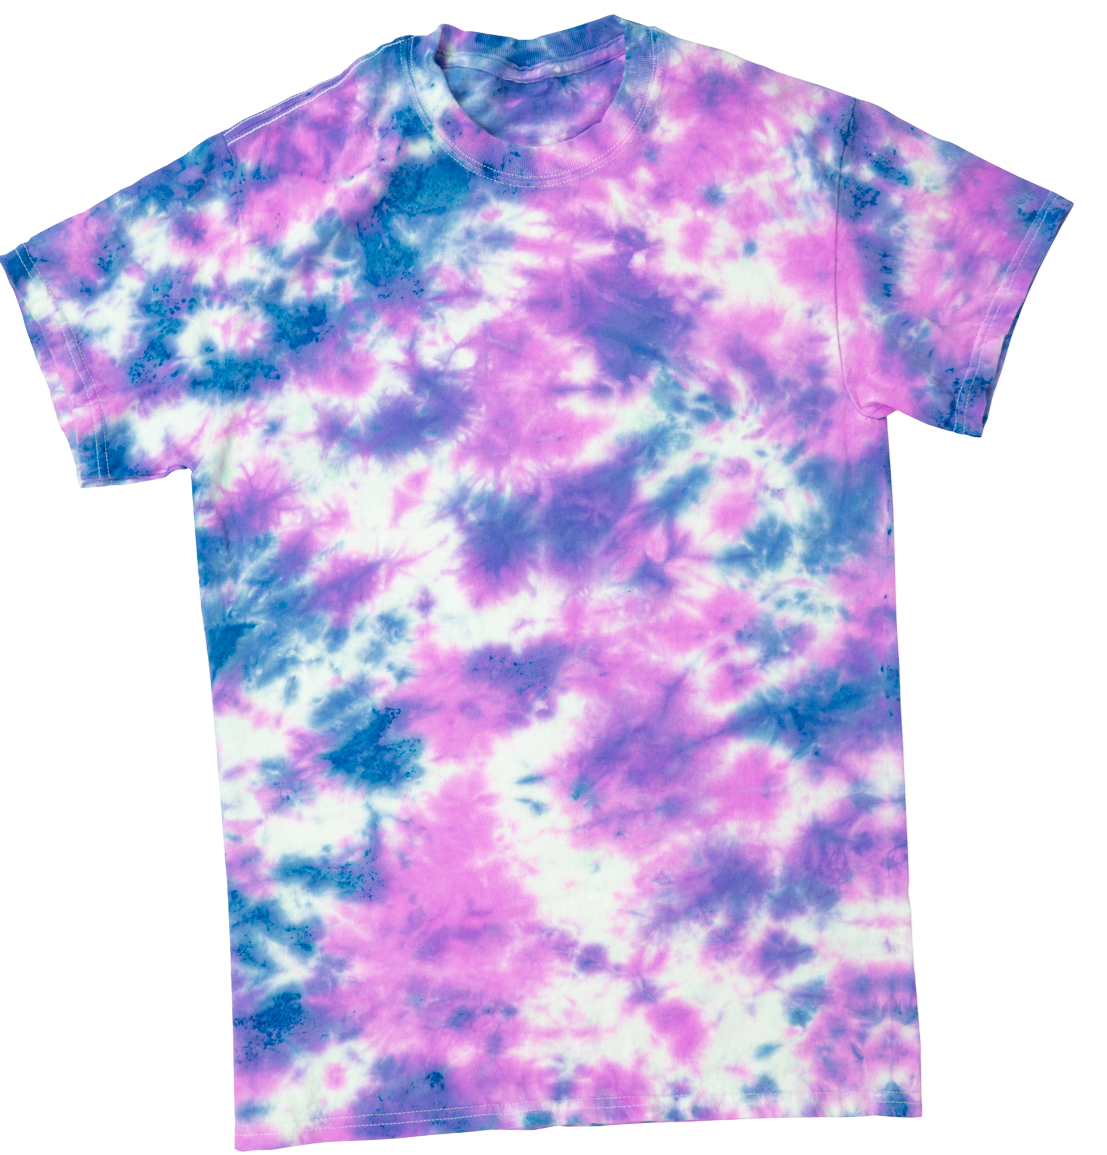
Reveal Ice Dye Shirt
Now that you're a total ice tie-dye expert, check out this post featuring a roundup of some of our favorite ice tie-dye projects that'll add extra cool vibes to your summer fun.
Pin This Project


