Summer Tie-Dye Kimono
Published Date June 04, 2020
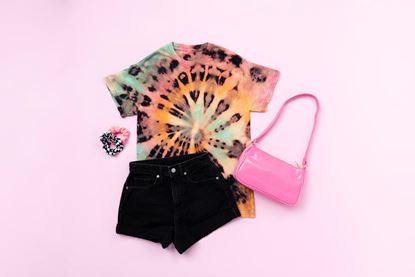
Forget scrolling for hours online trying to find the perfect summer pieces for your wardrobe and make the perfect wardrobe yourself! Holly from Club Crafted shows you how to use Tulip One-Step Tie Dye to create the essential summer staple – a bright tie-dye kimono. We’re obsessed and plan on wearing kimonos all season long because they make any outfit instantly more chic, whether you’re in skirts, shorts, pants, or even a swimsuit! Made by you, for you, a DIY tie-dye summer kimono is authentic and one of a kind – just like you!
What you need:
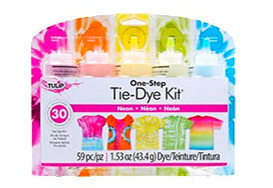
- Tulip One-Step Tie-Dye Kit of choice
- White Kimono (prewashed, made of 100% natural fiber fabric such as cotton, rayon or silk)
- Wire rack
- Rubber bands
- Plastic wrap or large plastic bag
- Protective plastic covering for your work surface
Wash kimono and leave damp
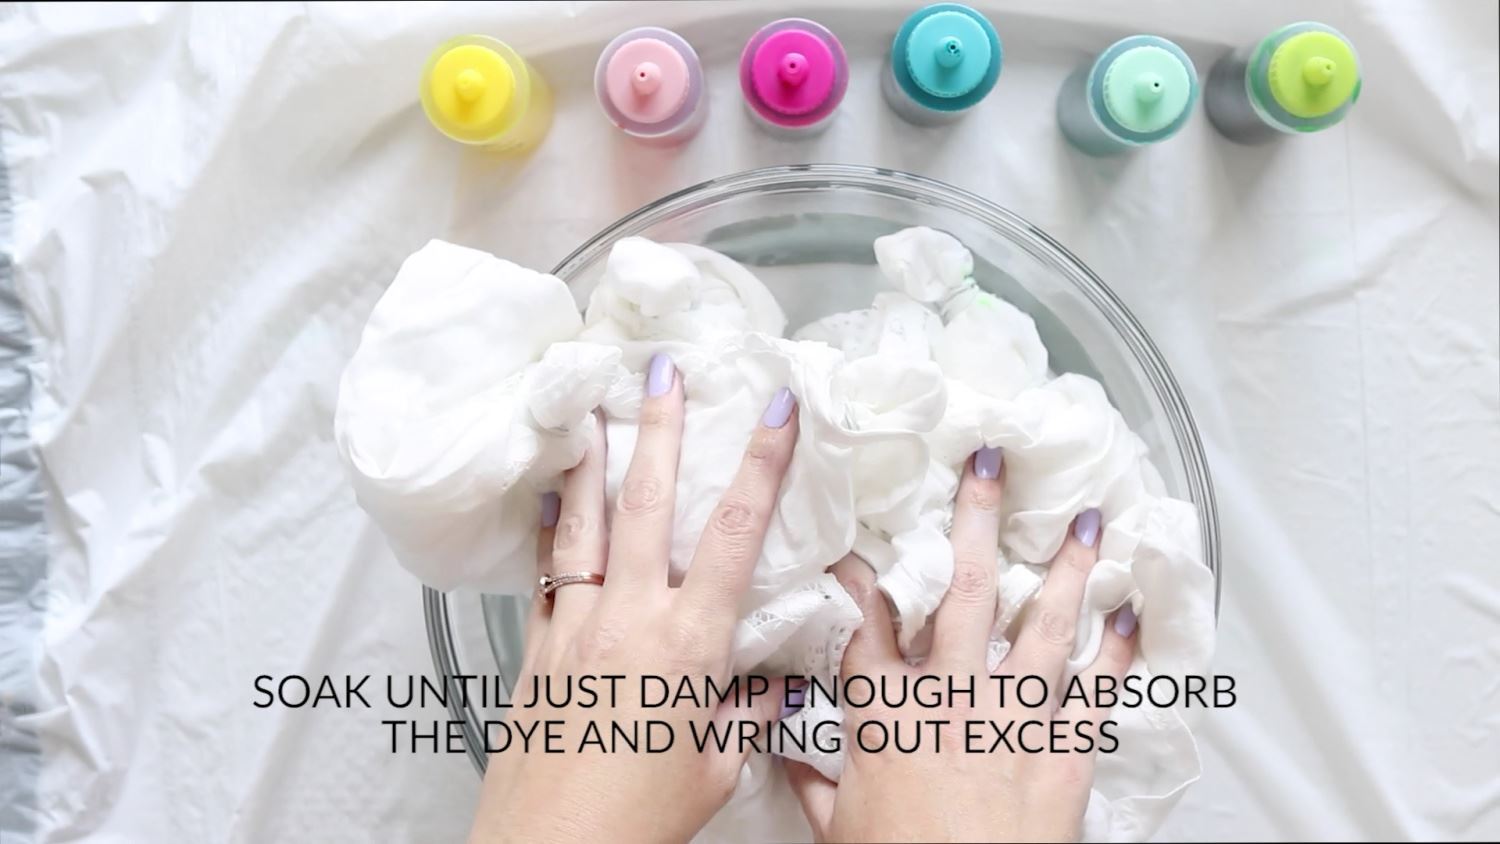
First, wash your kimono and make sure it is completely saturated with water, then wring out the excess water.
Mix dyes according to instructions
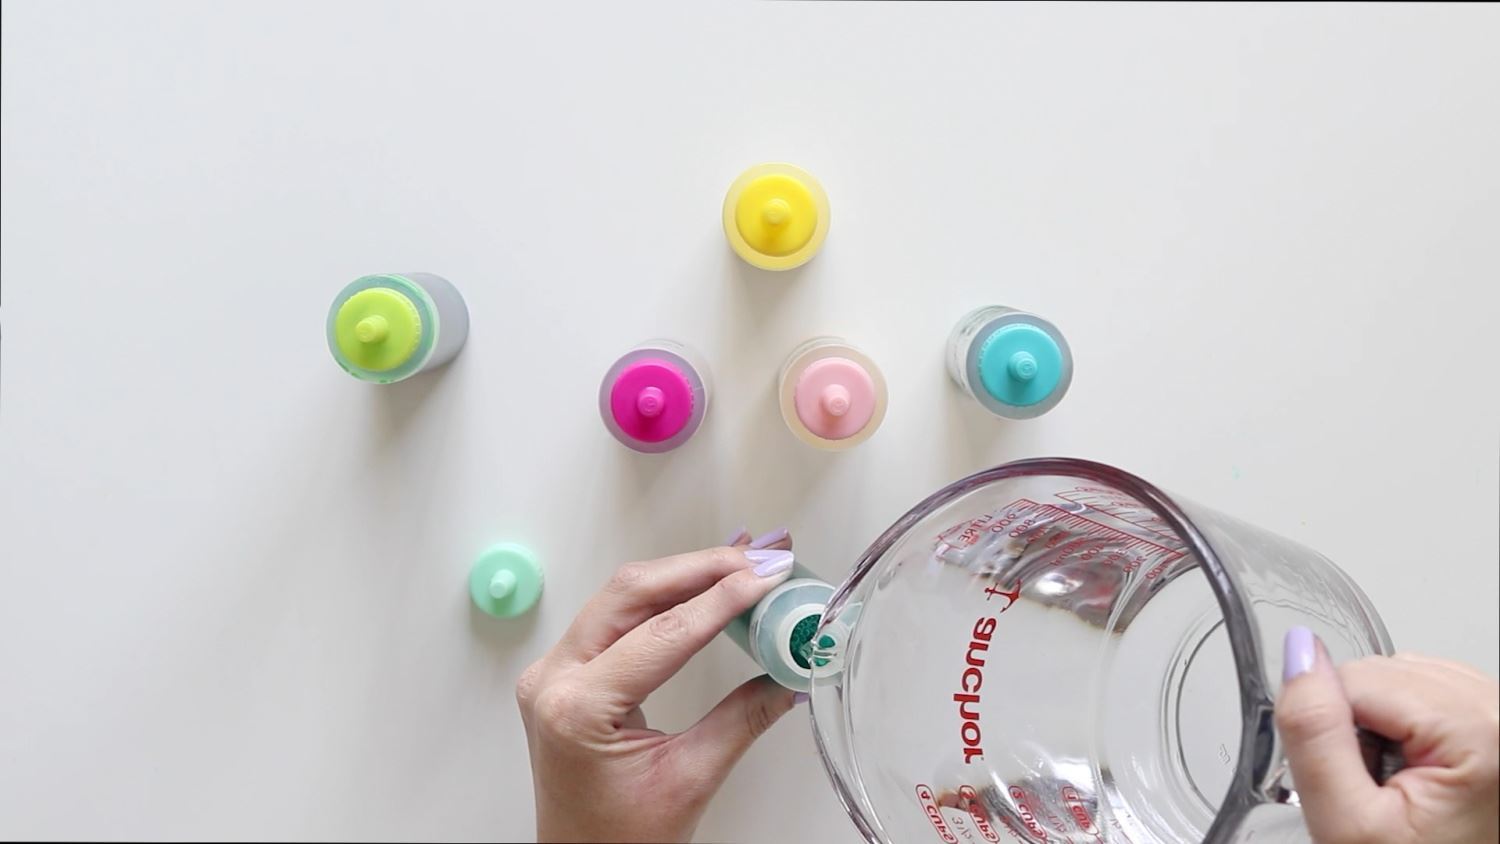
Protect your workspace with a disposable plastic surface cover. Follow the product instructions to properly mix your dyes with water before beginning. Holly used six colors to dye her kimono, but you can use as many or as few colors as you’d like!
Bind kimono with rubber bands following the bullseye technique
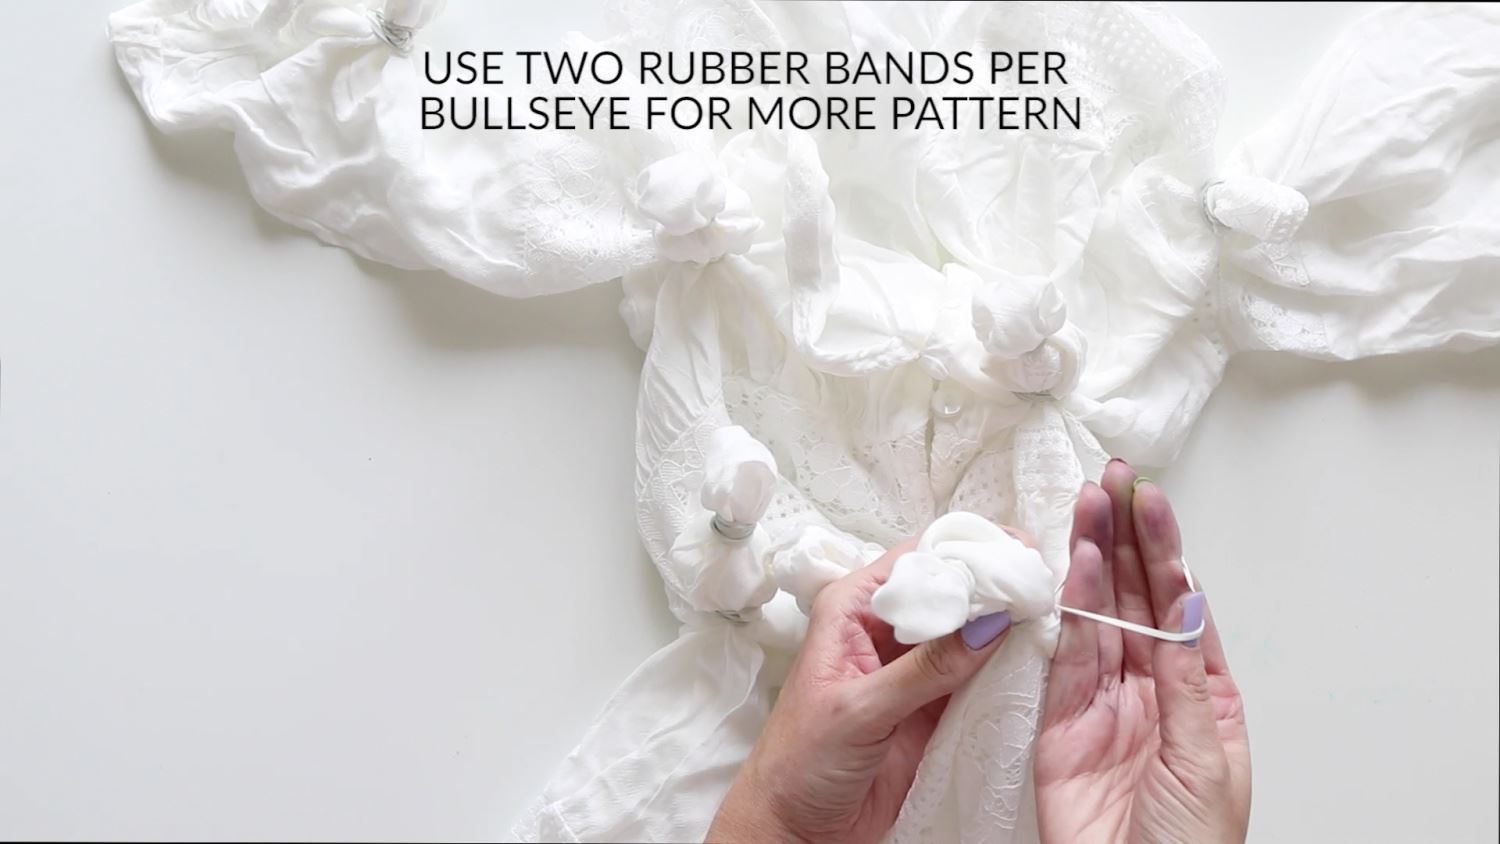
Lay your Kimono flat, front side up, and get your rubber bands ready to create your tie-dye design! You can use any tie-dye technique you’d like for your look, but for this project, Holly used the bullseye tie-dye technique to create small bullseye patterns all over her kimono. To create a similar look, start by pinching the fabric in one spot and pulling it upward about 4 inches. Wrap a rubber band around this section at the base, then wrap another 2 inches above it. Repeat this process all over the kimono where you’d like the bullseye patterns to appear.
Add dye to kimono in desired color patterns
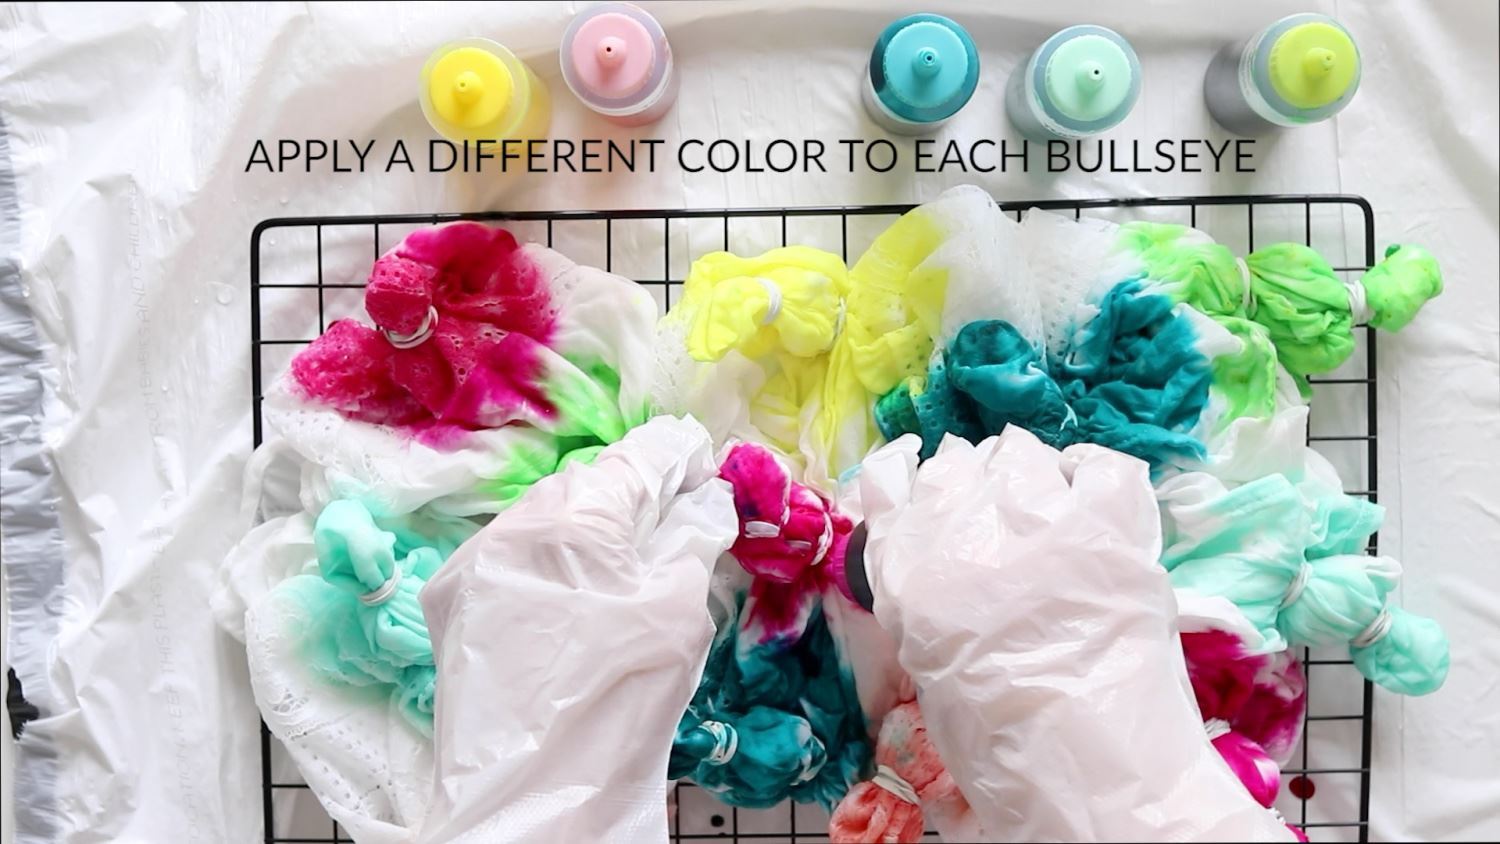
Arrange the damp kimono evenly on top of a wire rack to prevent the dye from pooling underneath the kimono. It’s okay if it gets scrunched up here! Put on the gloves provided in the kit and proceed to add dye to the sectioned-off bullseye shapes where you would like color to appear. You can make each bullseye a different color or several colors by applying a different color between each banded section.
Wrap dyed kimono in plastic while dye sets
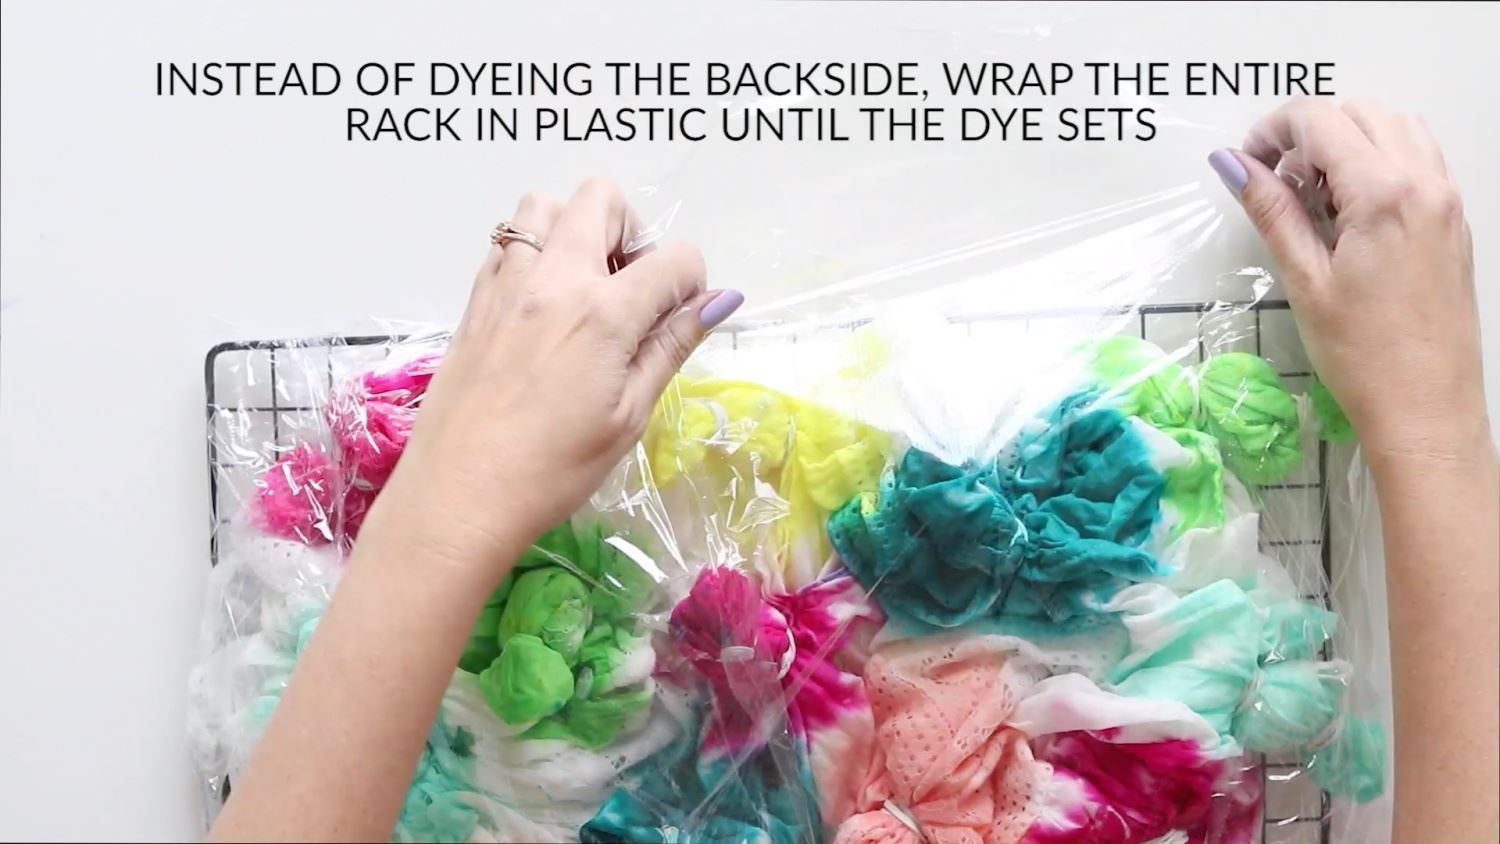
Wrap your entire project in plastic wrap or place it into a large plastic bag and let the color set according to product instructions.
Remove rubber bands to reveal design
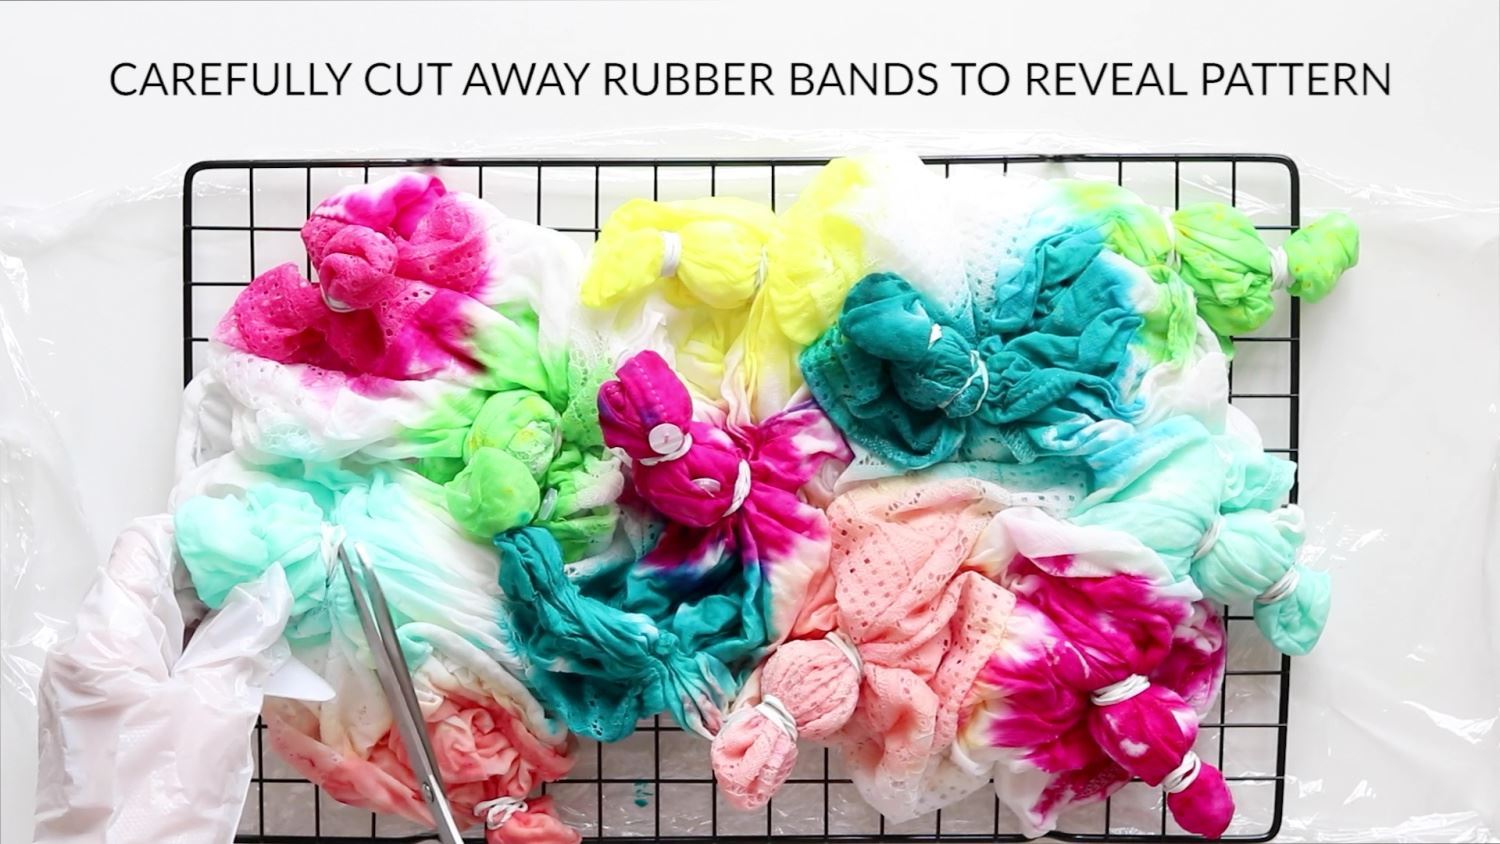
Once the set time is over, carefully remove the kimono from the plastic and cut off the rubber bands to reveal the designs. Be extra careful when cutting off the rubber bands so you don’t accidentally cut the fabric!
Tulip Summer Tie-Dye Kimono
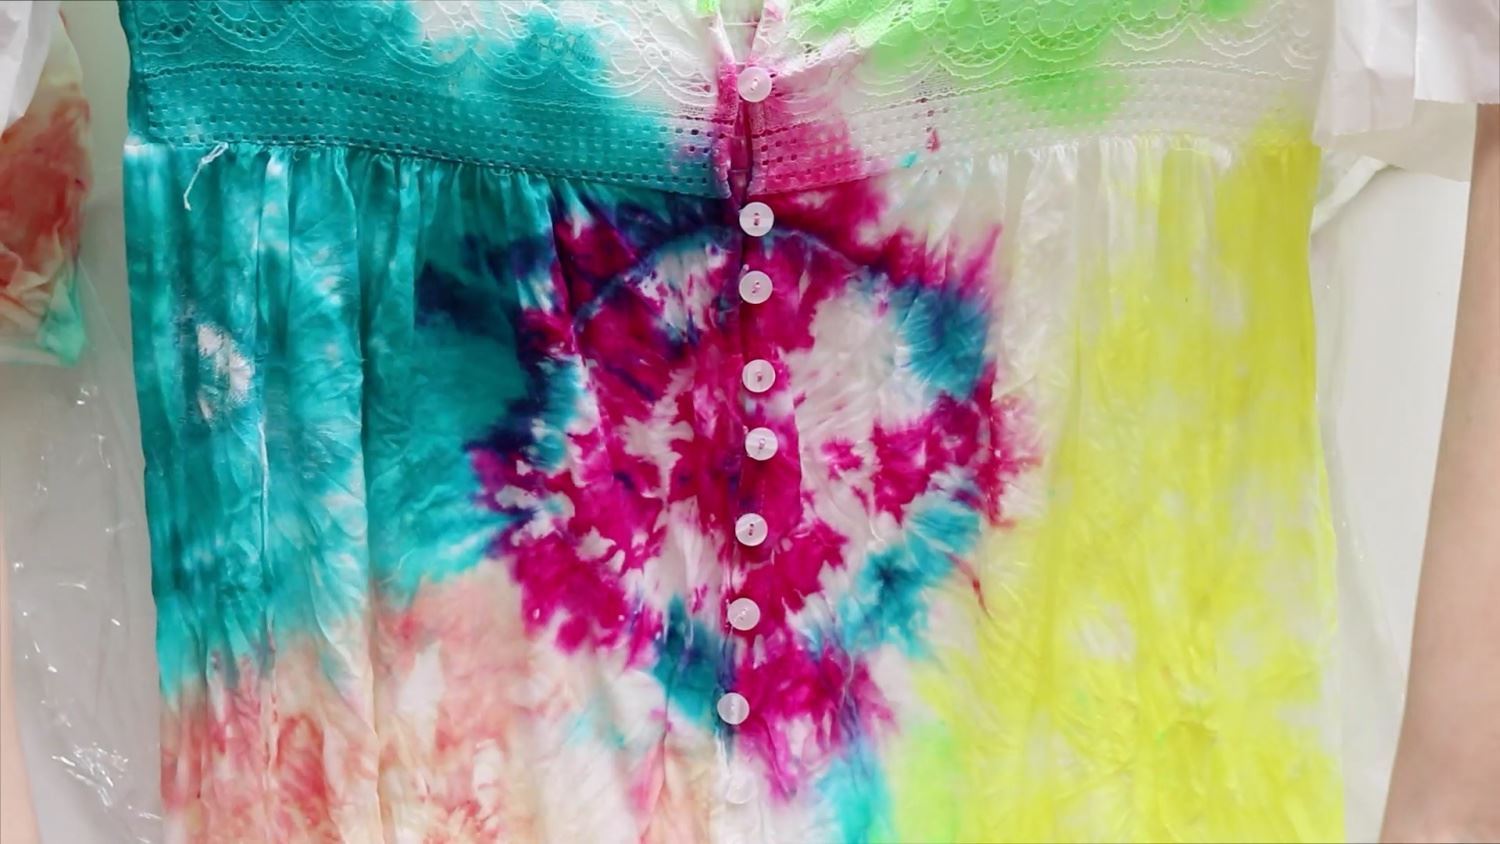
Rinse the kimono under cool water until the water runs clear. Wash and dry according to kit instructions.
Tulip Summer Tie-Dye Kimono
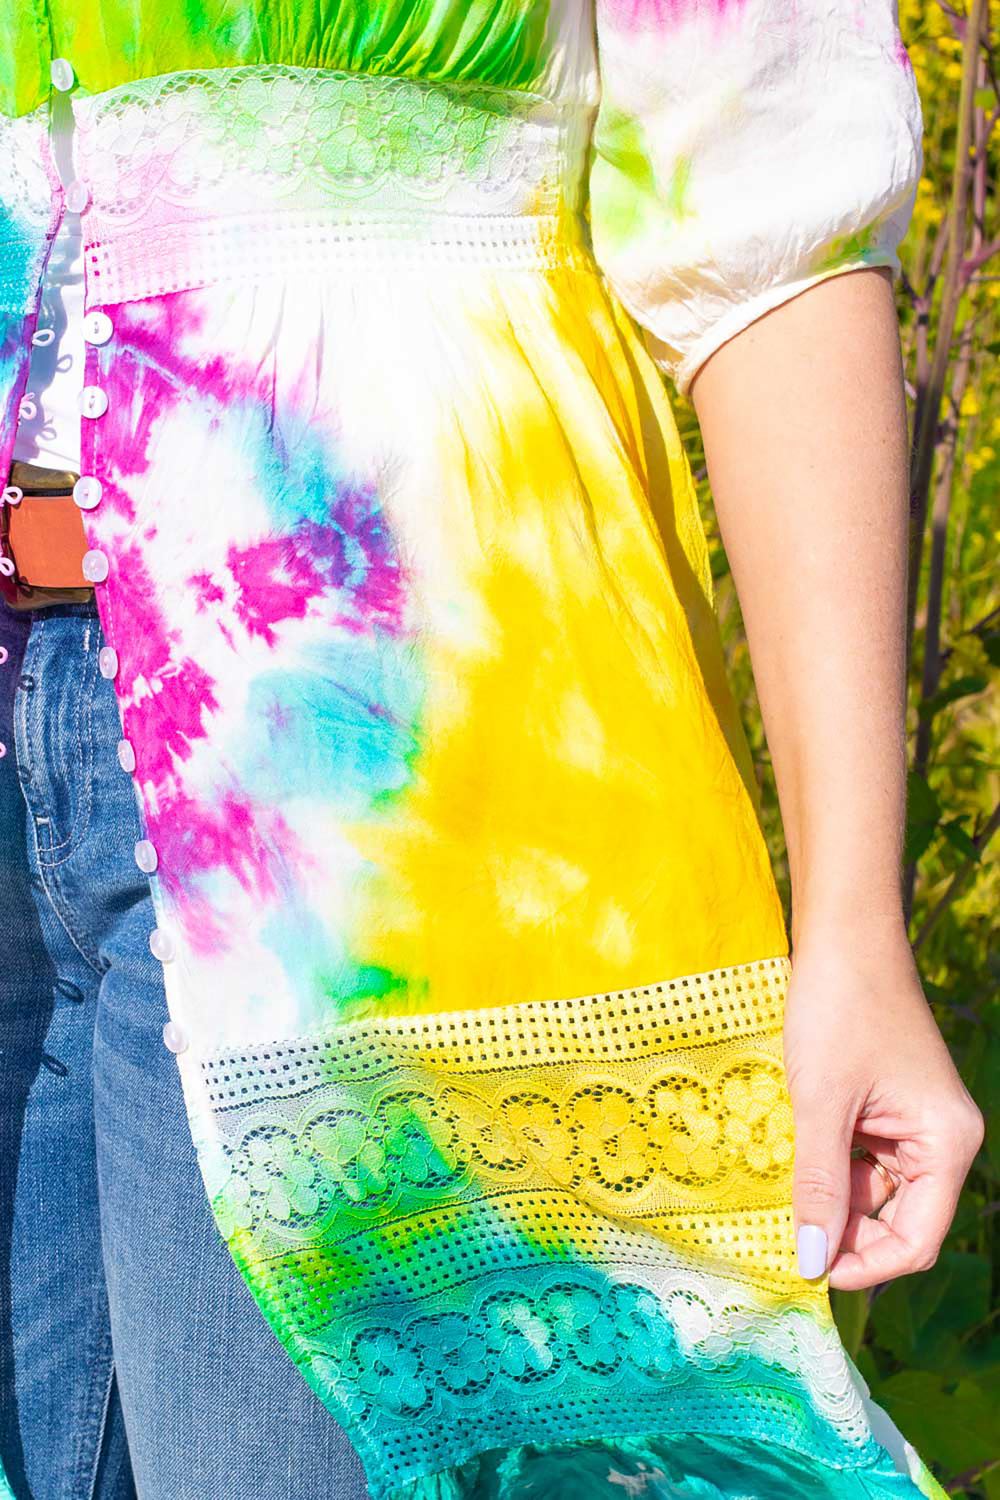
Swoon! We love how vibrant and colorful this tie-dye kimono turned out.
Tulip Summer Tie-Dye Kimono

Whether you just jumped out of the pool or you are dancing your heart out to the grooviest tunes, this tie-dye kimono is sure to be your favorite thing to wear all summer long!
Pin This Project


