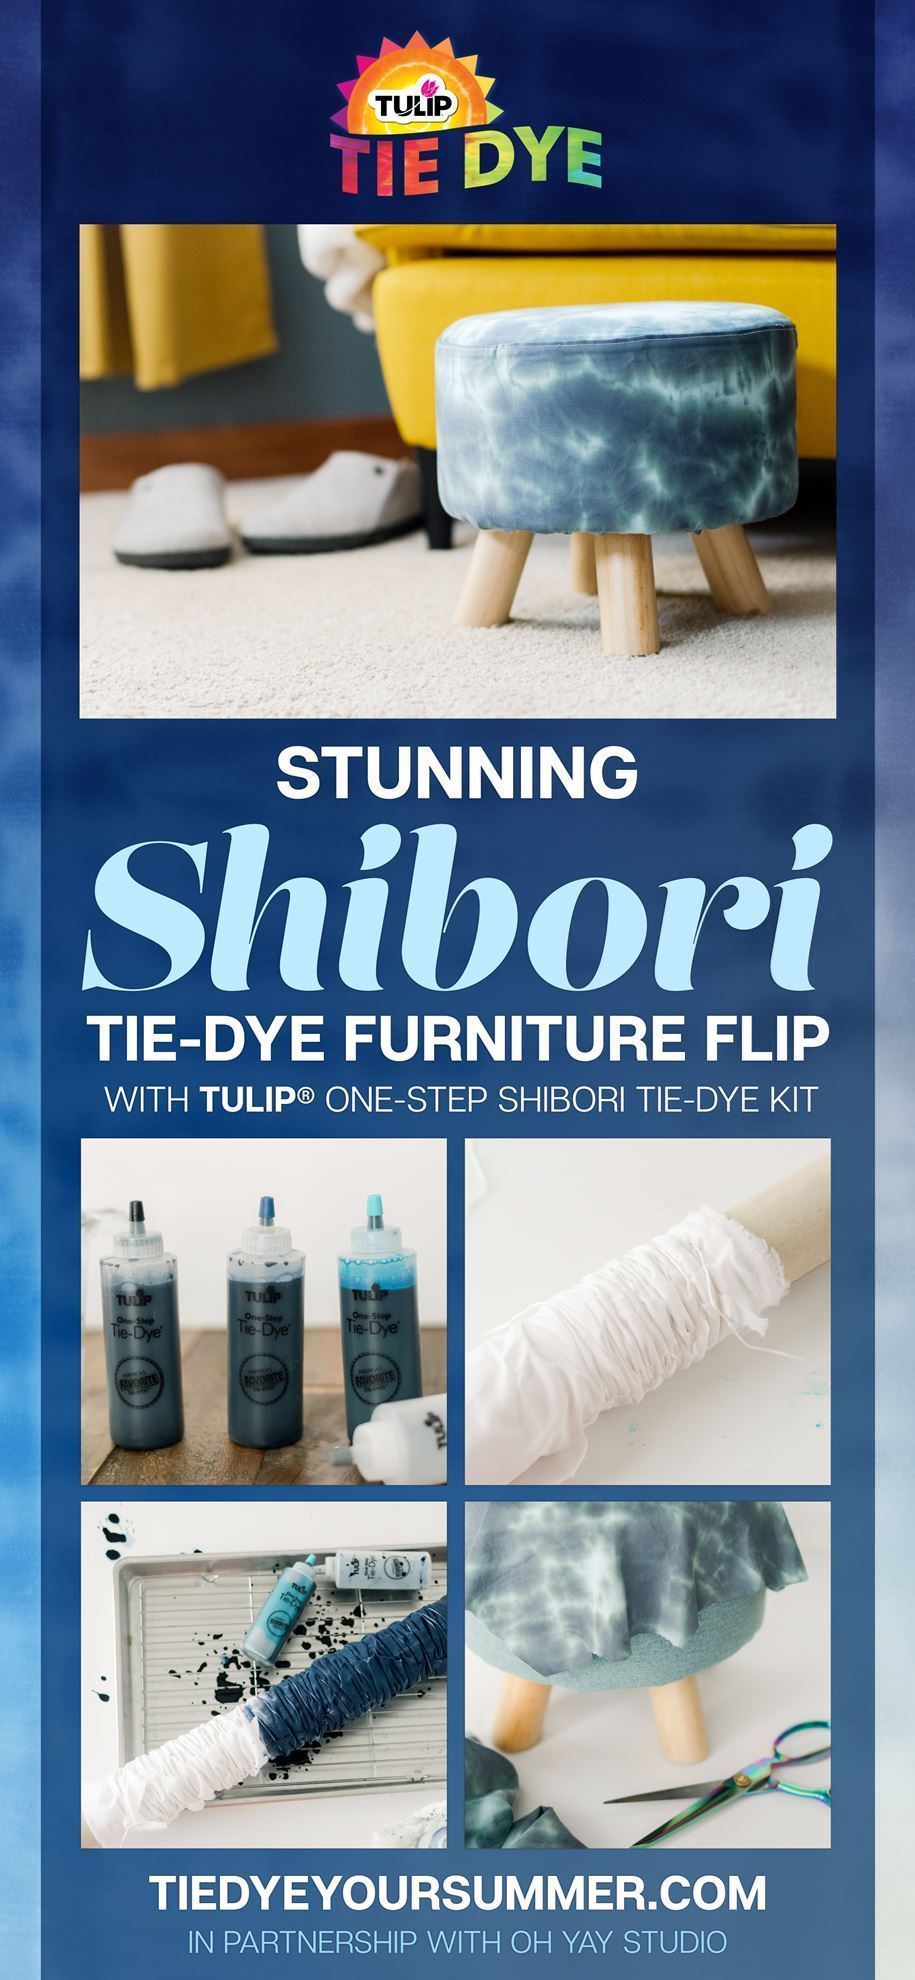
Stunning Shibori Tie-Dye Furniture Flip with Tulip
Published Date February 09, 2022
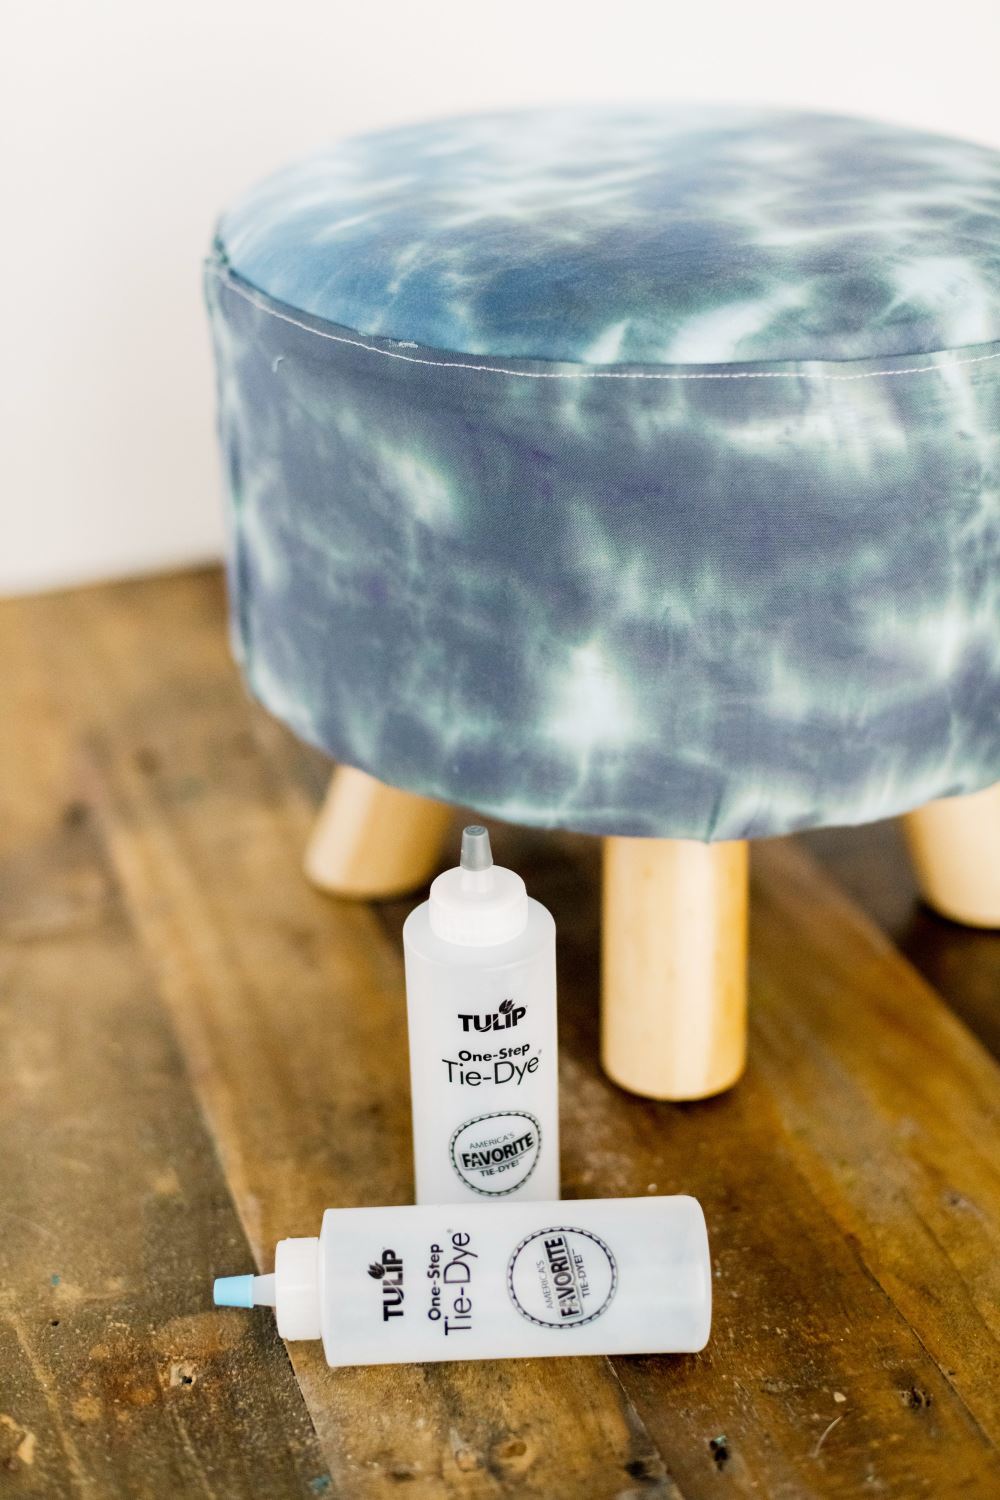
Who doesn’t love a gorgeous Shibori tie dye? Those deep blue hues are to dye for! This tutorial from Craft Box Girls will teach you how to add some style to furniture that needs a new look with the Tulip One-Step Shibori Tie-Dye Kit!
Prepare dyes according to package instructions.
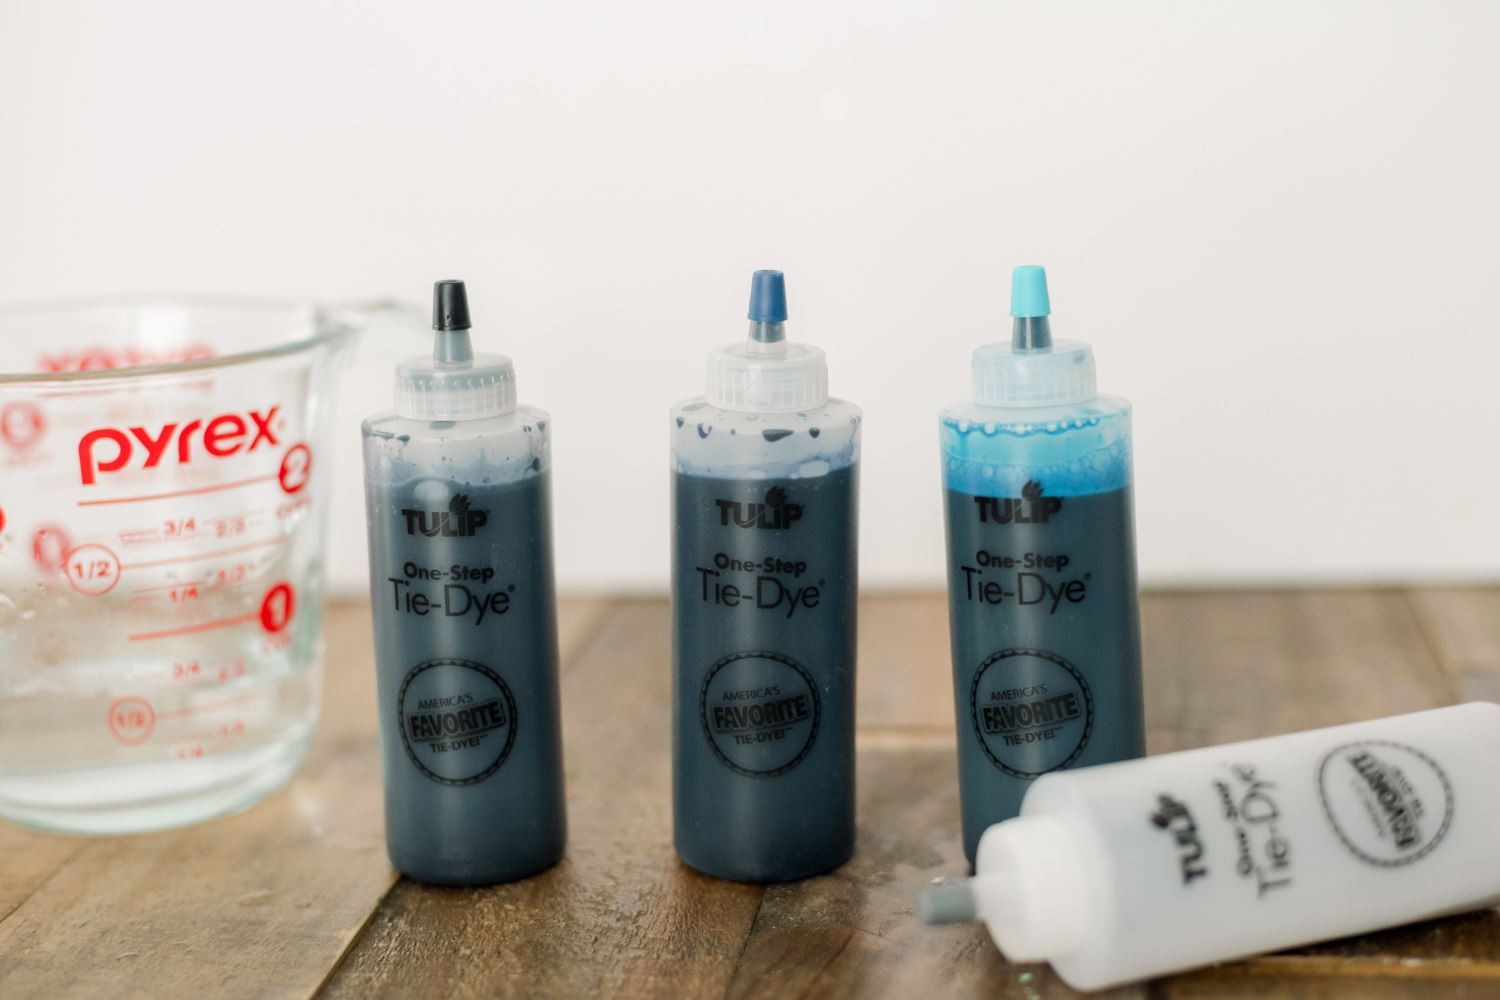
Before you get started, prewash (and dry, if using the dry technique) the fabric that you will be dyeing. Prepare the dyes according to package instructions.
Prepare fabric into the pole wrapping technique
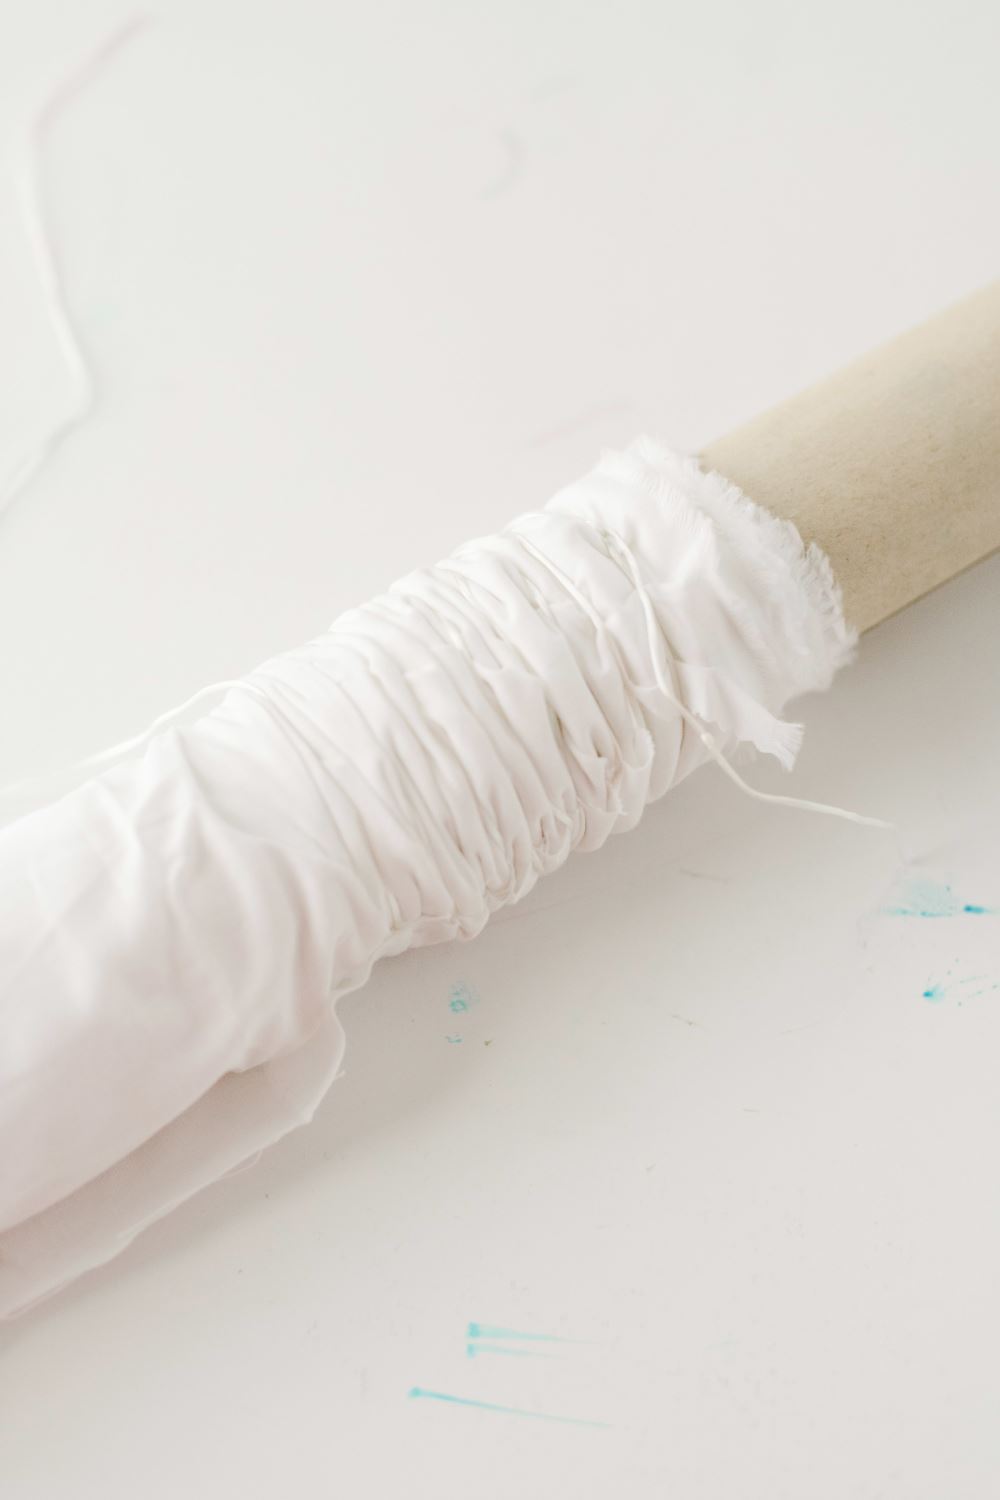
This project uses the pole wrapping technique, but you can use whichever folding technique you’d like! For the pole wrapping technique, wrap your fabric around your pole or cardboard tube, then use string to wrap around the fabric. Scrunch the fabric down and tighten the string as you wrap. Continue until all of the fabric is wrapped with string and scrunched together.
Apply the dye solution to your fabric
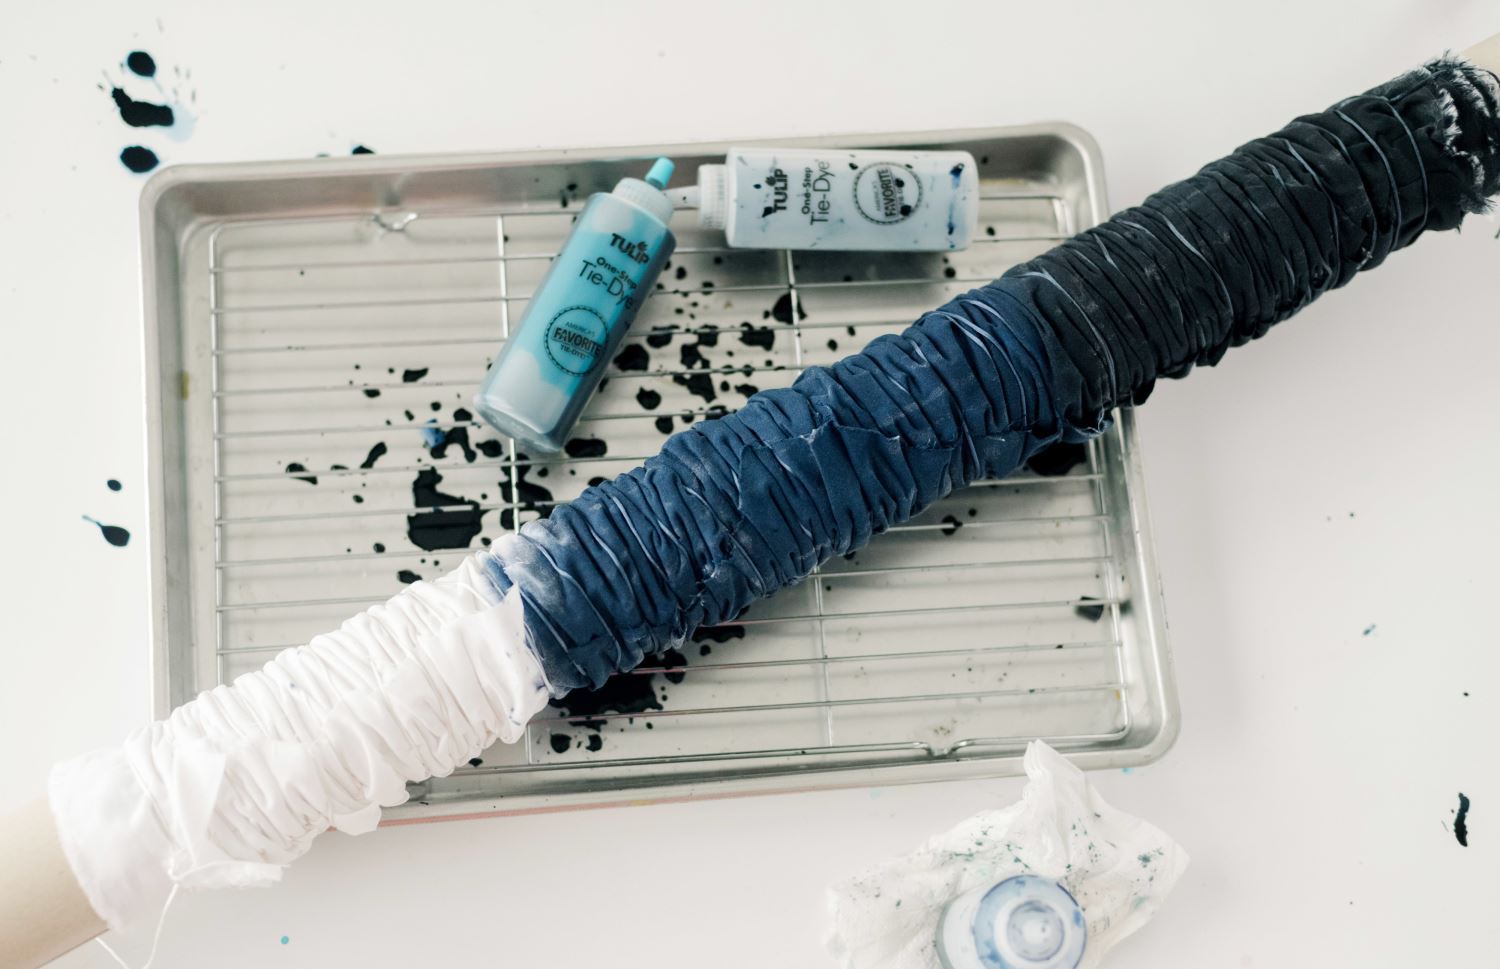
Place your fabric onto your sheet pan and wire rack. This will be helpful for catching excess dye! Apply dyes onto your fabric and allow them to fully soak into the fabric.
Wrap with plastic and allow dye to set
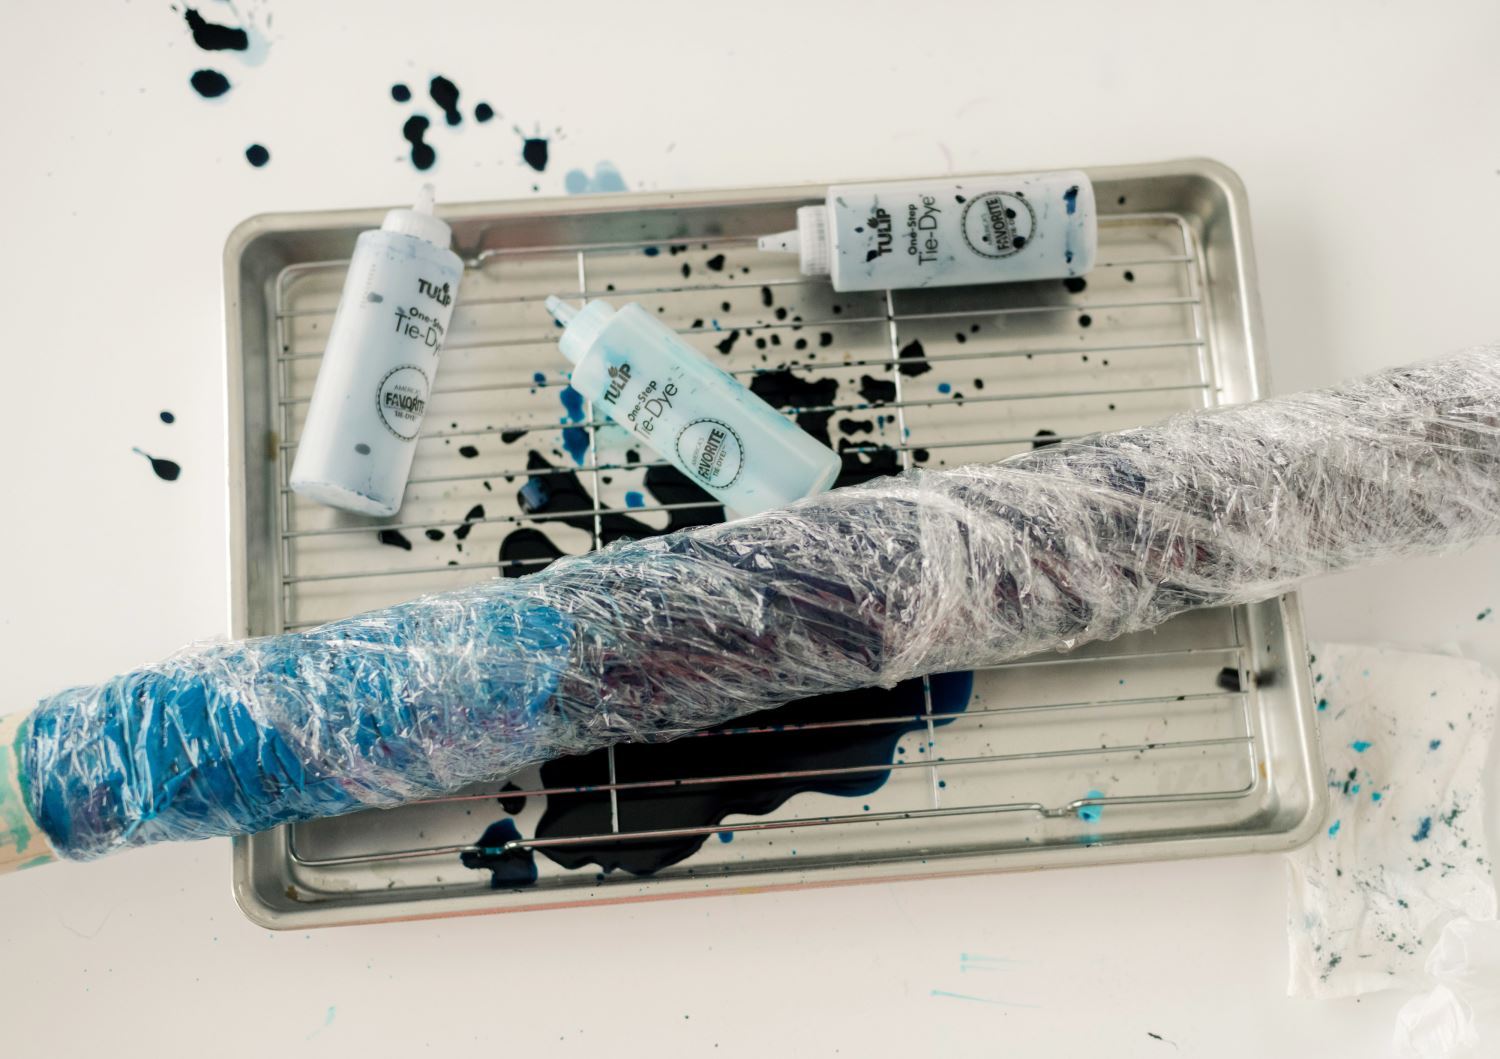
Once you’re satisfied with your dye coverage, cover your fabric with plastic wrap to keep it damp. Allow dye to set for 6-8 hours or longer for more saturated color. Once set, remove plastic wrap and string and wash and dry according to kit instructions.
Re-cover your furniture with dyed fabric
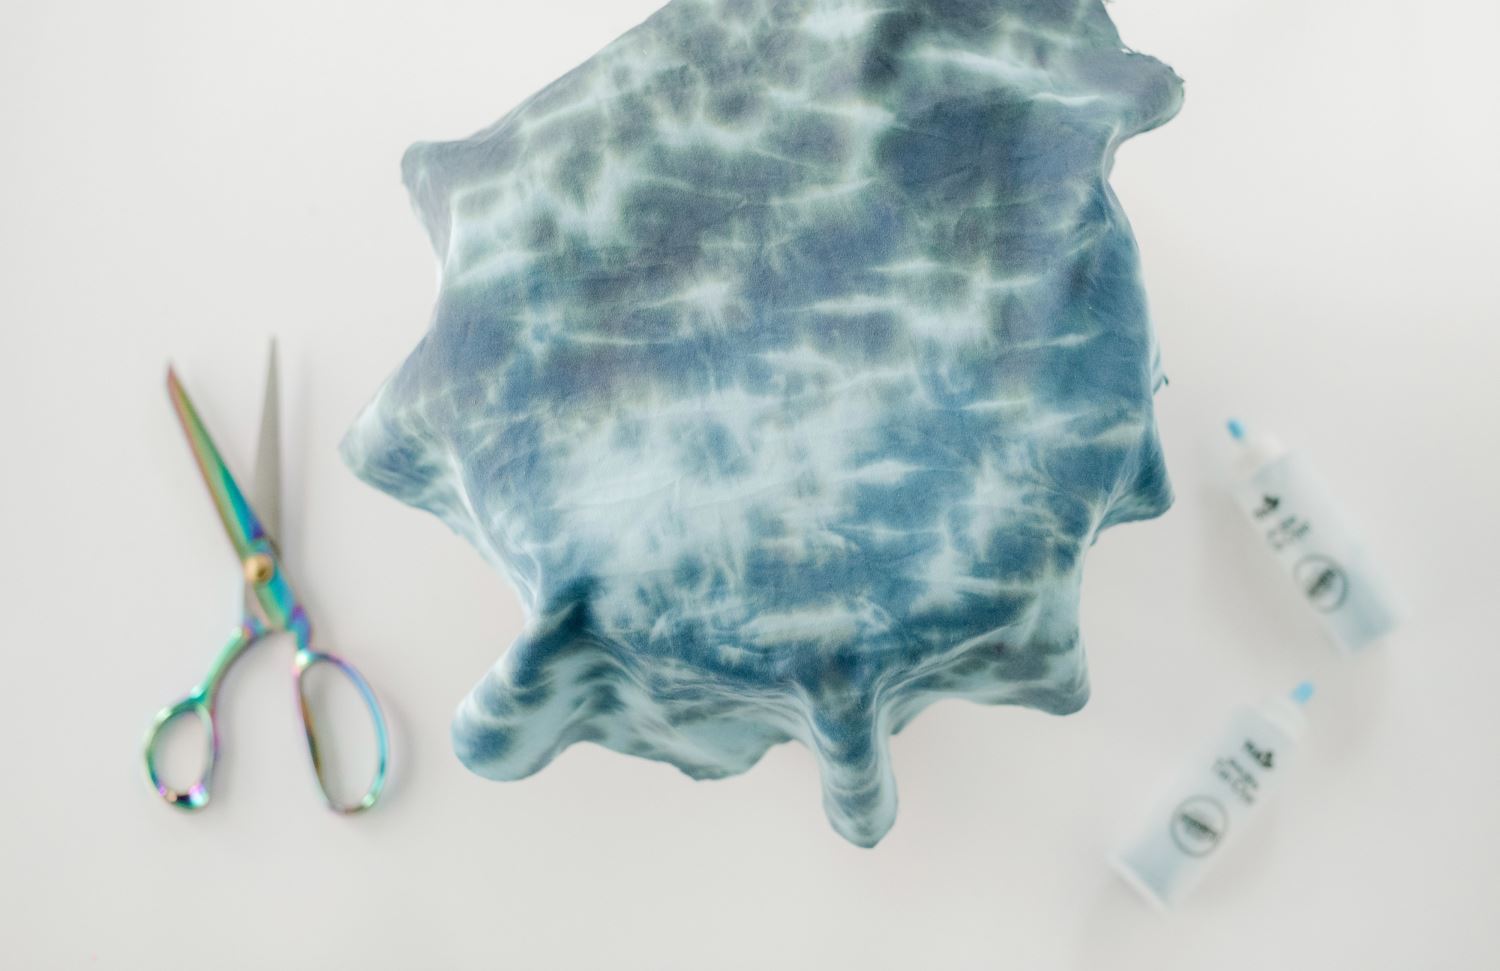
Now it’s time to re-cover your furniture with your dyed fabric! It is important that you re-cover your piece of furniture in the same way that it was originally put together. For instance, the stool in this project was put together with one seam along the top outer edge, and then one seam along the backside vertically with it stapled underneath the stool.
Wrap and glue fabric onto top of stool.
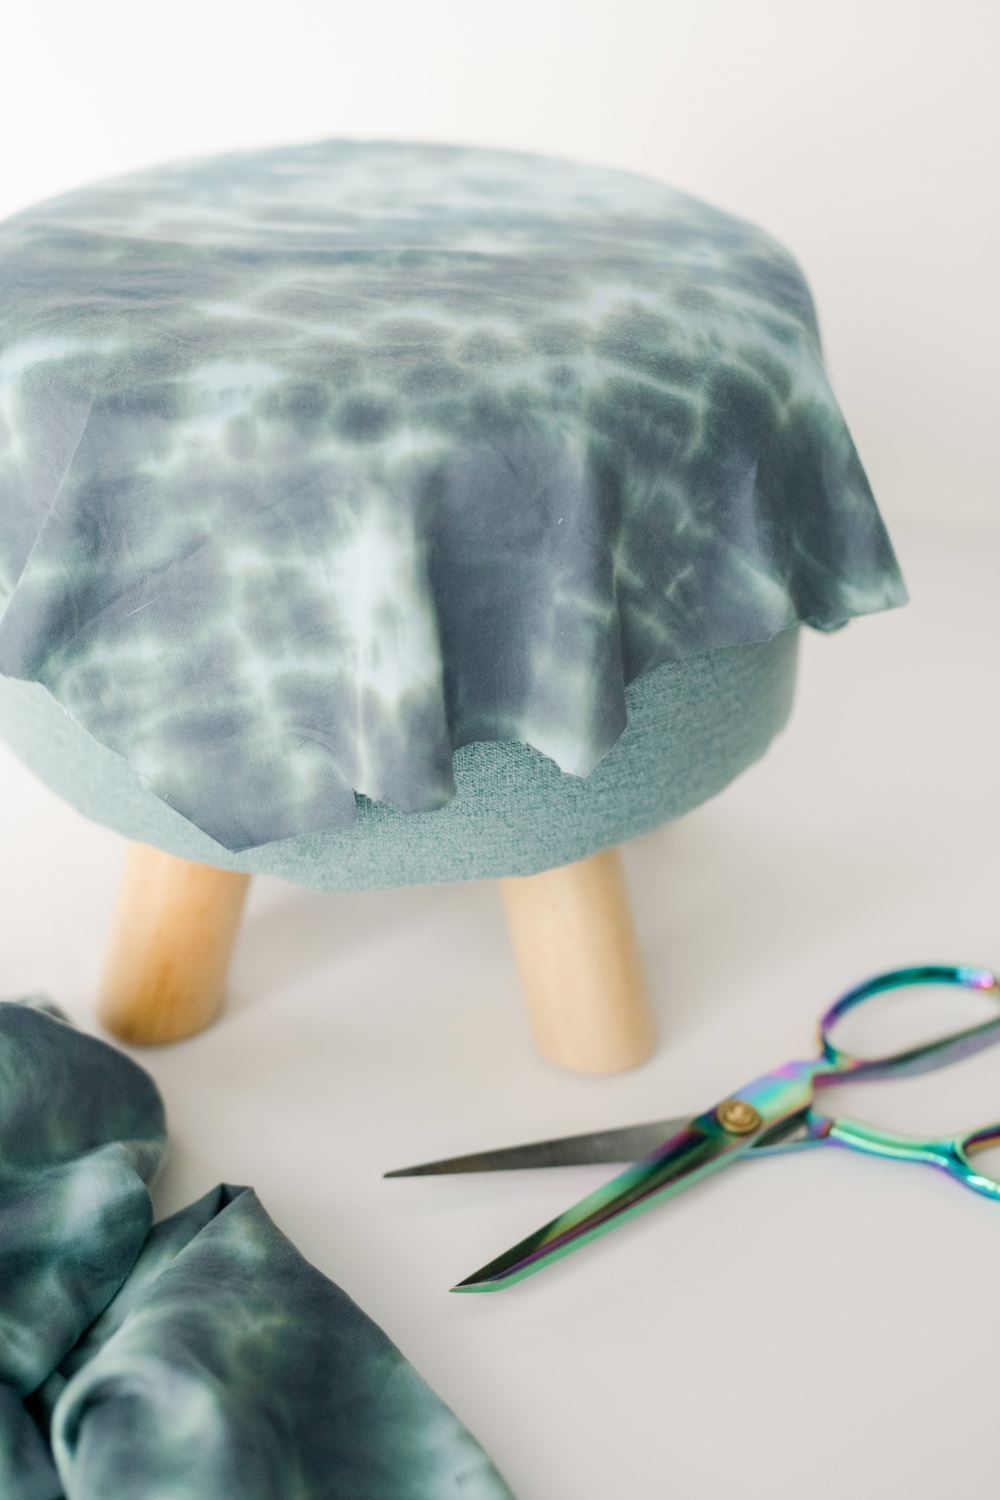
Begin with the top portion – cut fabric in a circle around the top and then slowly begin to
glue around the top edge (near the original seam) and tightly pull into place working your way around the top. Trim excess fabric as needed.
Wrap fabric along the long edge of your furniture.
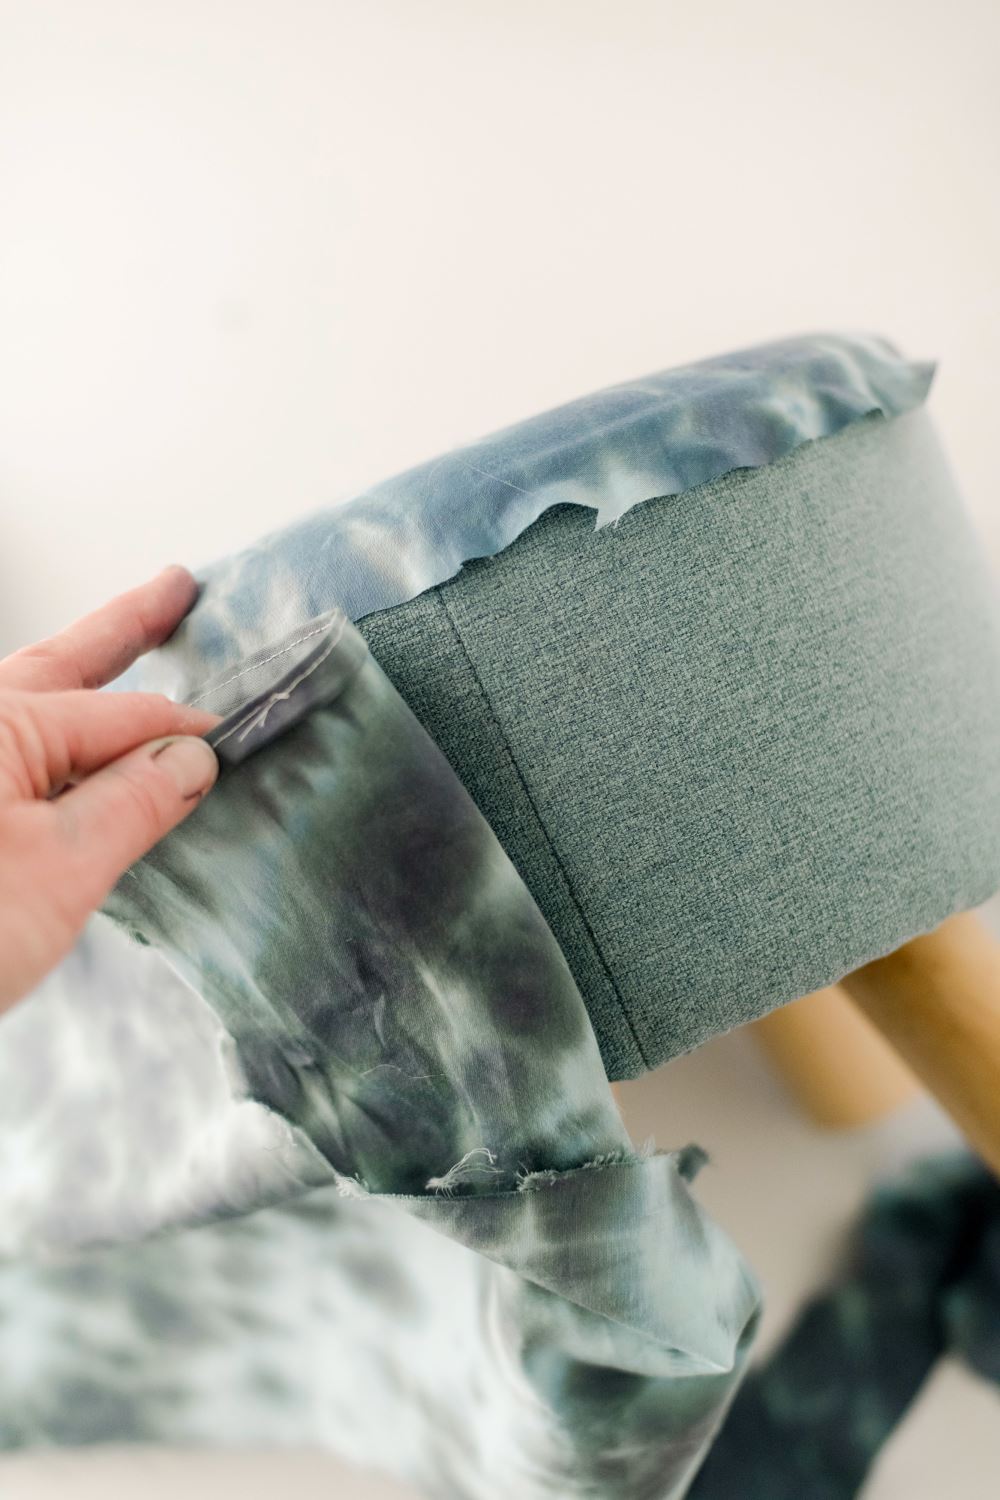
Either iron a straight edge or stitch a straight seam to the long edge of your tie-dyed material. Then with a bead of hot glue, carefully glue this top edge of material to the stool, overlapping the top circle that is already glued into place. Once you reach the starting point, fold over both edges and glue them into place.
Wrap fabric to the underside and glue
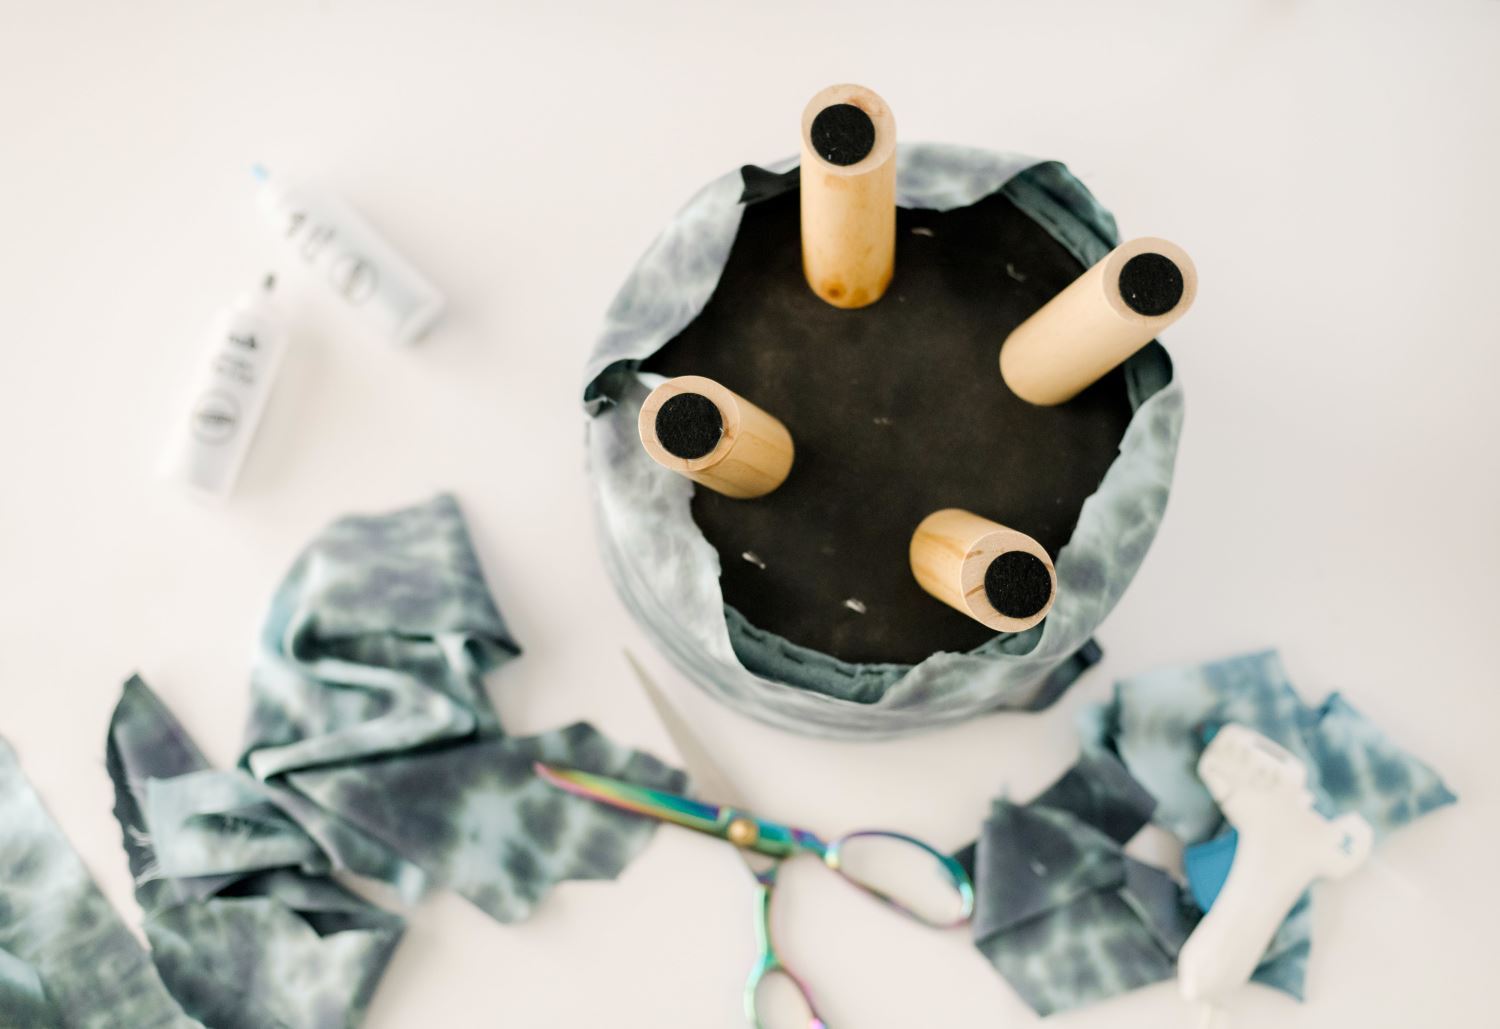
Wrap your fabric to the underside of the stool and glue into place. Pull the fabric taut as you tack down and allow to dry completely.
Display your furniture
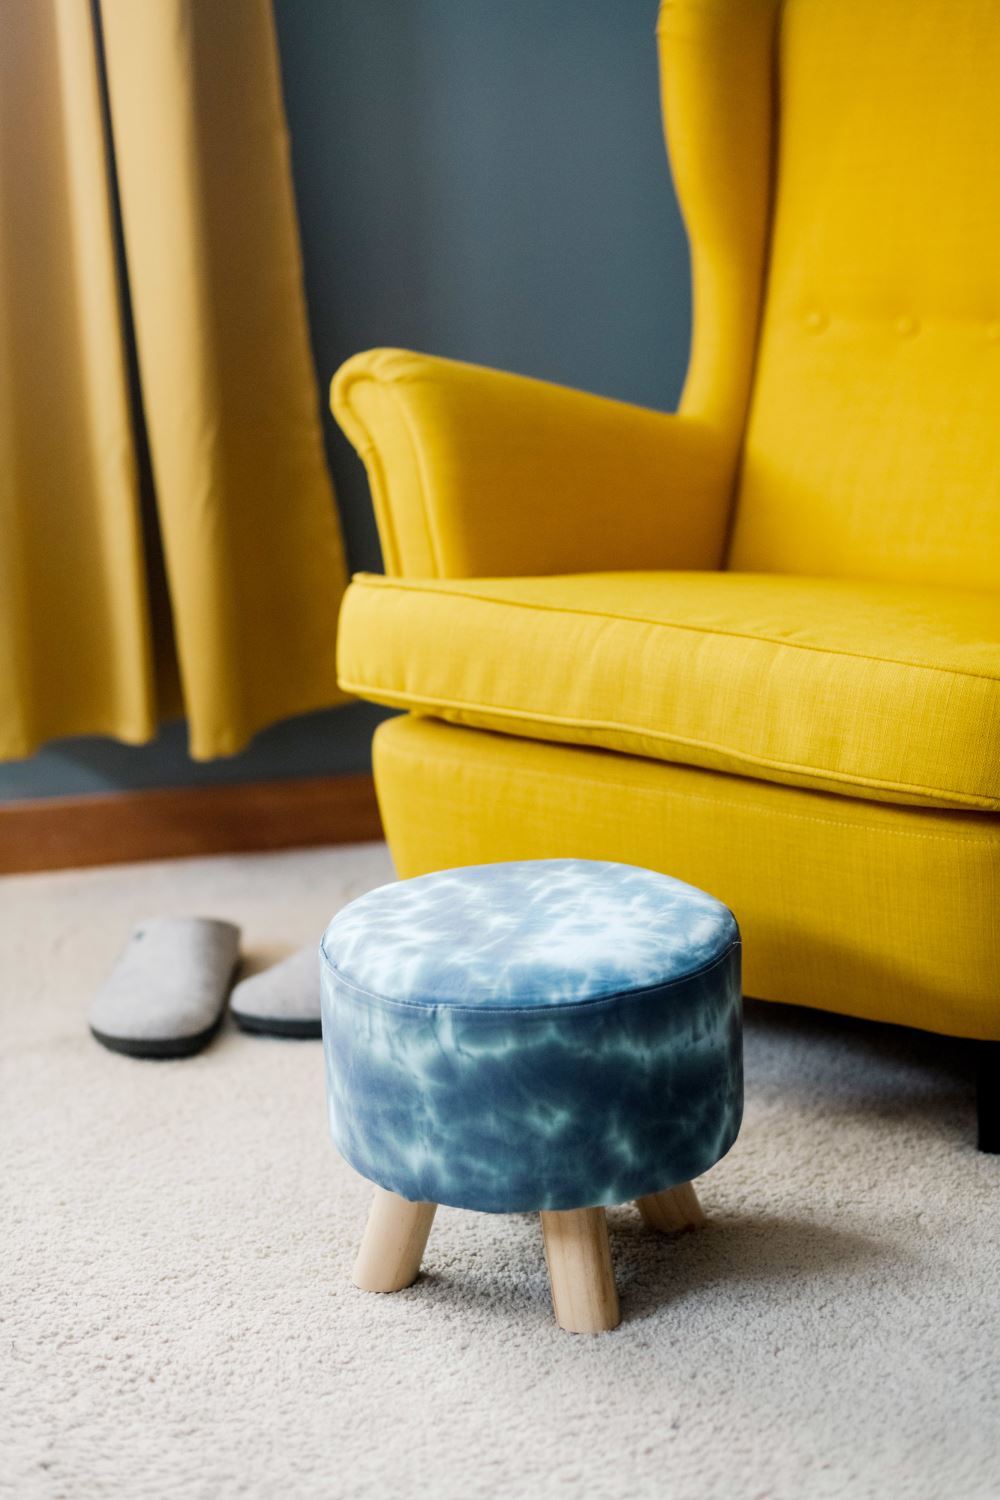
Now your fresh new furniture is ready! Get ready to display your stunning Shibori furniture!
What other Shibori tie-dye projects will you try? Show us how creative you can get and tag us on social @TulipColorCrafts!
Pin This Project
