Step 1:
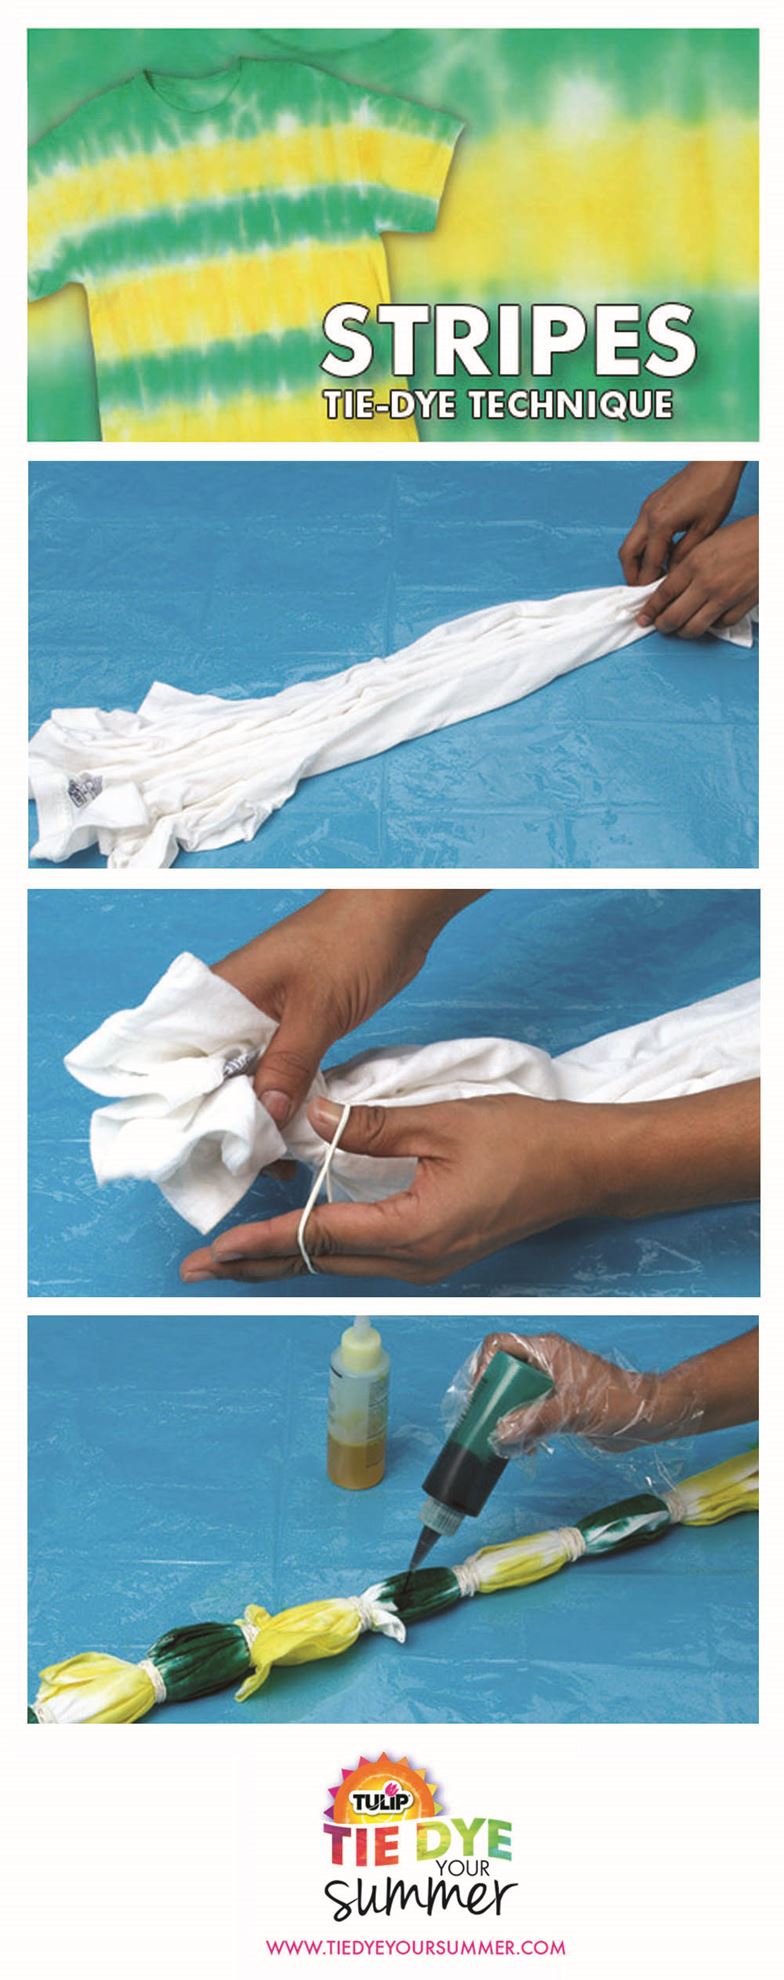
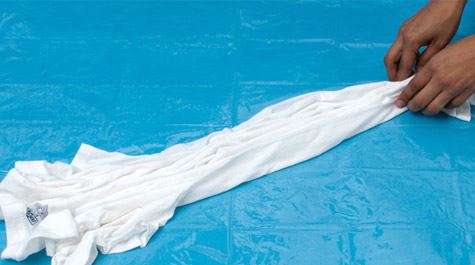
Wash shirt (or other fabric item) without fabric softener and leave damp. Since Tulip One-Step Tie Dye contains soda ash in the formula, there's no need to presoak your fabric before dyeing it! Lay your damp fabric out flat on your covered work surface and accordian pleat and fold fabric either vertically or horizontally.
Step 2:
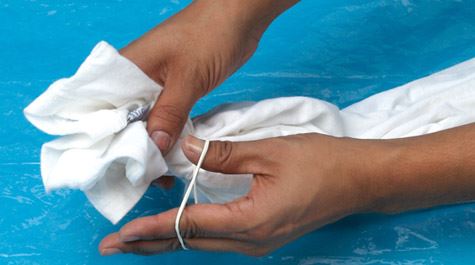
Use rubber bands to secure your pleated fabric, evenly spacing rubber bands and adding as many as desired. You can space the rubber bands far apart for wider stripes, or close together for thin stripes. It's totally up to you!
Step 3:
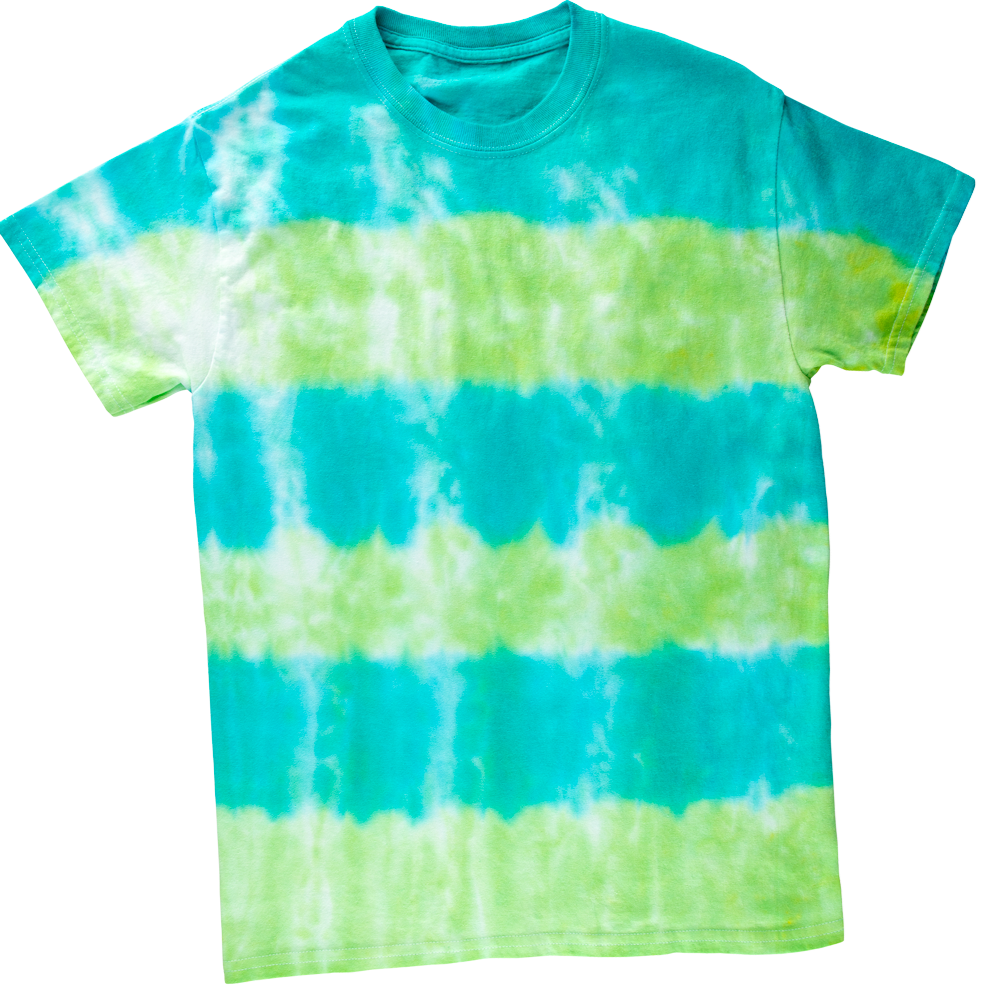
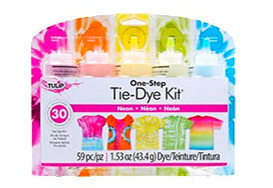
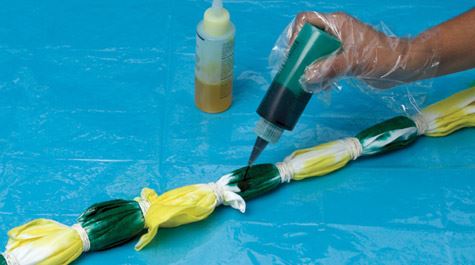
Mix your desired Tulip One-Step Tie Dye colors according to instructions. With the striped tie-dye pattern, you can use as many dye colors as you want, whether it's one color or 6. Have fun and experiment - there's no wrong way to tie dye! Apply One-Step Tie Dyes to each banded section, alternating colors or skipping sections altogether if you want. Rotate your pleated fabric as you add dye, making sure to apply the dye on the underside and sides so all portions of the section are covered in dye. Let your tie dye set for 6 to 8 hours or longer for the dye to fully set. Tip: place in a sealed zipper bag or cover with plastic to keep damp while the dye processes for best results. After the dye has finished setting, launder according to instructions.

Enjoy!
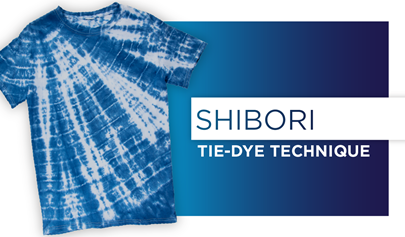
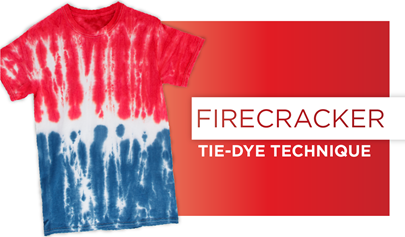
Now that you know how to do stripe tie dye, check out this roundup of stripe tie-dye project ideas to help get you inspired on your next tie-dye adventure!
Pin This Project

