Simple Ice Dye Project Your Kids Will Love
Published Date April 28, 2024
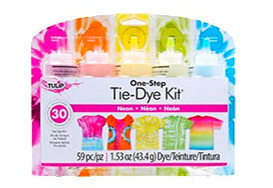
Looking for super cool summer fashion? Ice dye is the perfect thing to try! With the Tulip® Ice Dye One-Step Tie-Dye Kit, you’ll have the tie-dye tools you need to sit back, relax and let the ice do the work for you. LuluMake will show you how to use the accordion tie-dye technique with ice dye for the perfect way to beat the heat this summer. It’s a family friendly tie-dye activity too, so grab the kiddos and get them in on the fun!
Fold damp T-shirt in half

Before you begin, wash your T-shirt without fabric softener and leave it damp. To create the accordion tie-dye pattern, first fold your damp T-shirt in half vertically.
Pleat your T-shirt accordion style
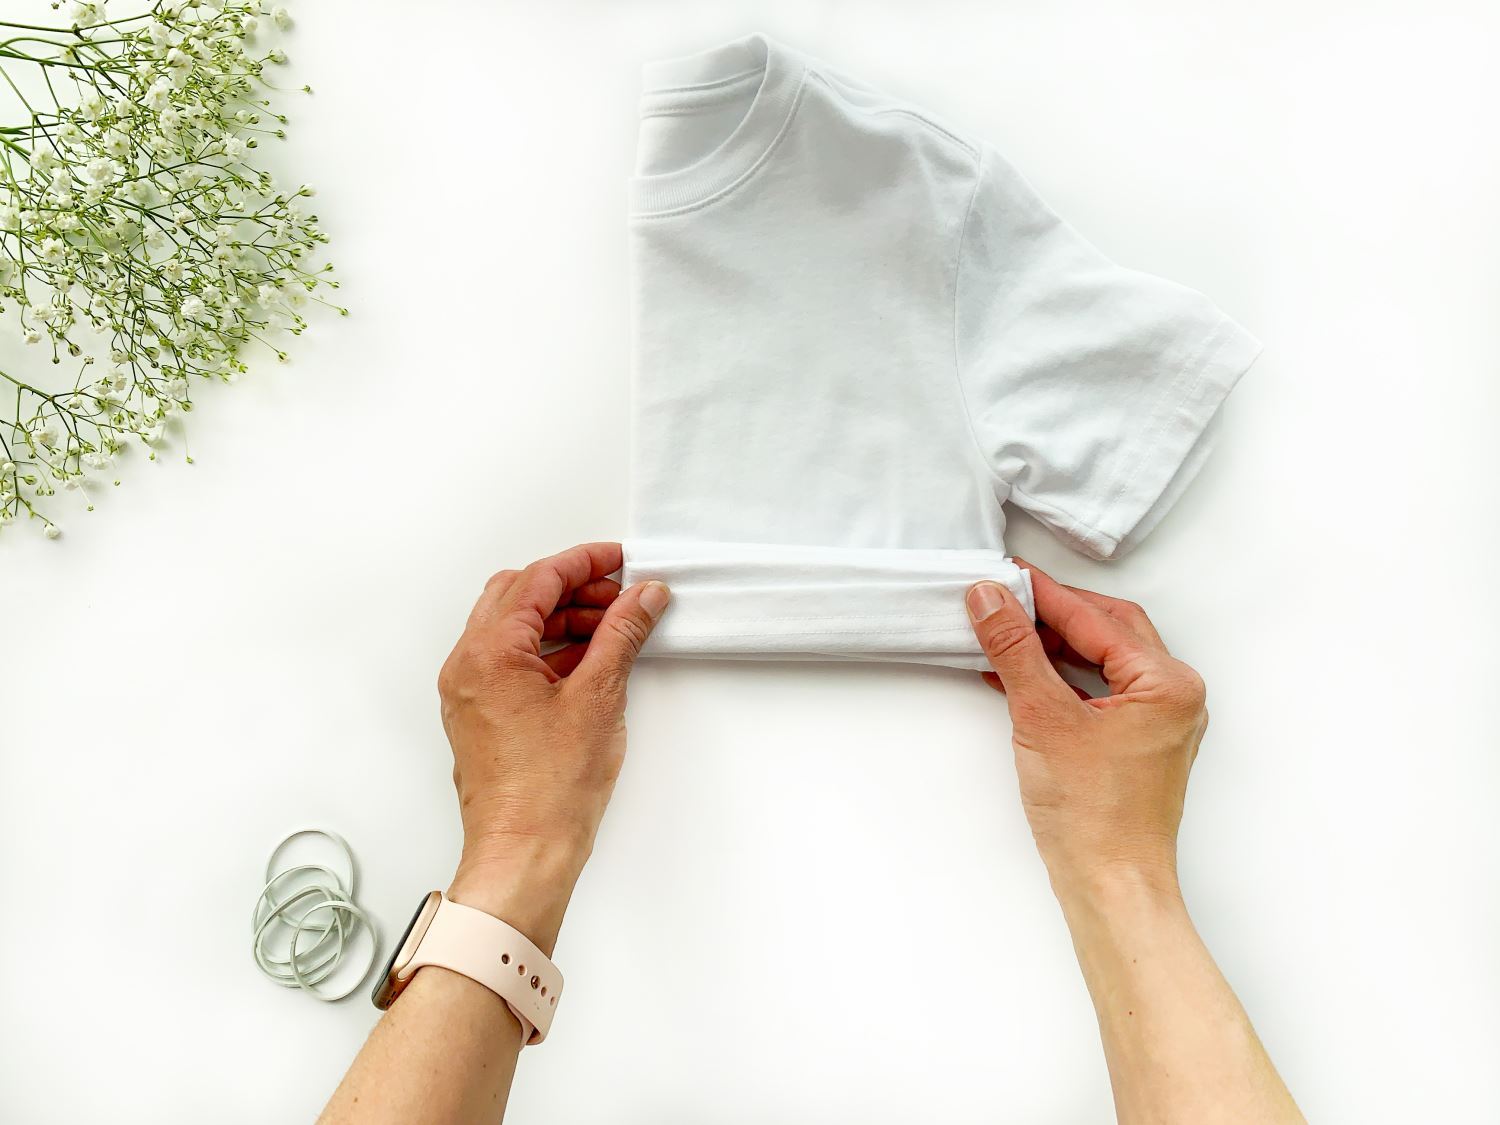
Next accordion pleat from the base of the shirt all the way to the top like you would fold a paper fan. Make sure to pleat the sleeves as well!
Tie rubber bands around the T-shirt
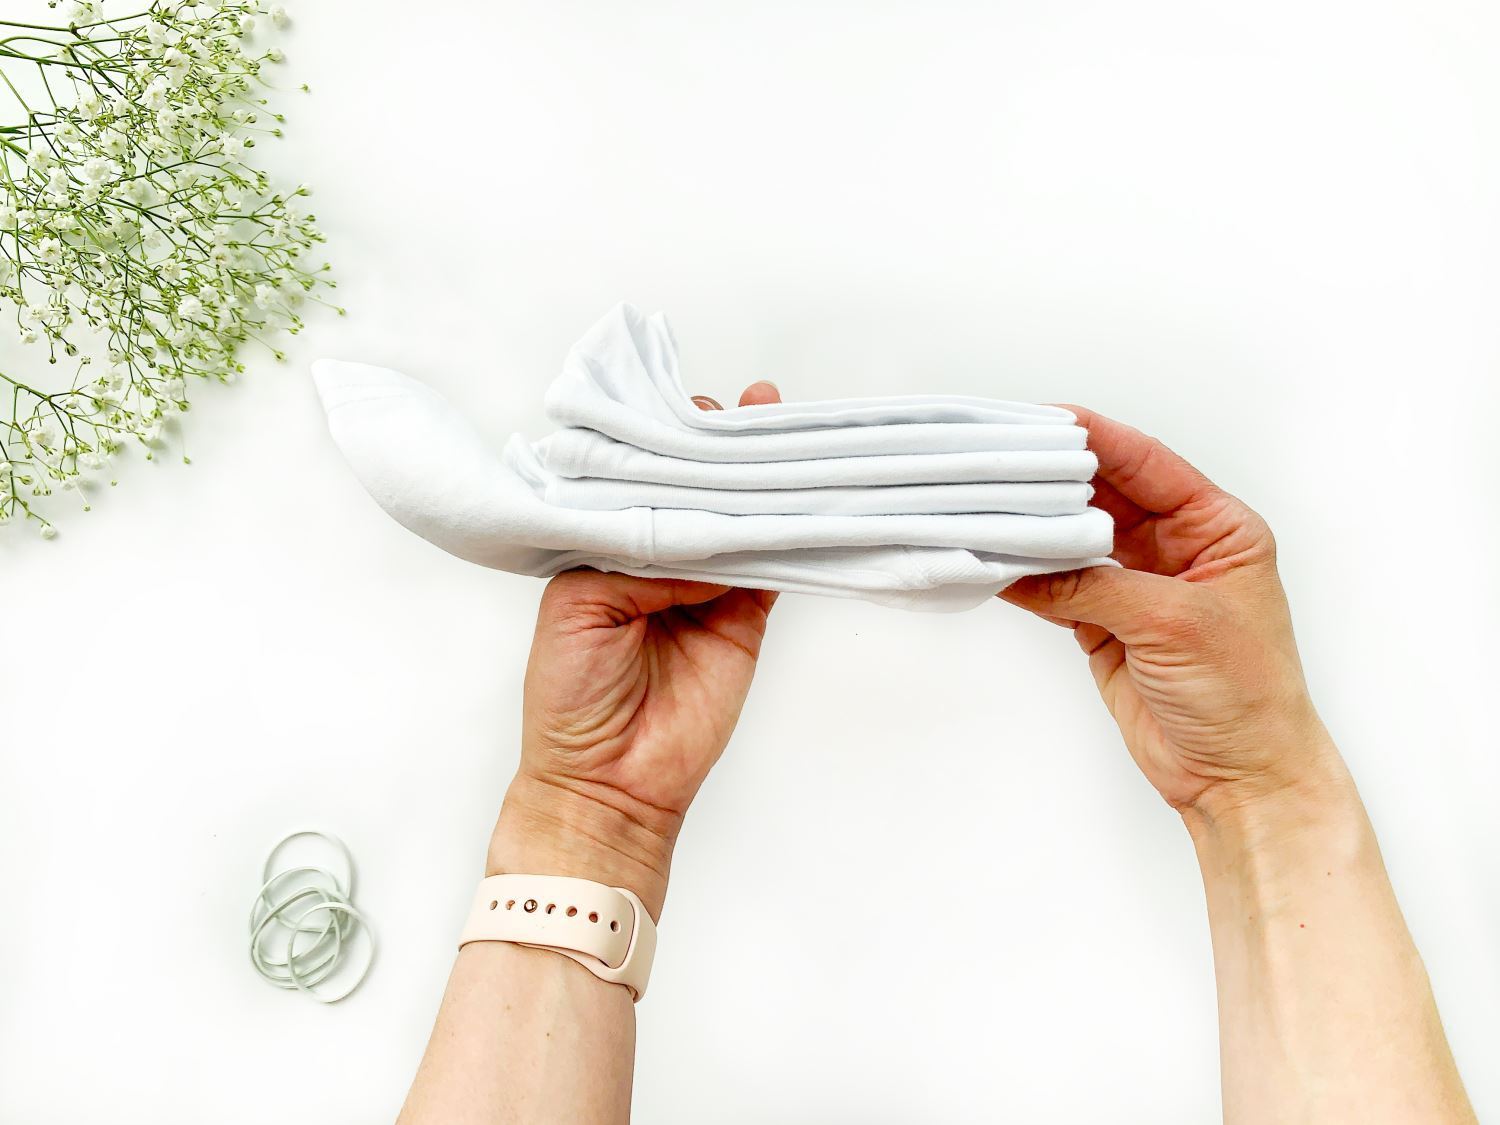
Your pleated shirt should look like this. Then tightly wrap the rubber bands around the T-shirt every 1 to 1.5 inches to secure the pleats for the tie-dye process.
Place ice dye grate in a tub and set bound shirt on grate
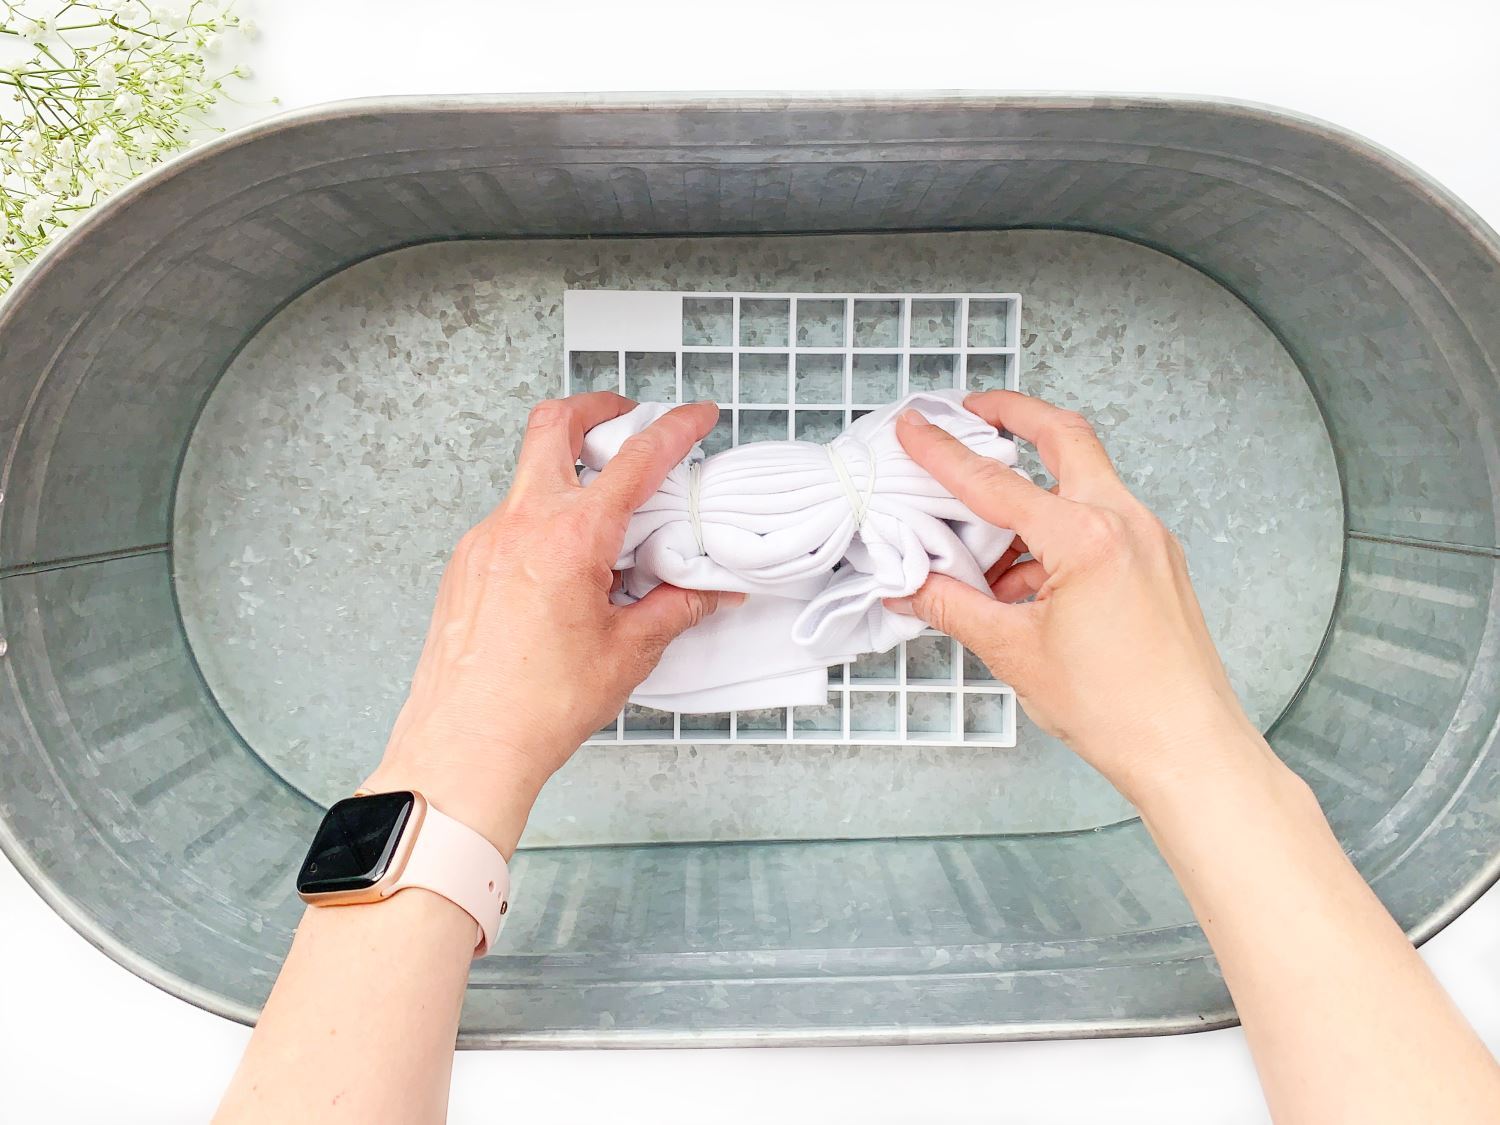
Place the Ice-Dye Grate over a tub or container to collect dye and water runoff as the ice melts. Set the bound T-shirt on top of the Ice-Dye Grate.
Sprinkle lighter-colored dye directly on t-shirt.
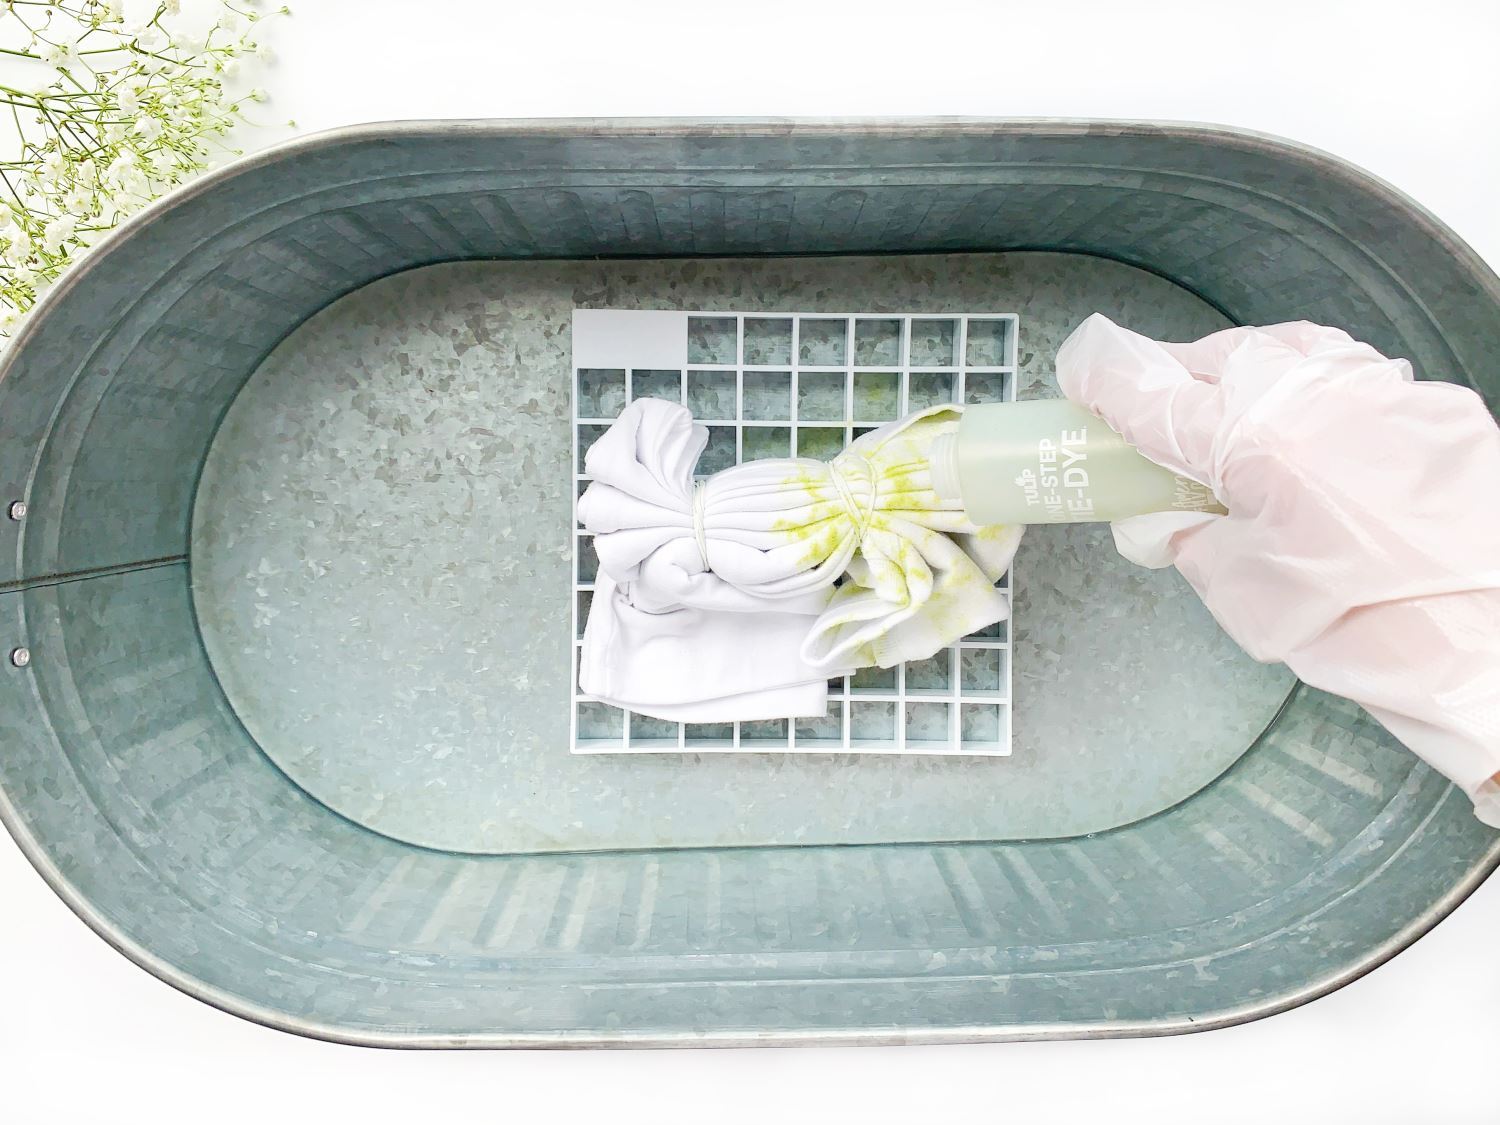
Now it’s time to get busy with the ice dye part of the tie-dye process! Do not mix water into your One-Step Dye bottles; you’ll just need the powder for ice dye. For more color blending effects on your project, sprinkle lighter-colored dye powders directly on your T-shirt before adding the ice and darker colors.
Cover T-shirt with ice and sprinkle dye powder on top
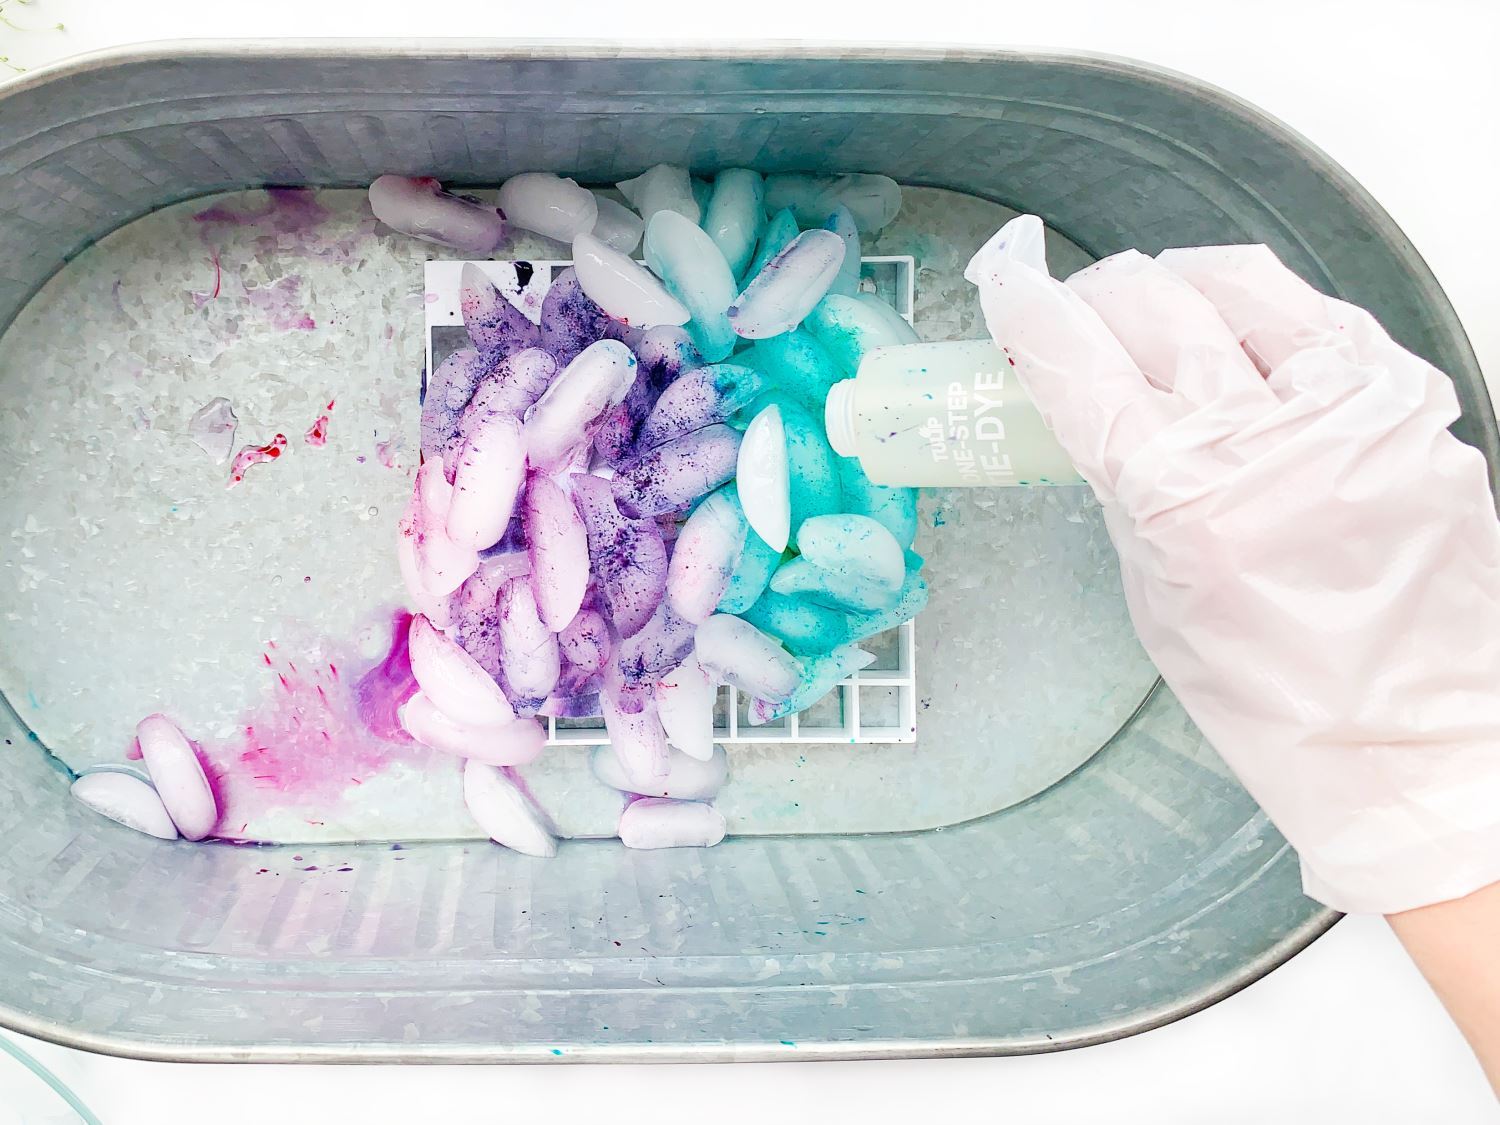
Cover your T-shirt with ice and sprinkle the darker dye powders over the ice. (You can also skip the step above and add ice, then sprinkle all dye colors over it.) You can be creative with this part of the process; try varying the colors on each side of your shirt or even sprinkle some colors on top of others. Feel free to experiment, there’s no wrong way to ice dye!
Let the ice melt
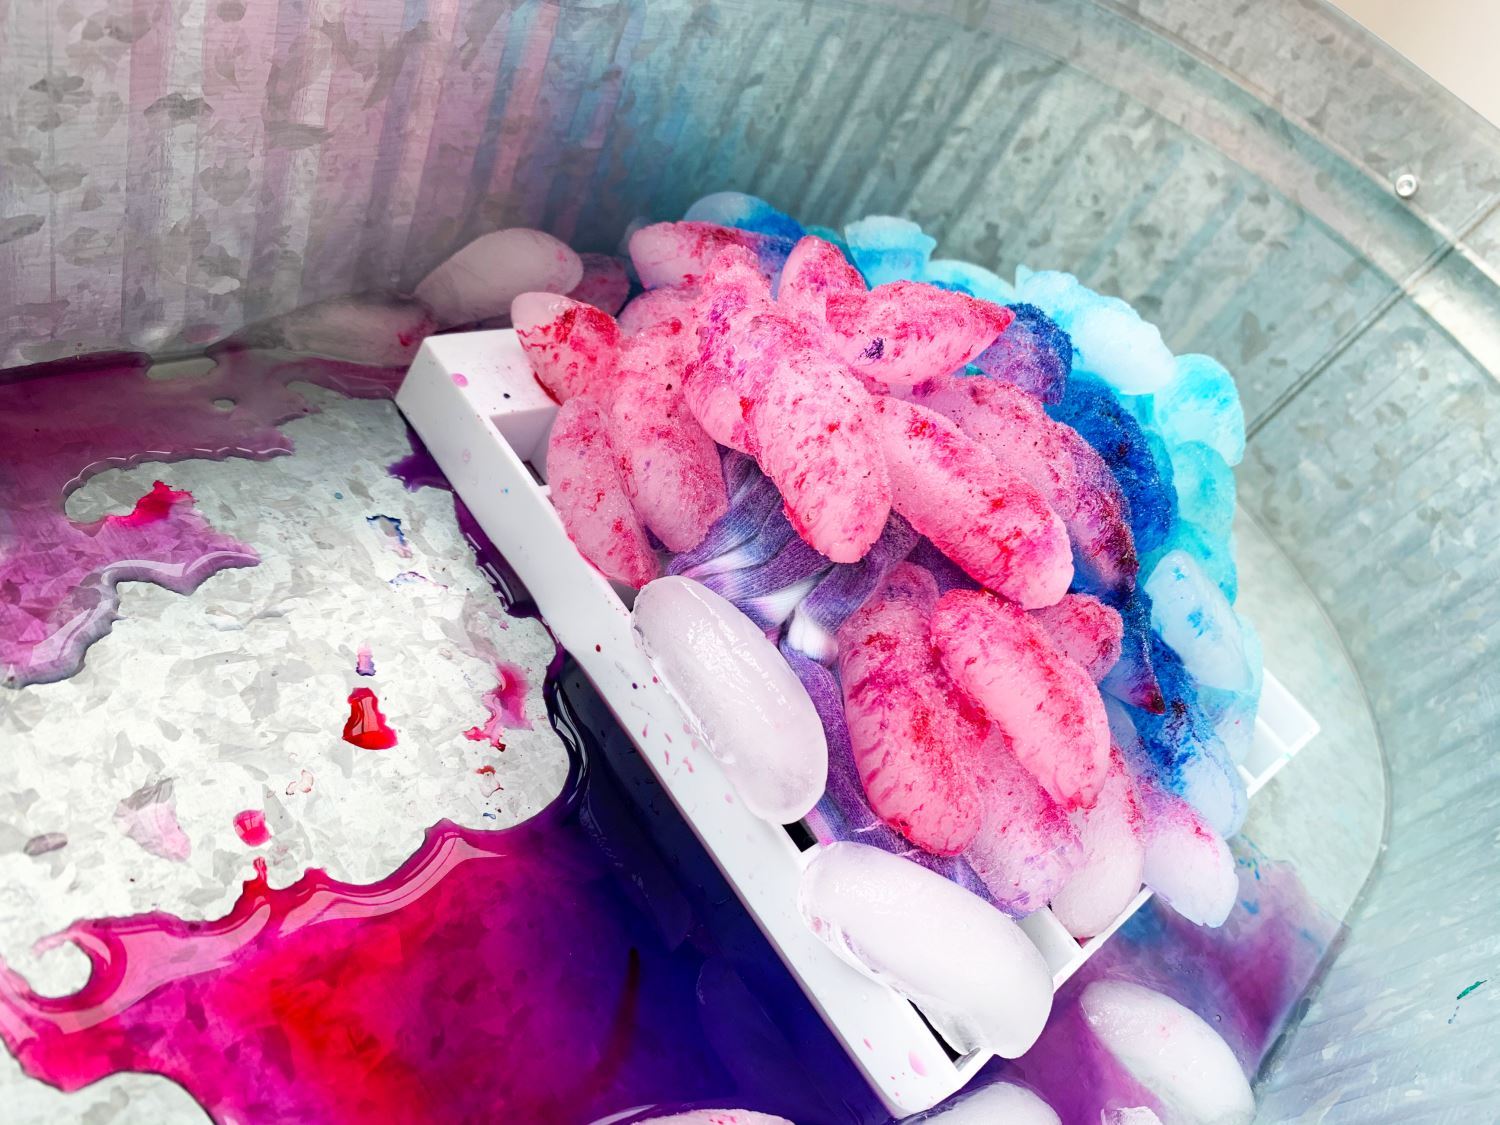
Now just let the ice melt and the magic begin! As the ice melts, the colors will transfer onto your T-shirt. If you see unsaturated dye powder on your T-shirt after the ice starts melting, just add more ice and allow it to melt again. You can keep adding ice until you feel all of the ice has melted and the dye powder has been absorbed into the fabric.
Accordion Ice Dye T-shirts
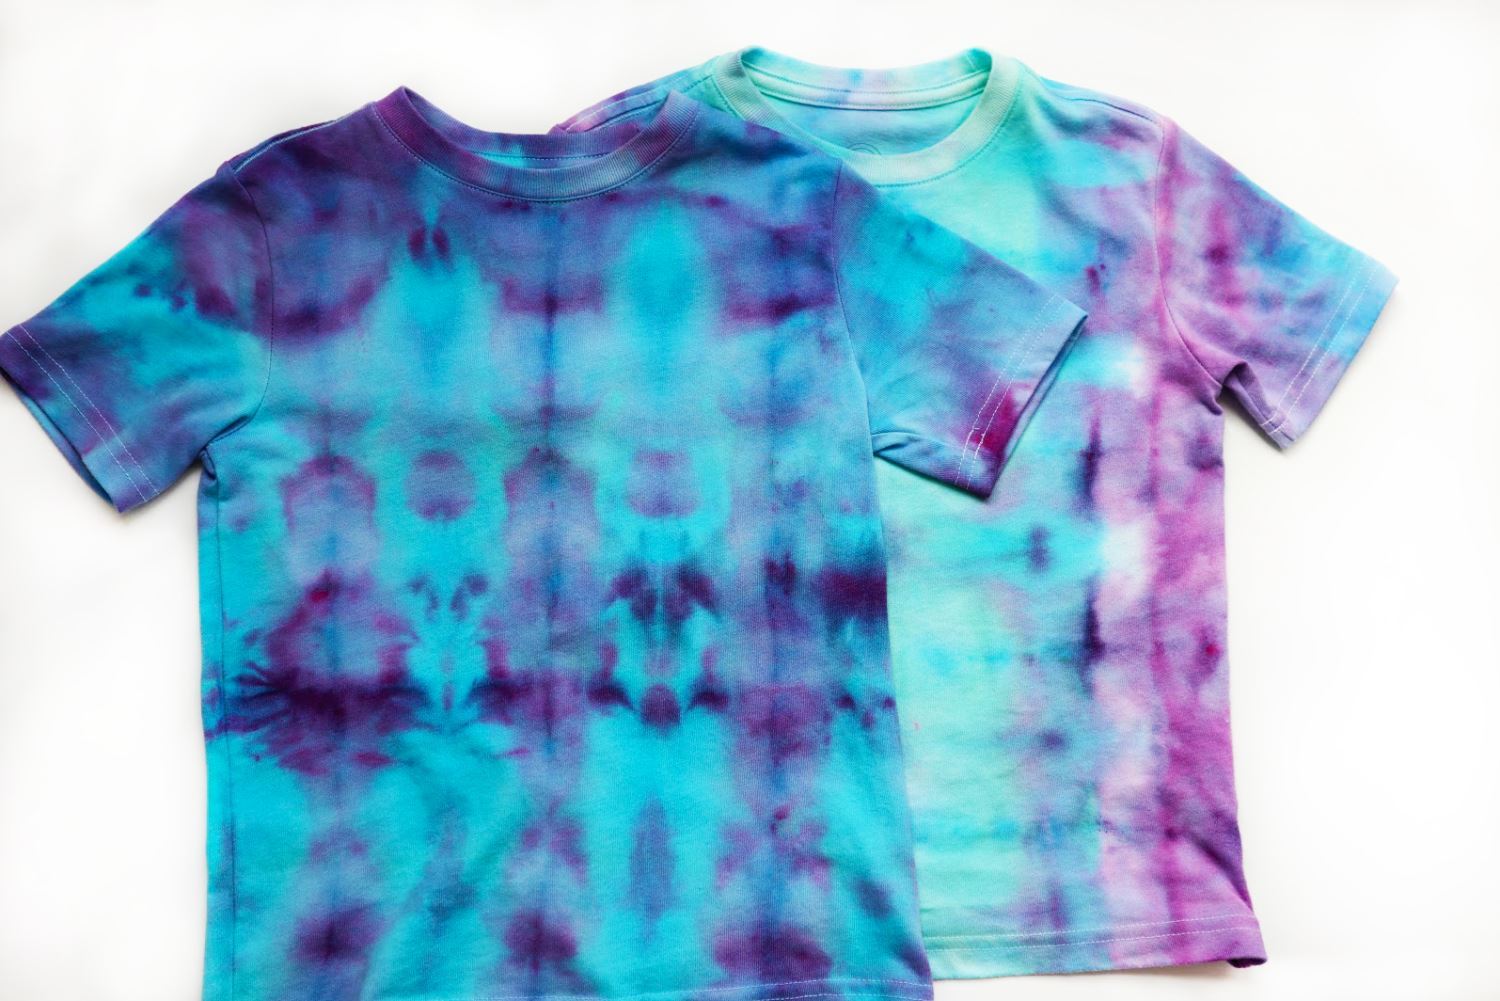
Depending on the climate where you live, the ice may take hours to melt, or if it melts faster, you can always seal your project in a plastic bag and allow the dye to set for the full time recommended. Once your ice dye project is ready, remove the rubber bands and rinse and launder according to instructions.
Ice Dye T-shirt

Now that you know how easy it is to ice dye, you can experiment with all kinds of tie-dye techniques. We have a lot to try! How are you having fun with ice dye this summer? Tag us on social @tulipcolorcrafts and share your tie-dye creations with us!


