Matching Hearts Tie Dye Backpack and Pencil Case
Published Date August 05, 2021
Back to school means back to cool style for the year ahead! Before you hit the books, Oh Yay Studio will give you some A+ ideas for upgrading your backpack and pencil case with total tie-dye love from the Tulip Hearts One-Step Tie-Dye Kit.
What you need:
- Tulip Hearts One-Step Tie-Dye Kit
- 100% canvas backpack and pencil pouches – white
- Aleene’s Clear Gel Tacky Glue
- Wire rack
- Plastic tub to set rack on
- Iron
- Plastic wrap or large plastic bags
- Protective plastic surface cover
Wash, dry and iron backpack and pencil case
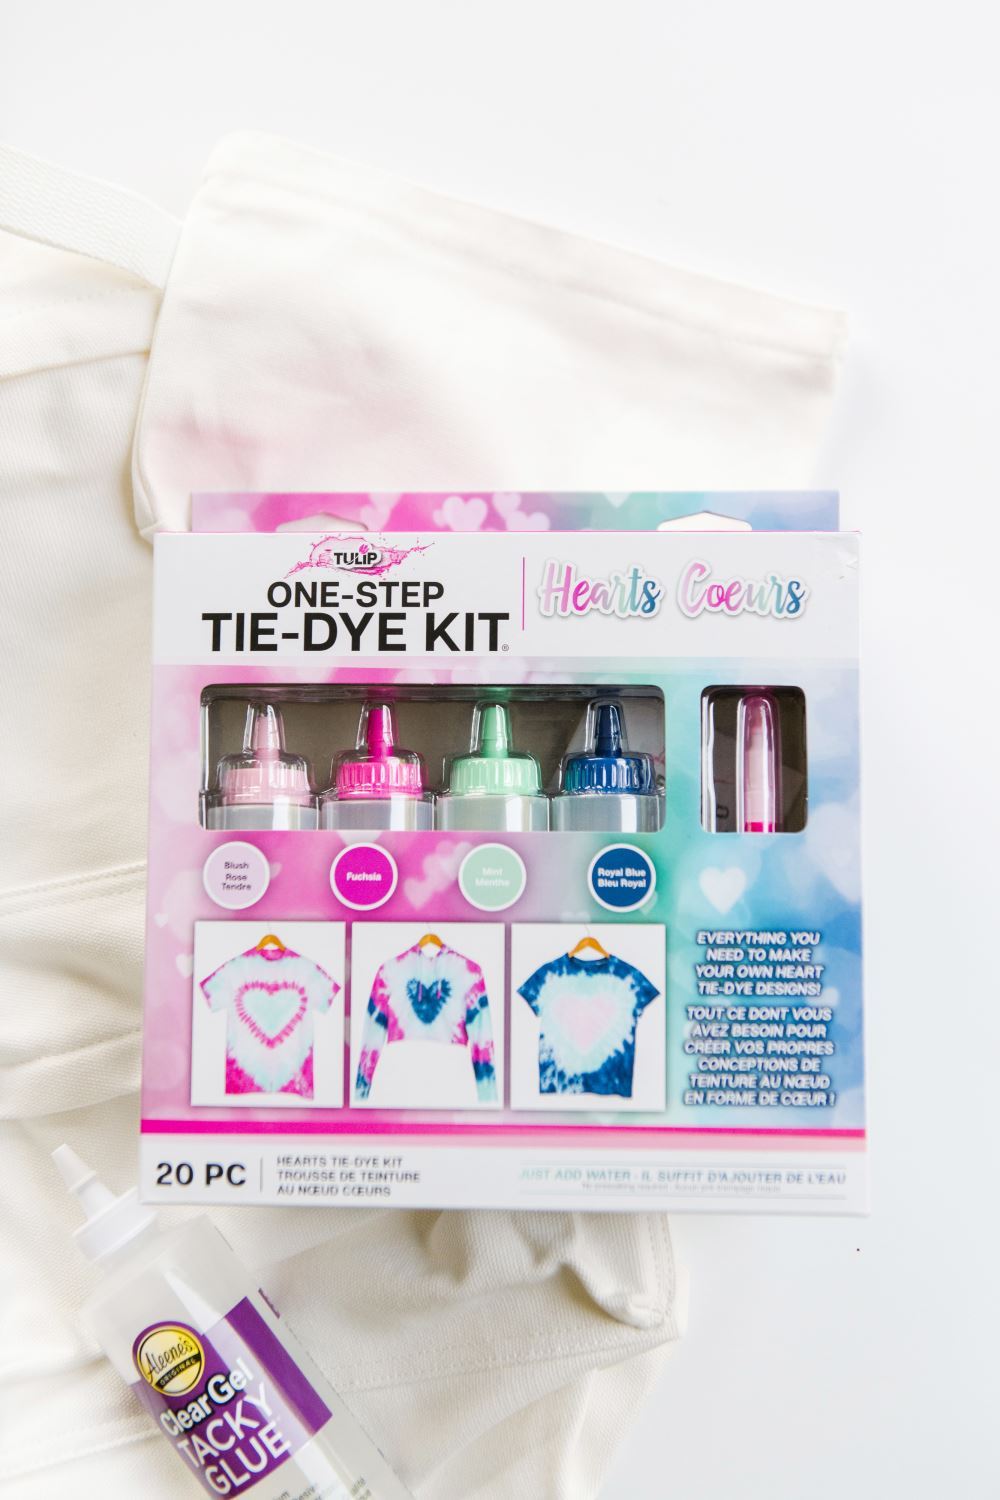
Draw hearts on backpack
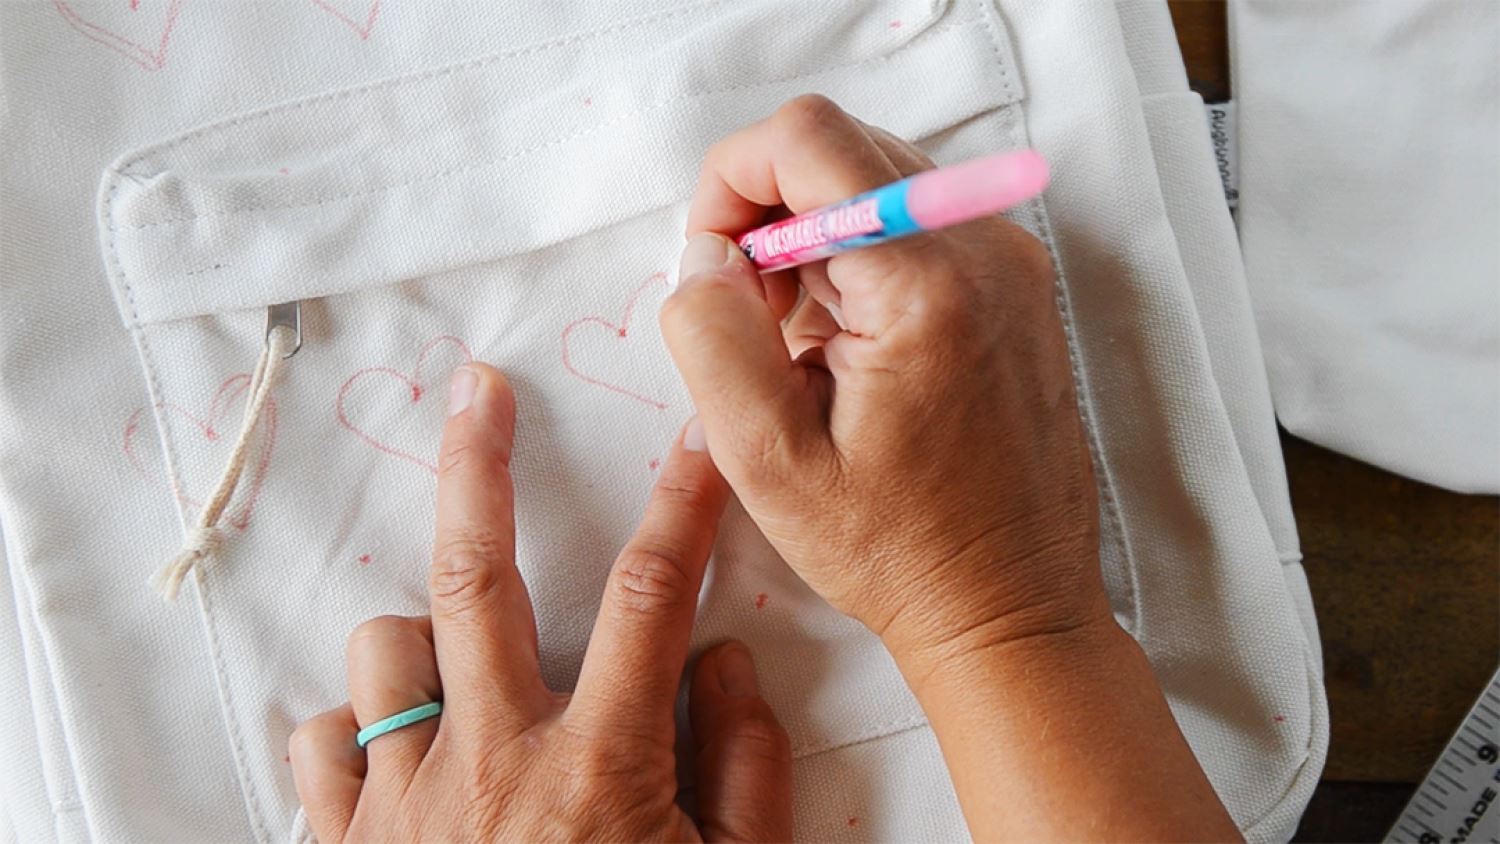
Use the washable marker that comes in your Hearts Tie-Dye Kit to draw hearts all over the backpack. You can use a ruler to help you plot out even spacing, or just wing it!
Fill in hearts with glue
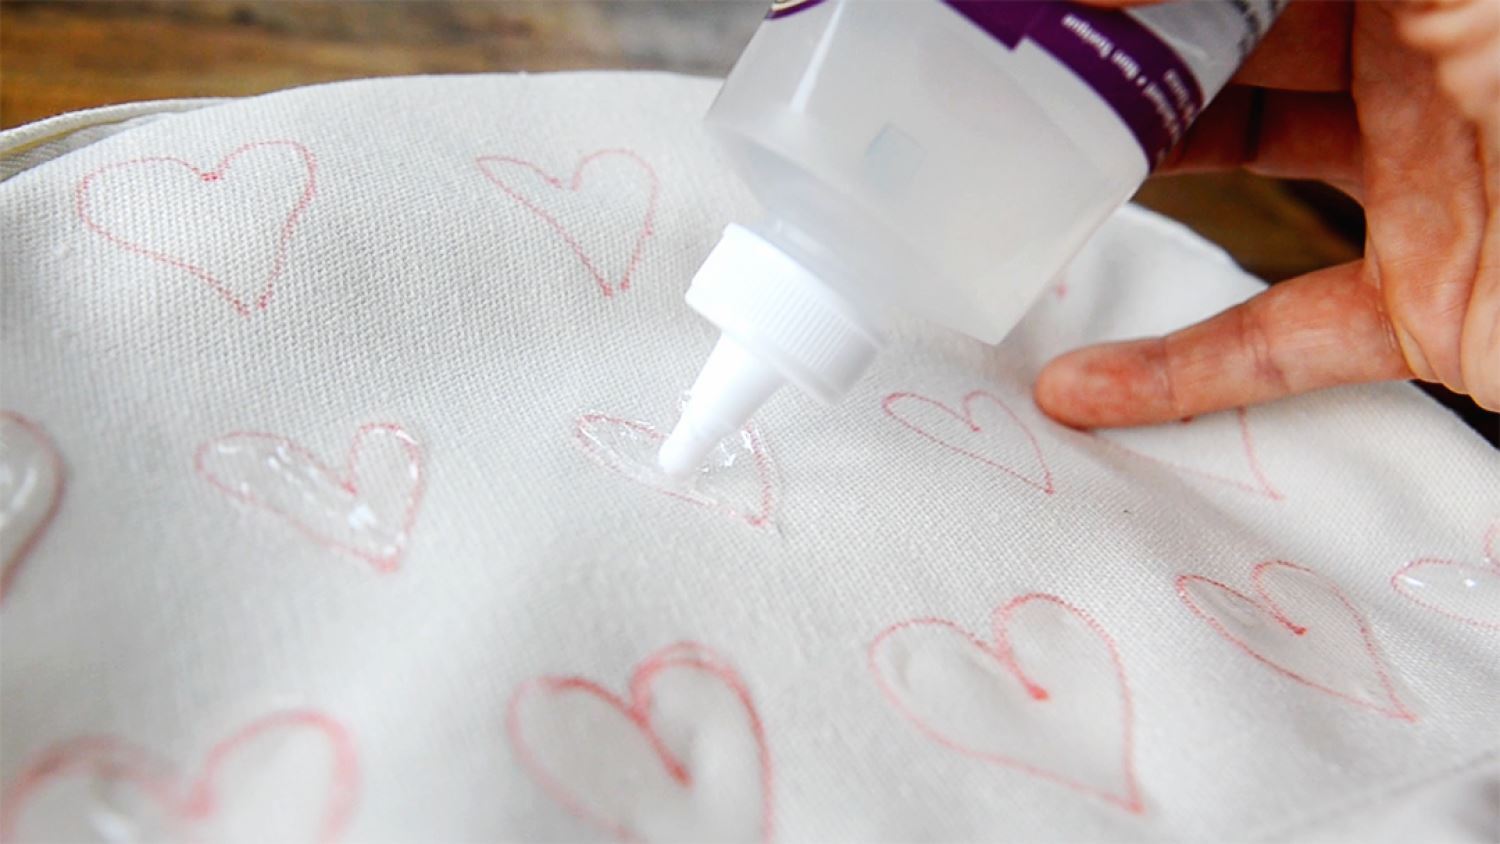
After you’ve drawn the hearts, begin filling them in with glue to create the tie-dye resist. Apply the glue generously so it completely covers the heart, but not so much that it seeps outside of the lines. Tip: Practice first on scratch paper or scrap fabric to get the hang of it!
Repeat on pencil case
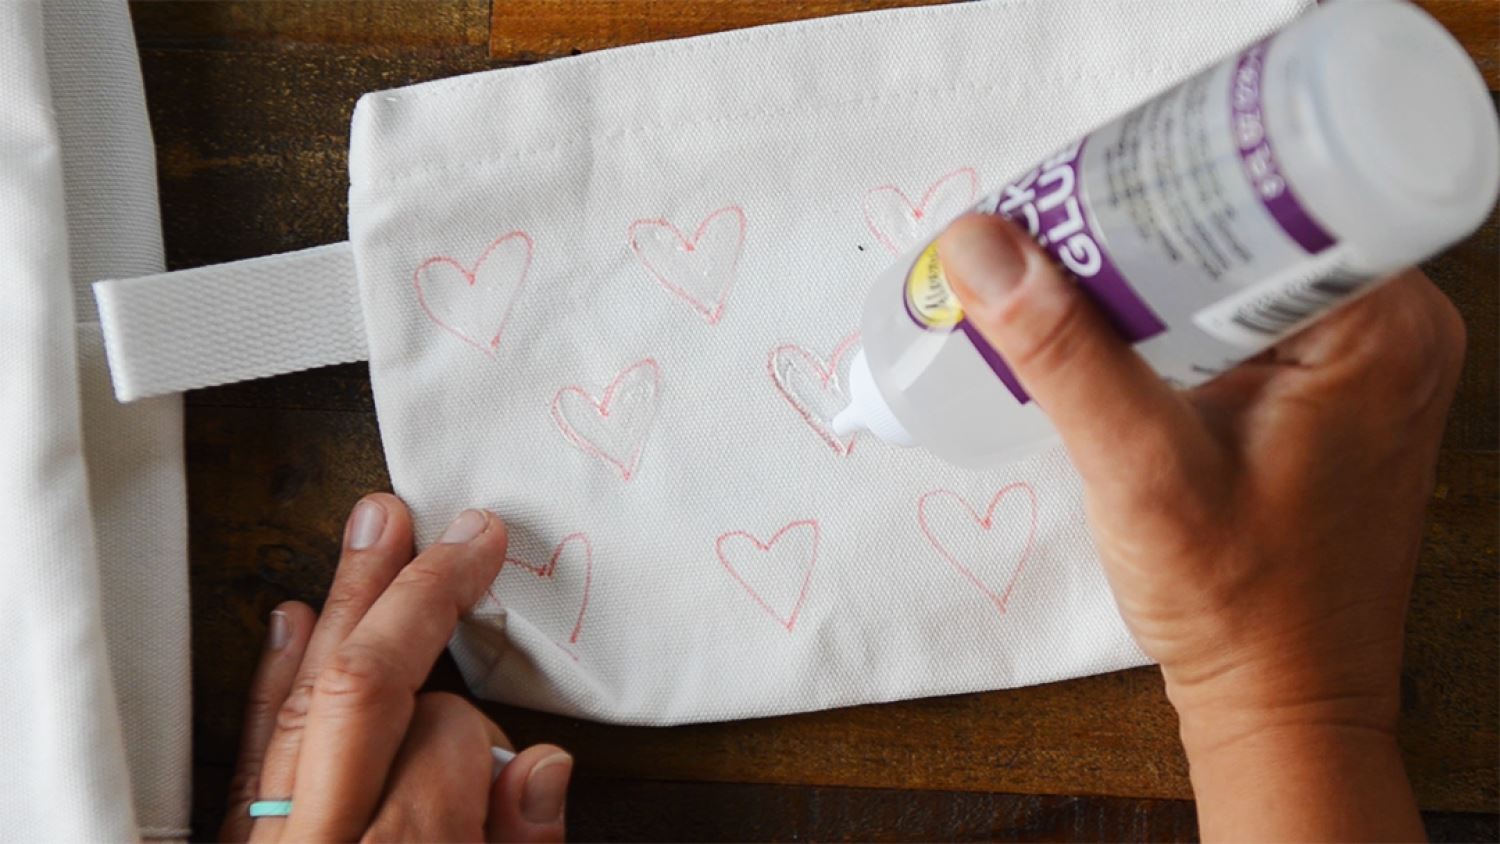
Repeat on the pencil case if you want to create the same pattern as the backpack. Then let the glue dry COMPLETELY before tie dyeing.
Draw a half heart shape along the fold
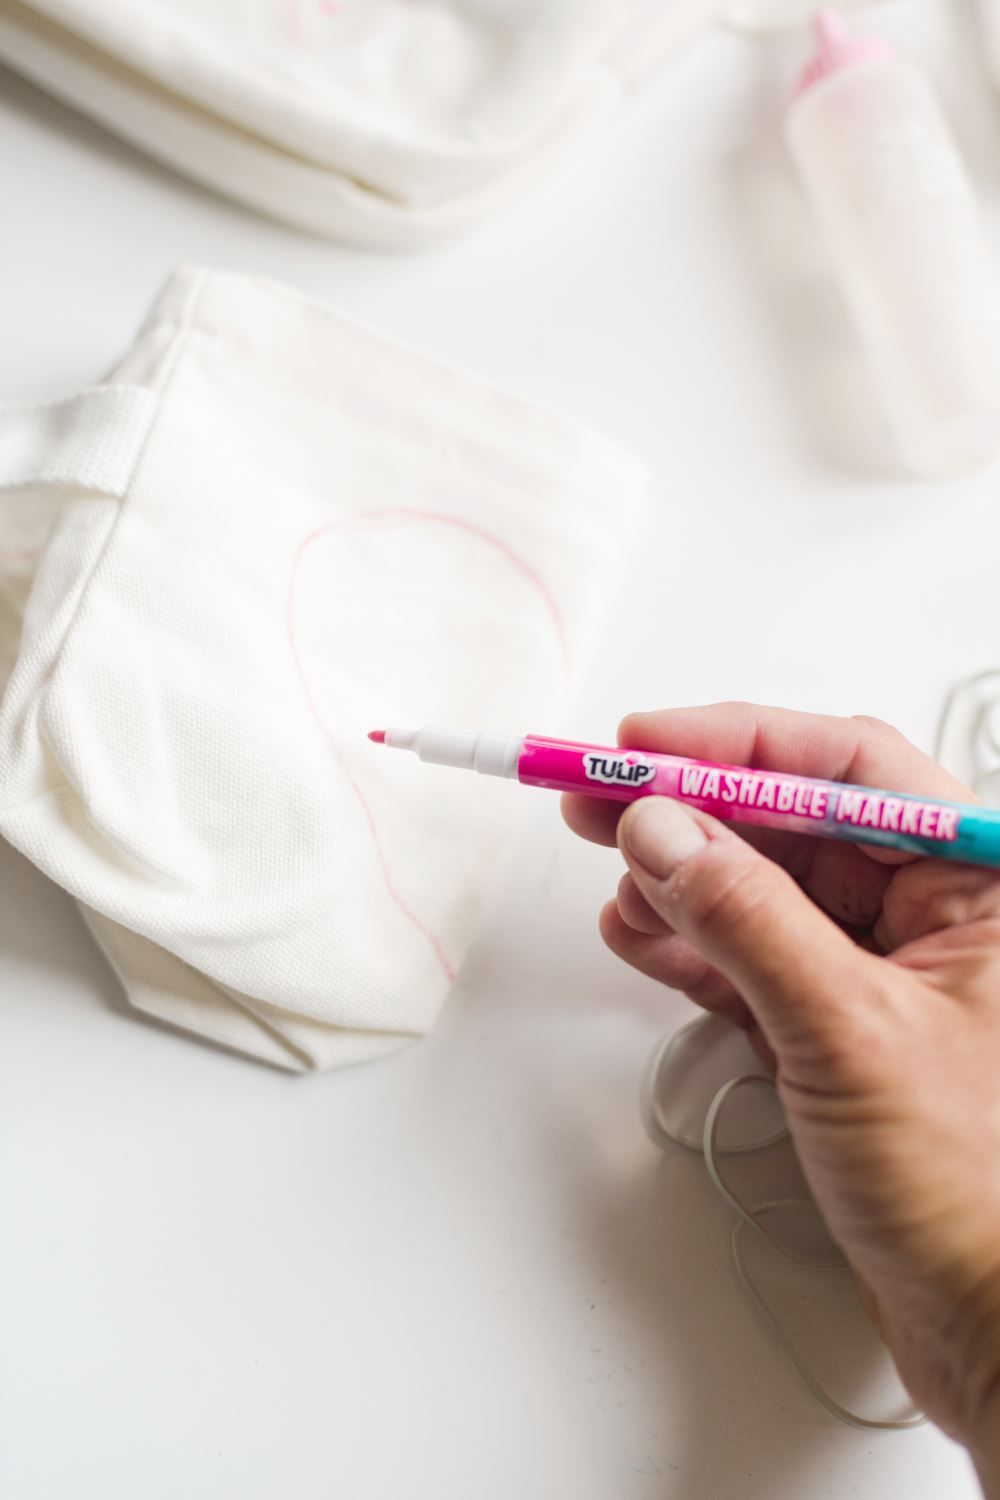
Another option you can use for the pencil case is the traditional heart tie-dye technique. Fold the case in half and use the washable marker to draw a half heart shape along the fold of the case.
Pleat and secure case along the marker line
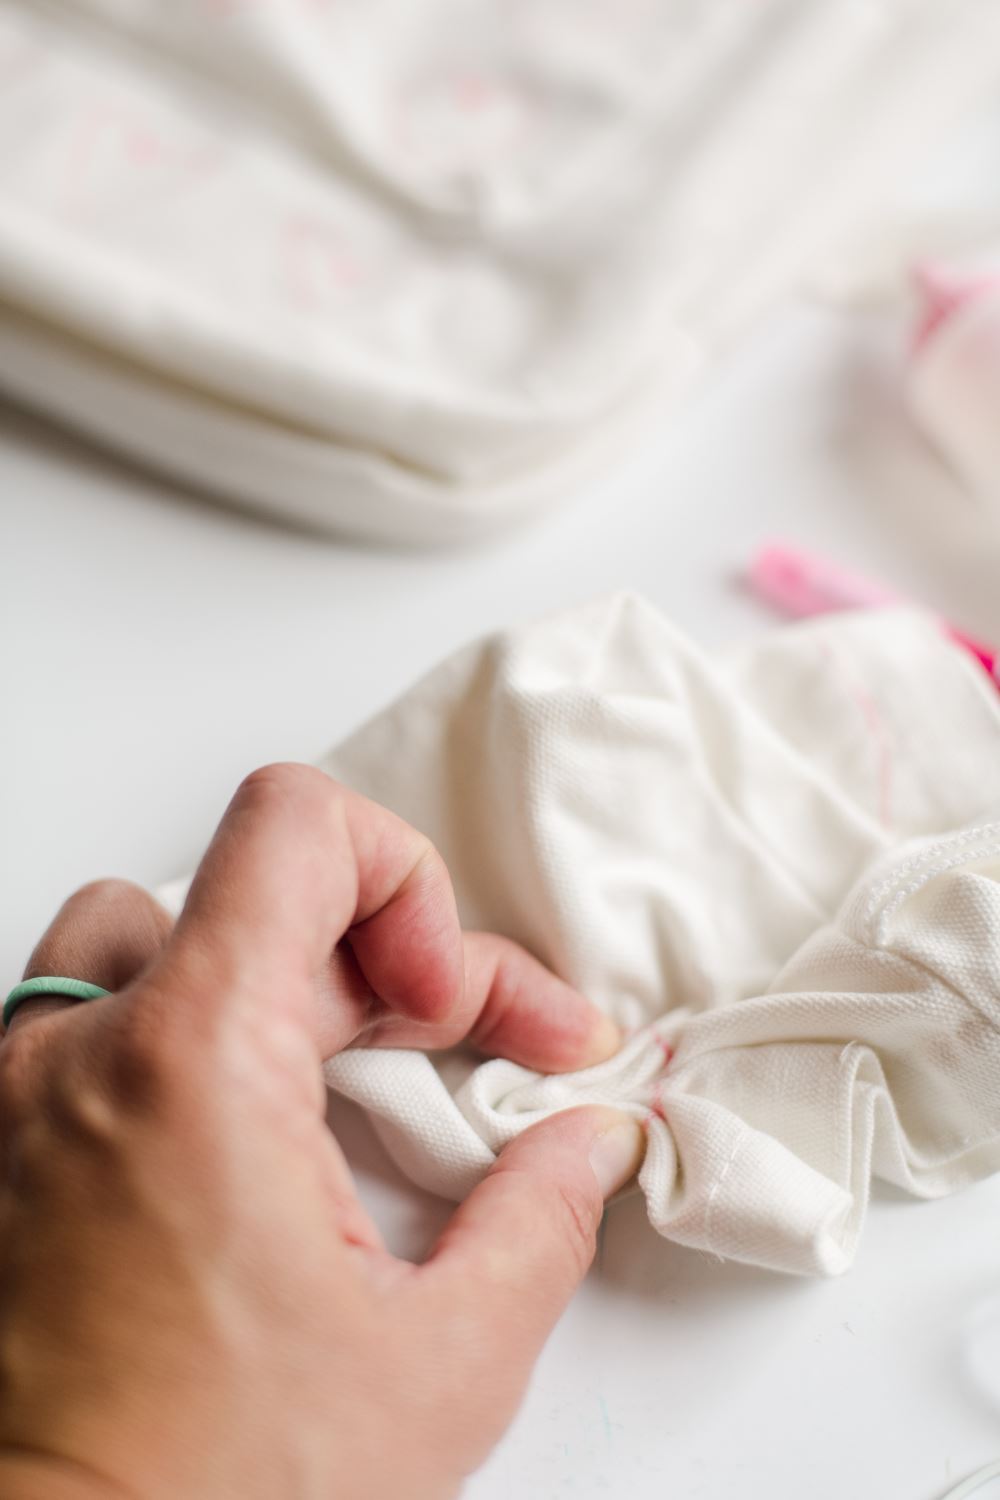
Next pleat the case along the marker line, doing your best to stay with the line so it appears straight over the tops of the pleats. Secure it with a rubber band at the marker line. Continue wrapping another rubber band or two around the case after the first rubber band.
Scrunch and secure backpack
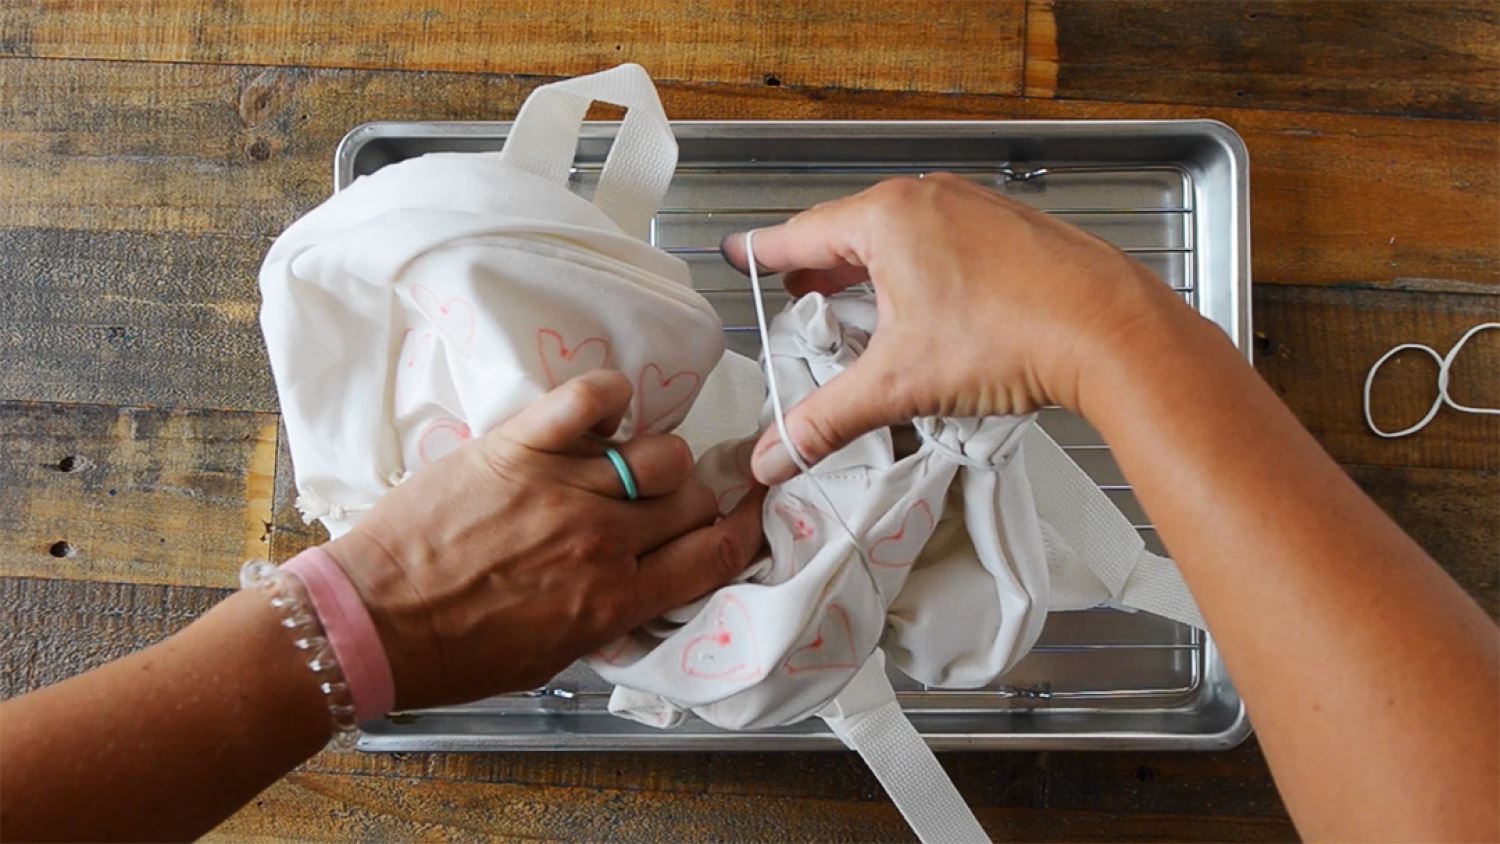
Once the glue has completely dried, now it’s time to begin scrunching the backpack and securing with rubber bands. Make sure the zipper is closed, and do your best to scrunch up and secure the straps too. Tip: Leave some heart areas un-scrunched because you want the glue resist to do its job so you can really see the heart shapes after the bag has been tie dyed.
Dampen projects and place on rack
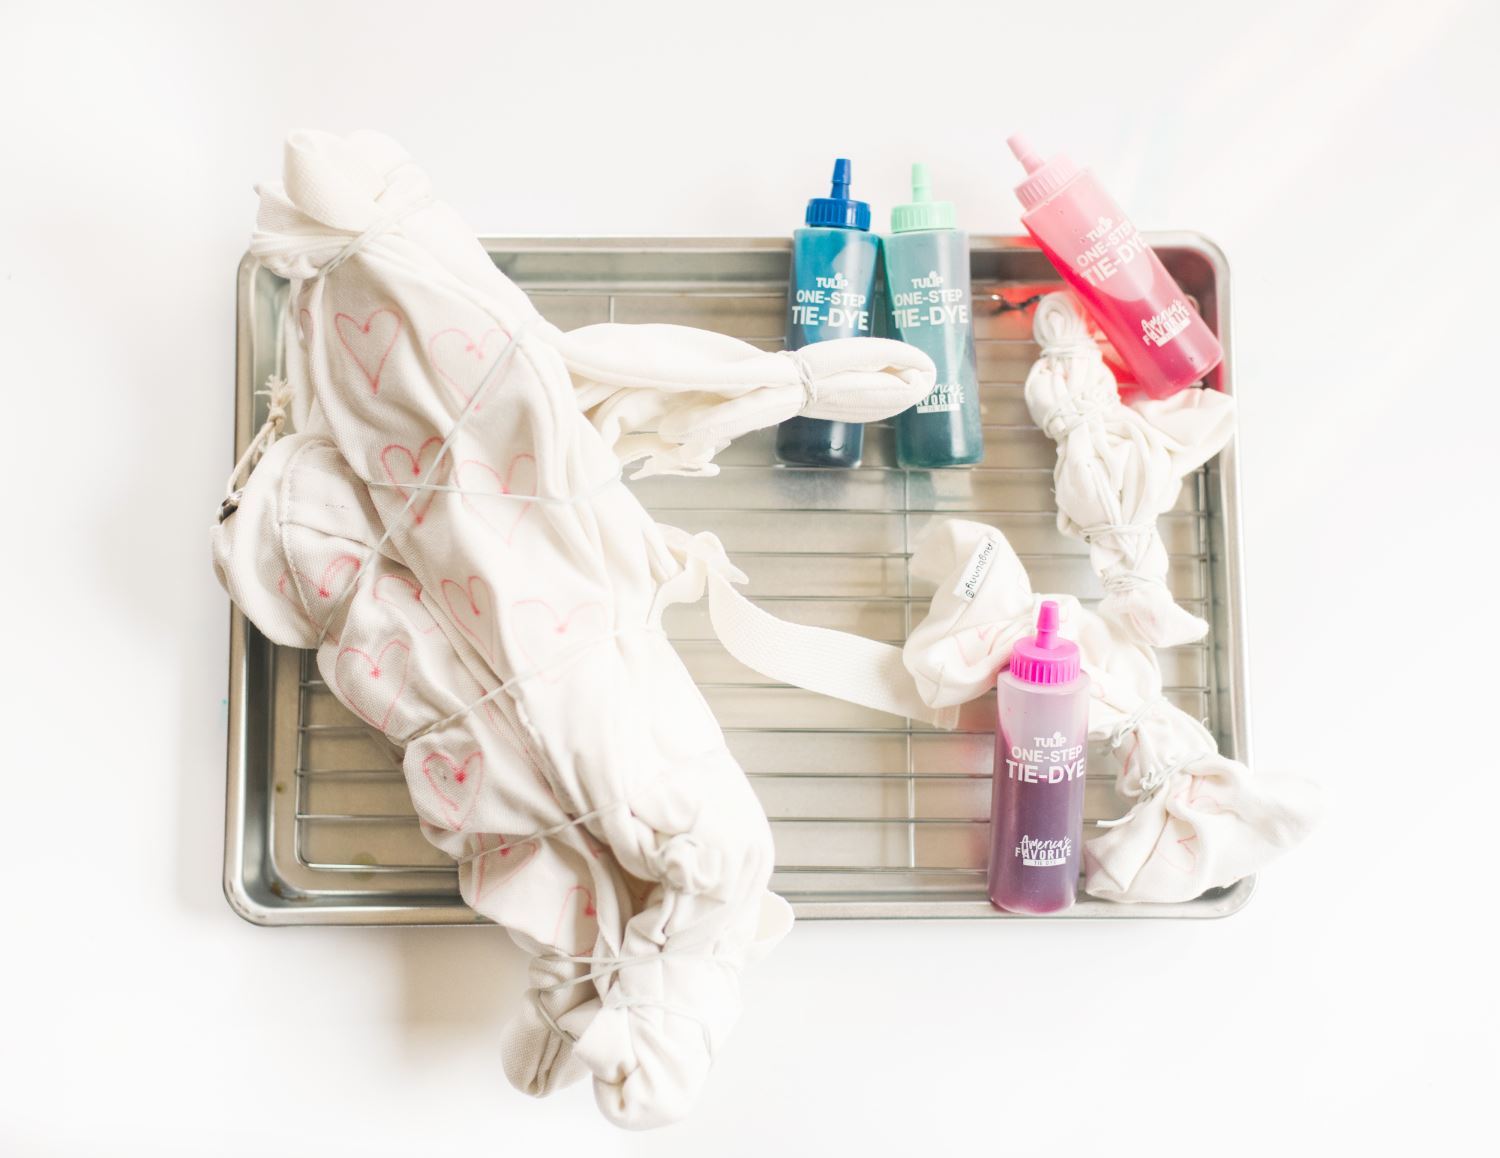
Repeat with the pencil case, then dampen each project and place on a wire rack over a bin. (The bin will catch the dye runoff so your projects don’t sit in pools of dye, making the colors muddy.)
Add water to mix dyes
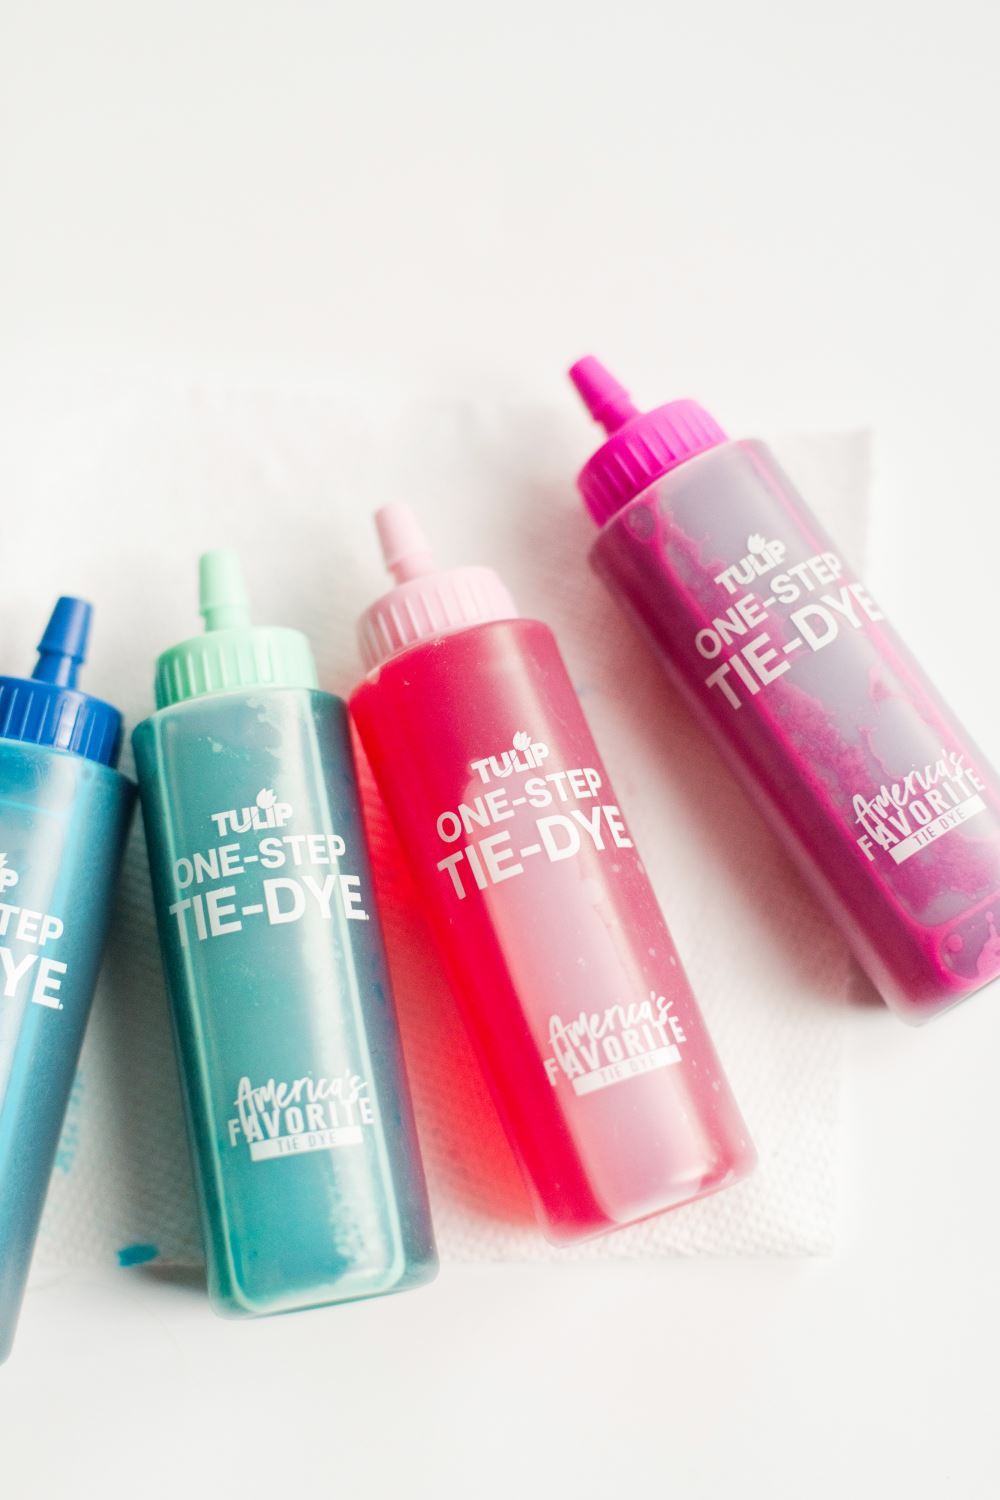
Add water to the dye bottles and shake to mix. You can use all colors in your kit or just a few, depending on how much color variation you want on your projects!
Apply dyes to all sides of projects
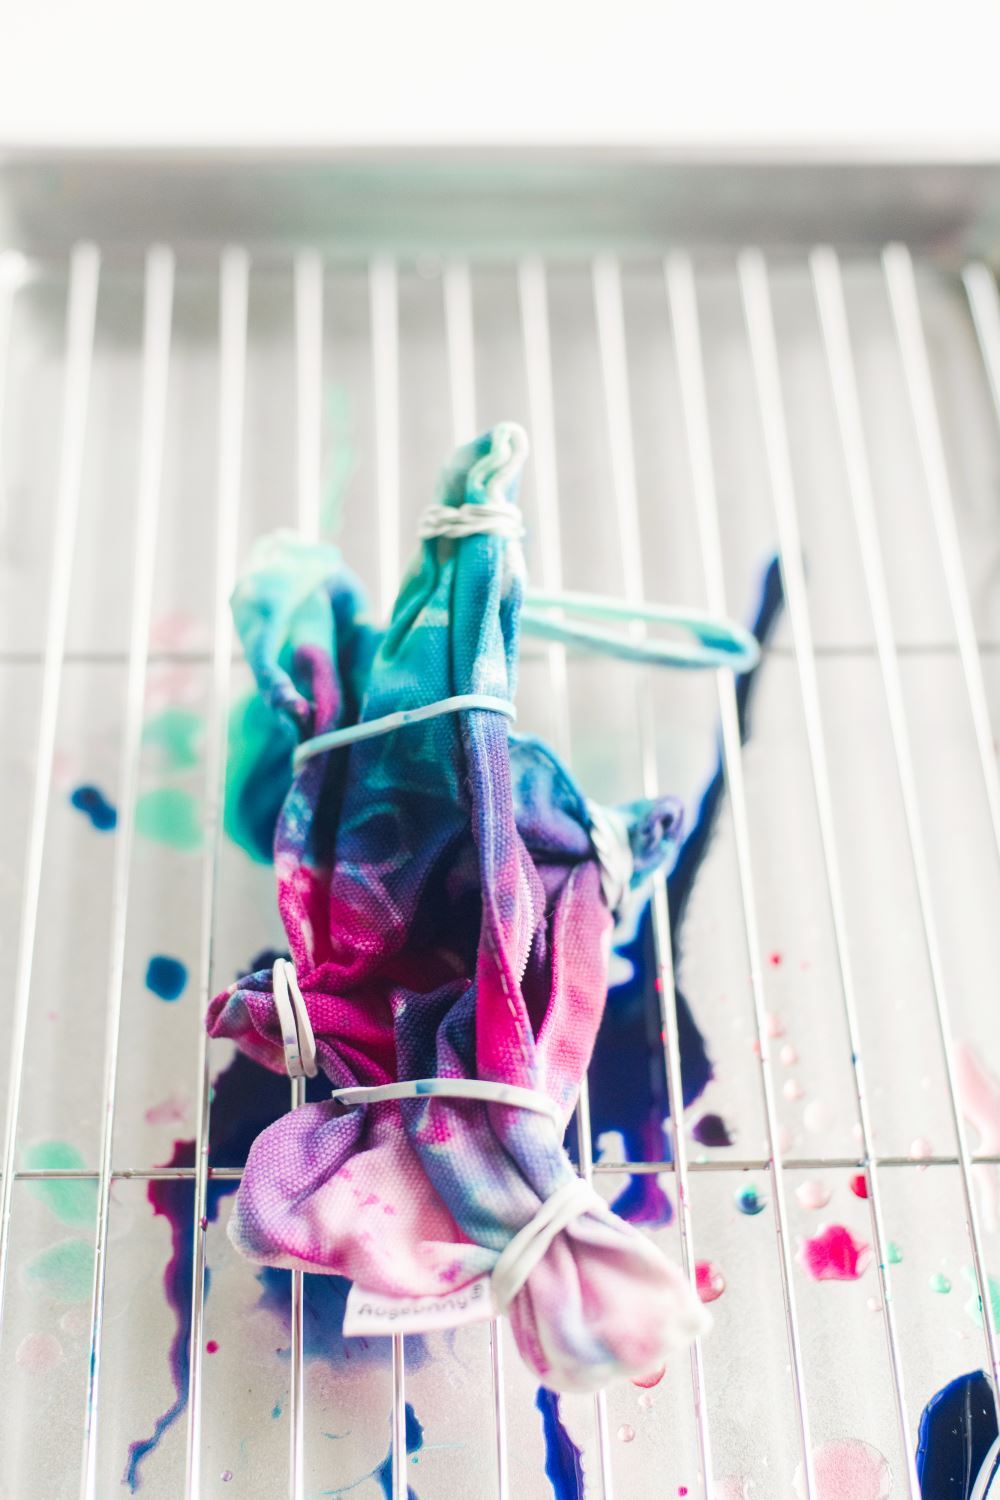
Finally! It’s time to tie dye! Apply the dyes however you like on the backpack and case(s). Make sure to rotate each as you are applying the dyes so you cover all sides and angles.
Let set for 6 to 8 hours
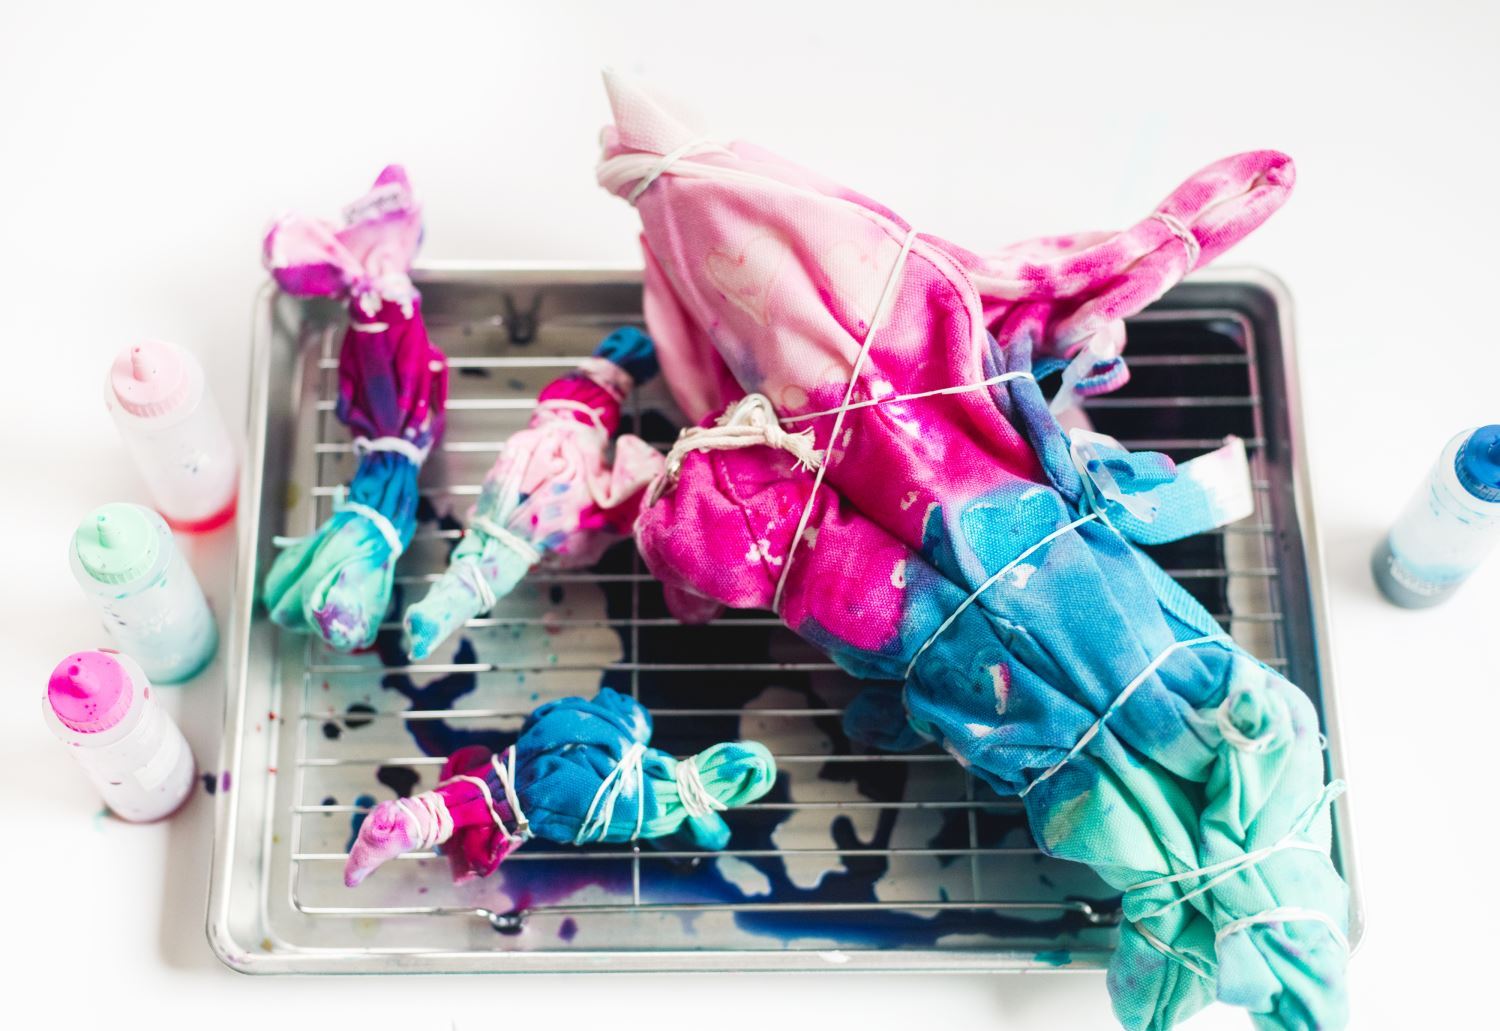
After you’ve covered each project in tie dye, wrap in plastic or place each in a plastic bag to keep them damp while the dye processes for 6 to 8 hours or overnight for brightest results.
Cut rubber bands off after dye has set
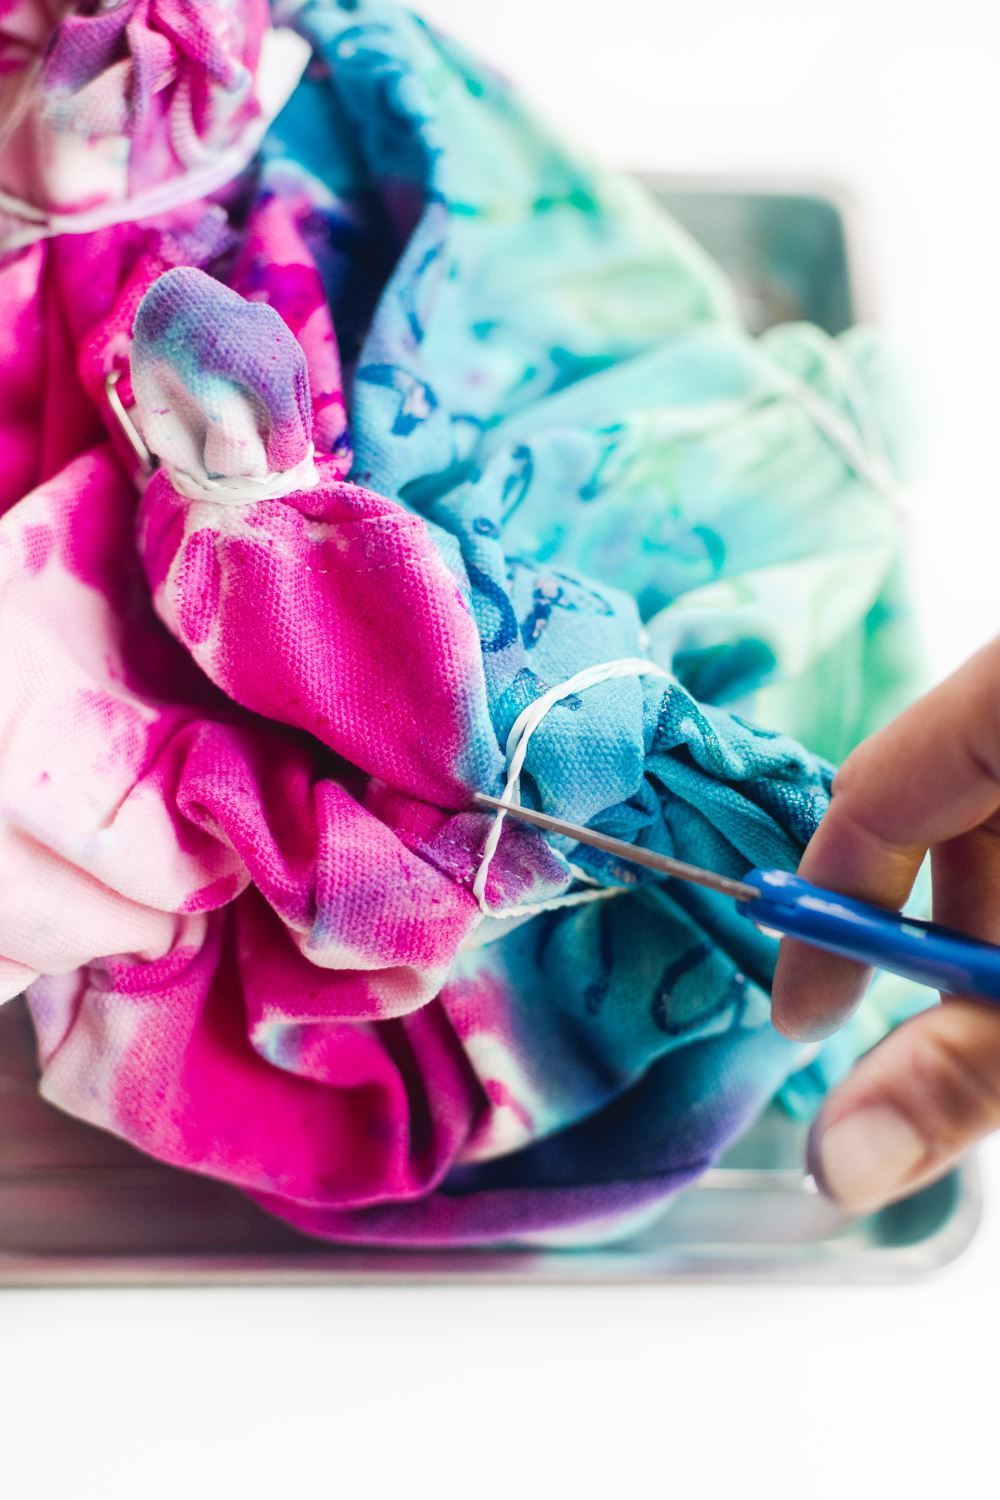
After the tie dye has set, cut off the rubber bands from each project.
Rinse projects under running water
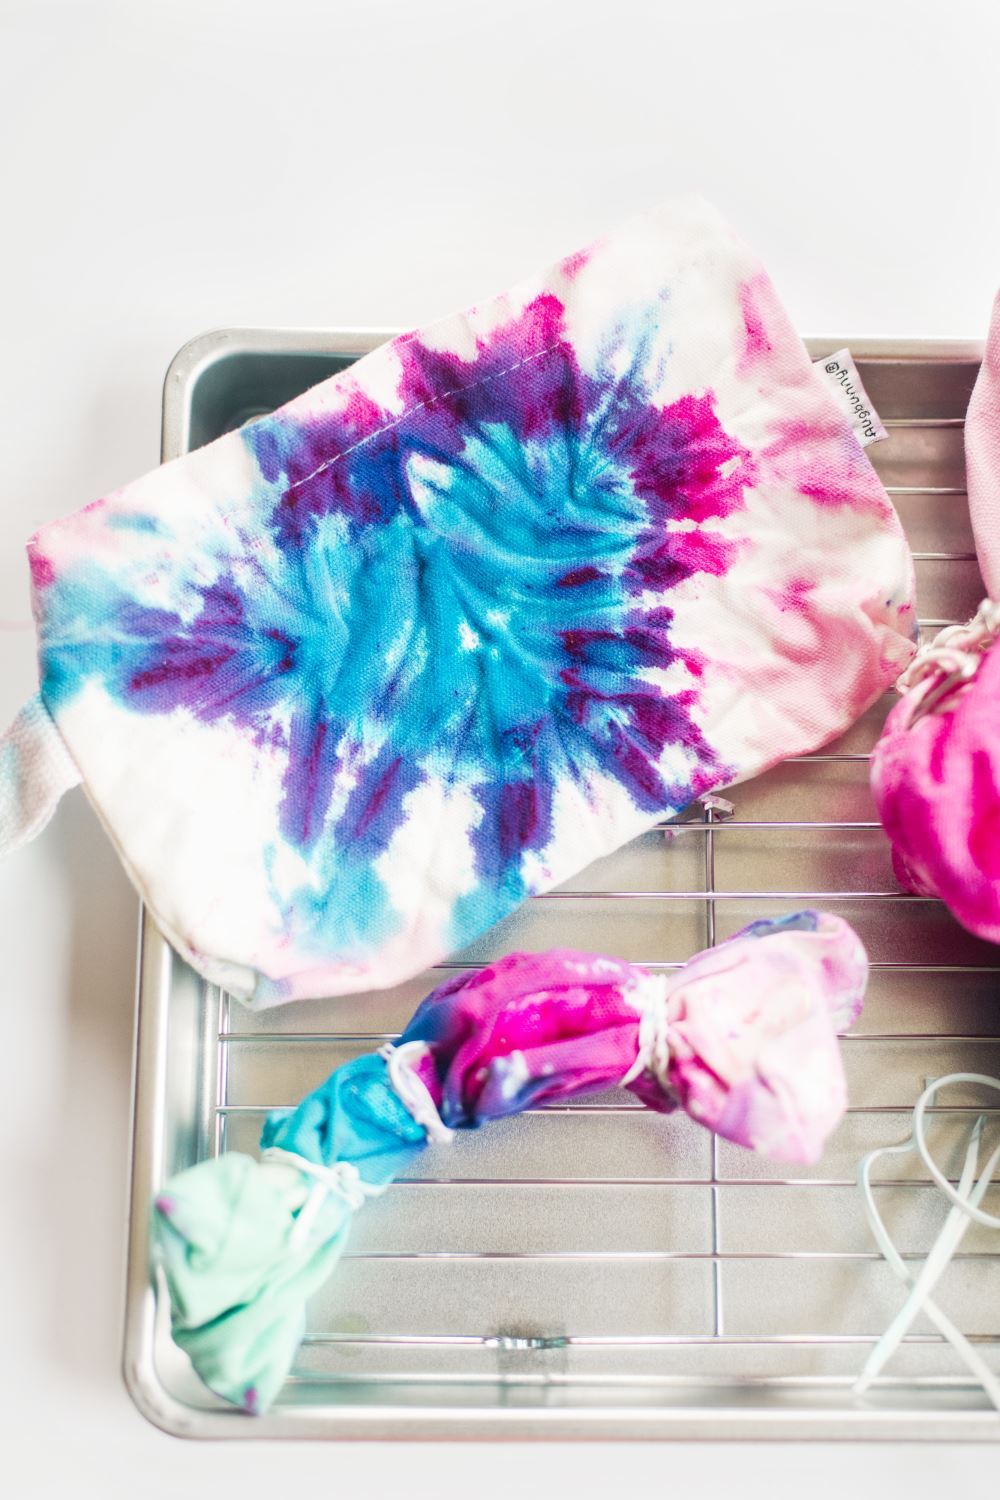
Rinse each thoroughly under running water to remove excess dye.
Soak in warm water to remove glue
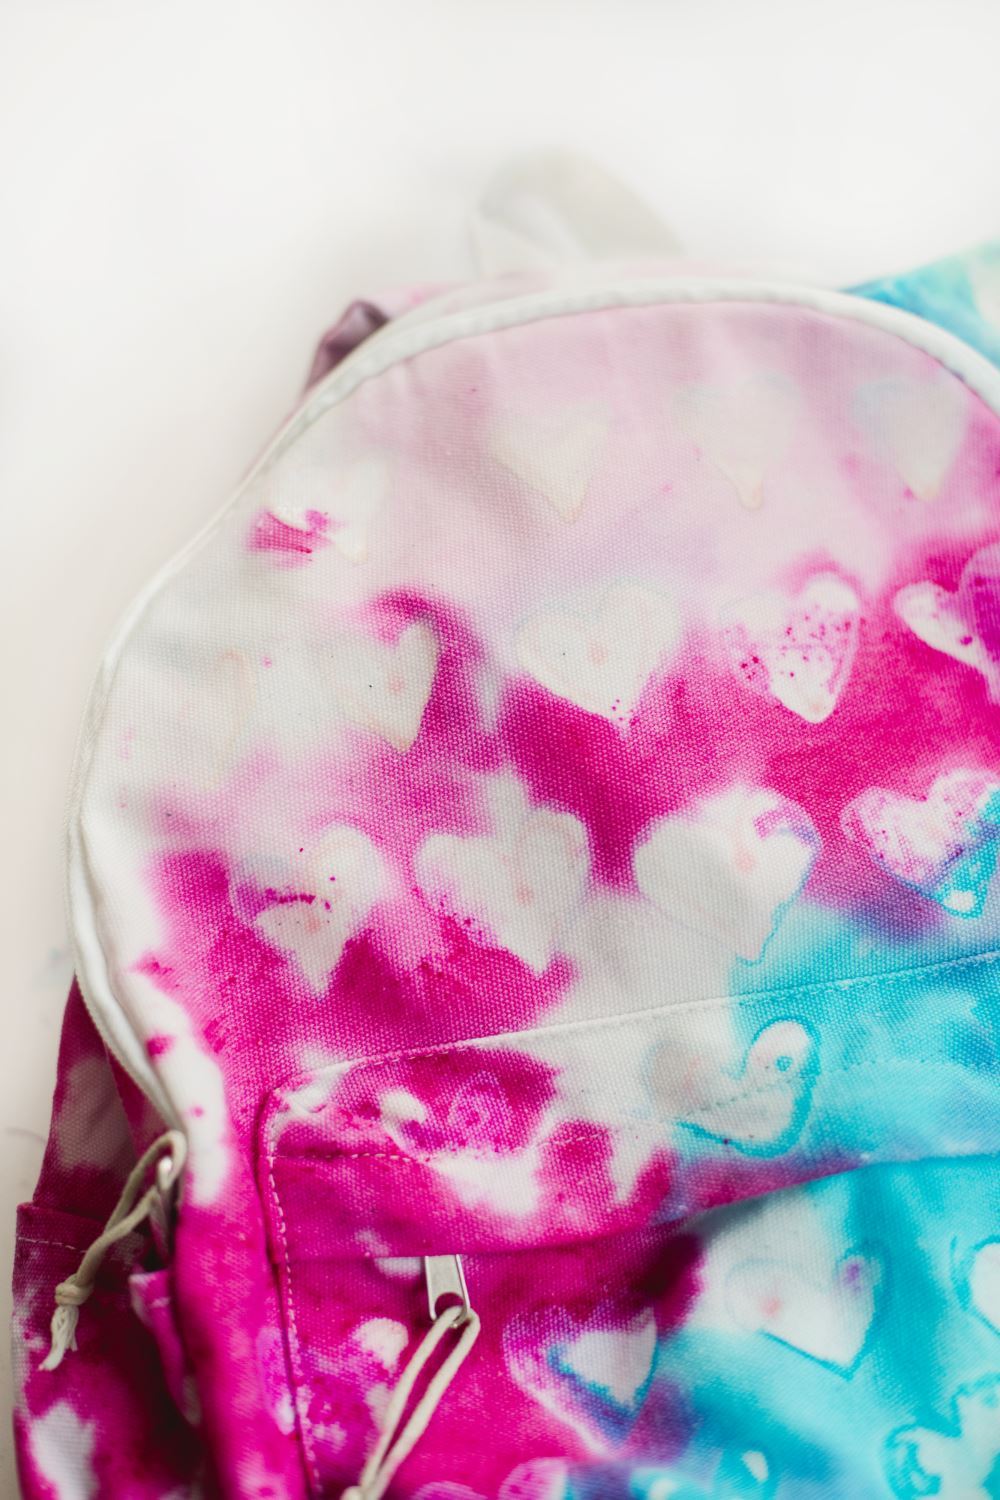
For the projects using glue resist, fill your sink or a bin with very warm water, using enough water to be able to submerge the bag/pencil case entirely. Allow to soak at least 30 minutes for the glue to soften, then use your fingers to help rub away the glue. Repeat soaking and working the glue off of the fabric until all has been removed. Then hang the bag to dry!
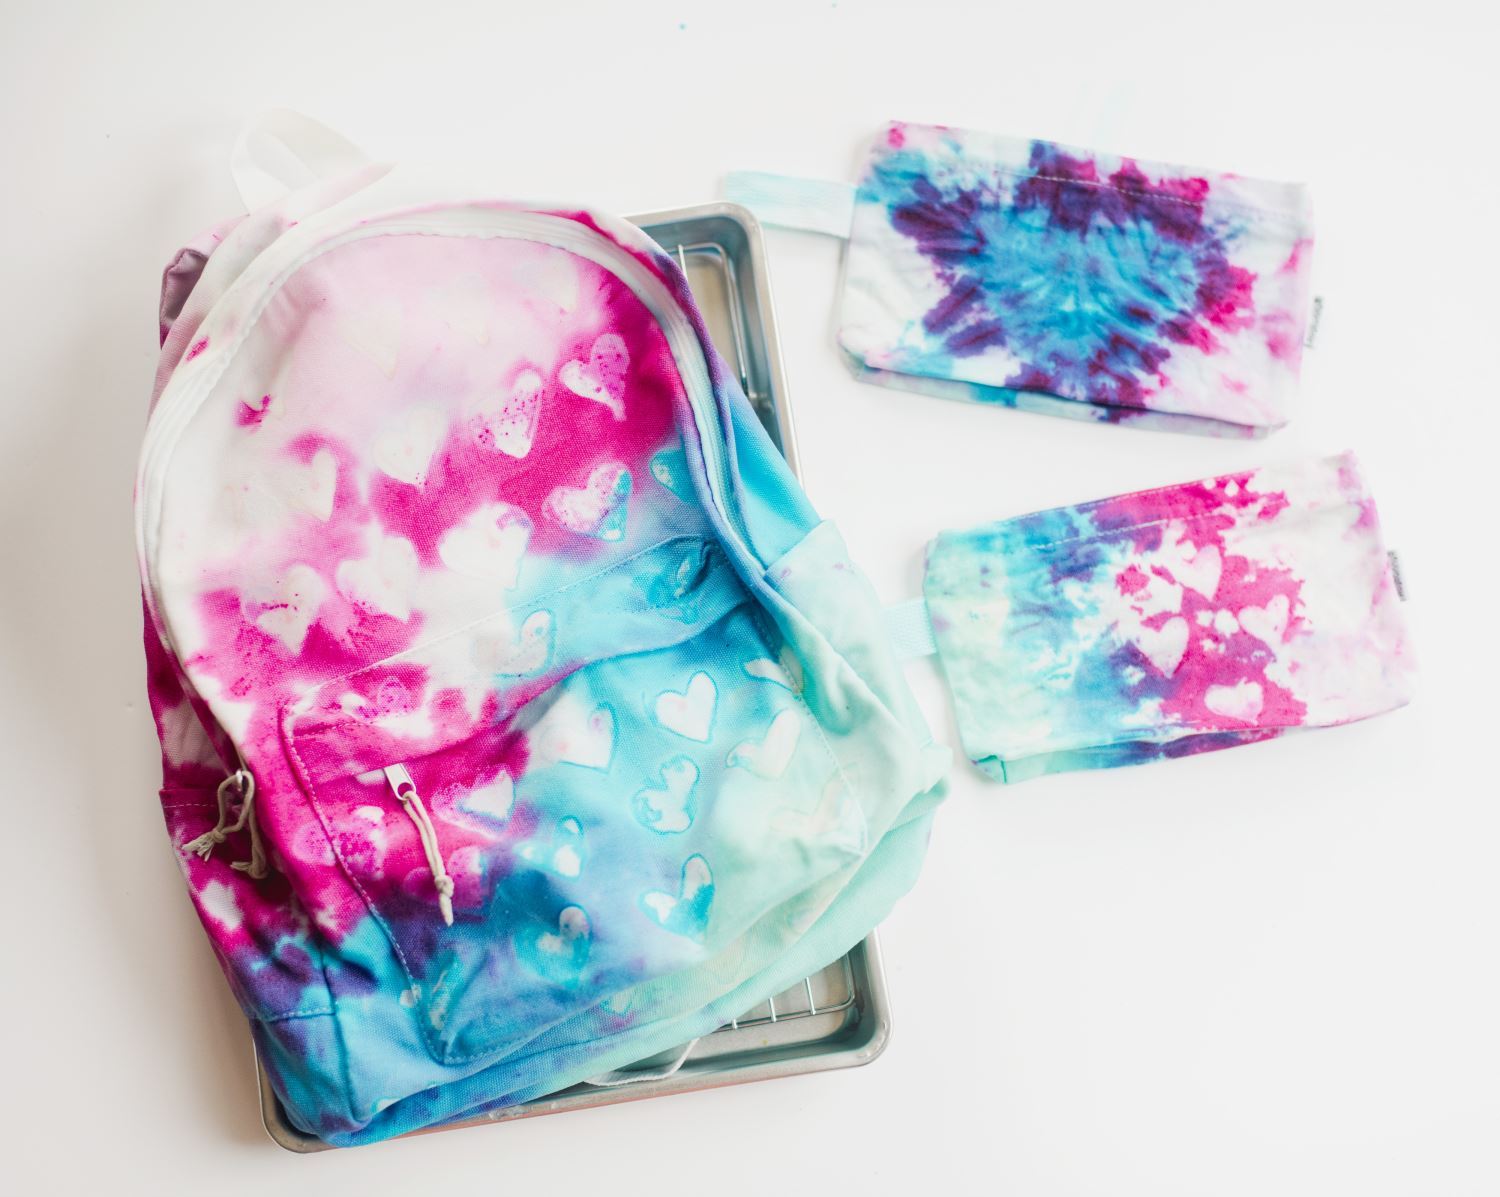
Tie-Dye Backpack and Pencil Cases
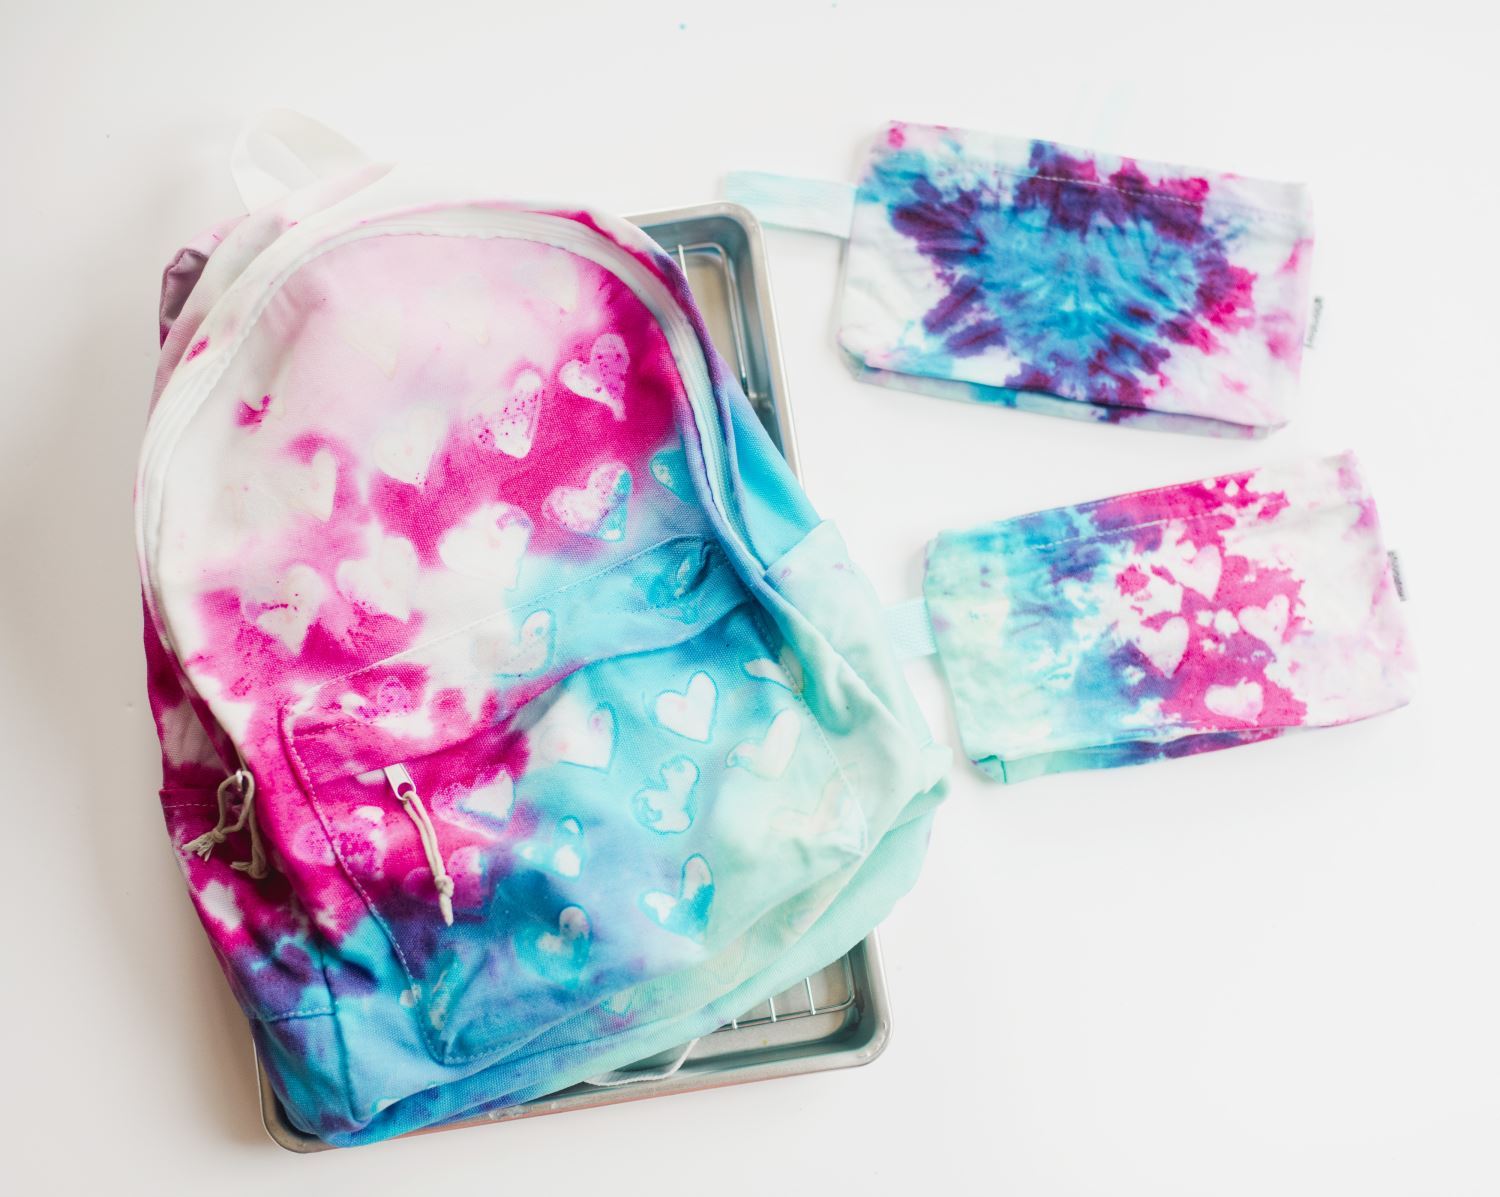
Now you’re ready to tote those books and binders in a vibrant heart tie-dye backpack you’ll love all year long!
Heart Tie-Dye Pencil Case
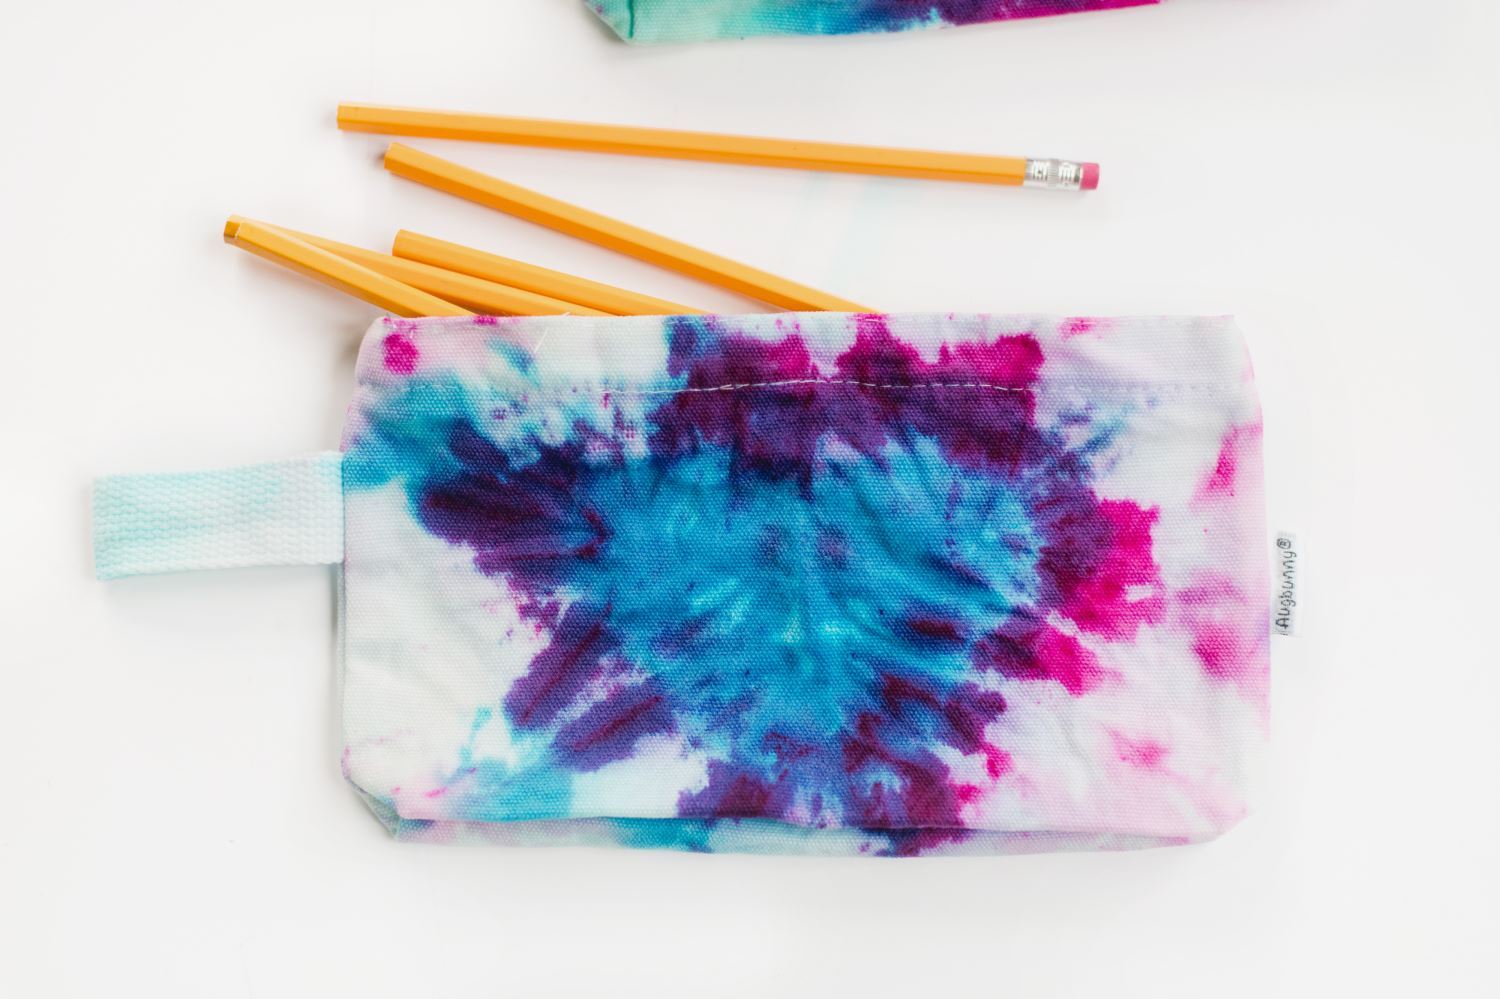
How would you tie dye a backpack for back to school? Tag us on social @tulipcolorcrafts and share your Tulip tie-dye creations with us!


