Make Your Own Tie-Dye Family Stockings
Published Date November 12, 2024
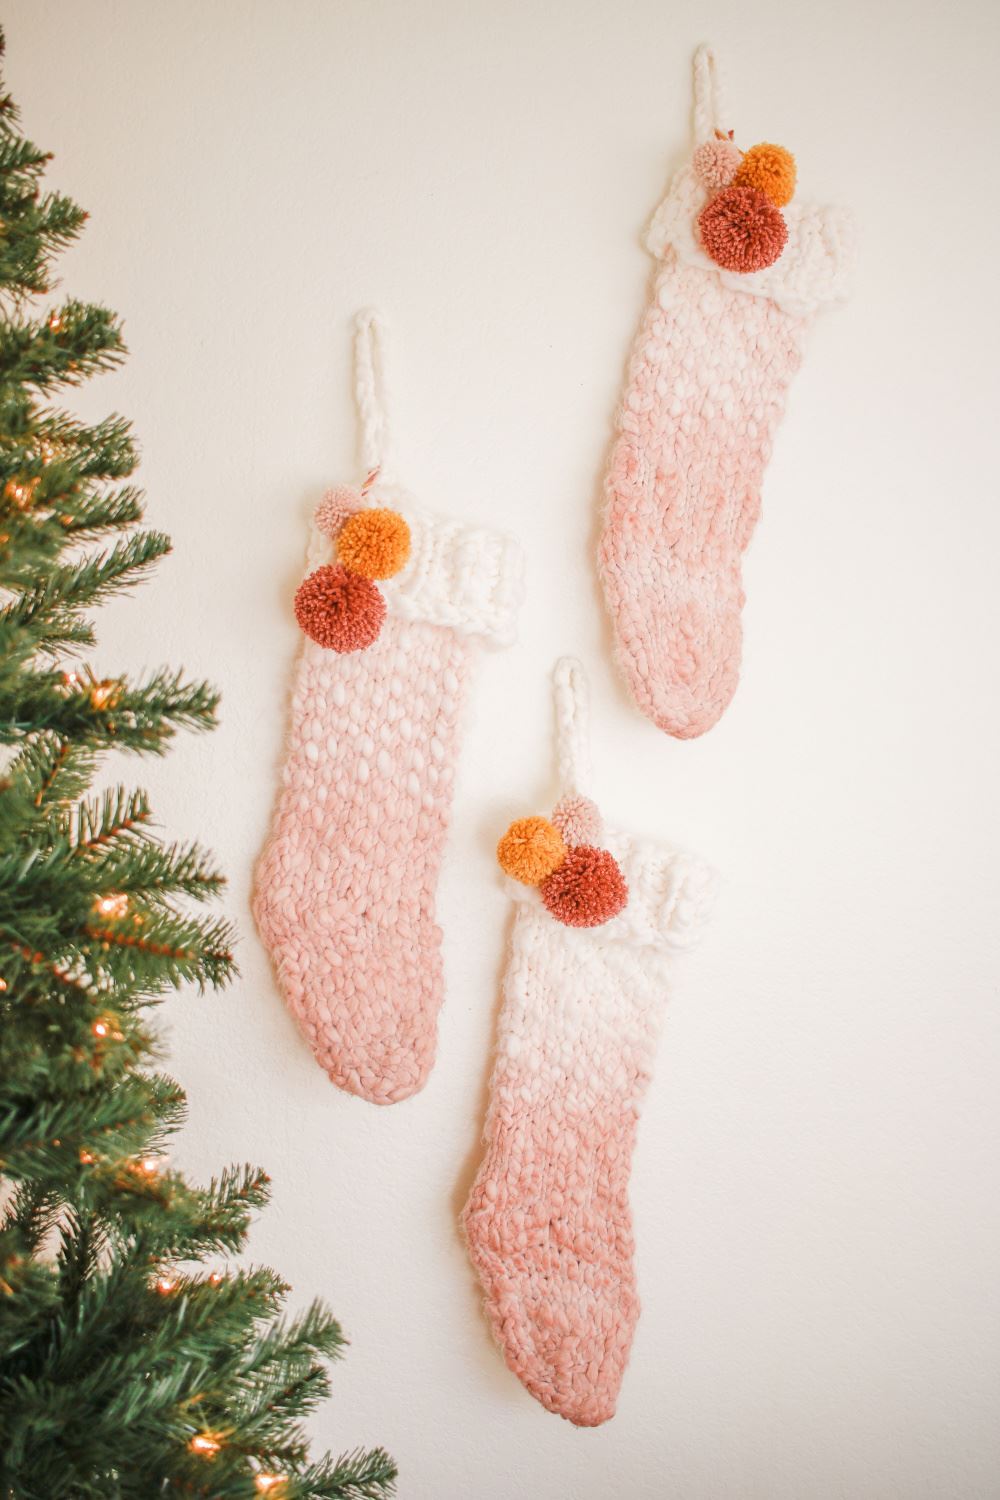
Want Santa to fill your family stockings with lots of good stuff this year? Up your chances with custom tie-dye stockings that’ll catch his eye once he comes down the chimney! Mikyla Creates will show you how to use Tulip Fabric Dyes to make ombre-dyed family stockings with pretty pompoms to go with them. Get inspired to get colorfully creative with your holiday décor this year!
What you need:
- Tulip Fabric Dyes (Hot Water Dyes) – Bright Pink, Gray, Sunshine – or desired colors
- White cotton chunky knit stockings
- Yarn in desired colors for pompoms
- Pompom makers in various sizes
- Large bowl for mixing dye
- Salt/measuring spoons
- Mixing spoon
- Scissors
- Disposable plastic table cover
Make sure stockings are 100% cotton
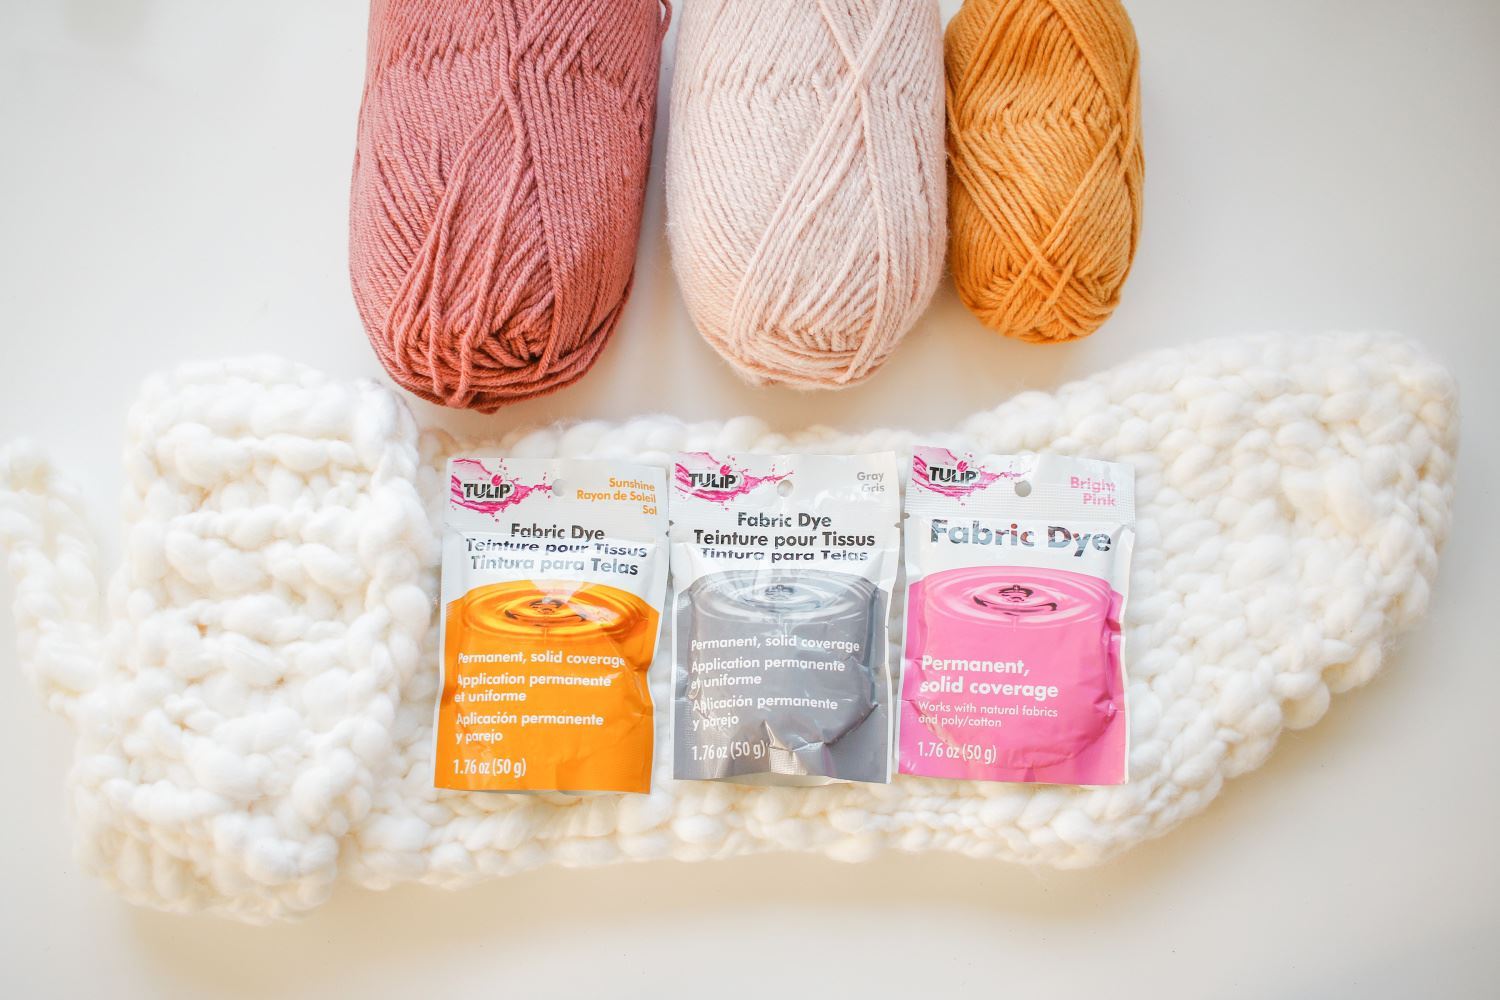
For best results when dyeing your family stockings, make sure the stockings are made from 100% cotton or another natural-fiber fabric.
Mix Fabric Dyes according to instructions
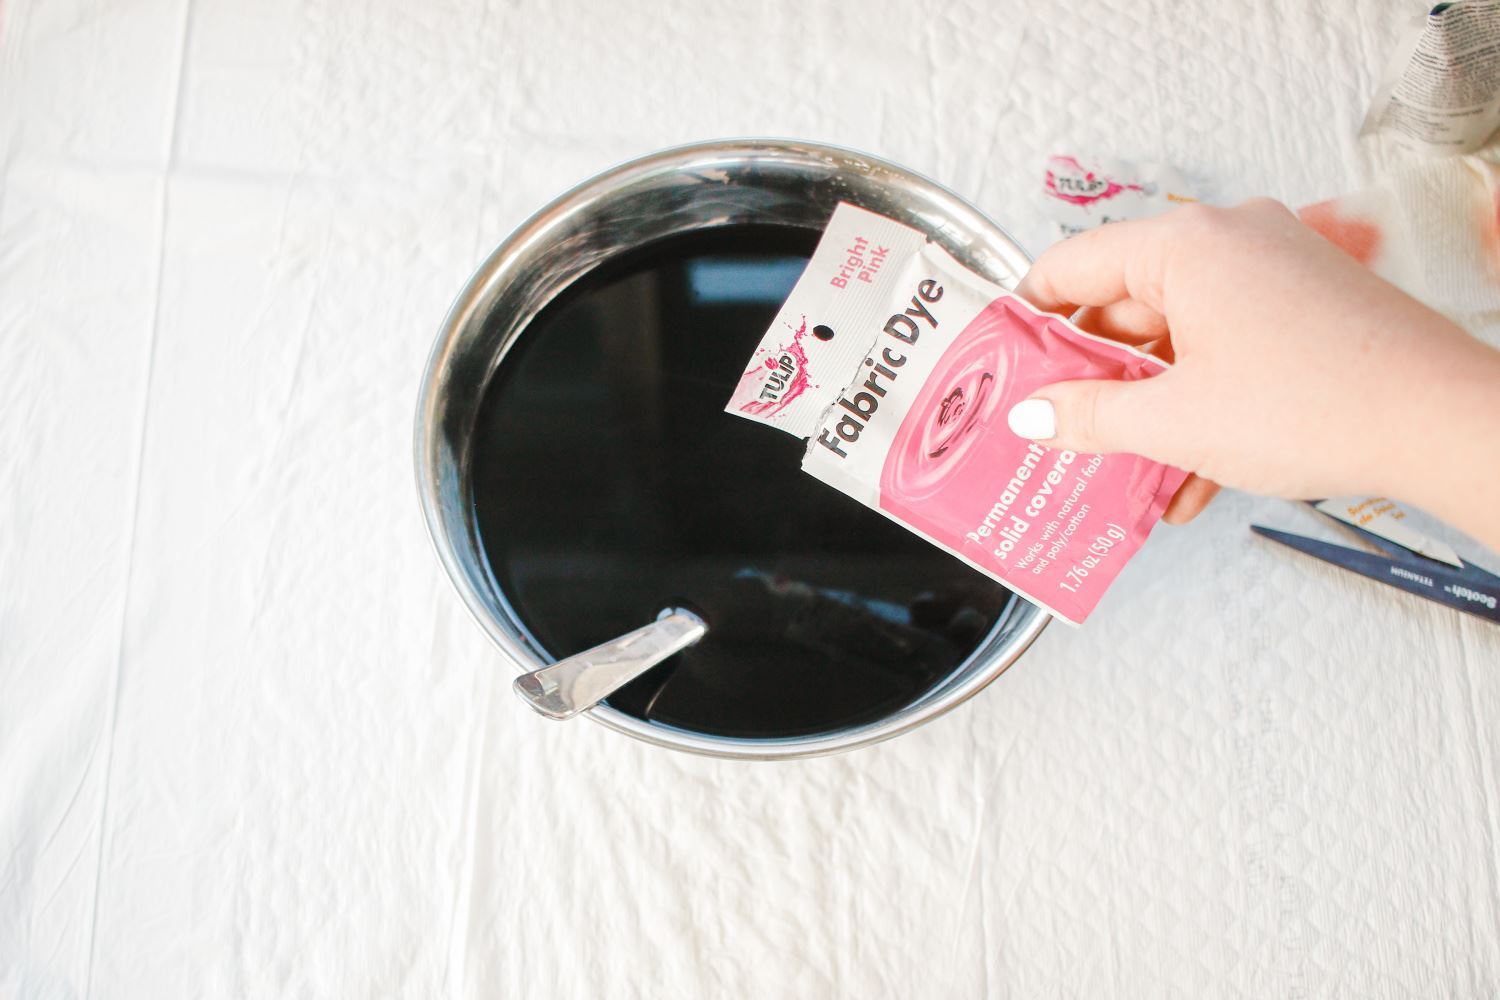
Cover your work surface with a protective plastic table cover, then mix your Fabric Dyes (hot water dyes) in a large bowl according to the package instructions.
Create custom colors by mixing and testing dyes
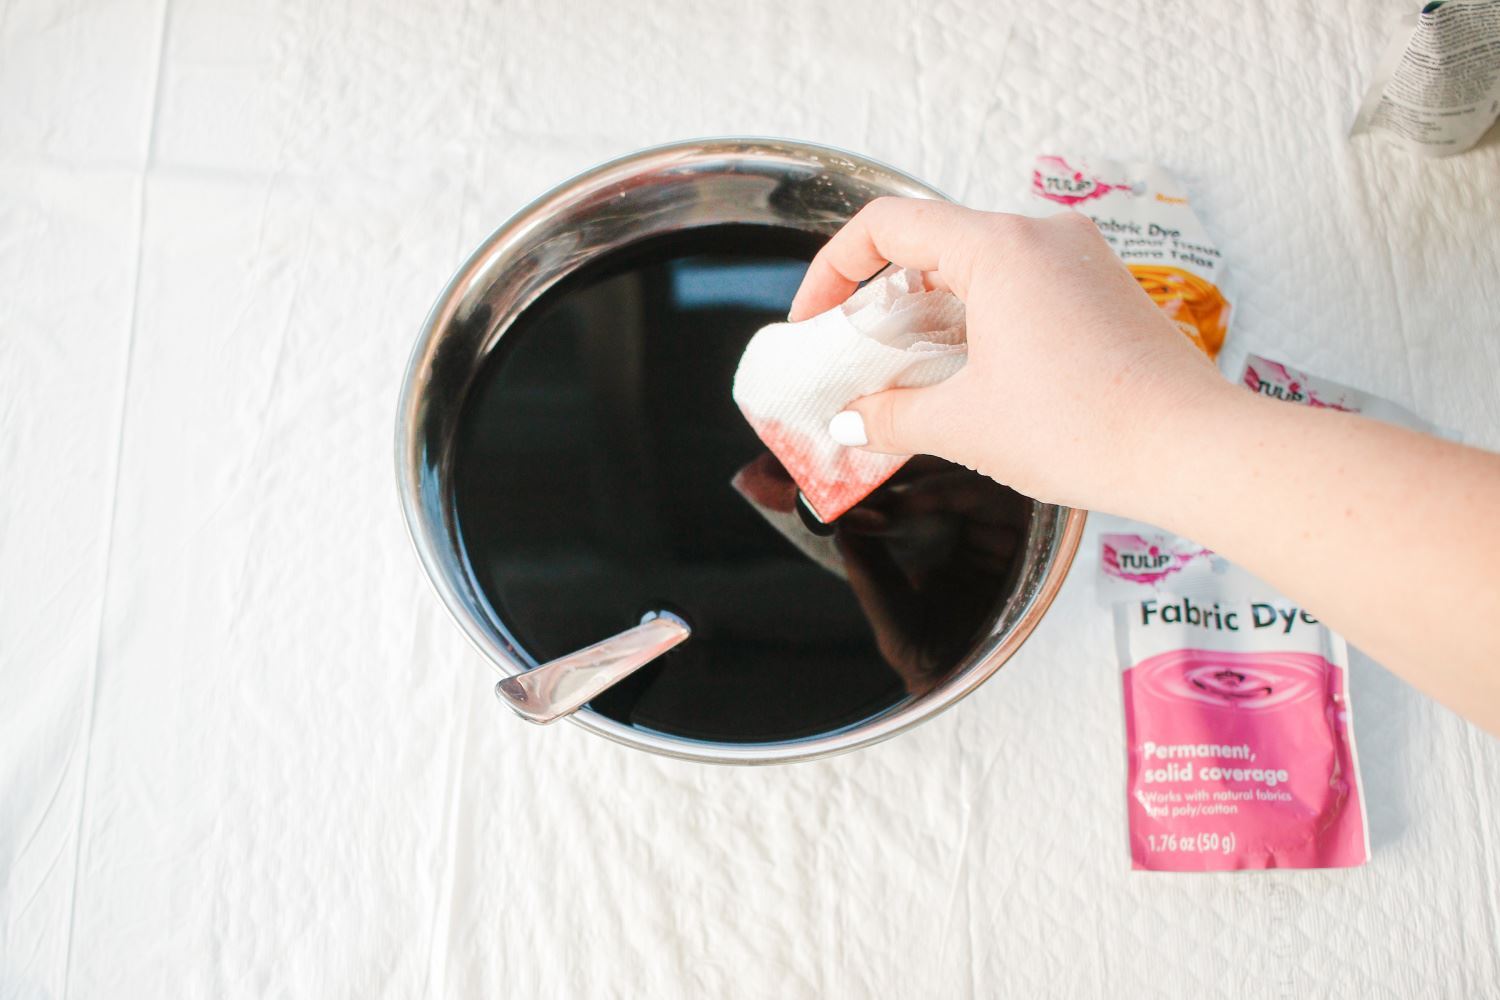
Mikyla created her own custom peach-pink color by mixing and testing Bright Pink, Gray and Sunshine dyes. To do this, mix in a little bit of each dye powder at a time and test with a paper towel until you get the shade you want. You can also try mixing other colors, or using the shade that comes in your dye packet. Get creative with your family stockings and have fun!
Dye the stockings
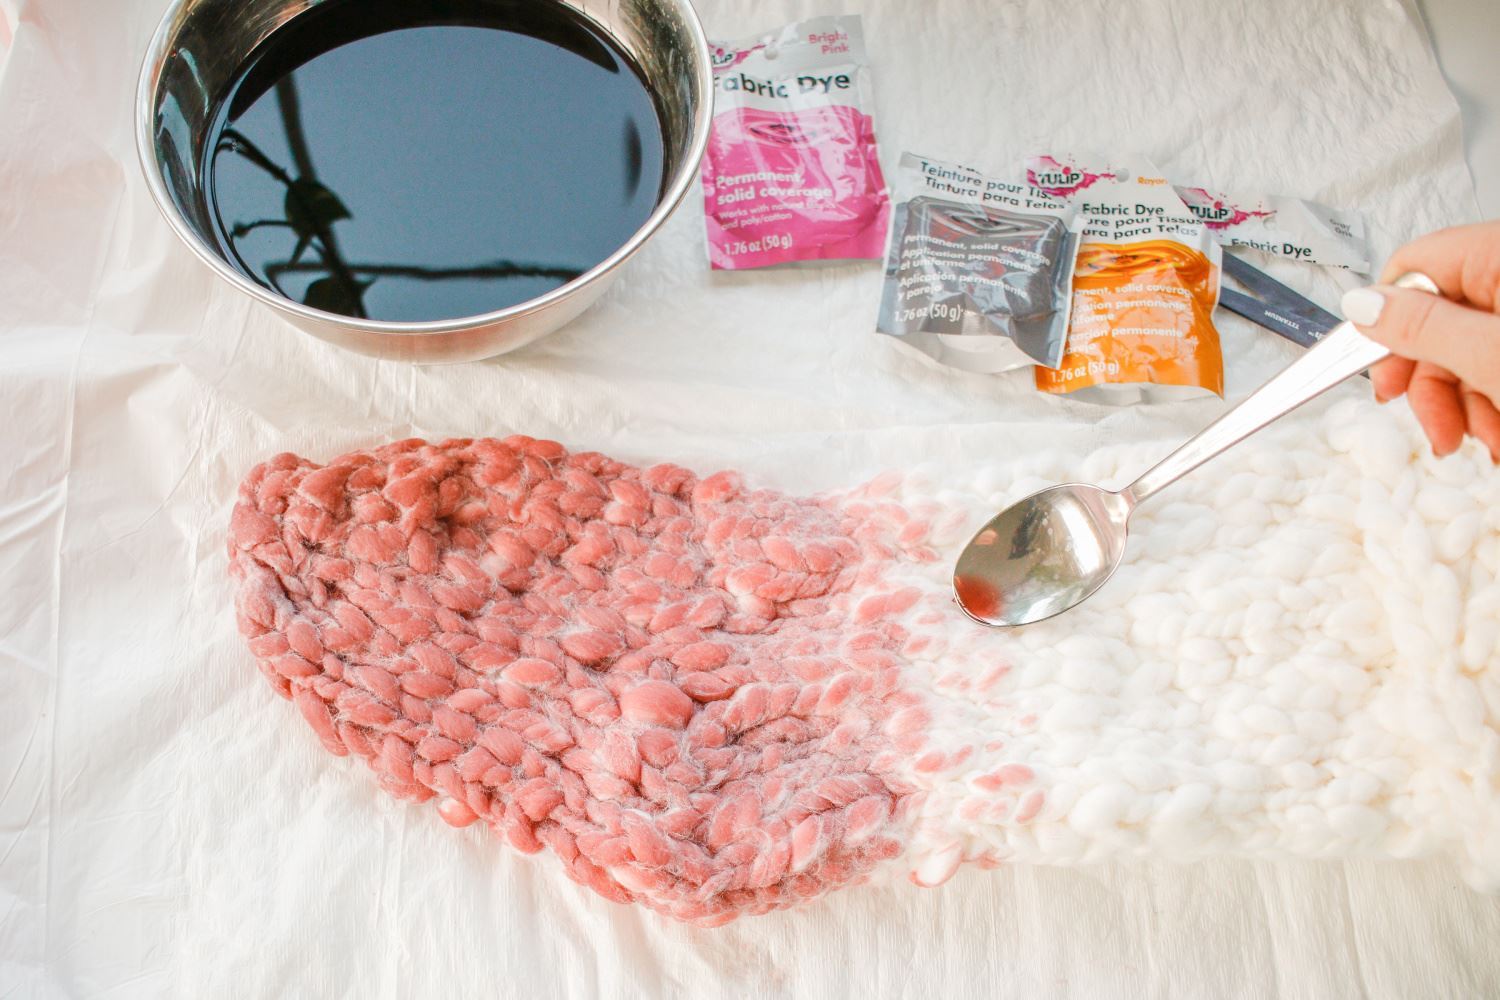
To dye your family stockings, first dampen each stocking and wring out the excess water. You can either dip the stockings directly into the bowl of dye and let them soak in the dye for a bit, or you can spoon the dyes onto the stockings if you want more control over the dye placement. The damper the stocking, the more the dye will permeate and travel through the fabric fibers. For an ombre effect when spooning the dye, add more dye on the bottoms of the stockings and less as you work your way towards the tops.
Pompom making supplies
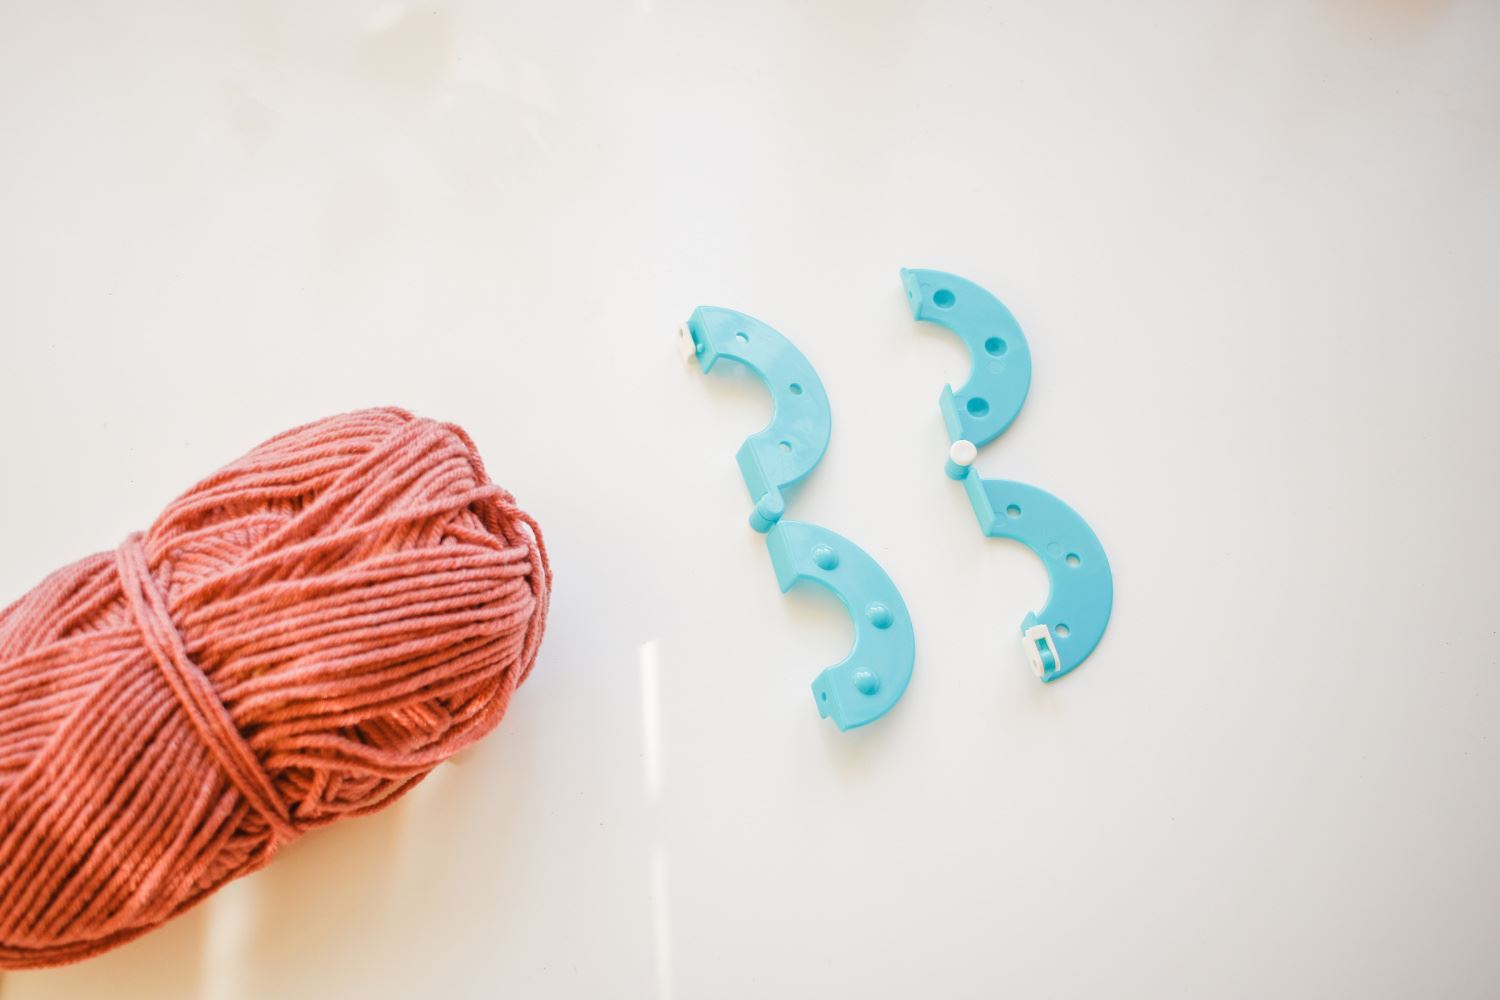
Cover the stockings with plastic to keep damp while the dye sets, then follow instructions for laundering and drying. While the dye is processing, you can make colorful pompoms to go with your family stockings! Mikyla used pompom makers of various sizes for hers.
Wrap yarn around each side of pompom maker
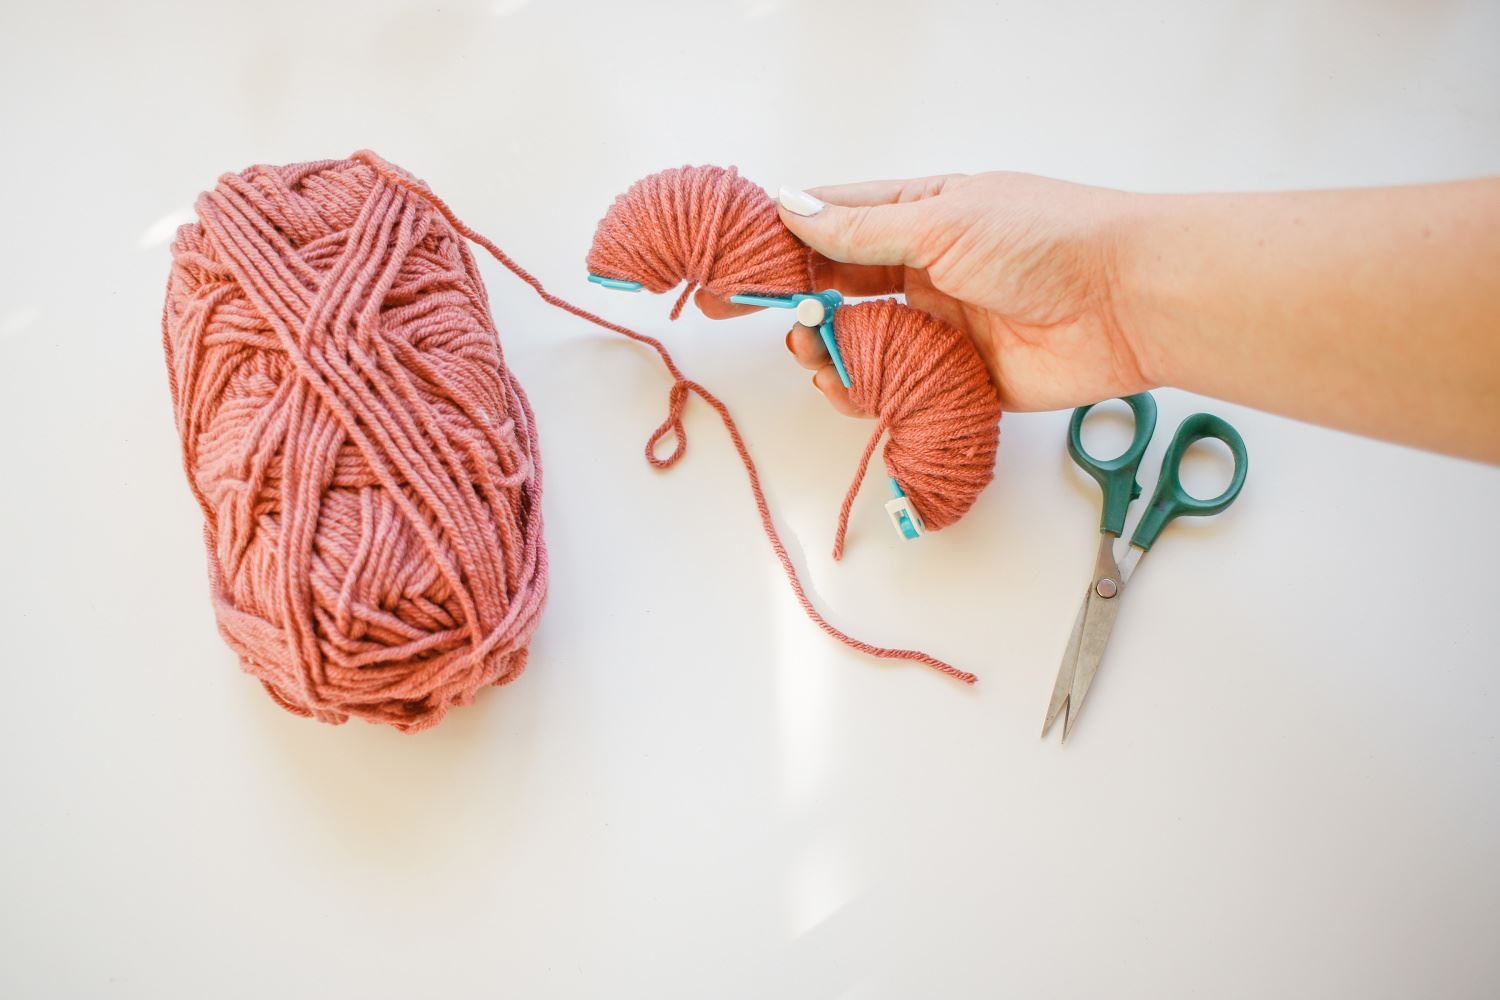
To make the pompoms, wrap yarn around each side of the pompom maker, as many times as you’d like. The more times you wrap the yarn, the fluffier the pompom will be!
Cut yarn around perimeter
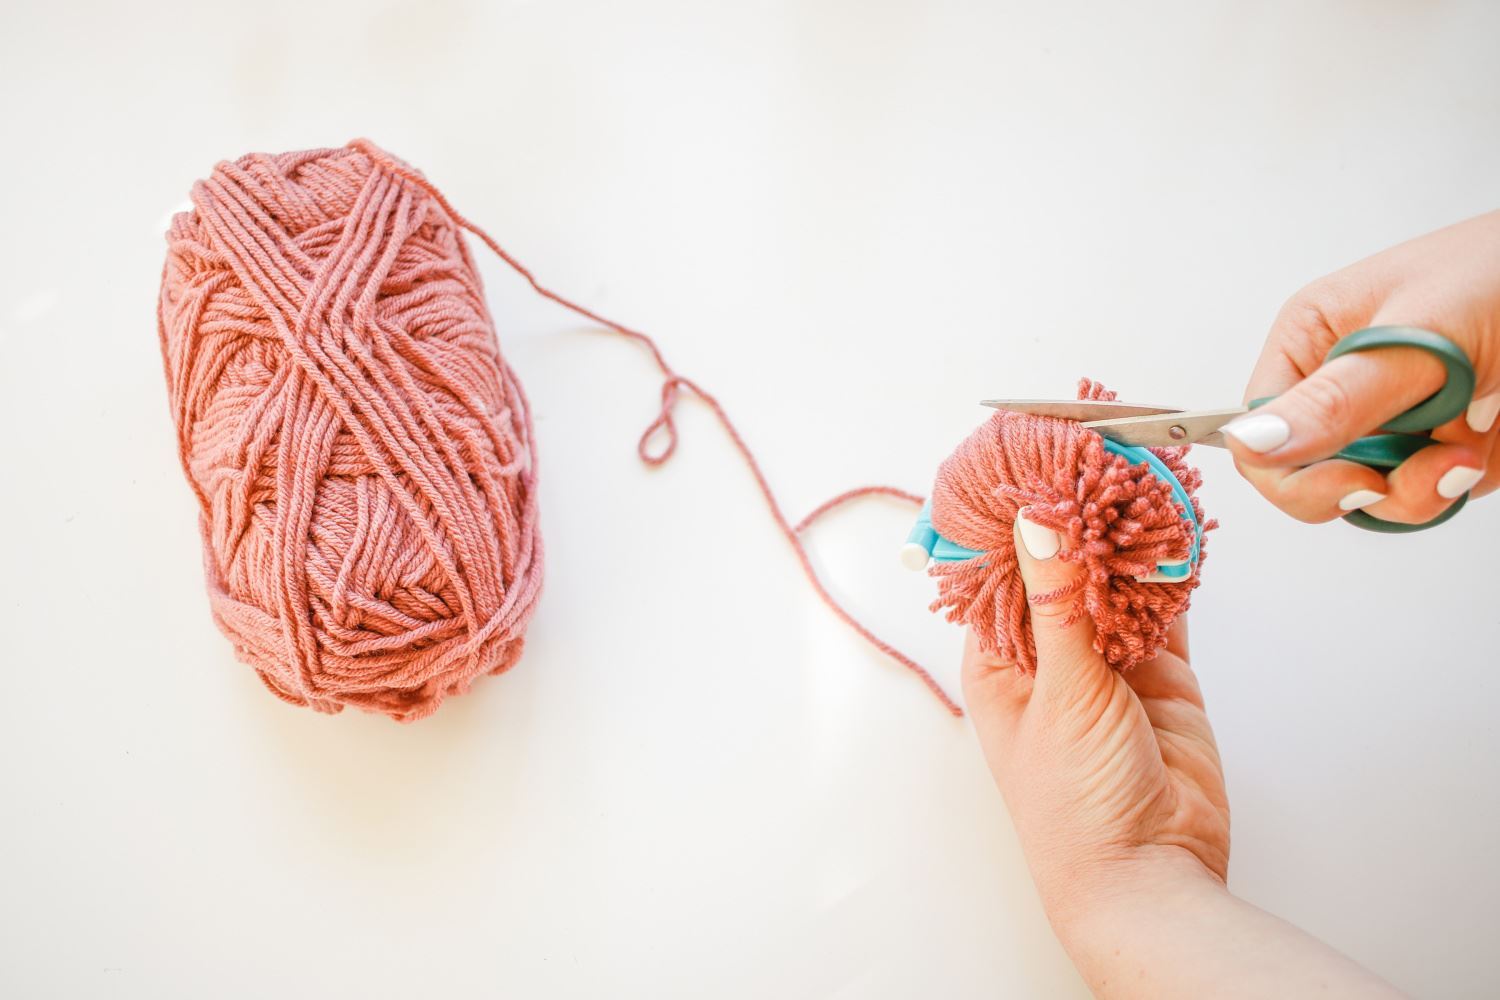
Once each side is full, snap the pompom maker closed and cut the yarn around the perimeter of the device, making sure to cut all strands.
Tie a string around pompom
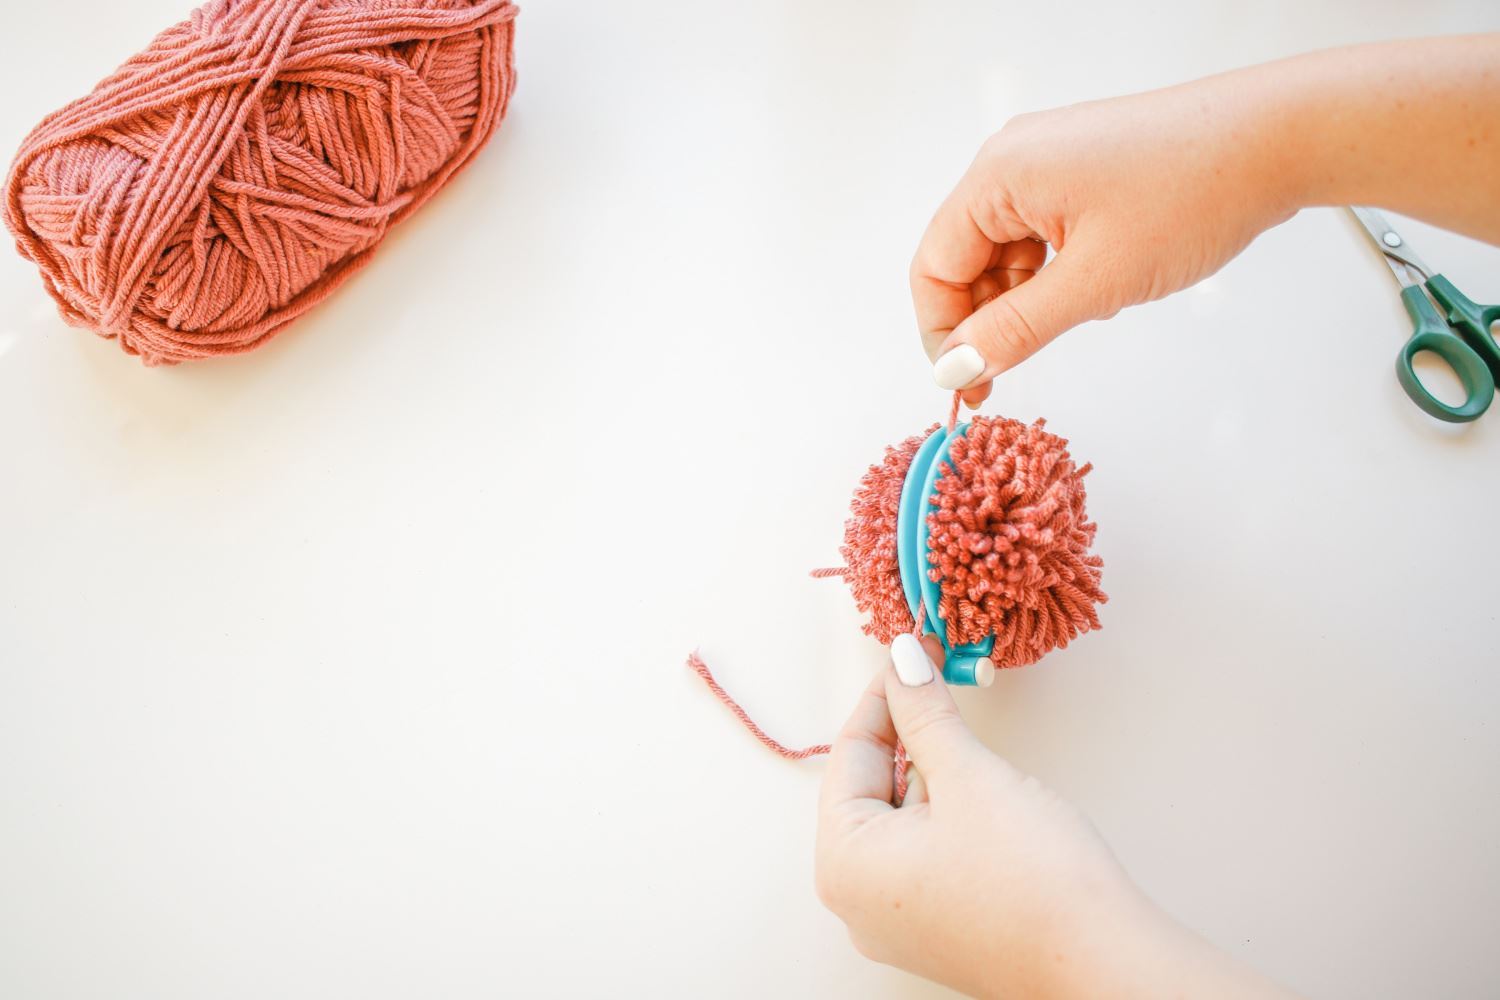
Tie a long string around the perimeter of the pompom maker, then remove the device and tighten the string as much as you can, then knot it to hold in place. Leave the long strands of string so you can use them to tie the pompoms to the stocking.
Trim pompoms to even out
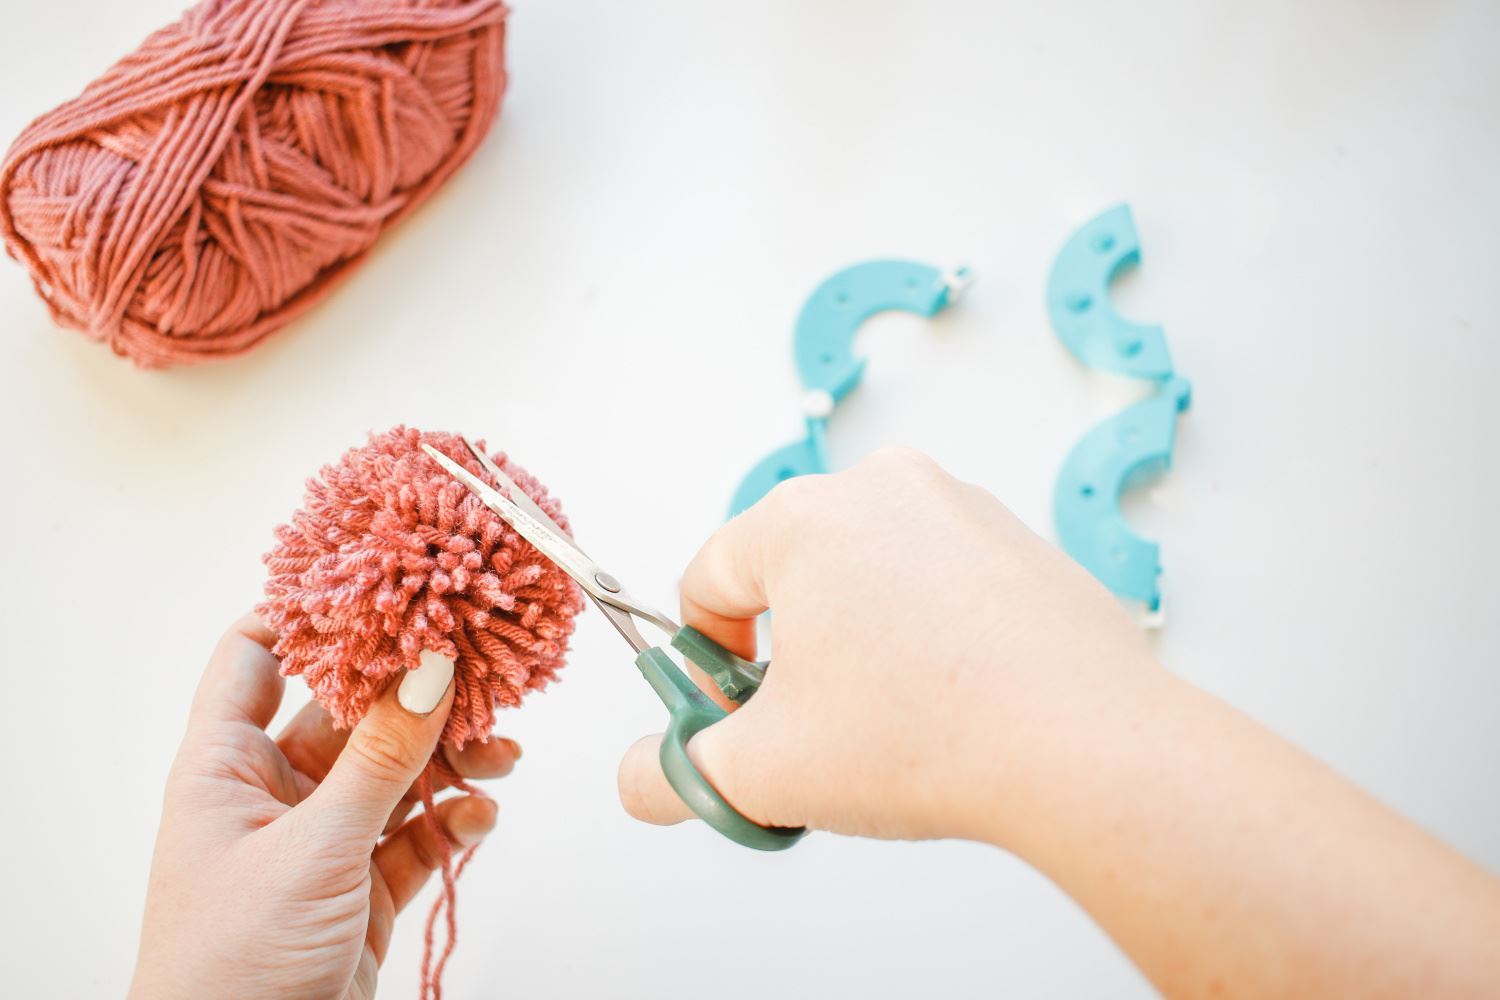
Trim around the pompom to make sure the strings are even on all sides (leaving your long hanger strands). Continue this process to make pompoms of different colors and sizes for all of your family stockings.
Attach pompoms to stockings
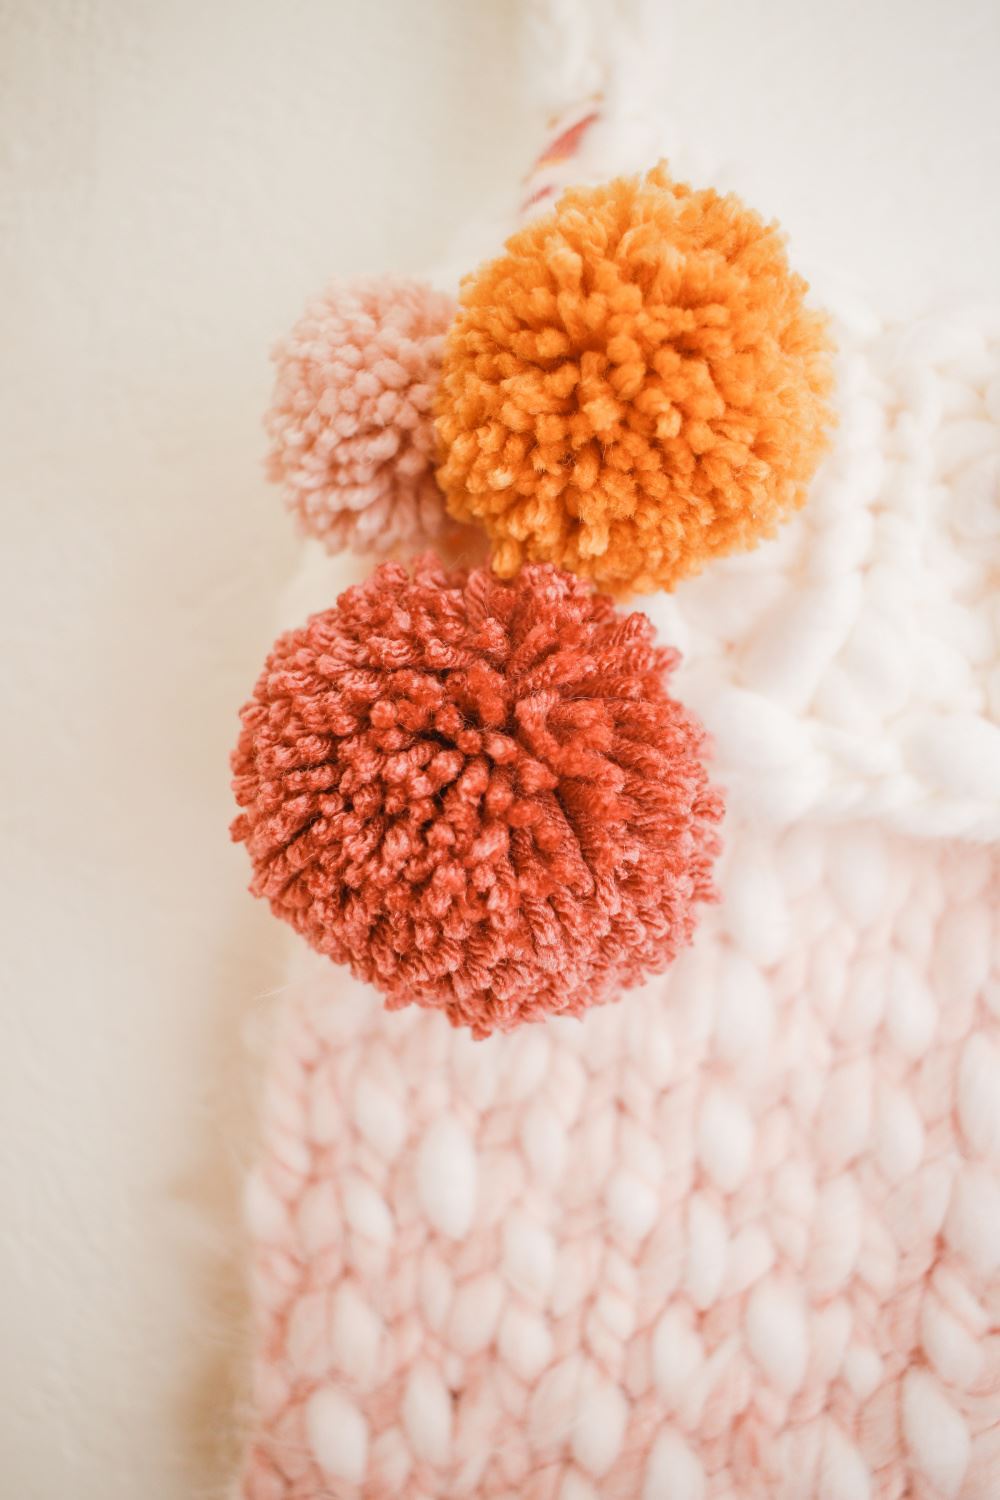
Attach the pompoms to the stockings in clusters and trim excess string.
Tie-Dye Family Stockings
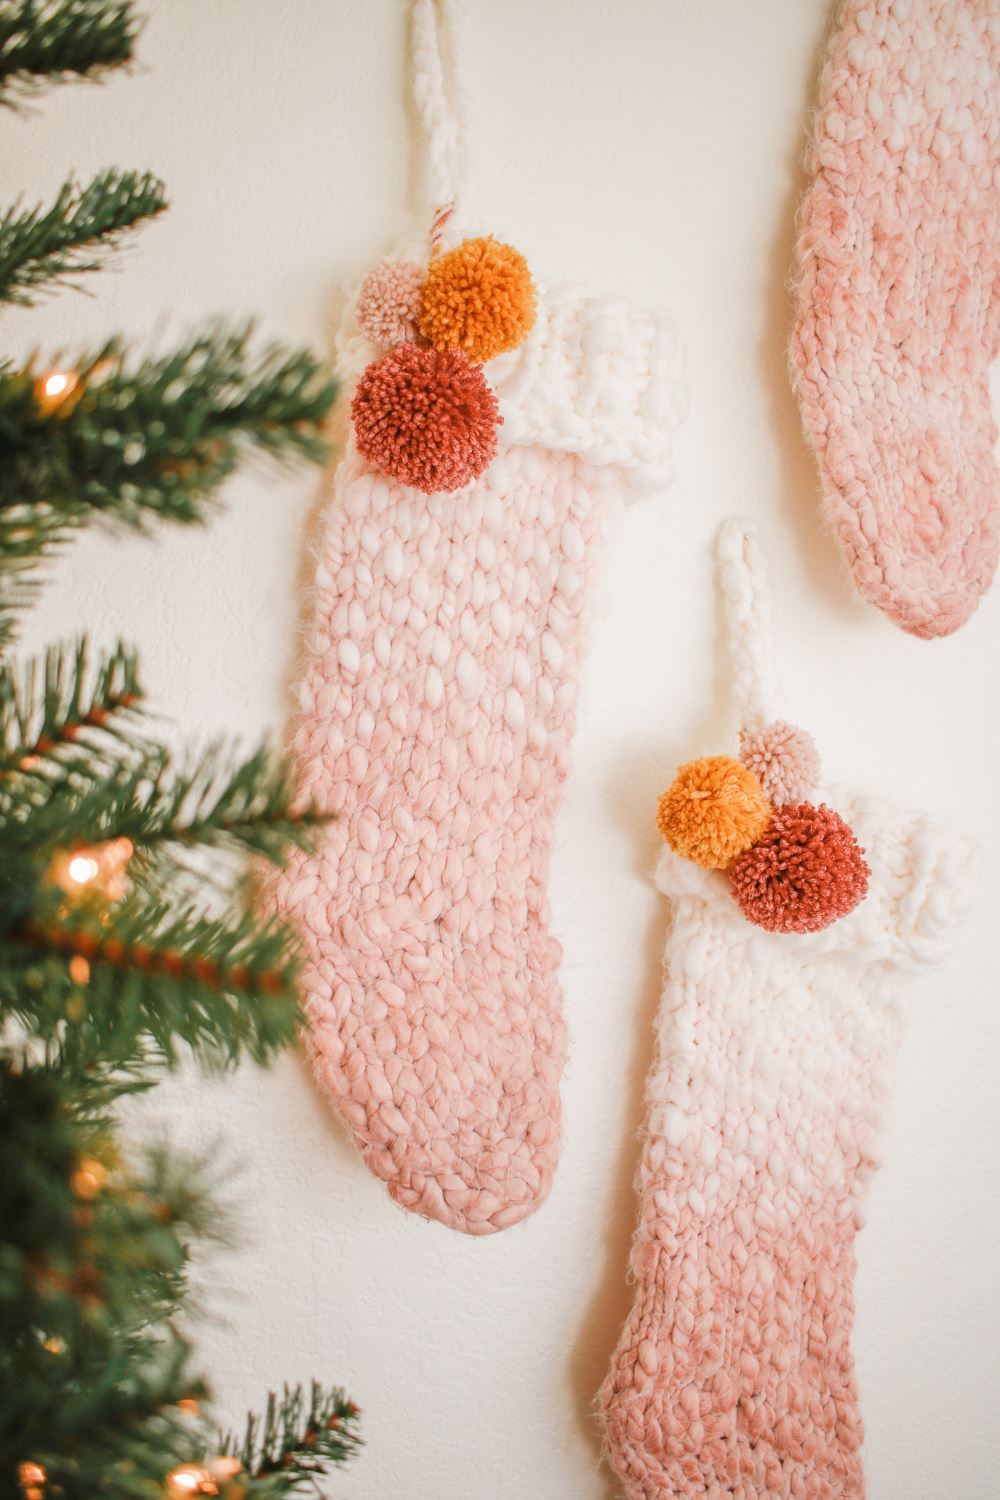
Once the pompoms are attached, it’s time to hang your tie-dye family stockings. Santa won’t be able to resist stuffing these stockings with lots of goodies! What else are you DIYing with Tulip Color Products this Christmas? Tag us on social @tulipcolorcrafts and share with us!
