Ice Tie-Dye Shoes Technique
Published Date March 30, 2020
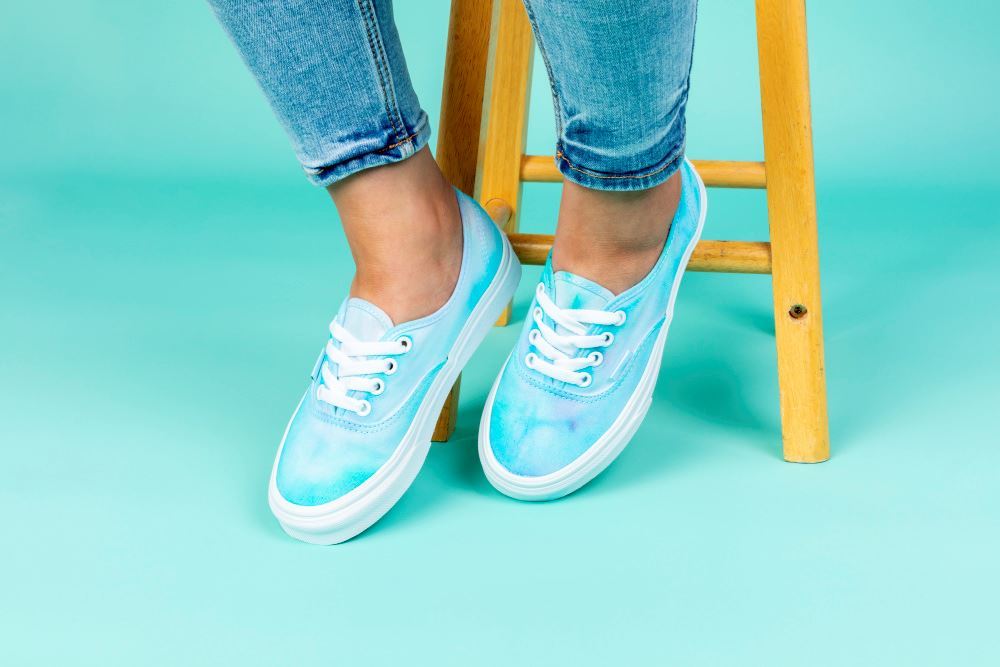
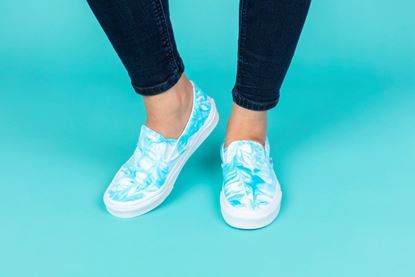
Looking for the coolest way to step on the scene this summer (or any time of year)? Embrace the chill factor with the ice tie-dye technique on a pair of shoes for pretty one-of-a-kind watercolor effects! We've been having a ton of fun experimenting with the ice dye technique, and it was only a matter of time before we tried it on shoes. Get the easy tutorial here and start thinking about freshening up your footwear with Tulip One-Step Tie Dye!
What you need:
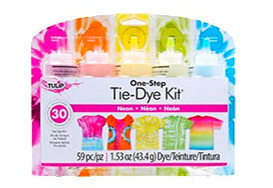
- Tulip Ice Cream Shoppe One-Step Tie-Dye Kit (COMING SOON - or kit of choice)
- White canvas shoes
- Cooling rack
- Ice
- Masking tape
- Plastic tub
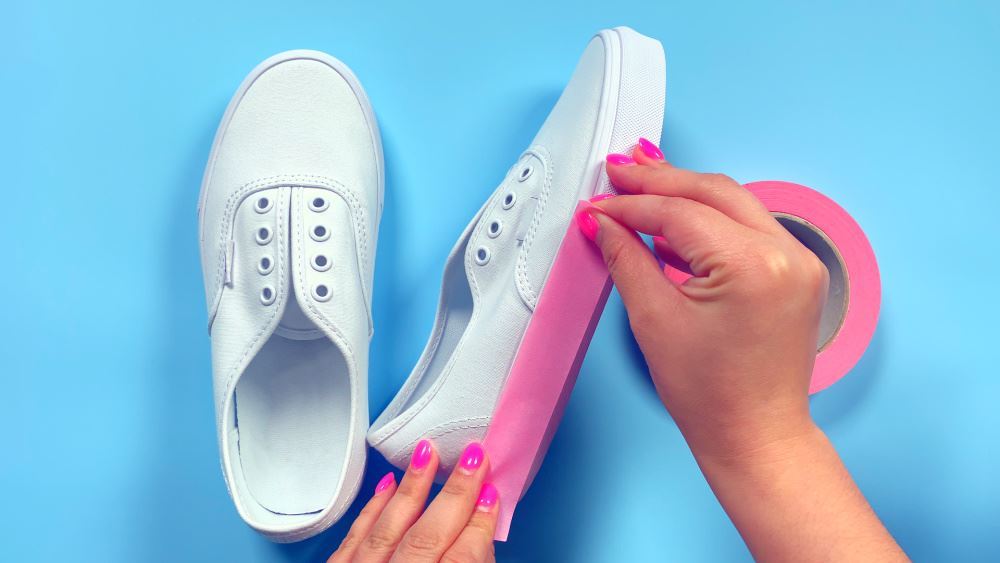
Use masking tape to tape around soles of shoes to prevent dye from staining them. No need to presoak the shoes; you can leave them dry for this technique.
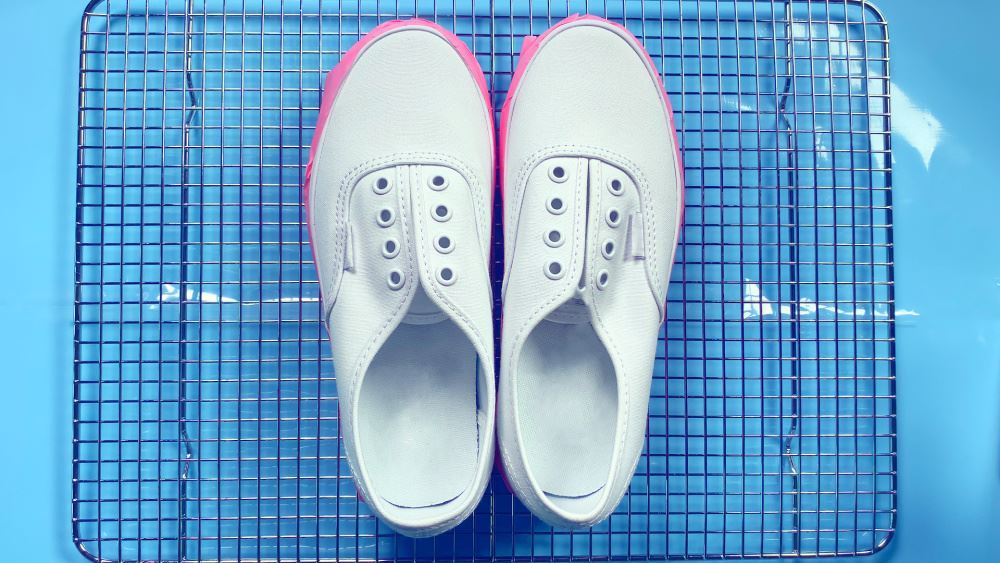
Place a cooling wire rack over the top of a plastic bin (the bin will collect the runoff from ice and dyes as the ice melts). Place the prepped shoes on top of the rack.
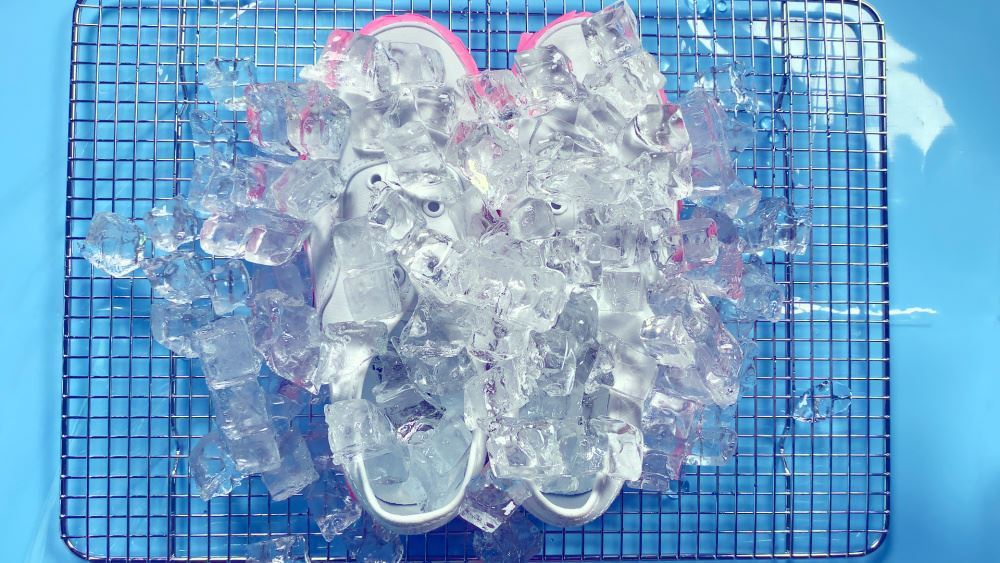
Pile ice over the shoes, making sure you cover as much of the shoes as possible with ice.
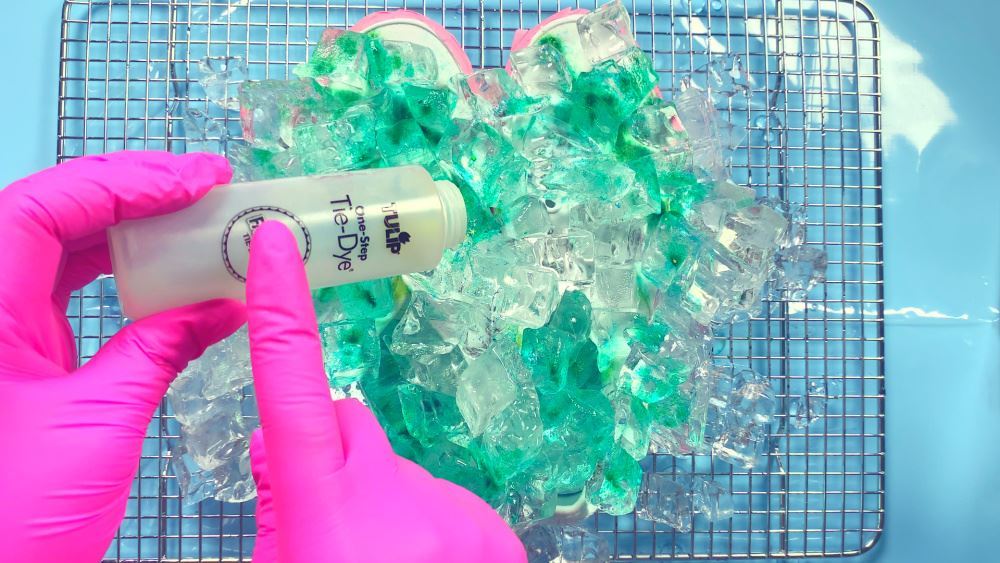
Select desired dye colors and sprinkle the dry dye powders over the top of the ice according to your liking. (No need to add water to the dye bottles to mix before pouring over the ice.)
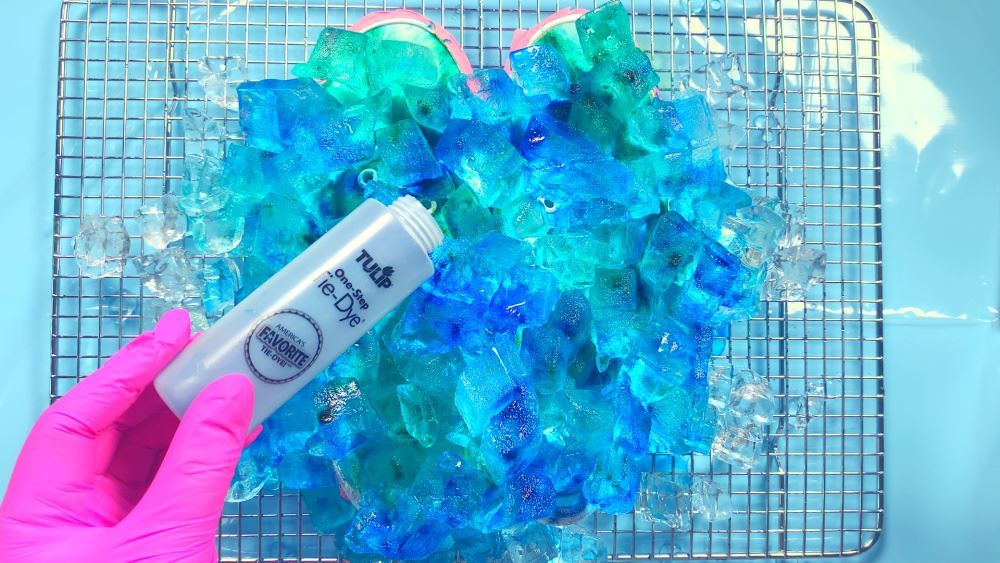
Continue sprinkling dye powders over the others, any way you like. As the ice melts, it'll transfer the dyes to the shoes!
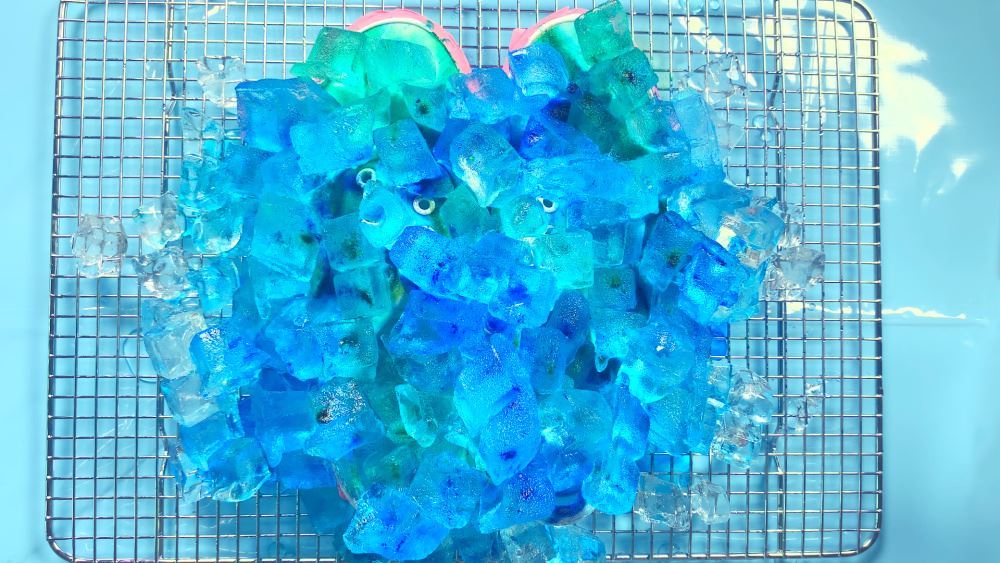
Allow the ice to melt overnight. Once melted, let the shoes dry then remove the tape.
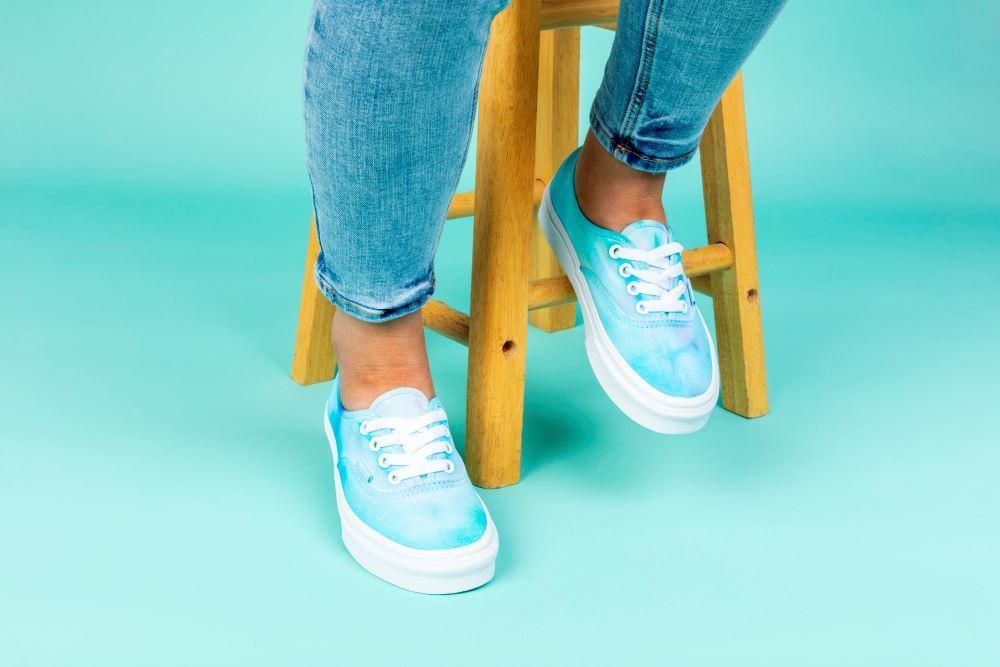
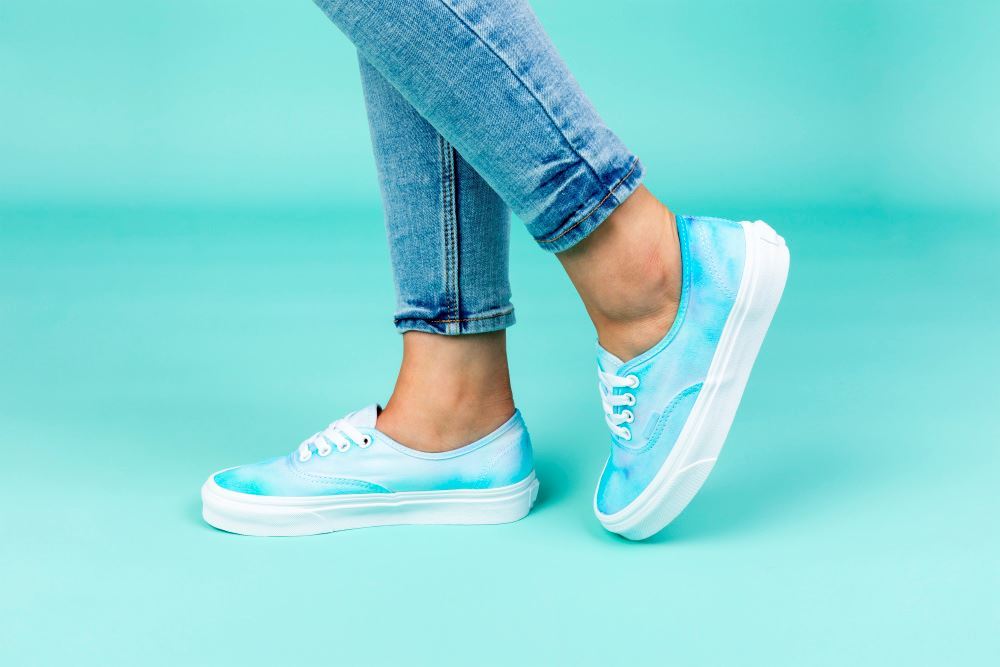
Trick your kicks in awesome tie-dye patterns like ice dye! Let the ice and dye powders do all of the work for colorful custom shoes you can't get anywhere else.
