You can delete and/or block cookies by modifying the settings on your browser. Learn more
How To Throw A Tie-Dye Party
Published Date June 25, 2019
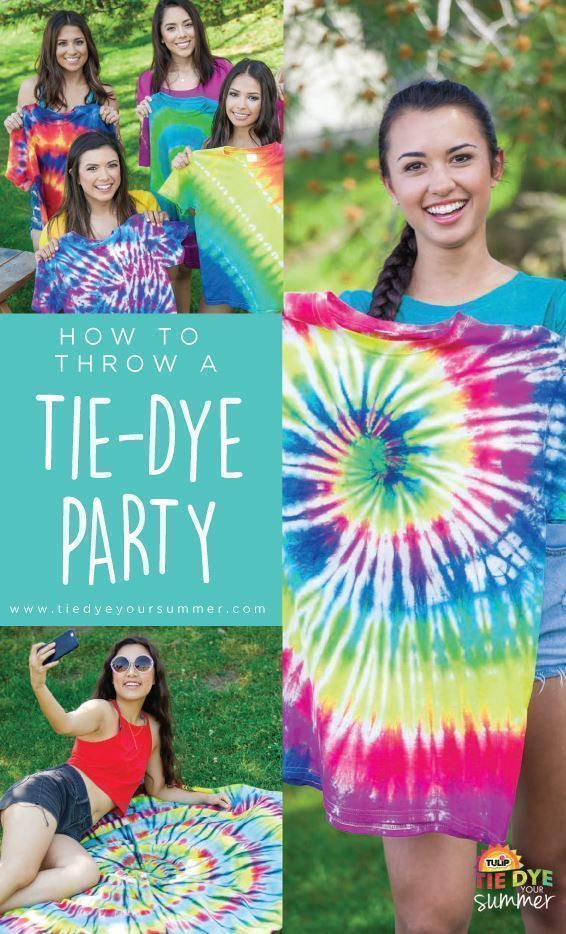
If you have never thrown a tie-dye party before, we have to ask, what are you waiting for?!?! Unlike other occasions that require a reason - like birthdays and holidays - tie dye is reason enough to celebrate! (Although birthdays, holidays and events like family reunions and summer camps, etc. are also perfect opportunities to tie dye.) The great thing about a tie-dye party is that you don't have to plan any extra over-the-top activities or entertainment because the tie dye IS the entertainment! PLUS, everyone gets to go home with a super cool party favor - a.k.a. a tie-dye T-shirt they'll enjoy every time they wear it. Are you convinced to throw a tie-party yet? Because you should be. And before you come up with any excuses like you are too busy or it's too expensive, follow us this way for easy, affordable tips on how to throw a tie-dye party with Tulip Tie Dye.
What you need:
- Disposable plastic table covers
- Paper towels
- White 100% cotton T-shirts
- Plastic sealable bags (for storing tie-dye projects)
- Marker (to label bags)
- Bucket or sink for dampening shirts
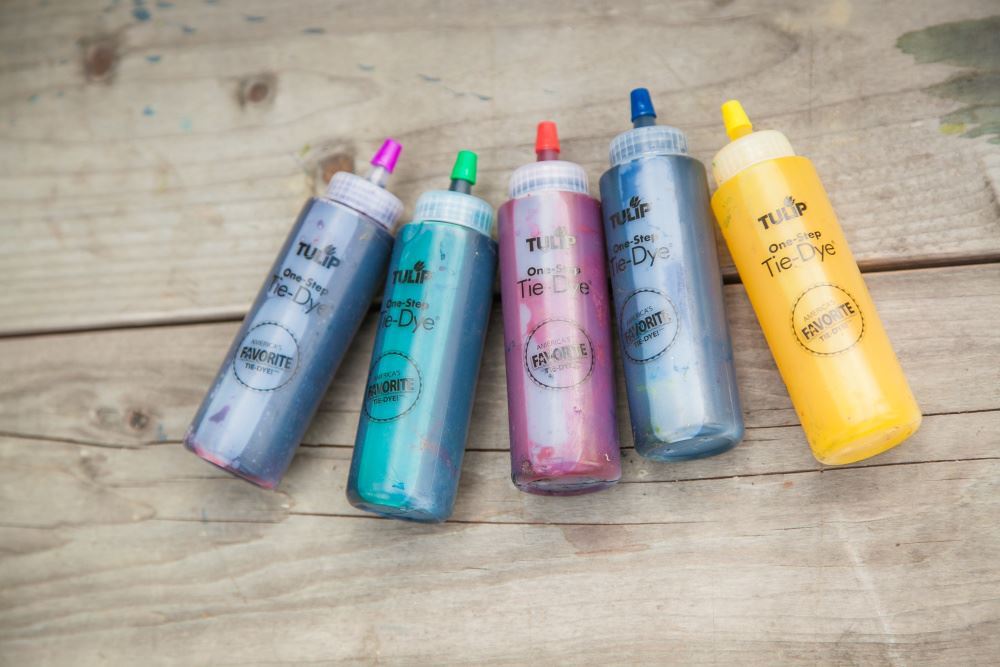
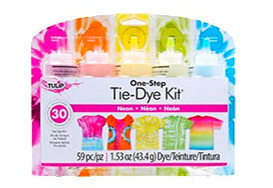
First things first ... to throw a tie-dye party, you're going to need some tie dye. It'll help to get a head count of how many people are attending your party so you know how much tie dye to get! Generally, one Tulip Tie-Dye Party Kit has enough dye and supplies for 4 to 6 people, depending on which kit you buy. You can always supplement your party kit with additional 1-Color Kits if needed. As far as T-shirts go, you can either have your guests bring their own, or buy a pack of T-shirts super cheap at your favorite discount store. Or you can buy them here after you're finished reading this post. Whether people are bringing their own or you are providing, make sure the shirts are 100% cotton for best dye absorption. Tip: We recommend pre-washing the shirts before dyeing because they are usually coated in a product called "sizing" that can prevent the dye from fully absorbing into the fabric. PS. Don't use fabric softener because that can affect the dye too!
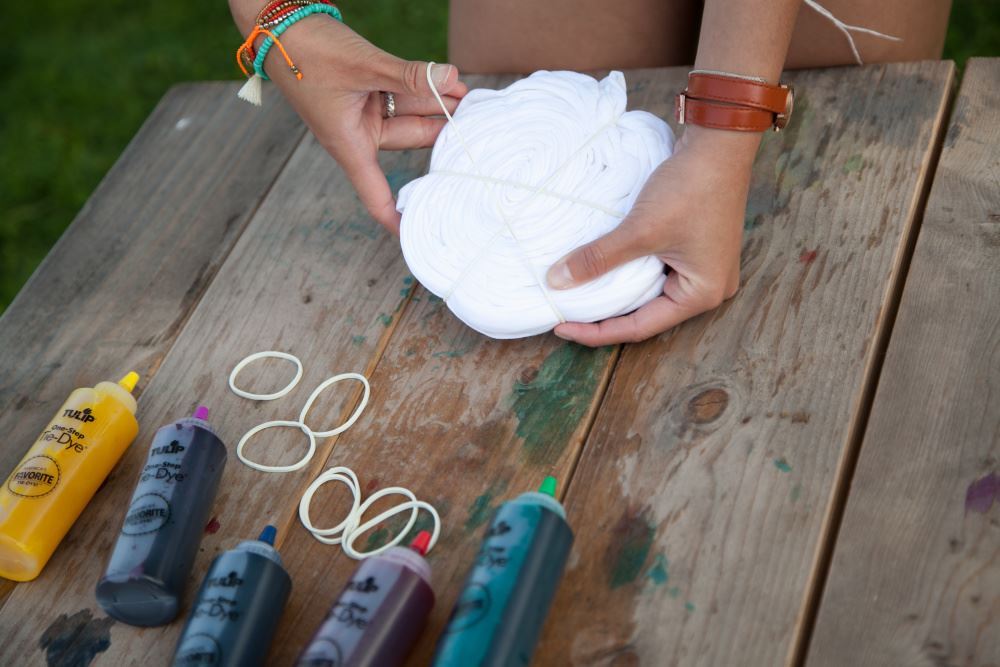
If you're a super Type-A organized sort of person, you'll probably love the idea of setting up tie-dye stations for all of your guests. Cover your work surface with a disposable plastic table cover to prevent dye stains - or if you're an artist who loves color or you just have a crappy table you don't care about - leave the table cover off and see what cool dye designs might come of it! You can also prep before your party by pre-mixing all of the dyes and setting them up at the work stations, or allow your guests to mix the dyes when they are getting ready to tie dye. Set out the rubber bands and gloves that come in the kits, as well as extra paper towels to help with any spills or messes.
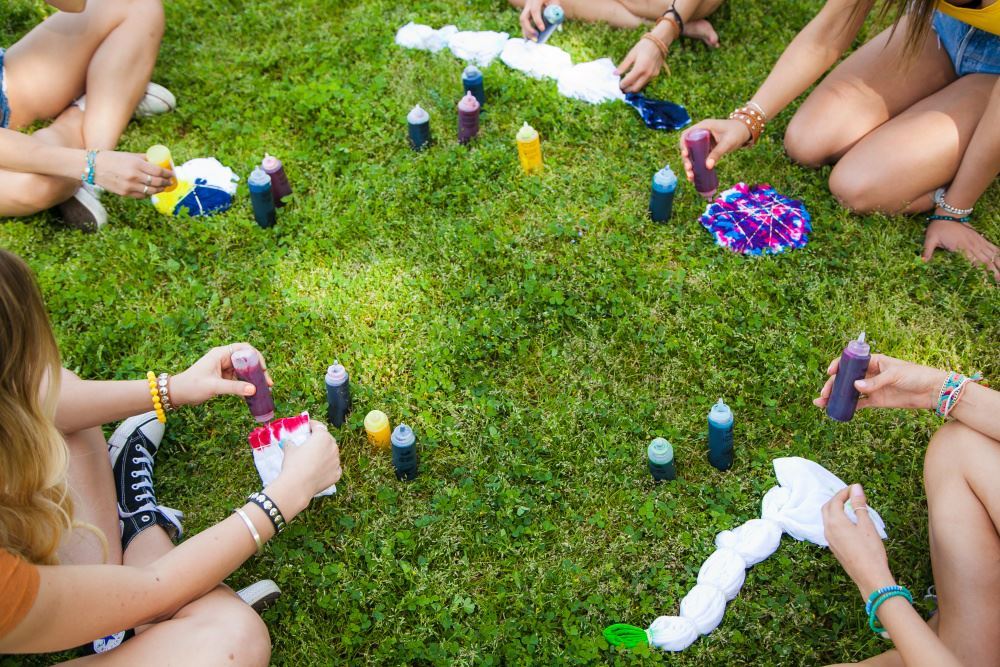
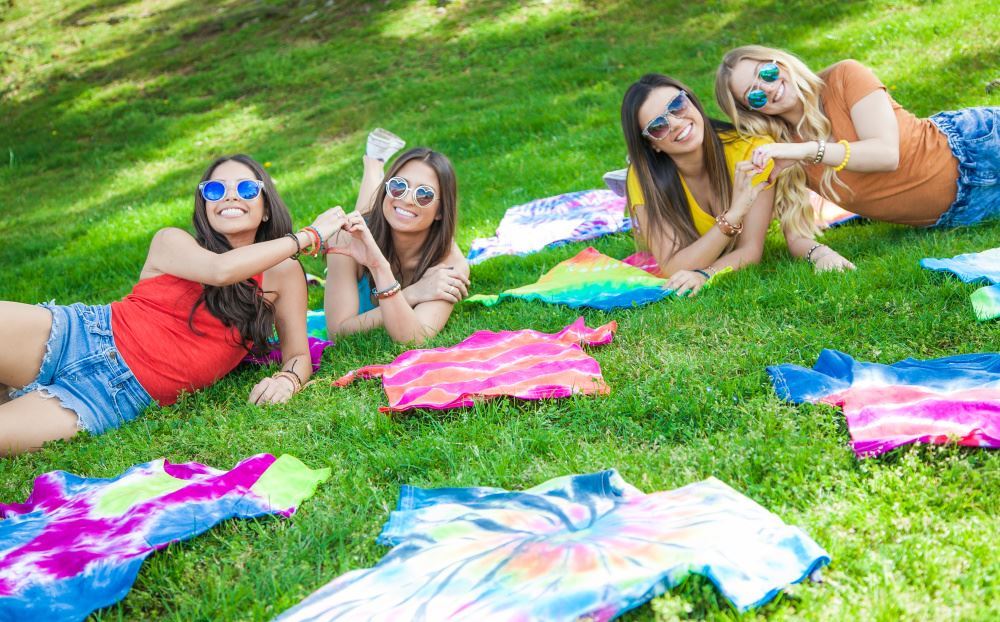
Are you a free spirit and the thought of setting up and organizing tie-dye stations gives you a headache? Don't worry, it's summer! Make everyone go outside and tie dye their projects on the grass. Done and done!
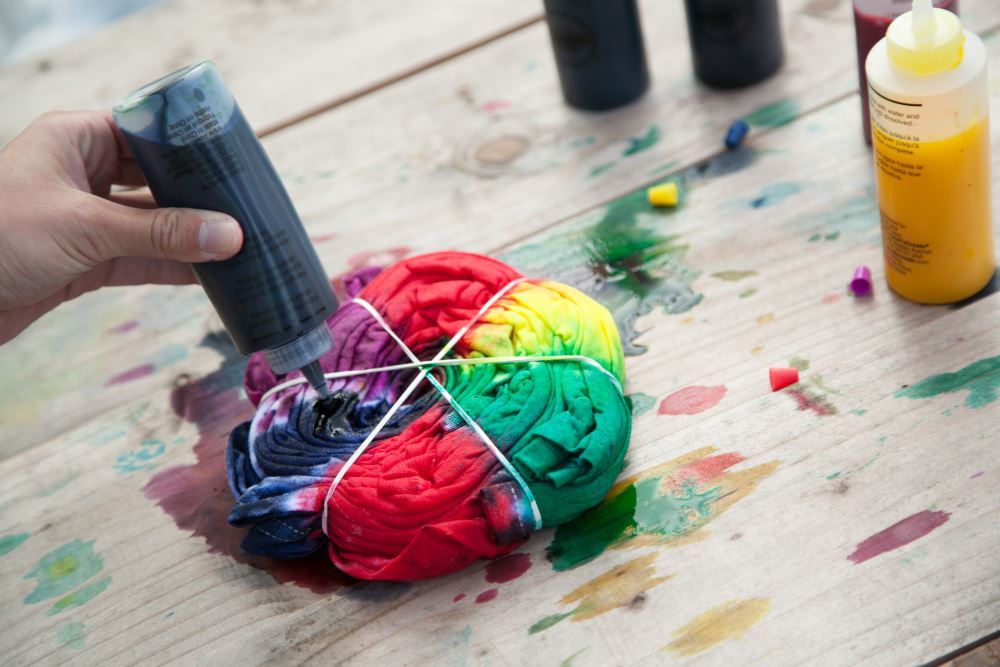
Now the fun can really begin! Your Tulip Tie-Dye Kits come with protective plastic gloves for your guests to wear to prevent dye stains on their hands, but some of us at Tulip think it's just as fun and totally part of the tie-dye experience to get your hands as colorful as your tie-dye project. Tulip dyes are nontoxic and if you do get dye stains on your hands, don't worry, the dye will fade every time you wash them and will be completely gone within a short few days. Make sure all T-shirts are damp - either using the sink faucet or a bucket full of water you have ready outside. Make sure to wring out the T-shirts thoroughly before folding and binding. You don't want them too wet because the dye will dilute and run, and your designs might not turn out as crisp!
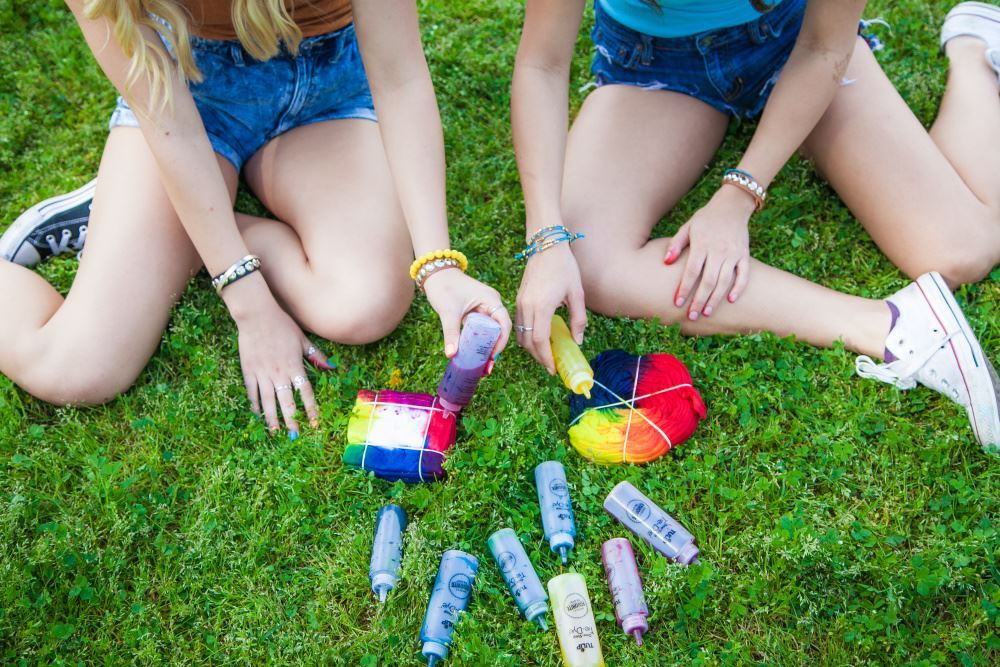
Your Tulip Tie-Dye Kits come with easy-to-follow project instructions for popular tie-dye patterns, so make sure to set them out for guests to read over and pick a tie-dye pattern before beginning. You can also check out our Tie-Dye Techniques section for even more ideas! Fold, twist and bind the damp shirts with the rubber bands that are included in your tie-dye kits. You can also try tie-dye techniques using string or zip ties instead of rubber bands for different effects!
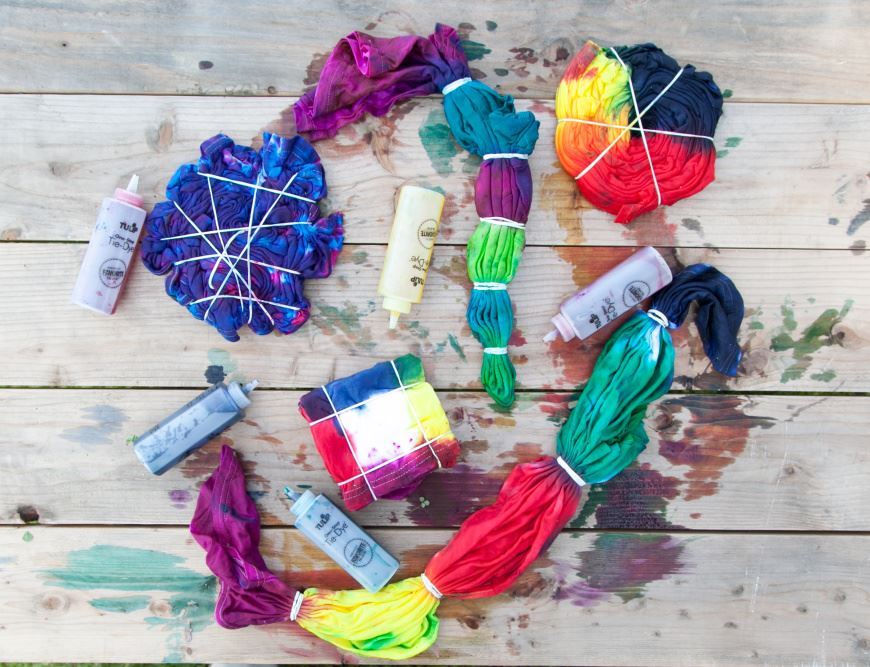
Don't forget your photo ops! Tie dye is so bright, colorful and fun, there will be tons of opportunities to snap in-progress pics of your tie-dye projects to share with your friends.
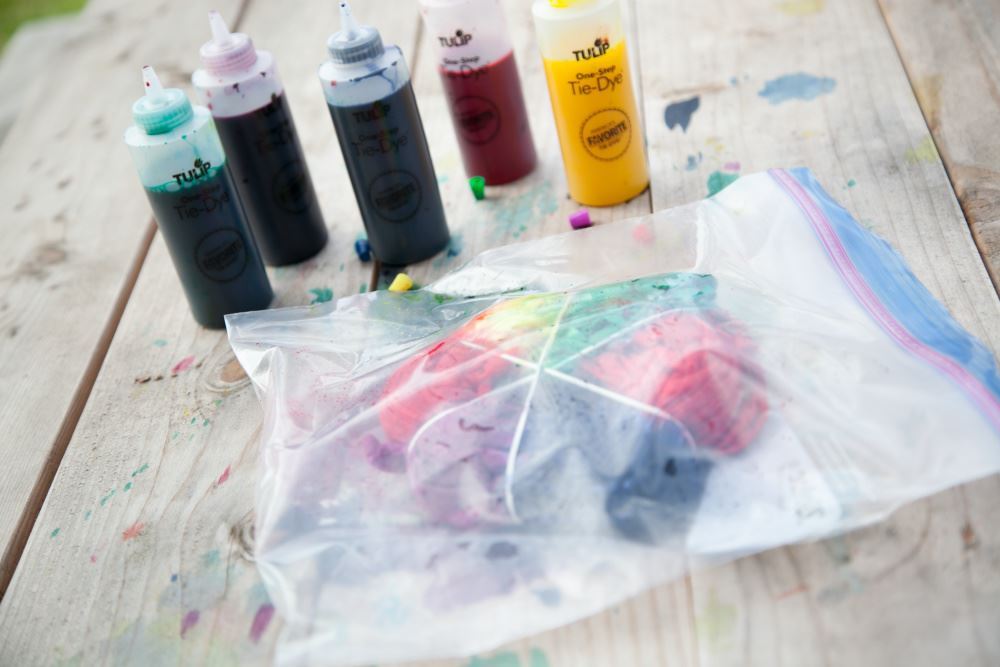
Once everyone has finished adding tie dye to their T-shirts, you'll want to keep them damp for 6 to 8 hours so the dye can fully process. Sealable plastic bags are perfect for keeping the shirts damp and also containing the dye so it doesn't accidentally drip anywhere and stain your car, clothing or furniture! Have a marker on hand so you can label everyone's bag with their name so projects don't get mixed up when the party is over.

You can't have a party without snacks! Try offering colorful foods and drinks to go with your tie-dye party theme. Summertime parties are perfect for snow cones and ice creams with lots of color!
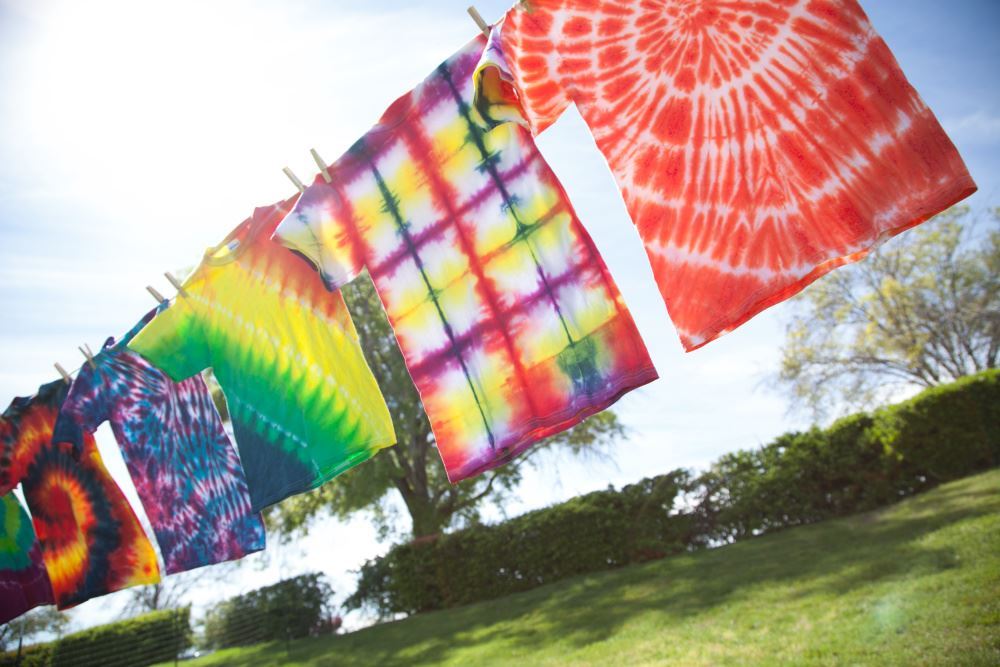
If you're feeling extra ambitious before your party, you can type up care instructions for your guests (found in the tie-dye instructions included in your kits) and attach to their plastic bags before they leave. Make sure to let them know not to get too eager and wash their shirts before the 6 to 8 hour period because their projects might not turn out as bright and bold if they don't give the dye enough time to set.
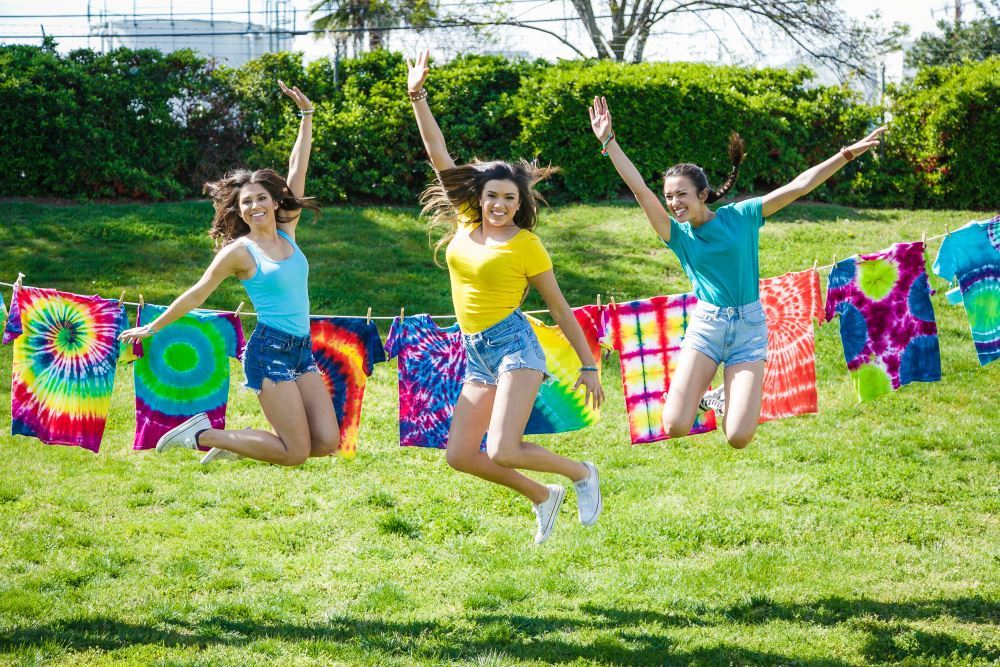
See how easy it is to throw a tie-dye party? From the tie dye to the food, go big on color and let the tie-dye experience do the rest. Tie-dye activities are fun for all ages and skill levels, and perfect for most kinds of parties, holidays and events like family reunions, camps, team bonding activites and so much more. Your party guests will be jumping for joy when they get their invite to a tie-dye party!
Pin This Project
