Glue Resist DIY Tie-Dye Patterns
Published Date June 14, 2021
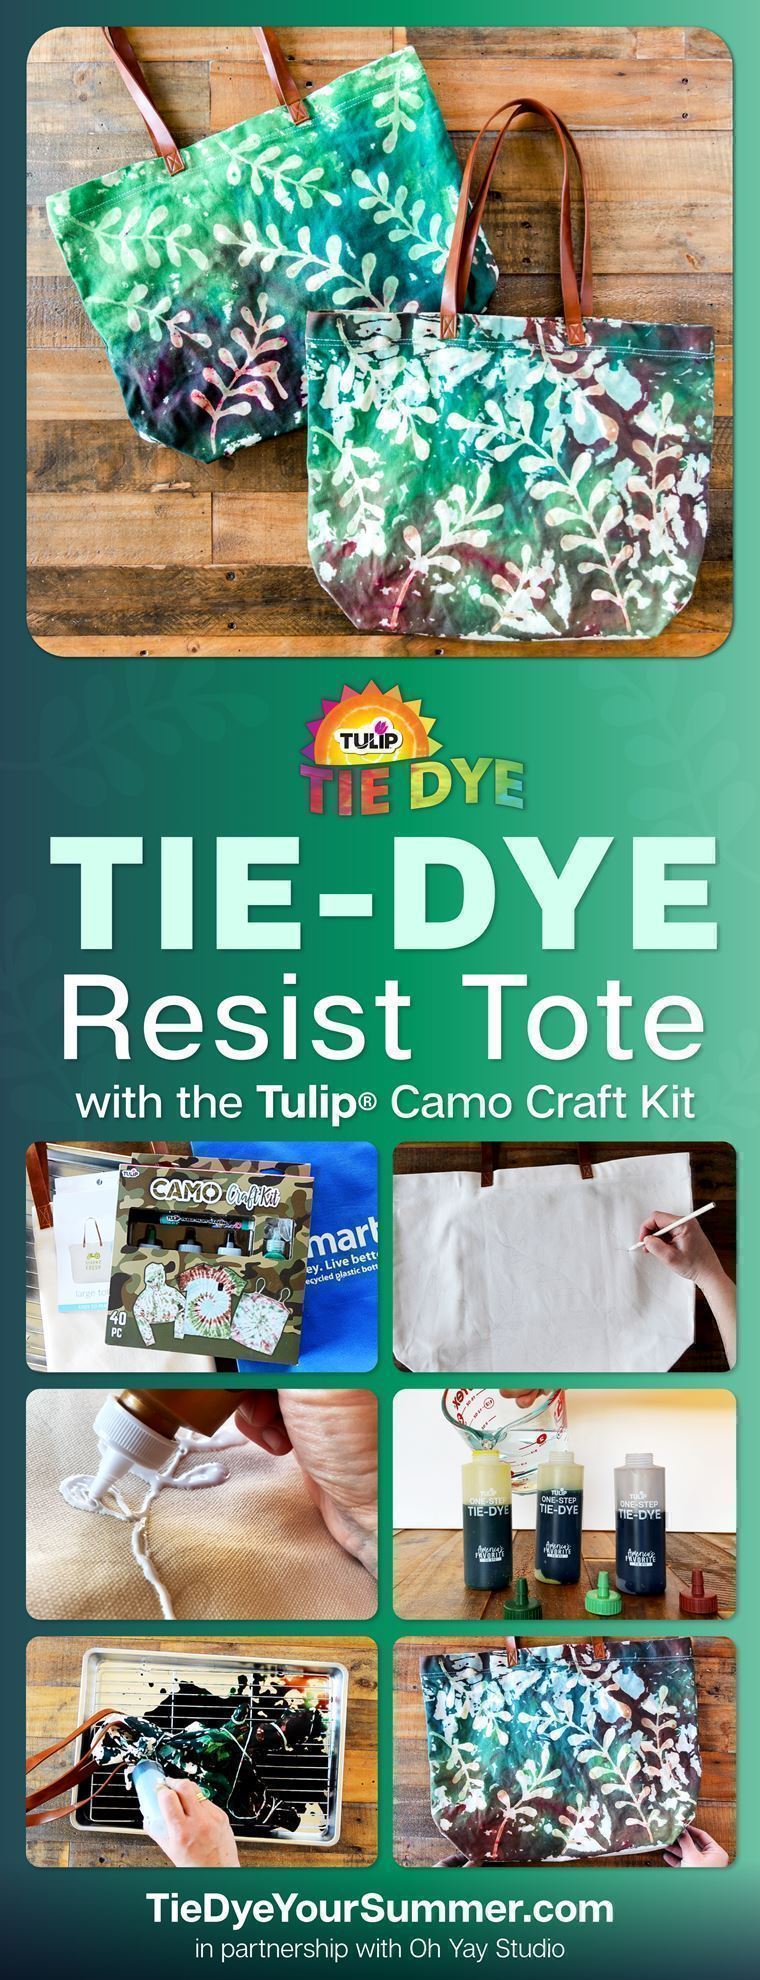
We’re always in the mood to try something new with tie dye! Twists and folds are fun, and combining them with a glue resist technique will take your tie dye to the next level. In this easy tutorial, Oh Yay Studio shows you how to use glue to create a resist for DIY tie-dye patterns that combine color with your own creative designs!
What you need:
- Tulip One-Step Tie-Dye Kit of choice
- Canvas tote bag
- Wire rack + plastic bin
- Aleene’s Original Tacky Glue
- Iron
- Pencil
- Plastic bag
- Spray bottle (optional)
Sketch design on tote with a pencil
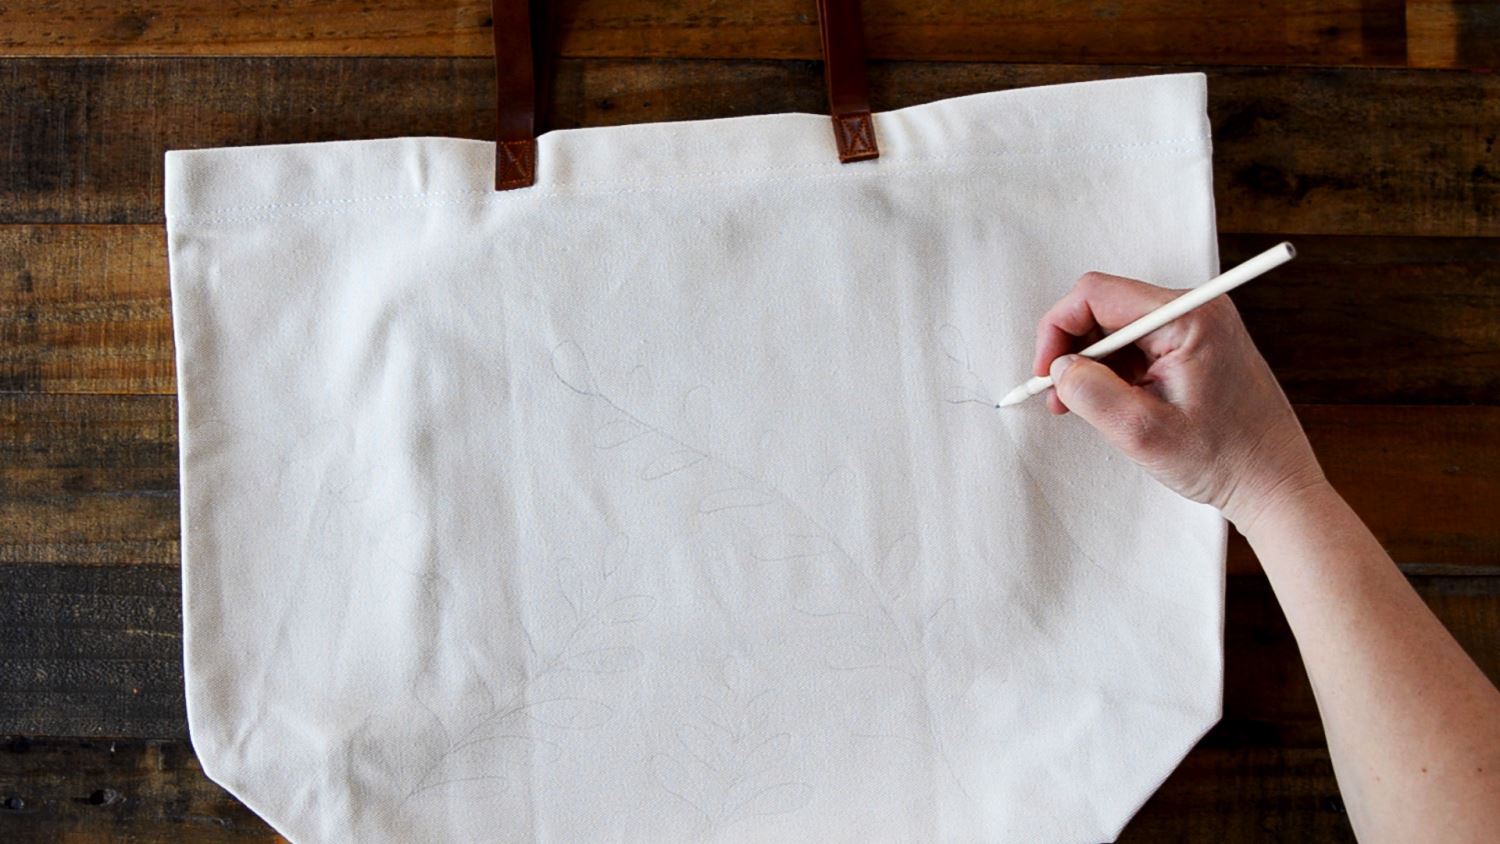
First you’ll want to decide what kind of DIY tie-dye patterns to create for your resist technique. Iron the tote so you have a nice, smooth surface to lightly sketch your designs on with a pencil. You can even place a design pattern underneath the top layer of the tote to trace over if you don’t feel like free handing it.
Apply Tacky Glue over designs
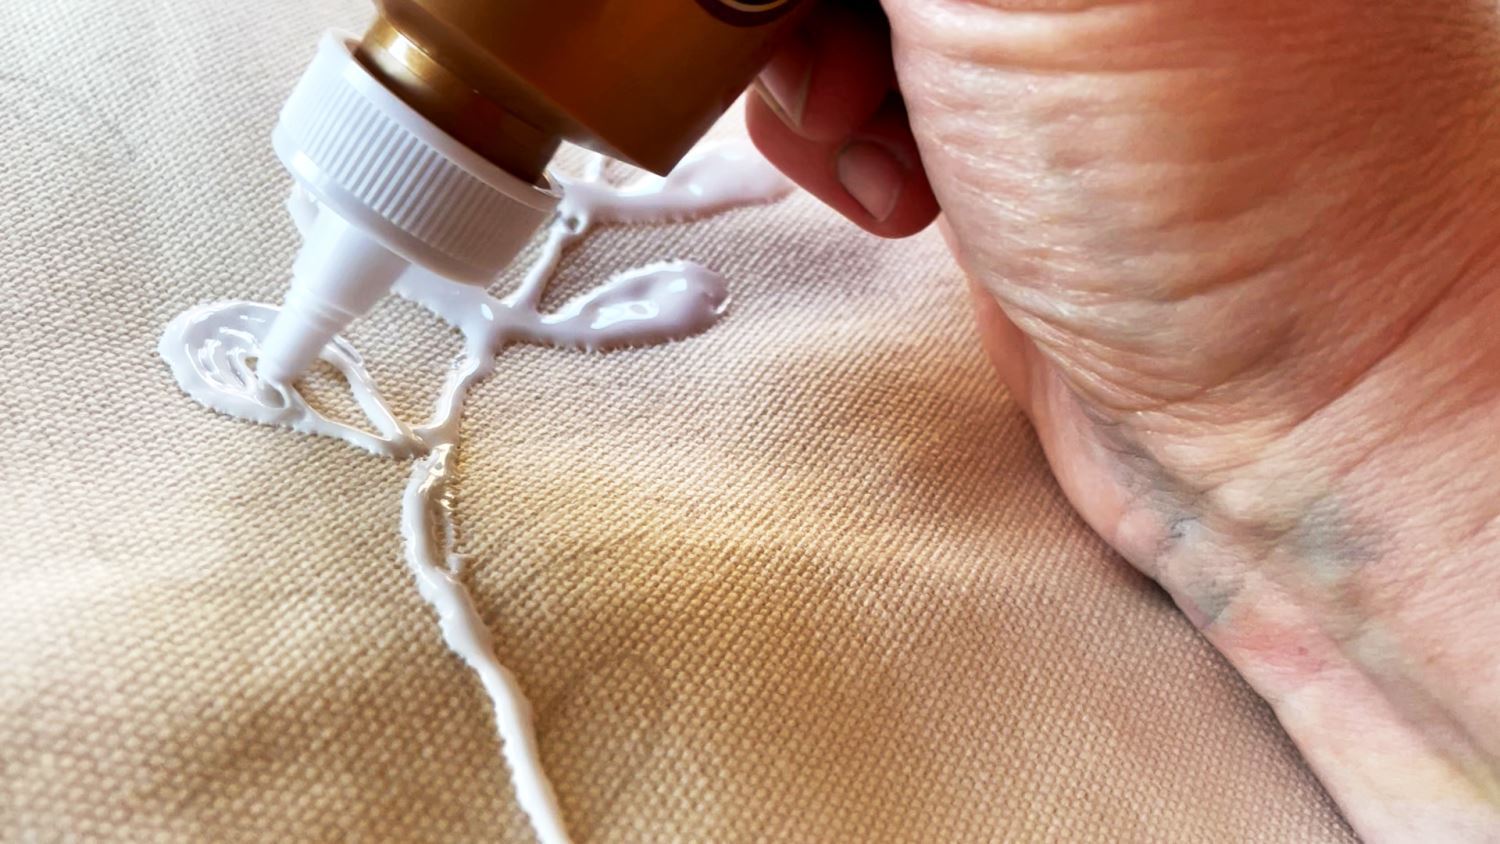
Now it’s time to create a resist over your DIY tie-dye patterns. Trace over your sketched designs with Tacky Glue, applying a generous amount (but not SUPER thick so it pools and ruins your designs). You can always practice your glue application on a piece of scratch paper first to get a feel for the glue flow.
Let glue dry
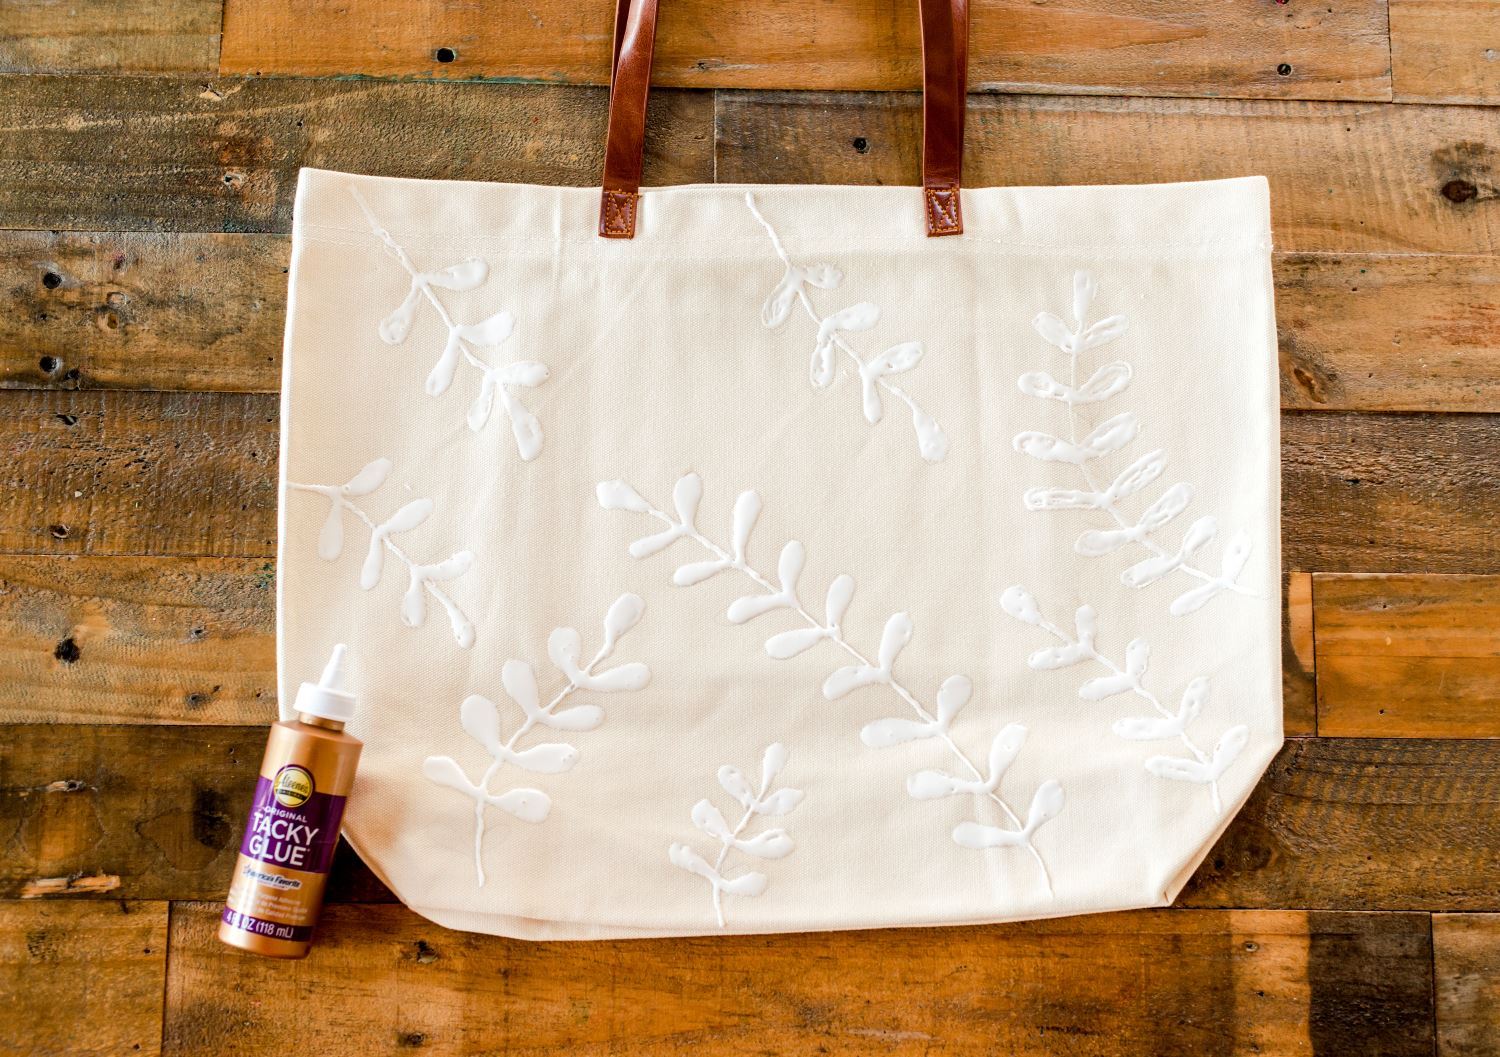
After you’ve covered over your designs with Tacky Glue, let the tote dry flat until the glue is completely dry.
Tacky Glue dries clear
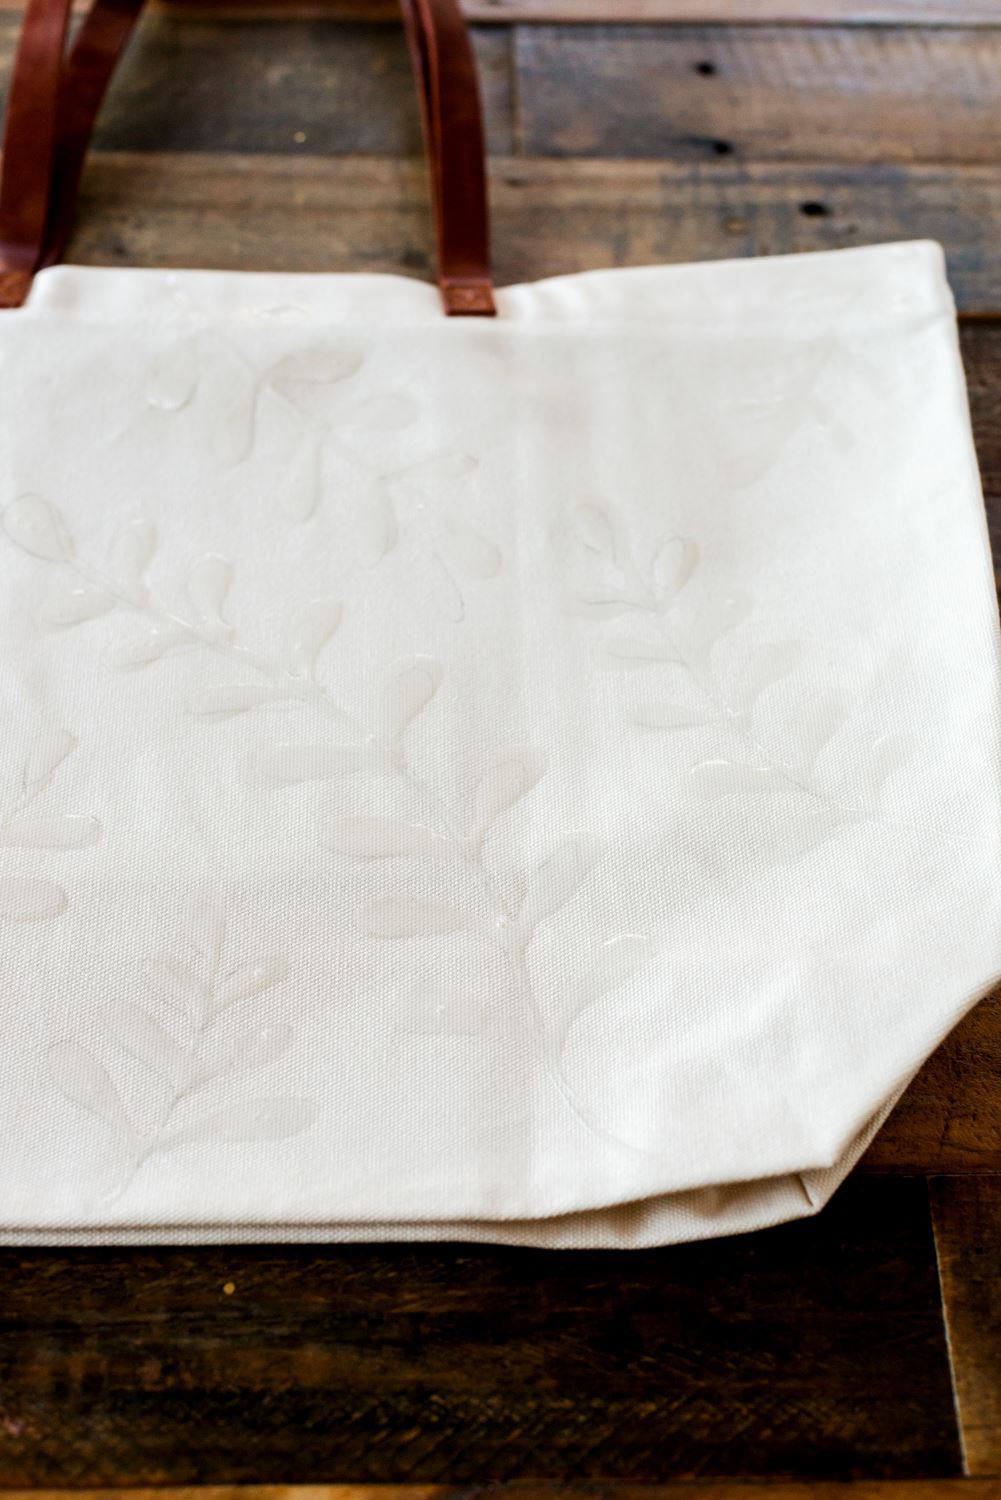
Tacky Glue dries clear, so it should look like this. There shouldn’t be any “white” left – that would indicate the glue isn’t dry yet. For the resist technique to work properly, don’t skip this step!
Dampen tote and bind with rubber bands
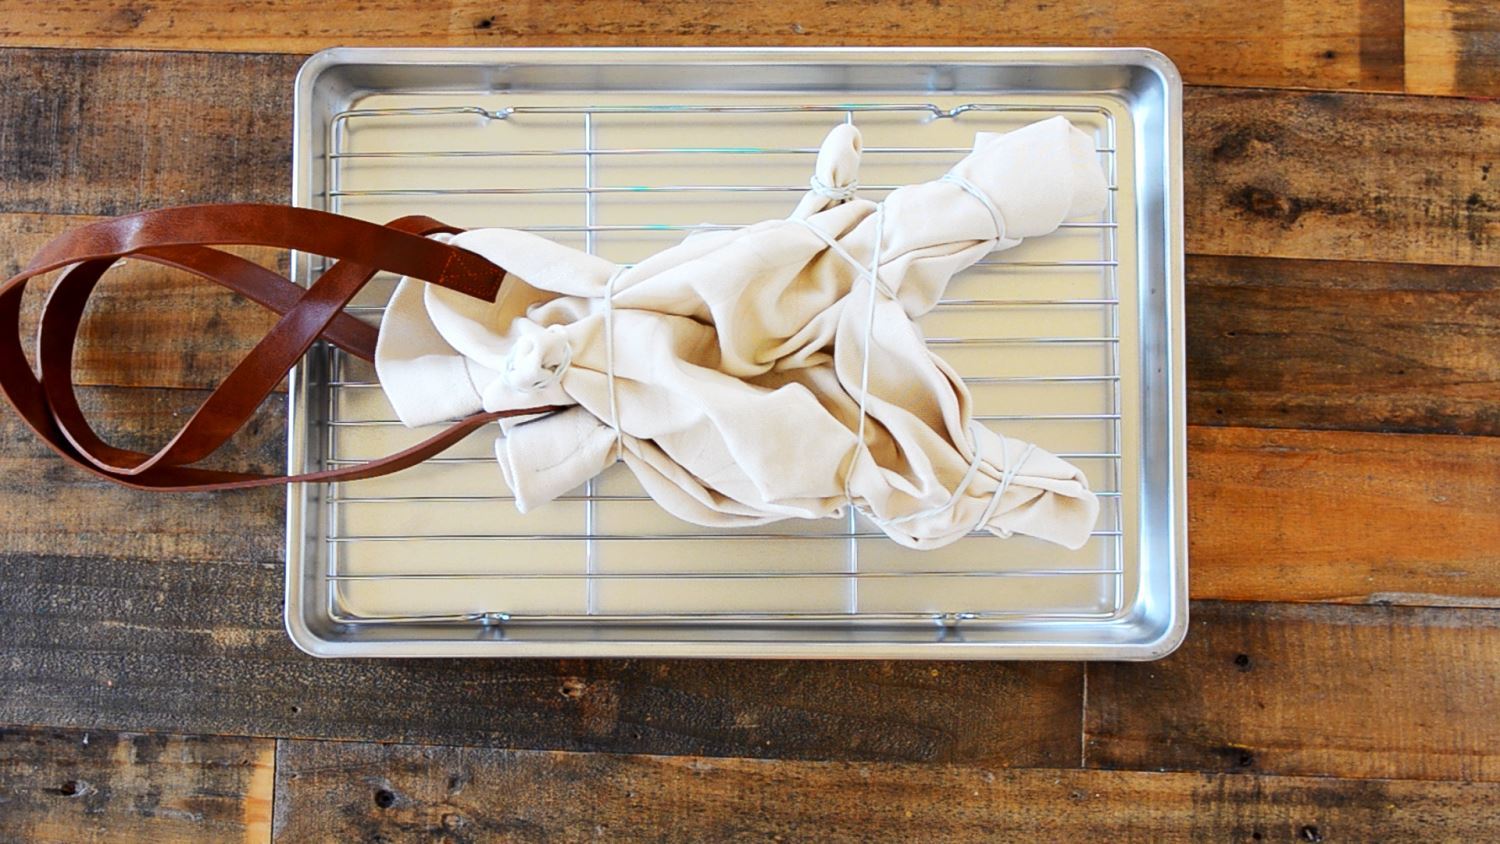
Next dampen your tote all over with a spray bottle, then crumple it and bind it with rubber bands. Or, you can leave the tote dry if you want “crisper” DIY tie-dye patterns and less color blending with the dyes. It’s up to you! Then place it on a wire rack over a bin and prep your dye bottles according to instructions.
Apply dyes to tote
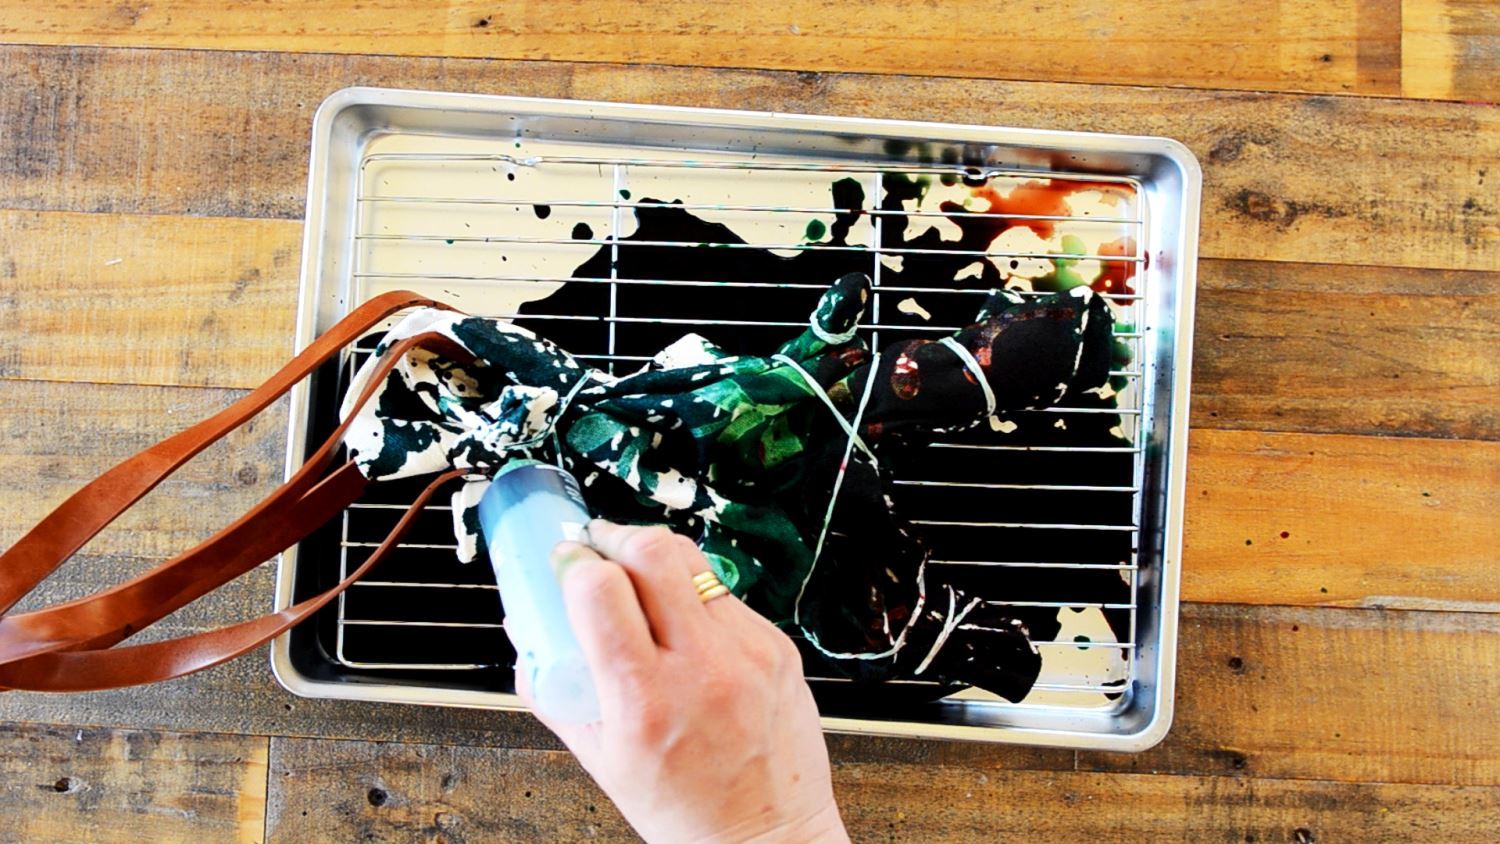
Squeeze the dyes any way you like over the tote! Make sure to rotate the tote bag as you apply the dyes, so you cover it from all different angles. Tip: Use the tip of the dye bottles or your gloved hands to help work the dye into the fabric fibers if needed. After you’ve applied the dyes, place the tote in a plastic bag to keep it damp while the dyes process for 6-8 hours or overnight.
Soak tote to remove glue resist
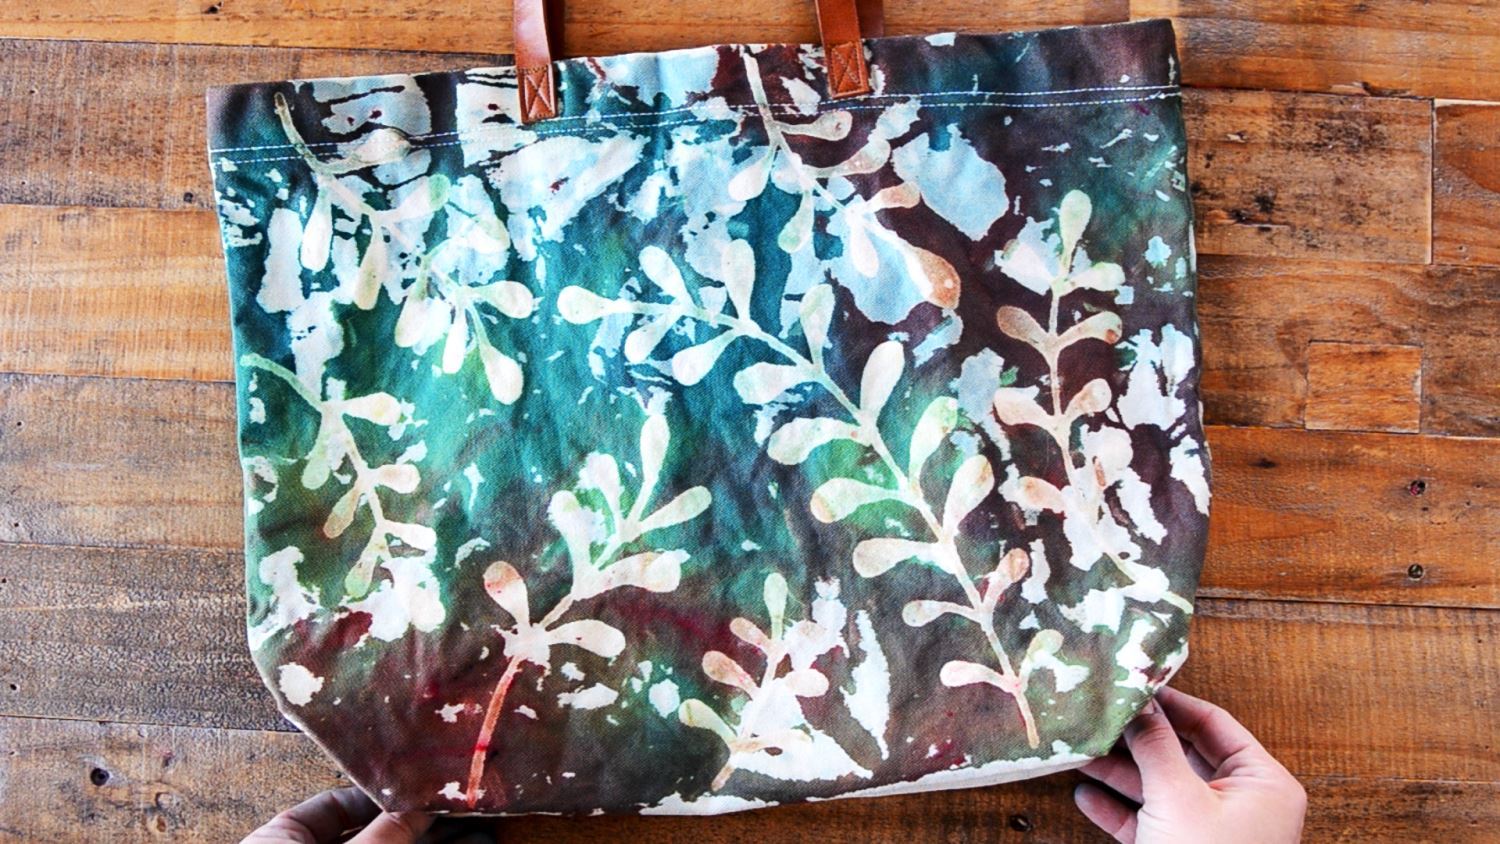
After the dyes have fully processed, remove the rubber bands and thoroughly rinse the tote under running water until the runoff is clear. Next fill your sink (or a bin) with warm water, adding enough to cover the tote lying open and flat. Allow the tote to soak for at least 30 minutes so the glue begins to soften and lift off the fabric. You might need to use your fingers to help scrape any excess residue.
Soak, rinse and wash tote
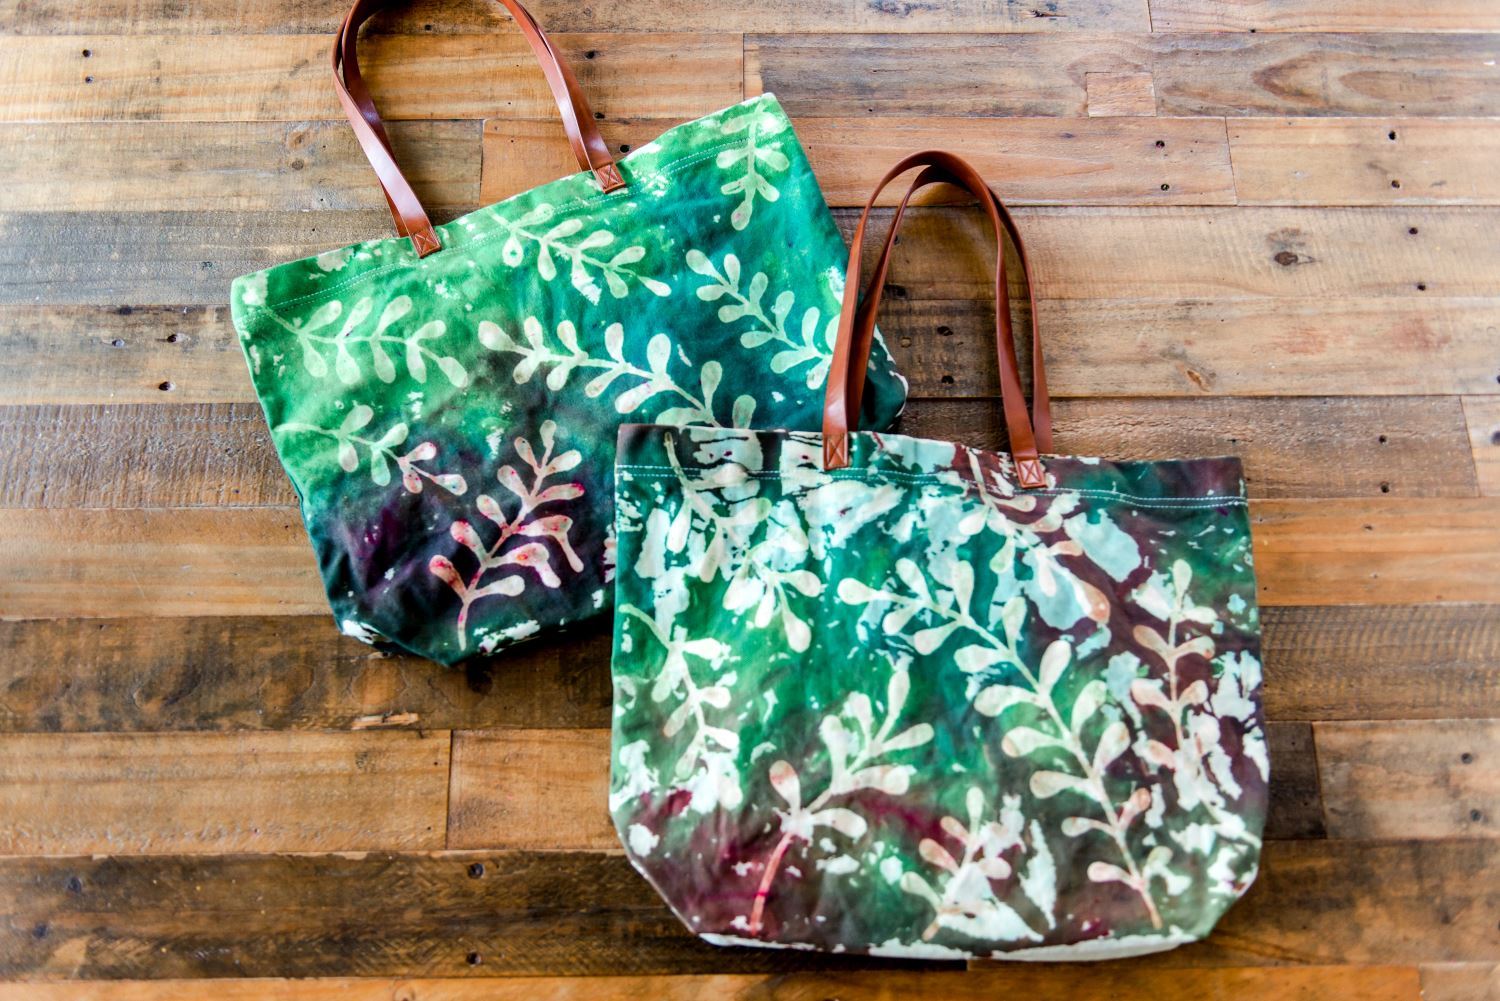
Don’t be alarmed if your DIY tie-dye patterns look a bit murky after removing the glue resist; sometimes the dye sits on top the glue so they should clear up once all glue is removed. Continue soaking in warm water and removing the glue until all residue is gone. Then wash and dry the tote separately according to instructions.
DIY Tie-Dye Patterns with Glue Resist
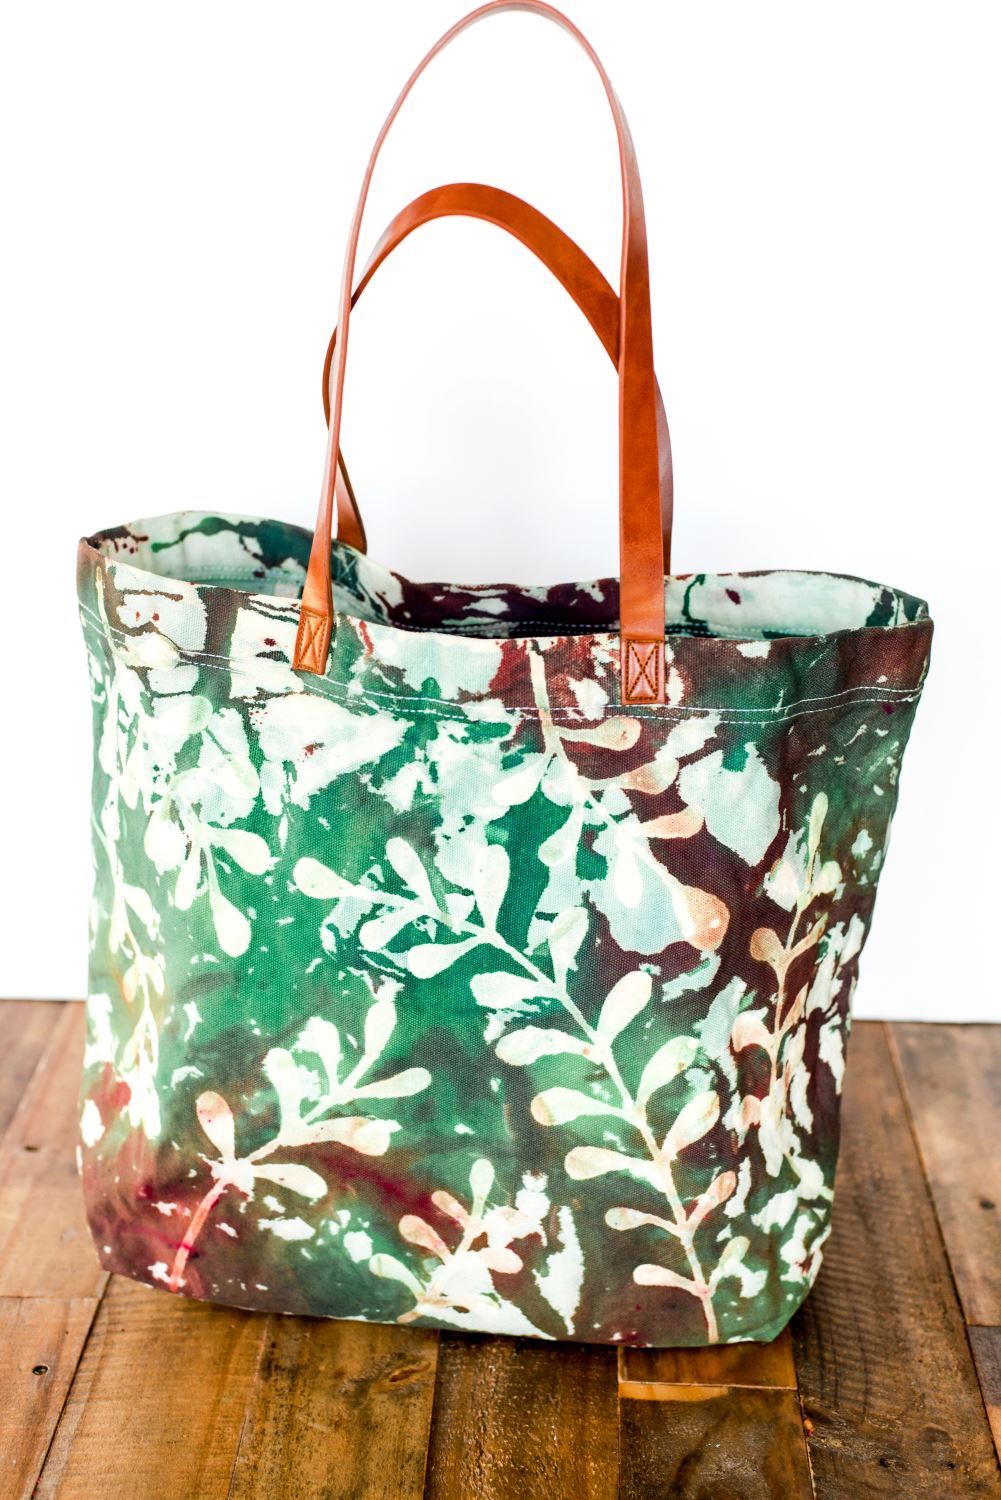
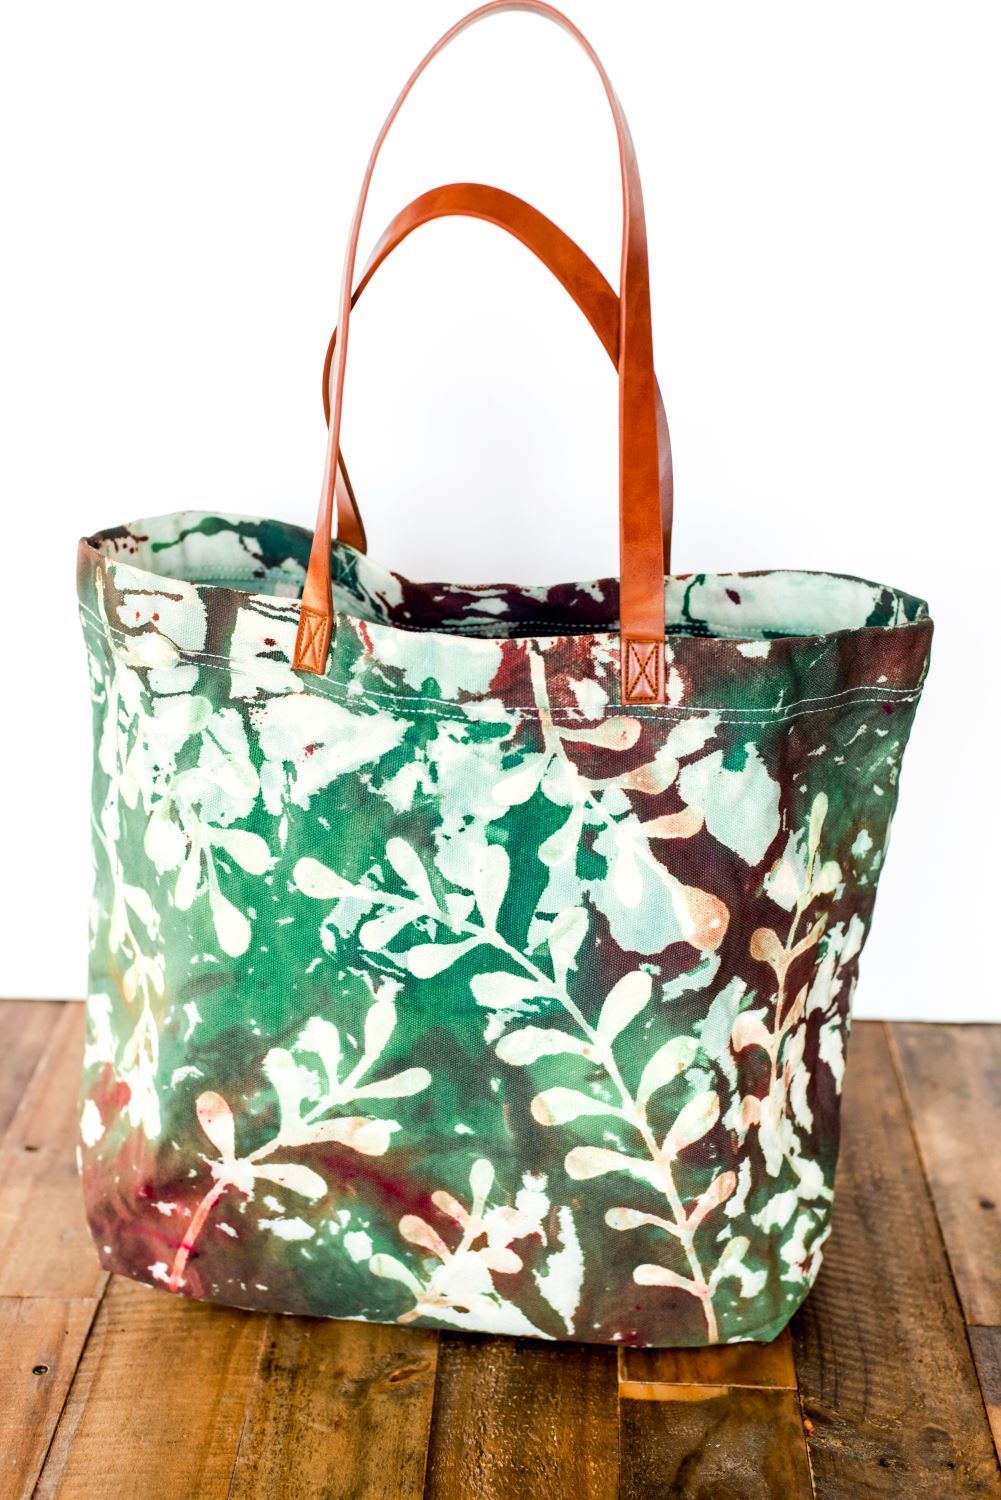
We looooove how this turned out! Isn’t it such a cool way to create different DIY tie-dye patterns? Now you’re ready to hit the farmer’s market or your friend’s pool party in total tie-dye style. What are you thinking of making with tie dye and glue resist? Tag us on social @tulipcolorcrafts and share your awesome creations with us!
Pin This Project
