Flame Pattern Cloak with Reverse Tie Dye
Published Date November 04, 2022
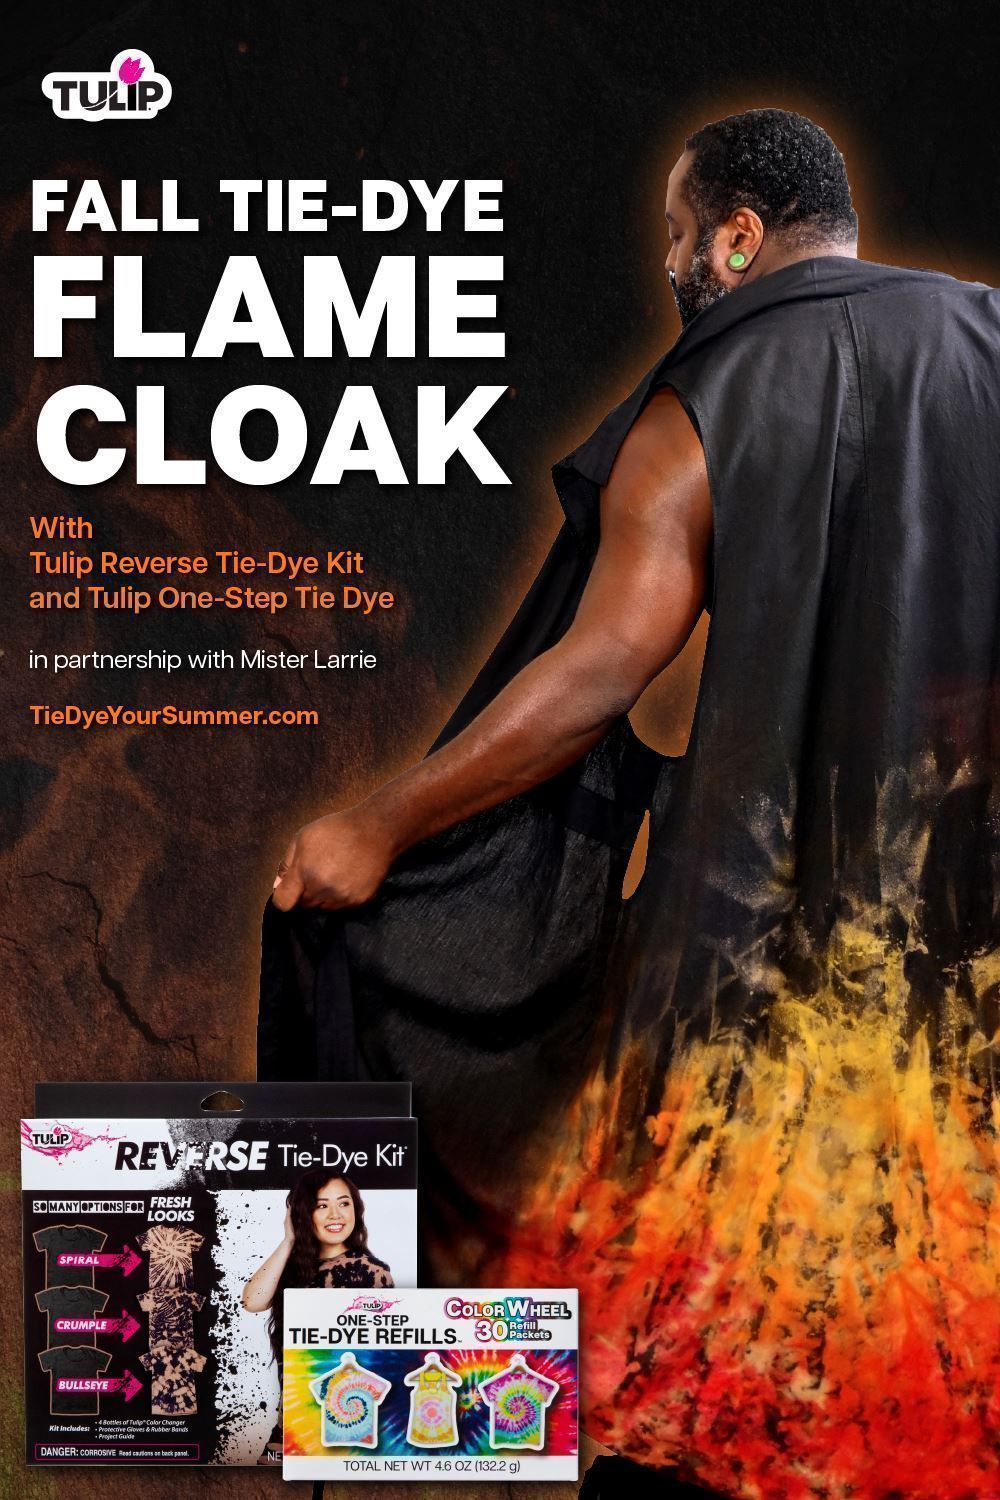
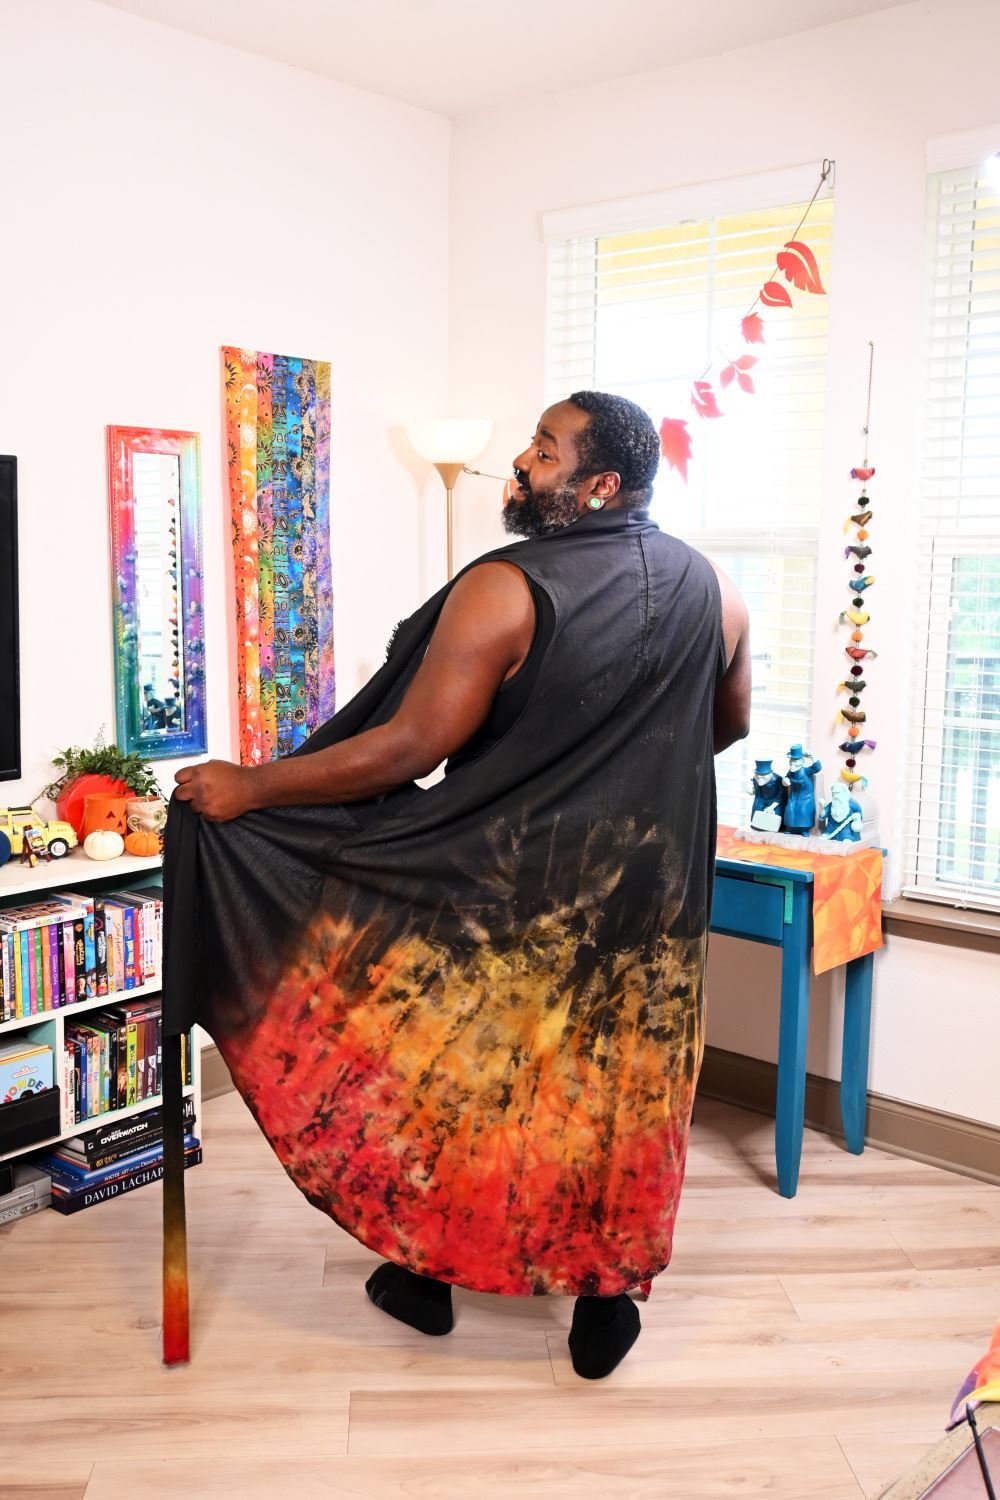
Heat things up this autumn with fiery tie-dye style! Follow along with this tutorial from Mister Larrie and learn how to use the Tulip Reverse Tie-Dye Kit and Tulip One-Step Tie Dyes to create a flame pattern cloak that’s a perfect addition to your fall tie-dye fashion collection. Tie-dye has never looked so hot!
What you need:
Tulip One-Step Tie Dye (Red, Orange, Yellow)
Black 100% cotton cloak
Spray bottle or small spray pump
Plastic gloves
Plastic tub or protective surface cover
Test strip for flame pattern with reverse tie dye
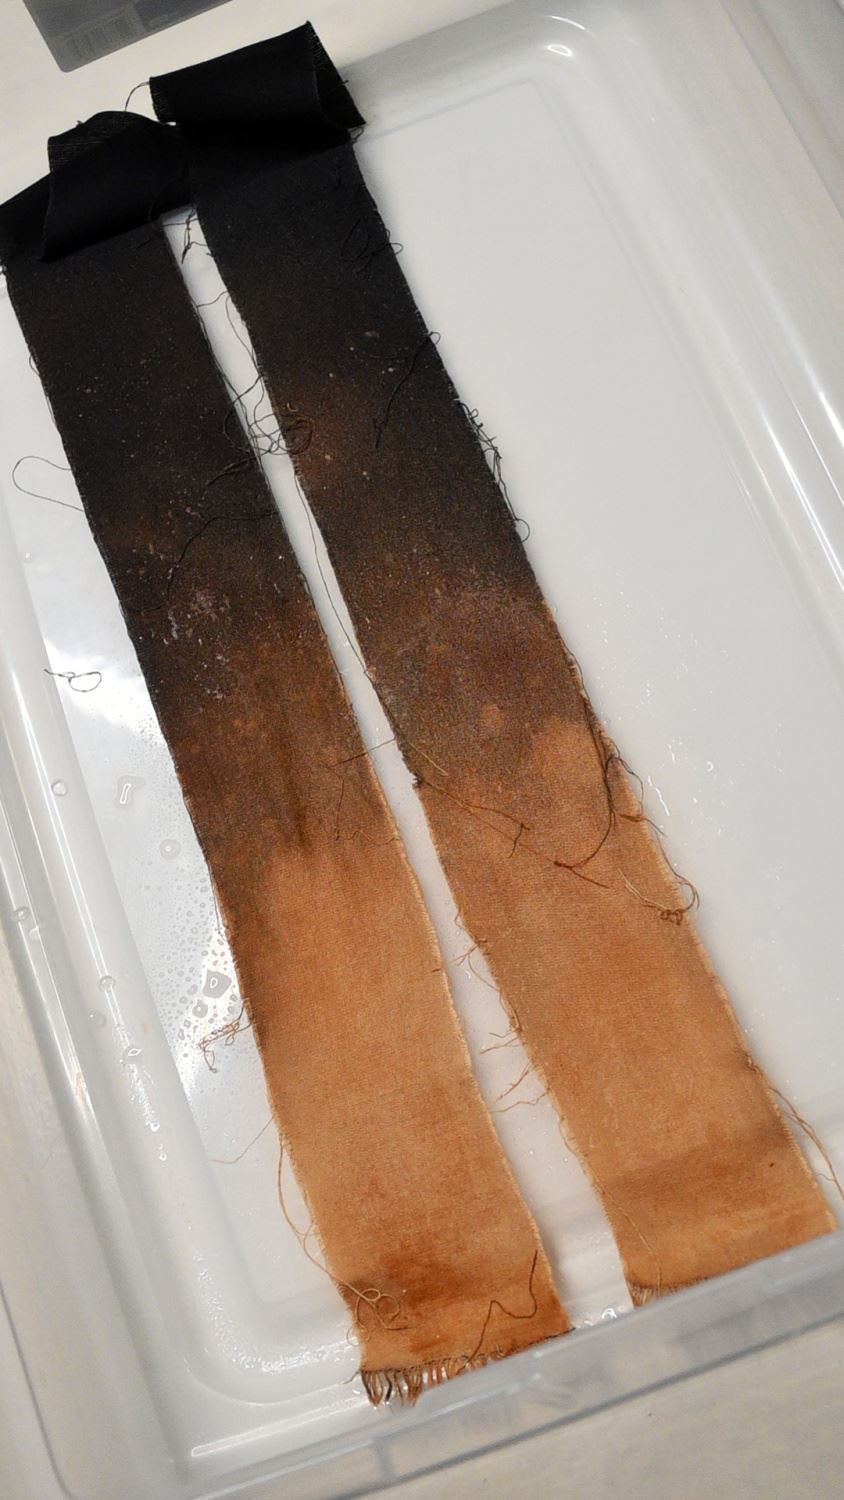
Prepare your reverse tie-dye solutions according to package instructions. Remember to always wear gloves when working with reverse tie dye! For this flame pattern technique, transfer some of the Color Changer into a spray bottle (or use a small spray pump on the existing bottle). Place some scrap fabric into a plastic tub or work area with a protective surface cover. Try making test strip so that you can practice the flame pattern technique and monitor the color removal time.
Apply color changer to the cloak
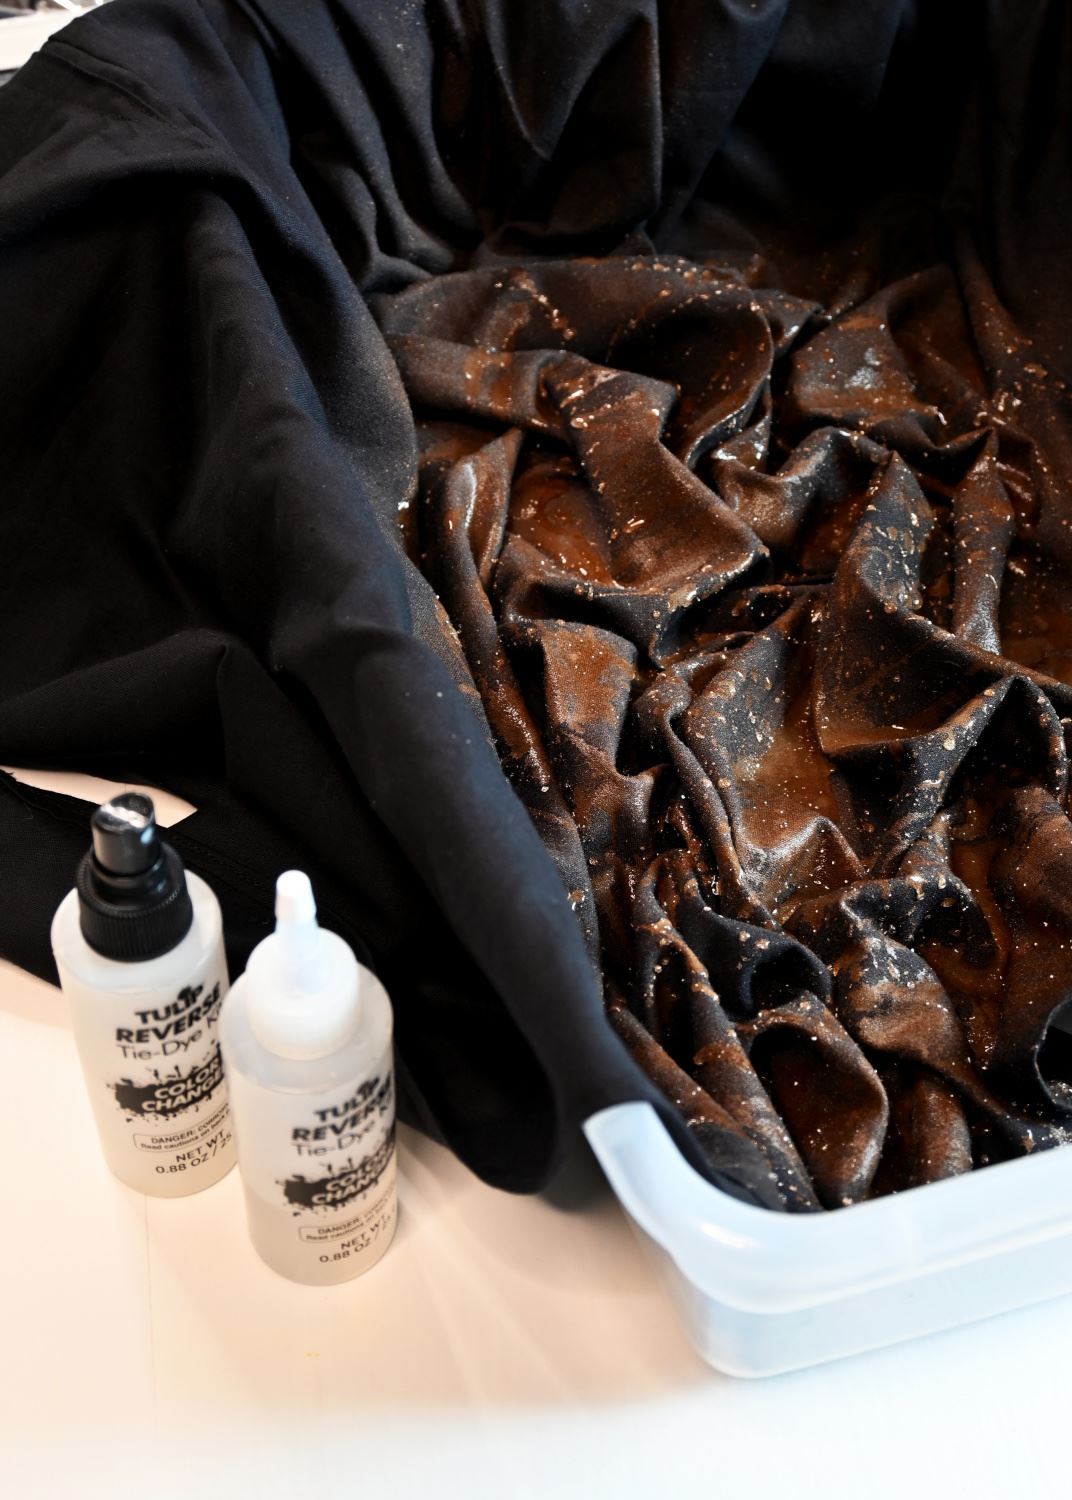
Place your black cloak into the plastic tub, scrunching the bottom of the fabric slightly. Apply color changer to the cloak using both a squeeze bottle and spray bottle for a mottled flame pattern effect.
Reverse tie dye cloak
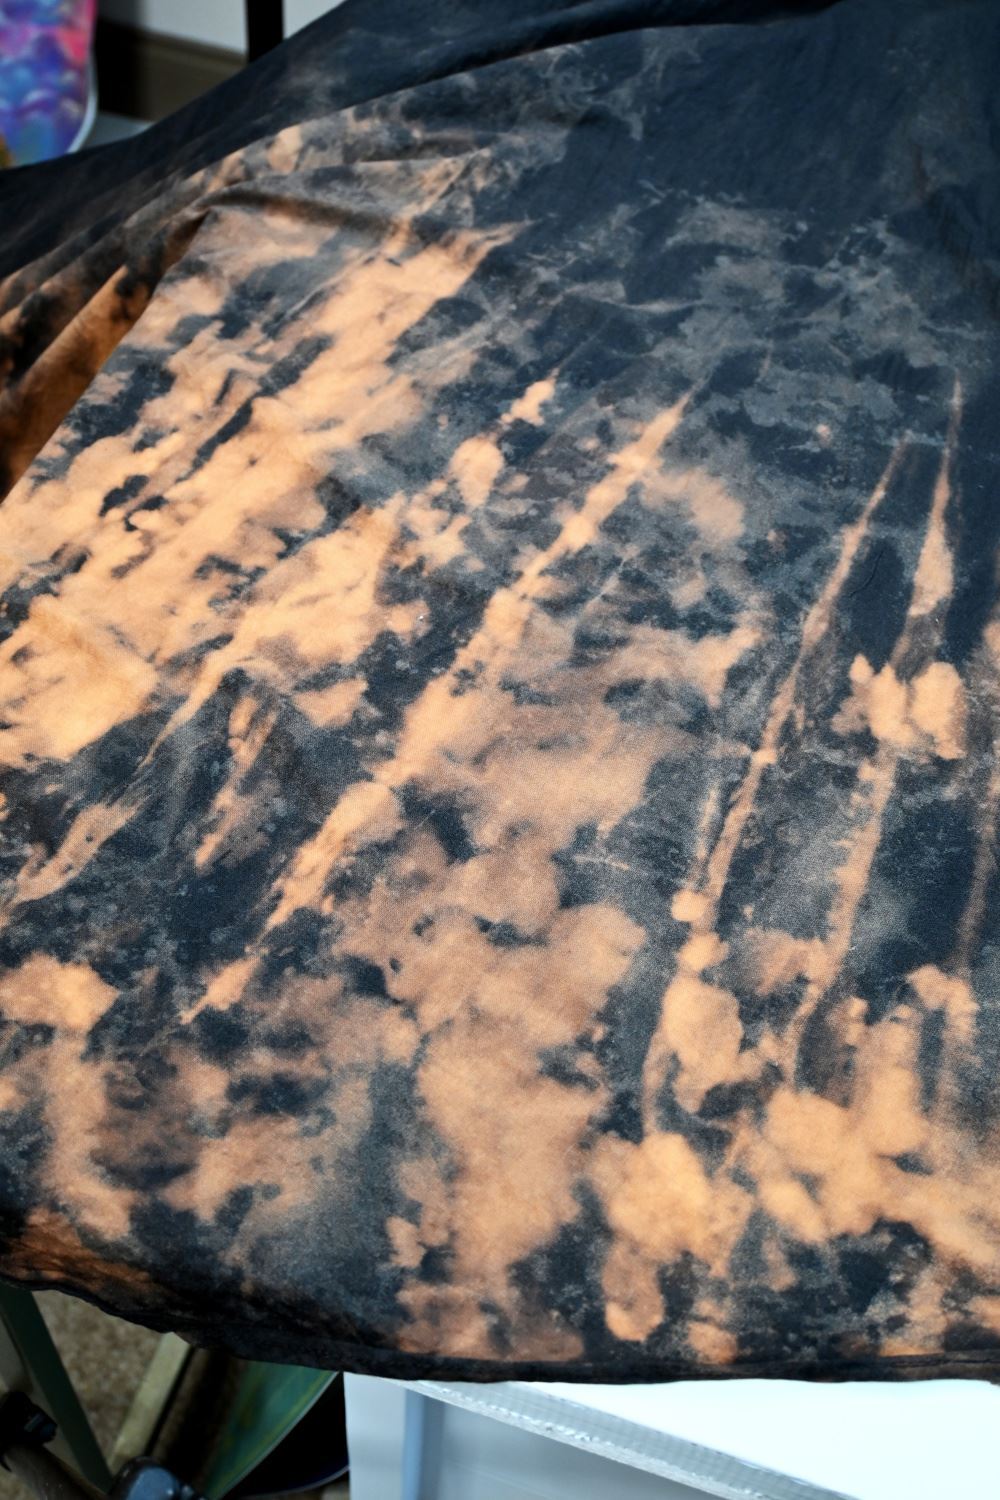
Allow your project to set until desired color removal is achieved, approximately 20 minutes. Then rinse, wash in cool water with a little laundry detergent, and dry.
Flame pattern cloak with reverse tie dye
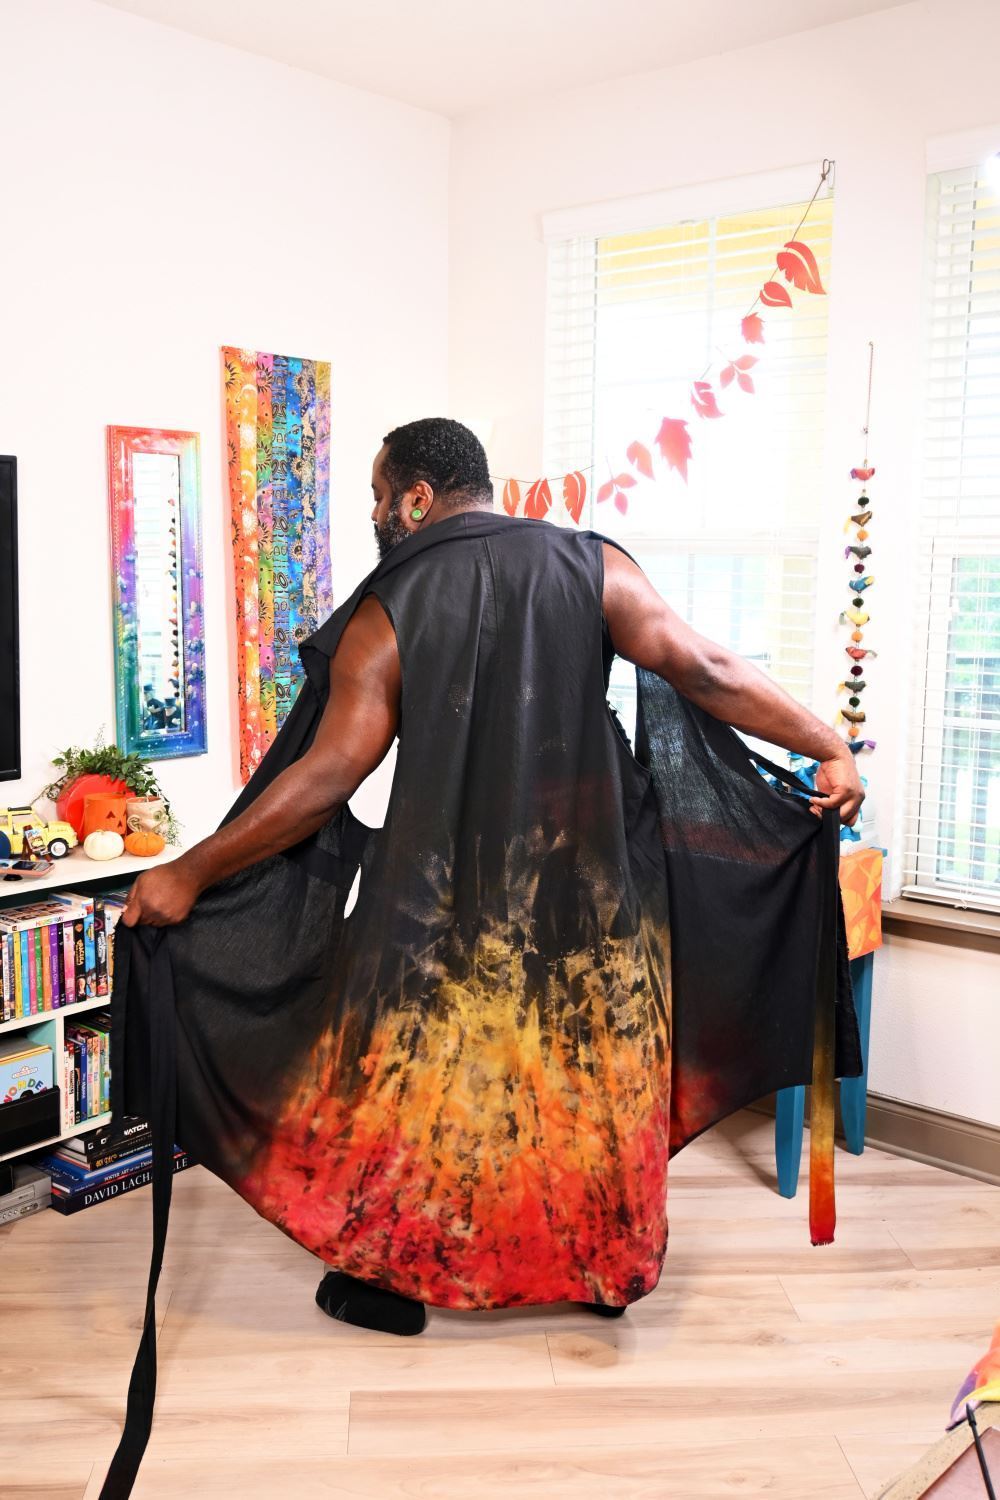
Now it’s time to add fiery colors to your cloak! Mix up a bottle of red, orange, and yellow One-Step Dyes and apply the colors to the lightened areas, using gloved hands to work the dye into fabric. Cover with plastic and let set for 6-8 hours or overnight, then rinse, wash, dry, and reveal. Wear your flame pattern cloak whenever you need to add some serious heat to your outfit!
Try this flame pattern technique for all of your fall tie-dye fashion! Show us how you’re using the Tulip Reverse Tie-Dye Kit and tag us on social media @TulipColorCrafts!
Pin This Project
