DIY Tie Dye Matching Family Pajamas
Published Date November 09, 2022
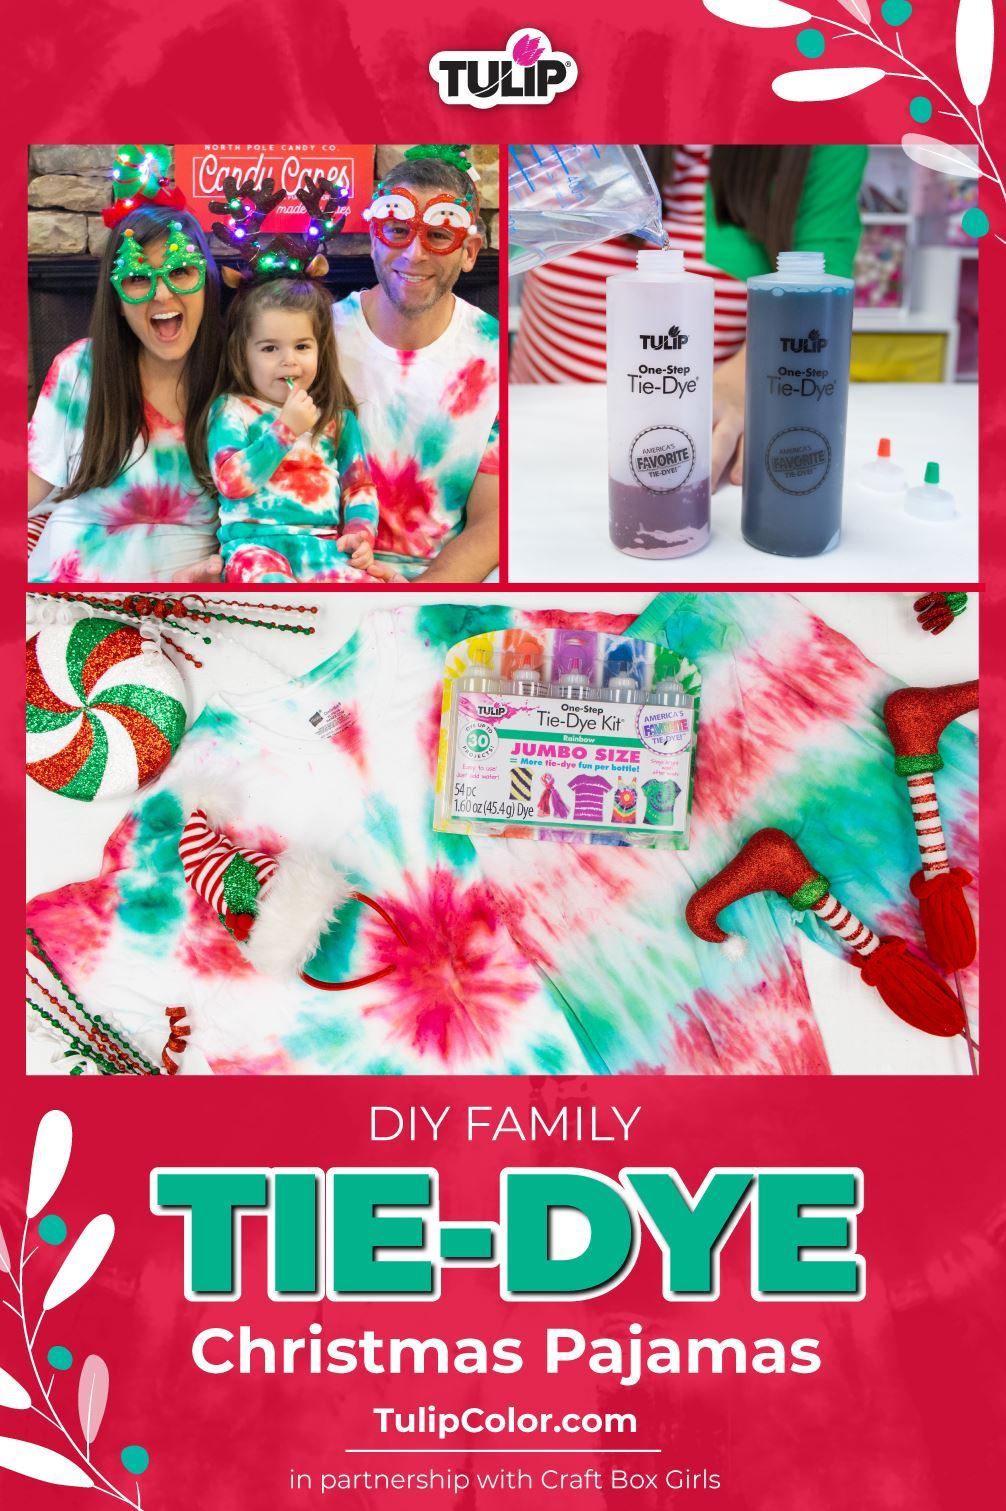
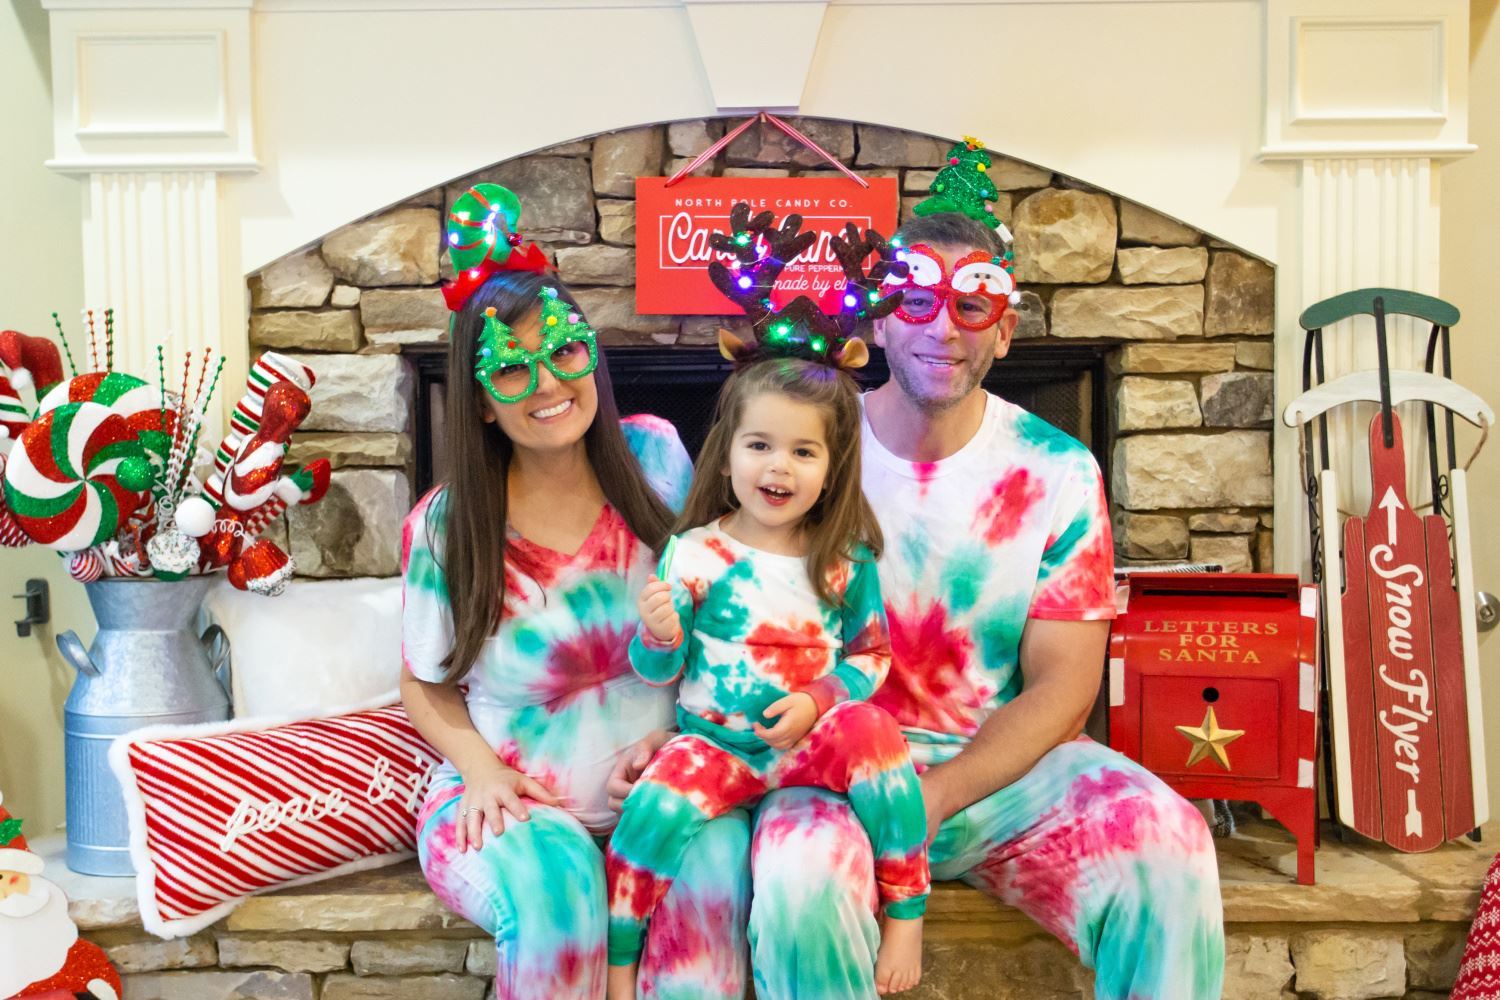
Stay colorfully cozy this Christmas in matching PJs for the whole family! Christmas morning will be extra merry & bright with tie-dye PJs you’ll end up wanting to wear all day. (No shame in that game.) Craft Box Girls put together this tutorial to get you inspired so you don’t have to wait for Santa to leave them under your tree … you can do it yourself with Tulip One-Step Tie Dye. So round up your crew and get everyone involved in a creative activity that just might become a new holiday family tradition!
What you need:
Tulip One-Step Tie Dye (any kit with red and green)
- White 100% cotton pajamas
- Disposable plastic surface cover
- Sealable plastic bags
Wash pajamas before starting
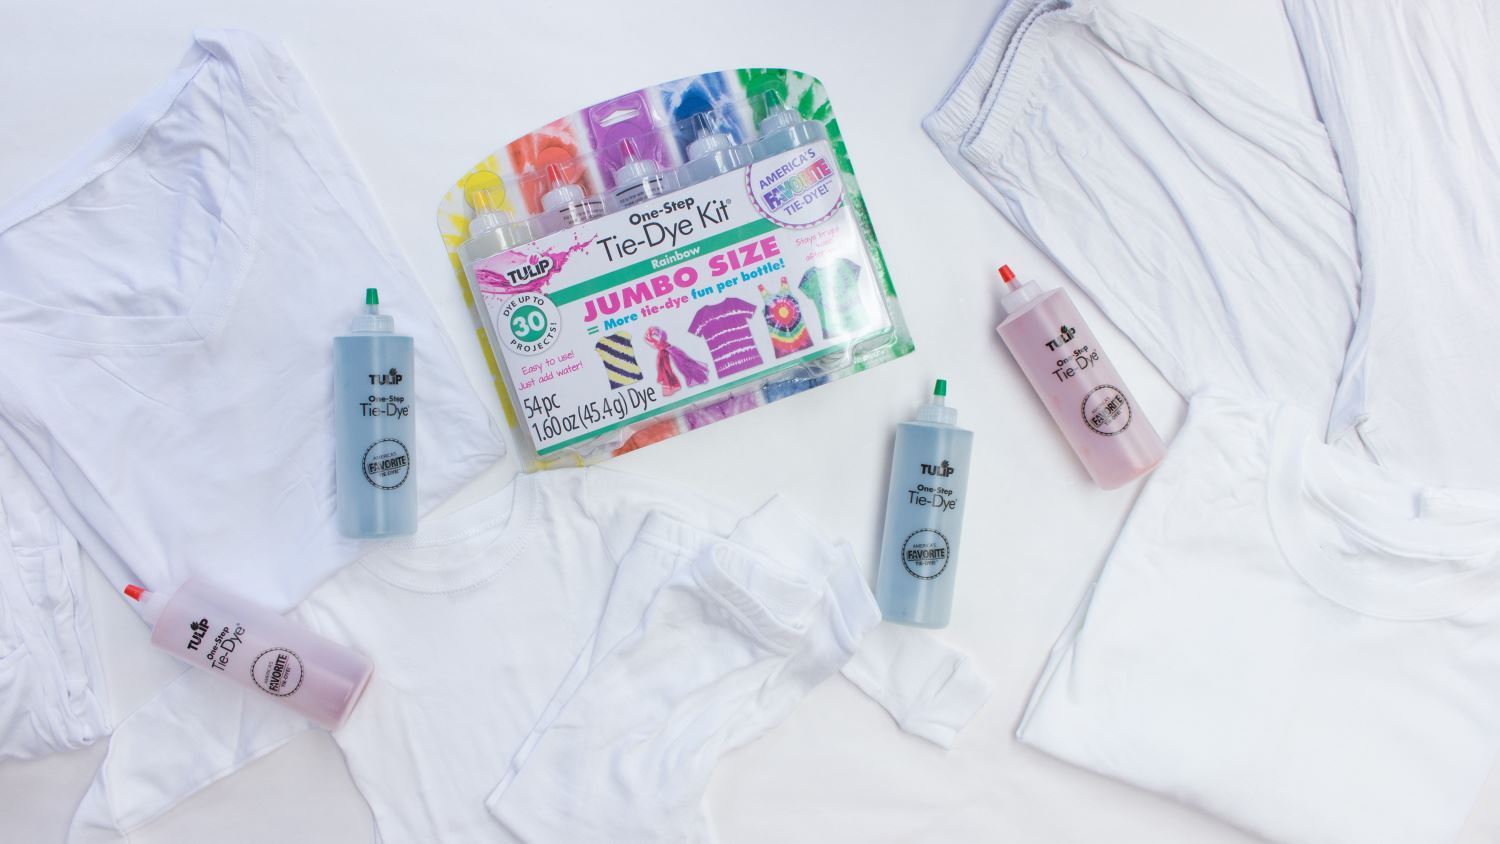
Before starting on your tie-dye pajamas, make sure to wash them (without fabric softener). You can get straight to tie dyeing after they’re done washing, or if you’ll be tie dyeing at a later time, make sure to thoroughly dampen the pajamas under the faucet or in a bowl of water. Wring out excess water.
Lay damp PJs on work surface
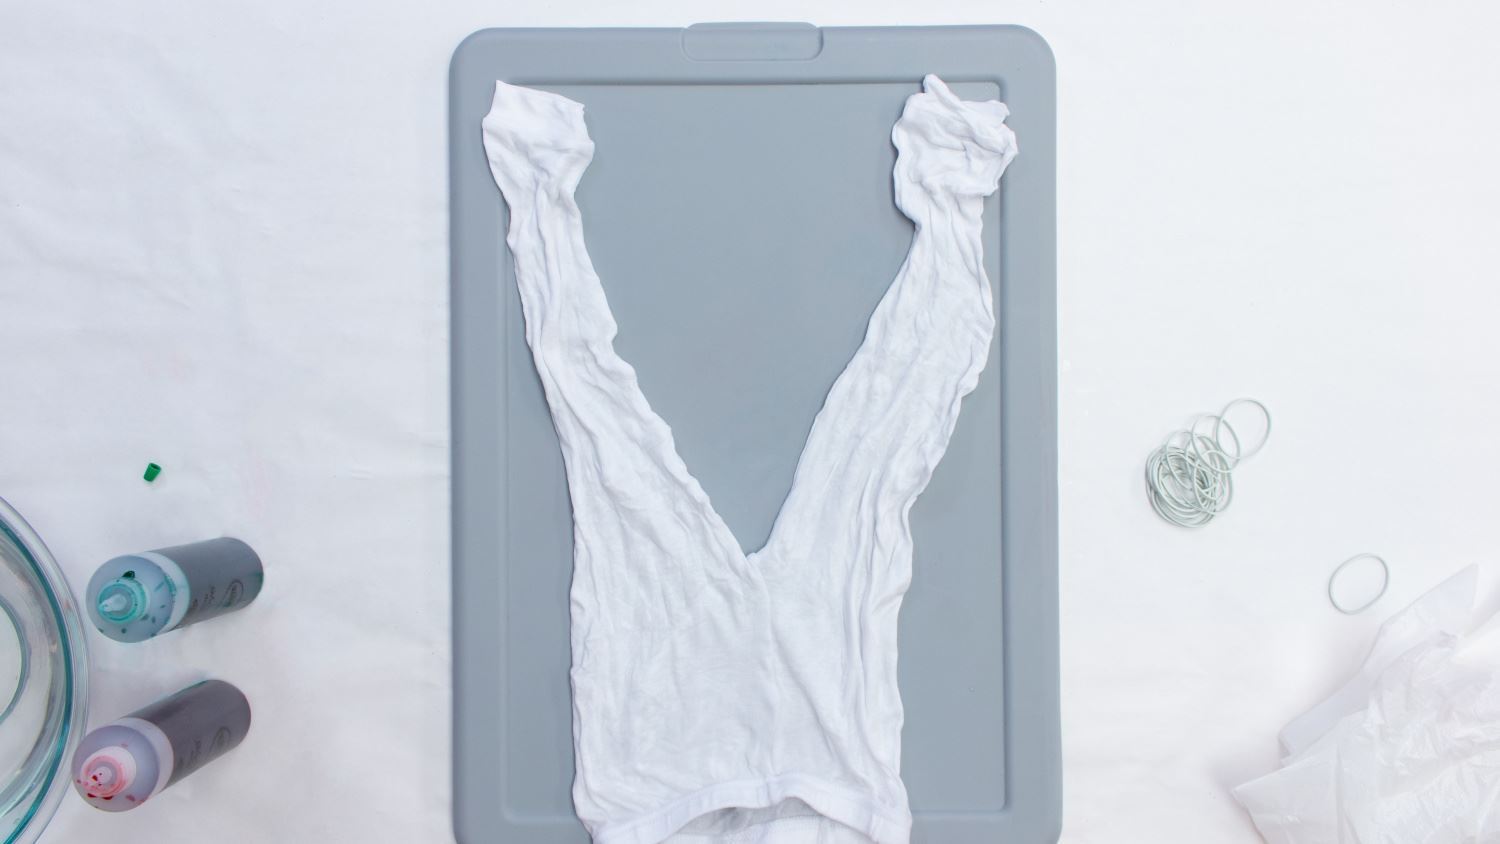
Lay out your damp pajamas on a covered work surface, then choose your favorite tie-dye technique. There are so many good ones! If you’re making matching family pajamas like Craft Box Girls, choose which tie-dye patterns you all like best (you can mix & match different patterns for the legs and tops), or everyone can do their own thing!
Pleat and bind project
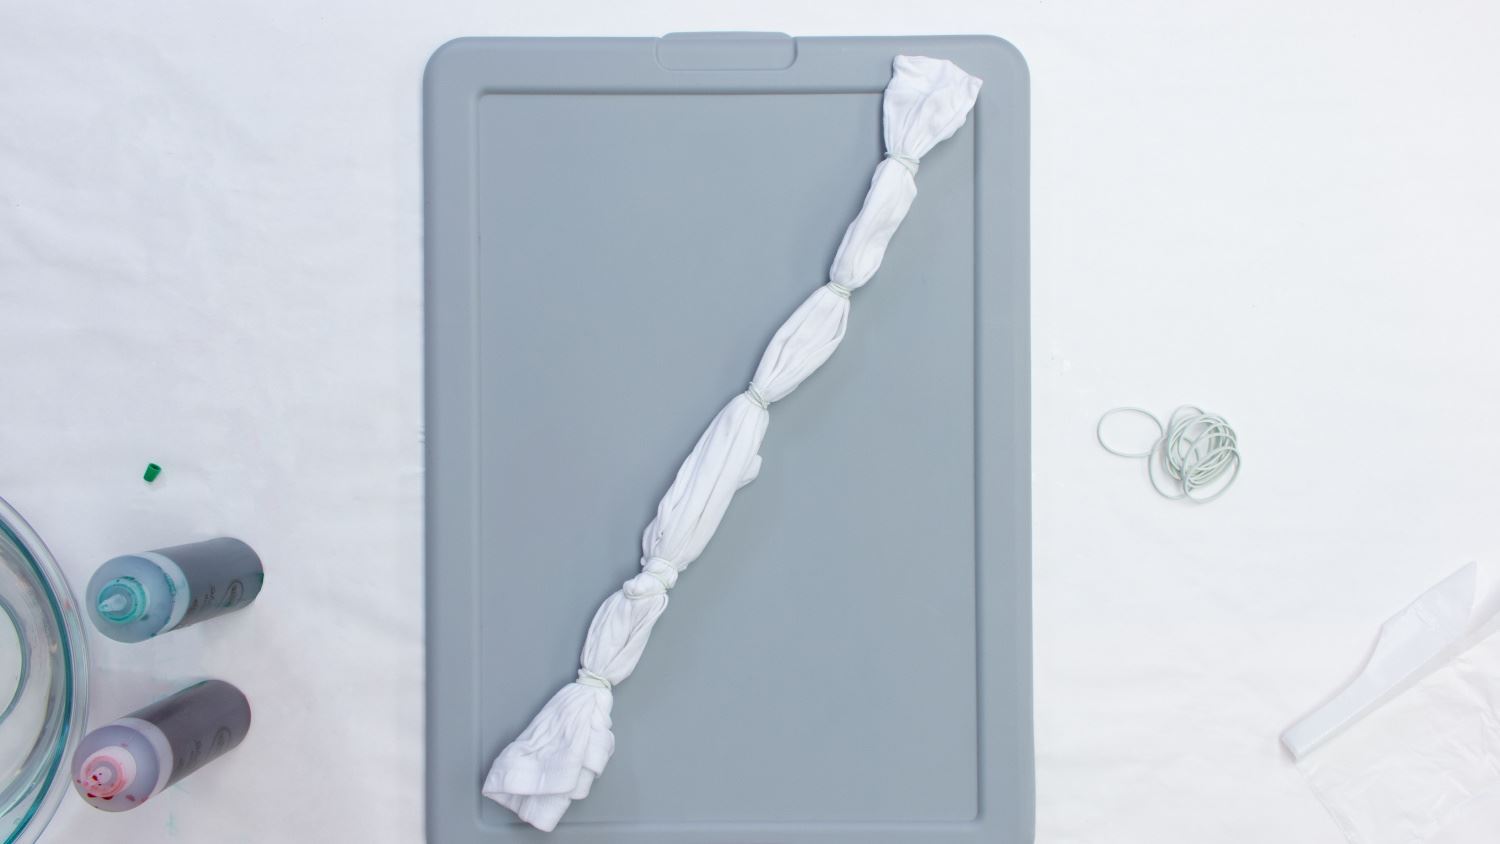
Fold, pleat or bind your project using the rubber bands included in your kit. For the pajama pants, Craft Box Girls opted for a stripes tie-dye pattern. You can do the same or choose something different!
Add dyes to project
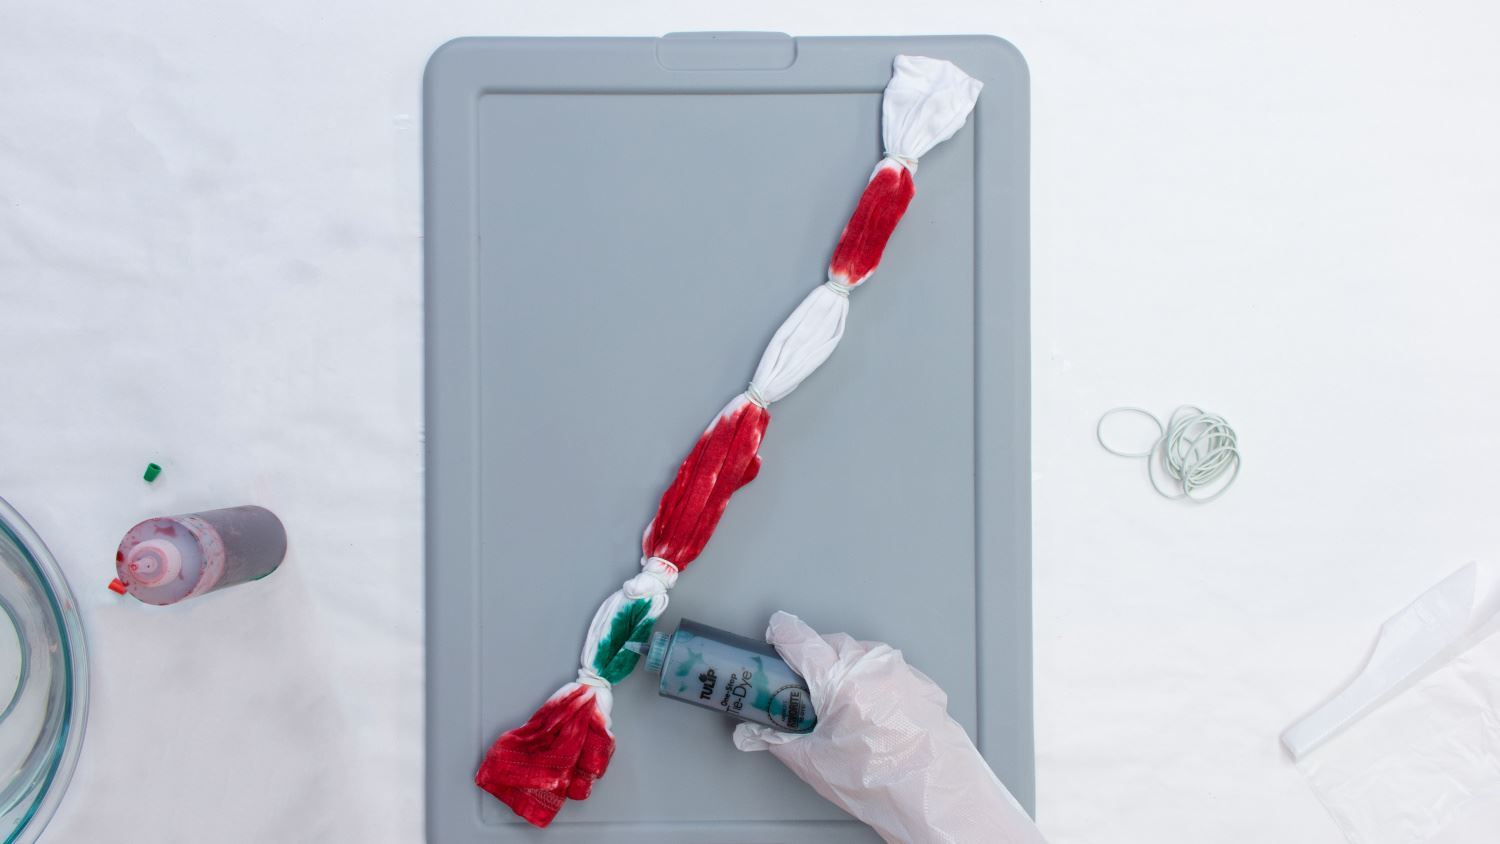
Mix up your dyes with water according to instructions, then apply in between the rubber bands on your project. Tip: leave a little bit of white space on each side of each rubber band. This will help create more defined patterns and also prevent the dye colors from blending too much and looking “muddy.” (Since red and green can look brown when mixed.)
Bind top for bullseye pattern
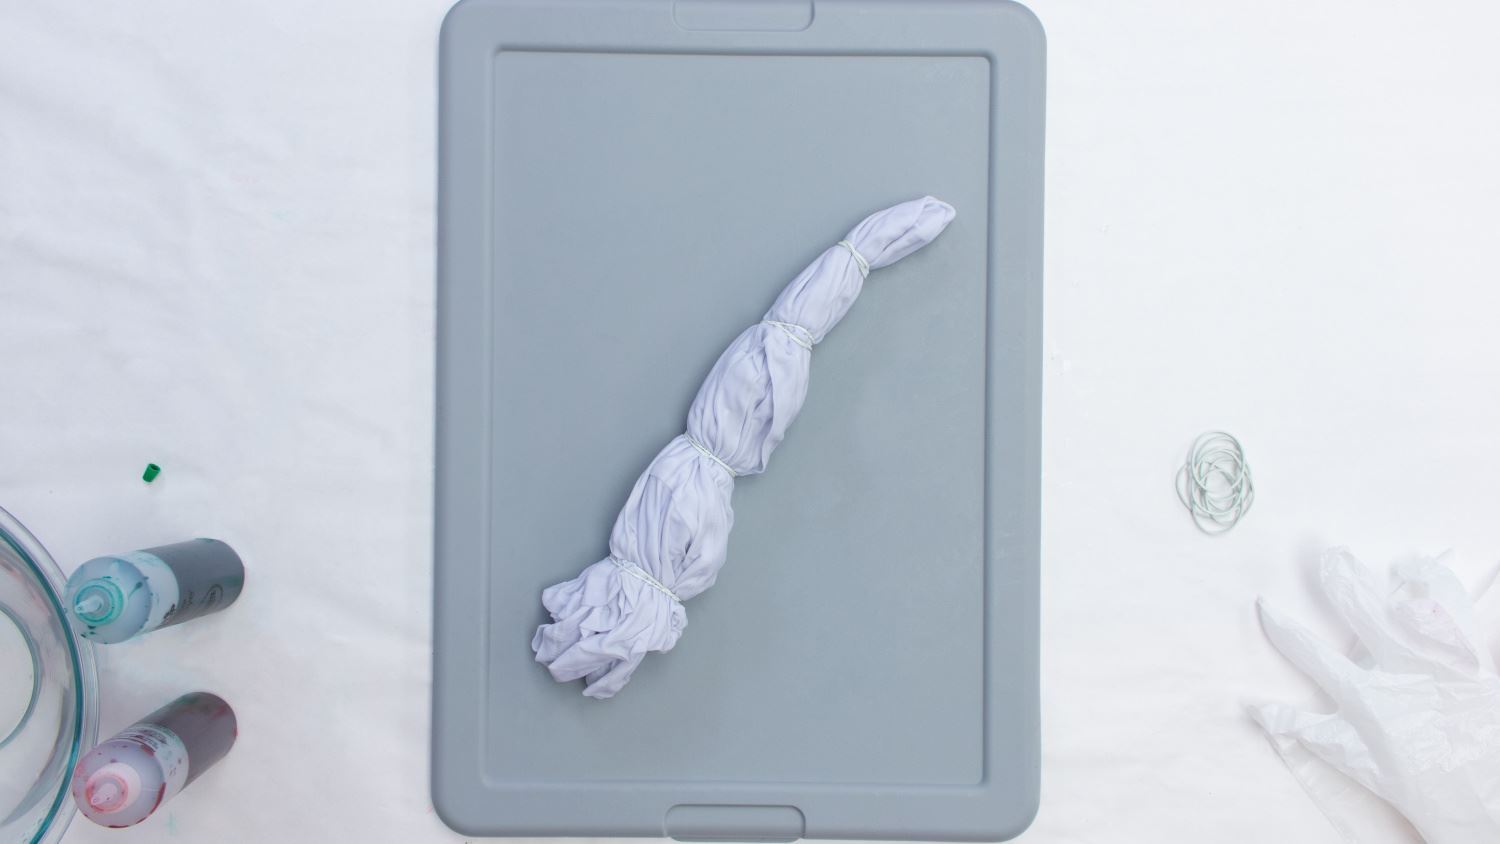
For the pajama tops, Craft Box Girls chose the bullseye tie-dye pattern. It’s so easy and looks so cool! Simply decide where you want the bullseye center to be, then pinch the fabric at this point and pull upward into a tube shape. Wrap rubber bands around the fabric every few inches to your liking.
Alternate dyes between rubber bands
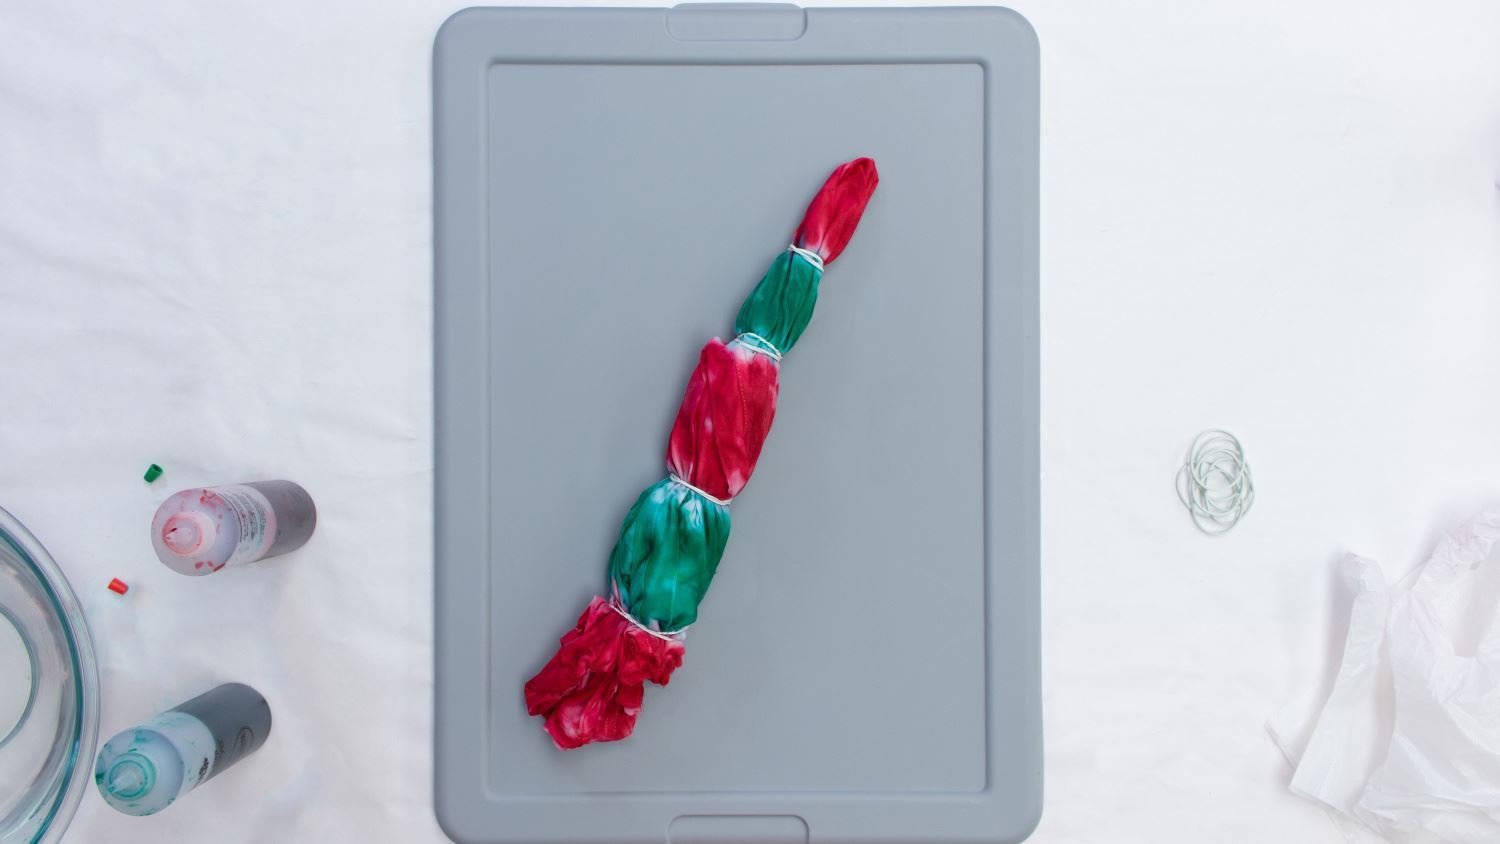
Alternate red and green dye colors between each banded section as done with the pants. (Or experiment with other color patterns!)
Let set, then cut off rubber bands
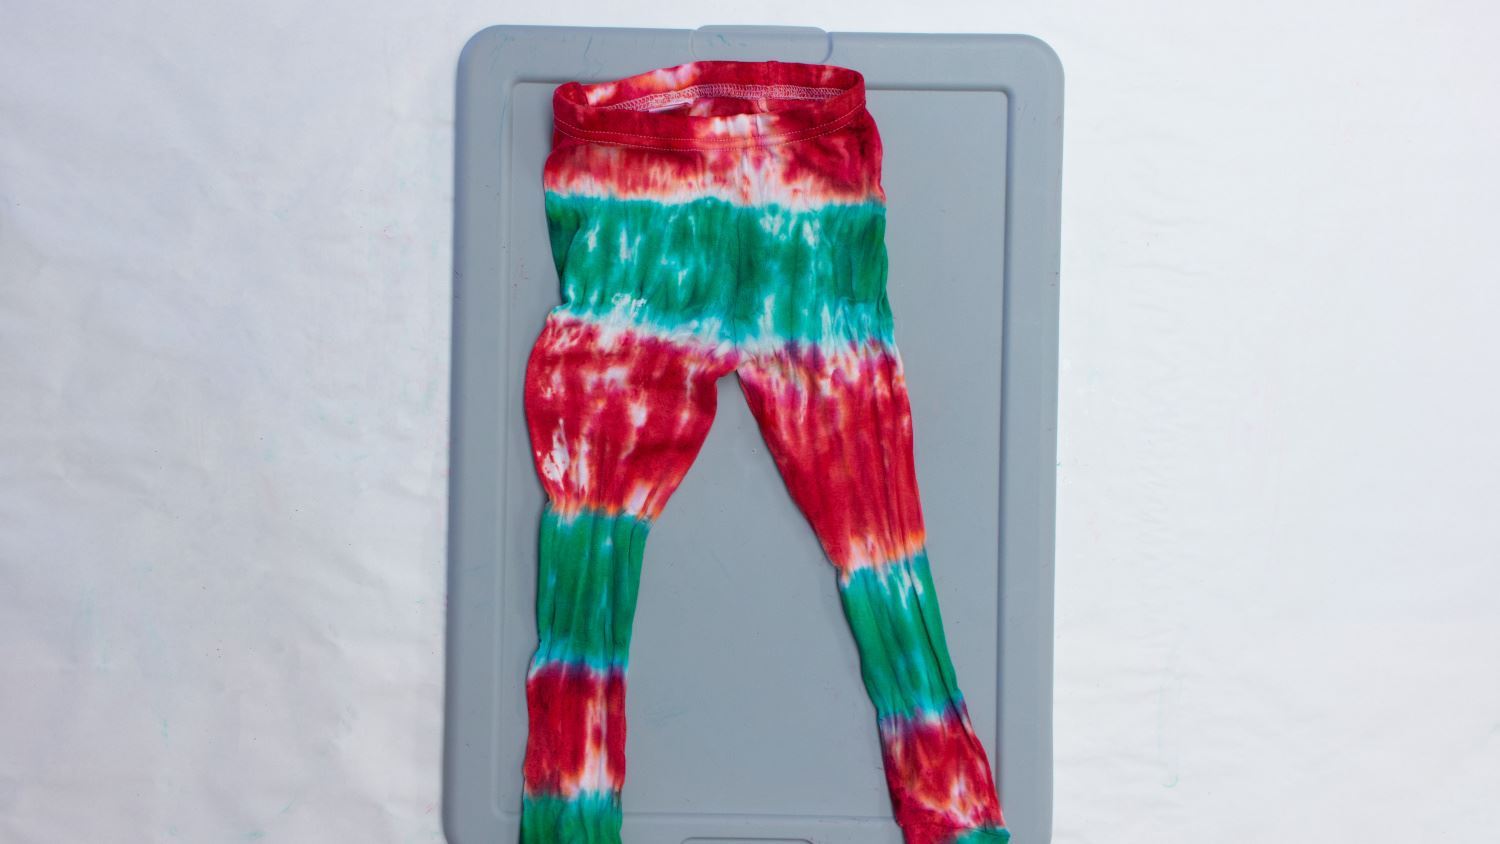
When everyone is done with their tie dye, place each project in a sealable plastic bag to keep damp, then let the dye set for 6 to 8 hours or longer. After the dye has set, remove the projects from the bags and cut off the rubber bands.
Rinse and wash pajamas
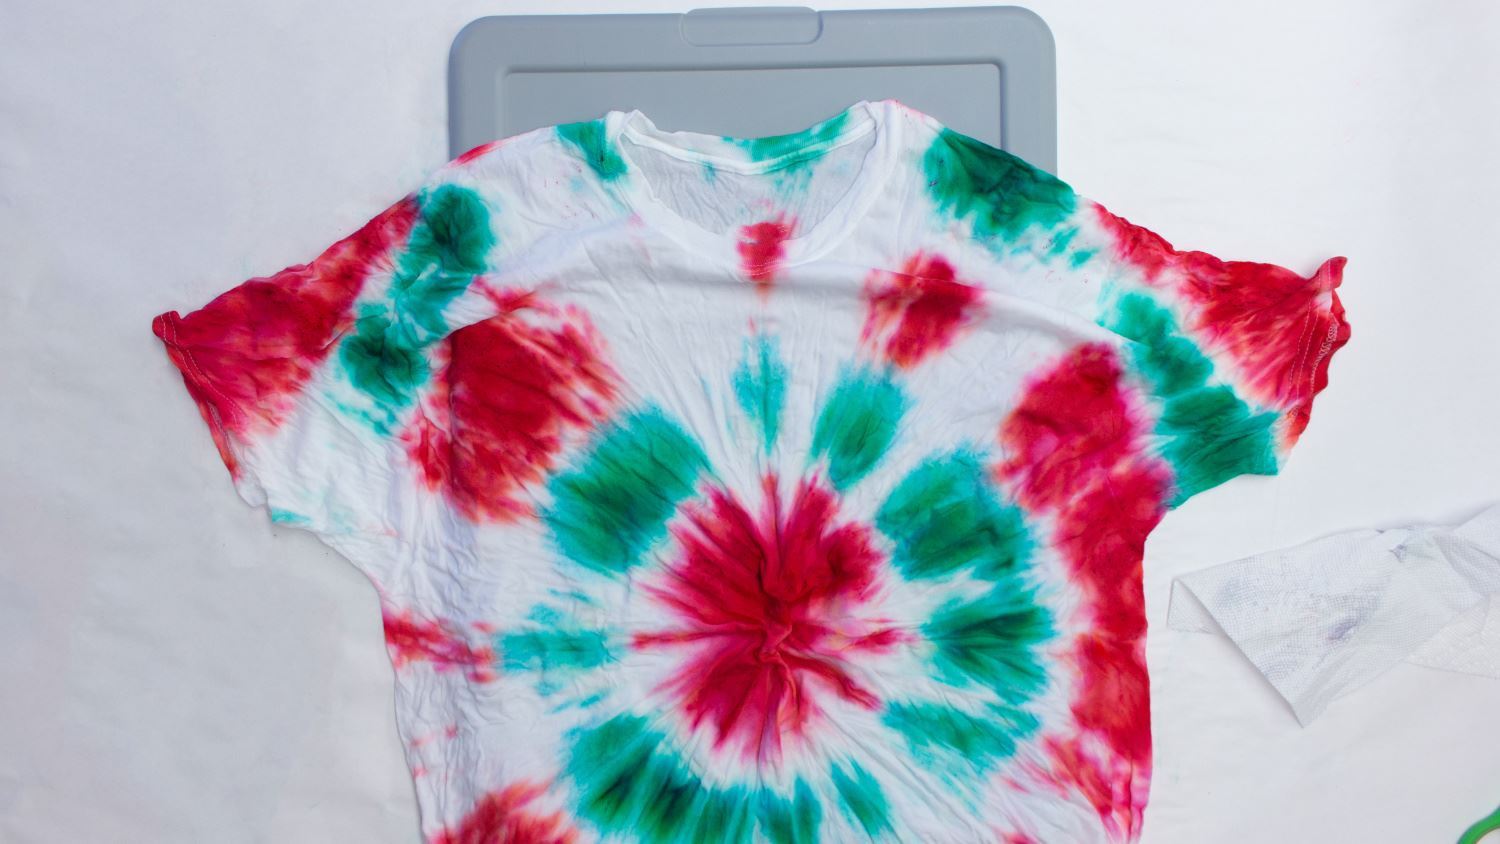
Thoroughly rinse each pajama set under running water, then wash and dry according to instructions. If your pajamas are all the same colors, you can wash them together, otherwise, wash separately to prevent the colors from muddying in the washer.
Tie-Dye Christmas Pajamas
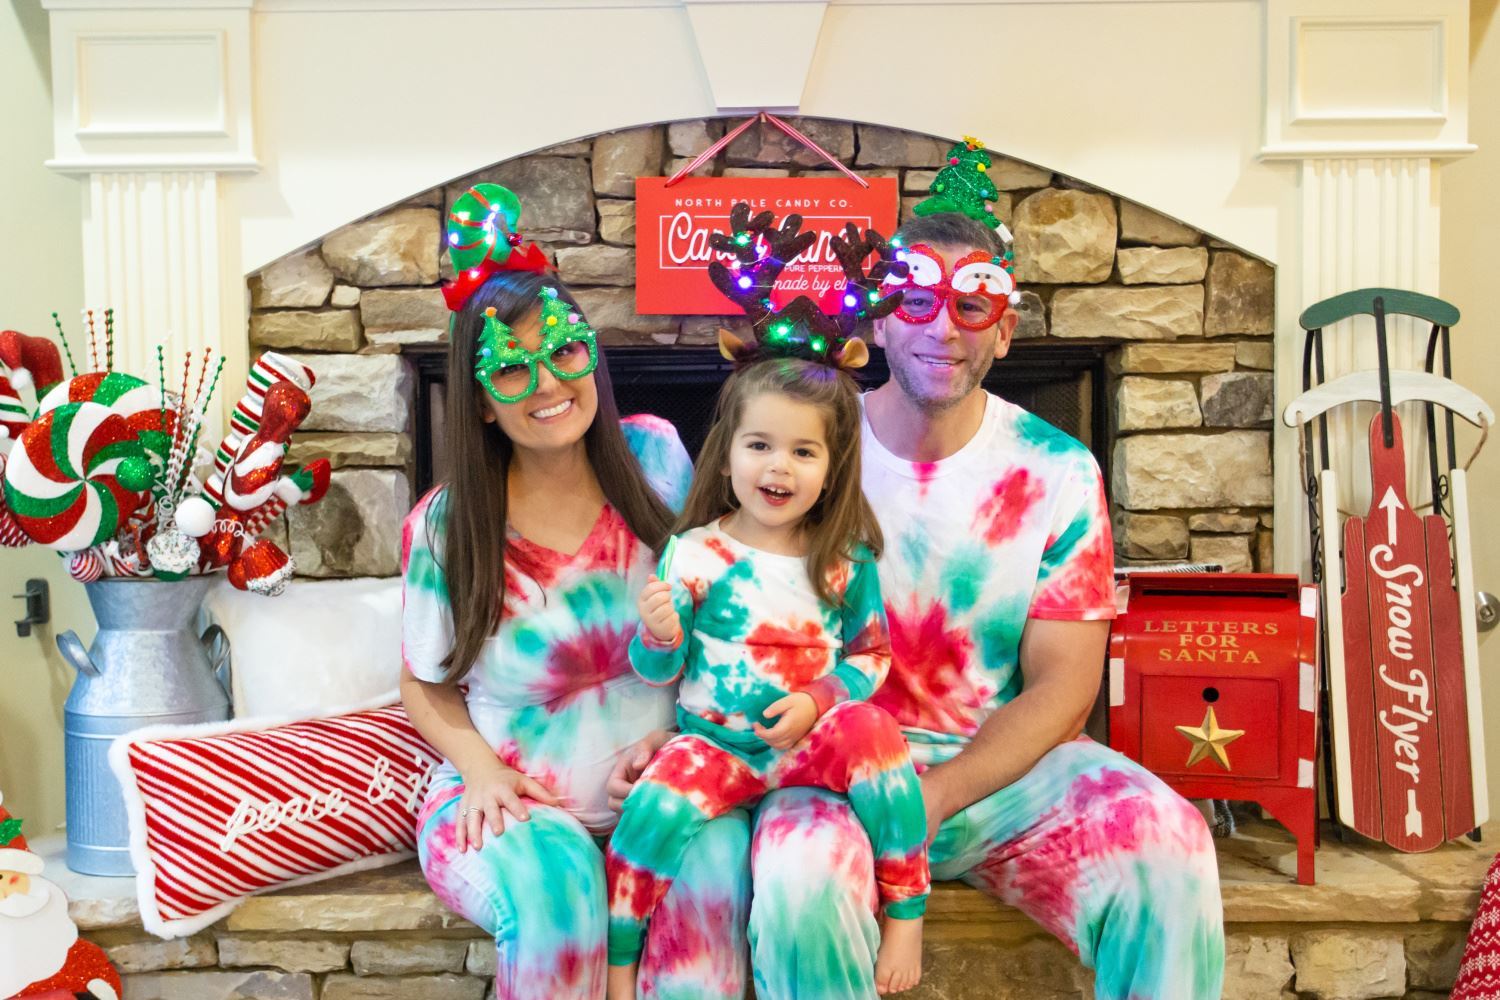
Now you’re ready to wake up on Christmas morning in vibrant tie-dye style! It’s such a fun way to add an extra festive feel to your holiday. How are you tie dyeing for the holidays? Make sure to tag us on social @tulipcolorcrafts and let us know!
Pin This Project
