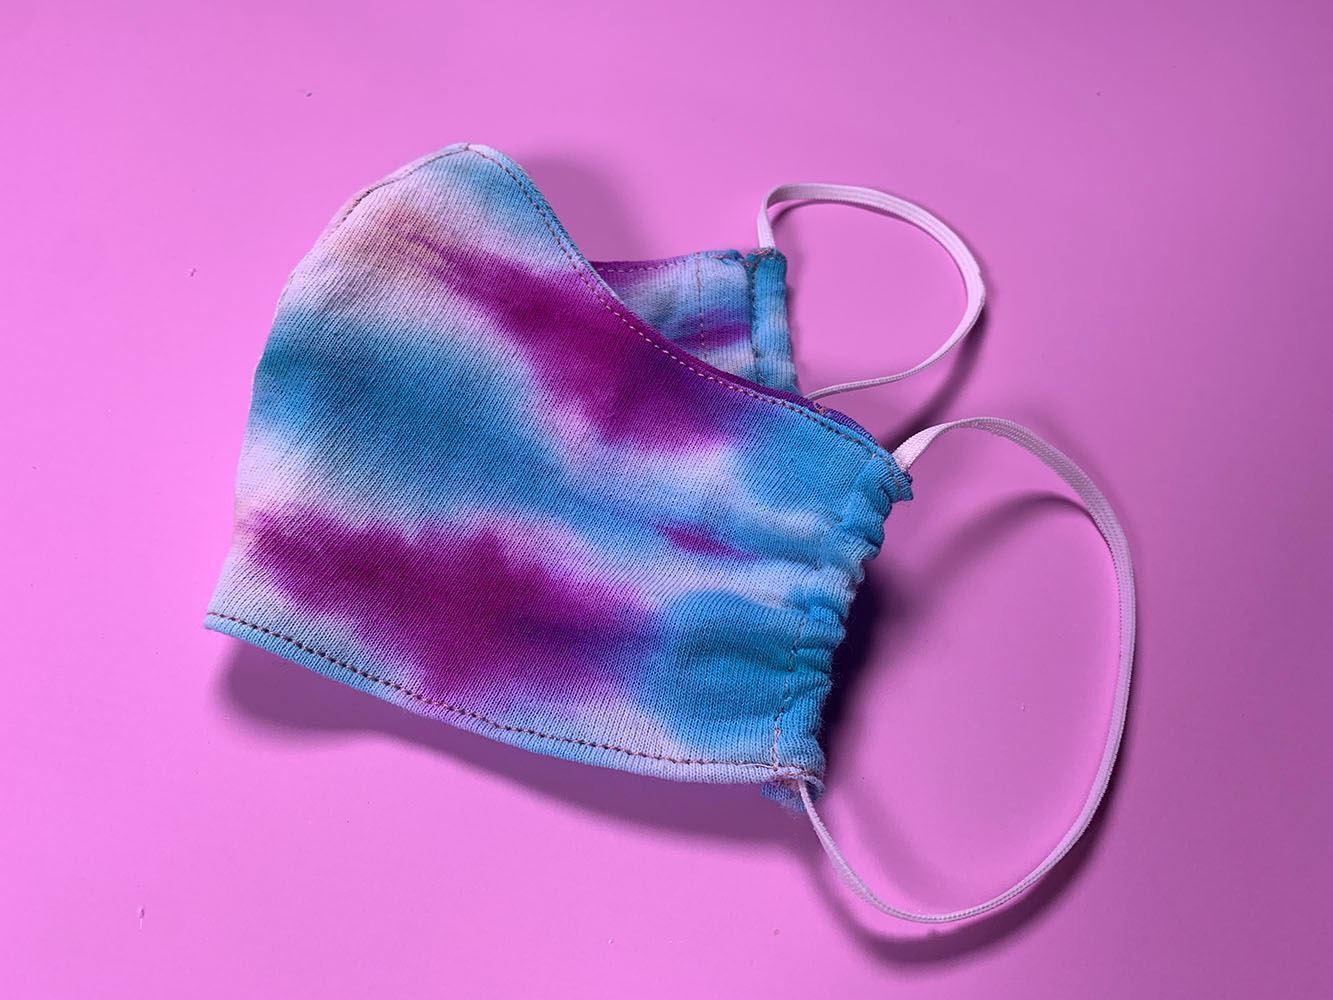
DIY Tie-Dye Face Mask Tutorial
Published Date April 13, 2020
Right now we all have health and safety on our minds - our own and that of everyone around us. Face masks have always been a great tool for helping to protect from and prevent the spread of bacteria and viruses, and right now they're in short supply. Many of us are getting creative and making our own, and while they aren't the same as medical-grade masks, they still add a level of protection we don't normally have ... and they also help to keep us from touching our faces! Tie dye is a fun way to add personality to your mask (Tulip One-Step Tie Dye is nontoxic!), and the best part is, you can grab an old tie-dye T-shirt out of your closet and DIY a mask without having to leave home. Check out this tutorial and get inspired to upcycle a tie-dye T-shirt into your own colorful face mask.
What you need:
- Tie-dye T-shirt (shop One-Step Tie-Dye Kits here)
- Scissors
- Mask pattern (find your preferred style online and download)
- Elastic
- Sewing pins
- Sewing machine (or needle and thread)
- Iron
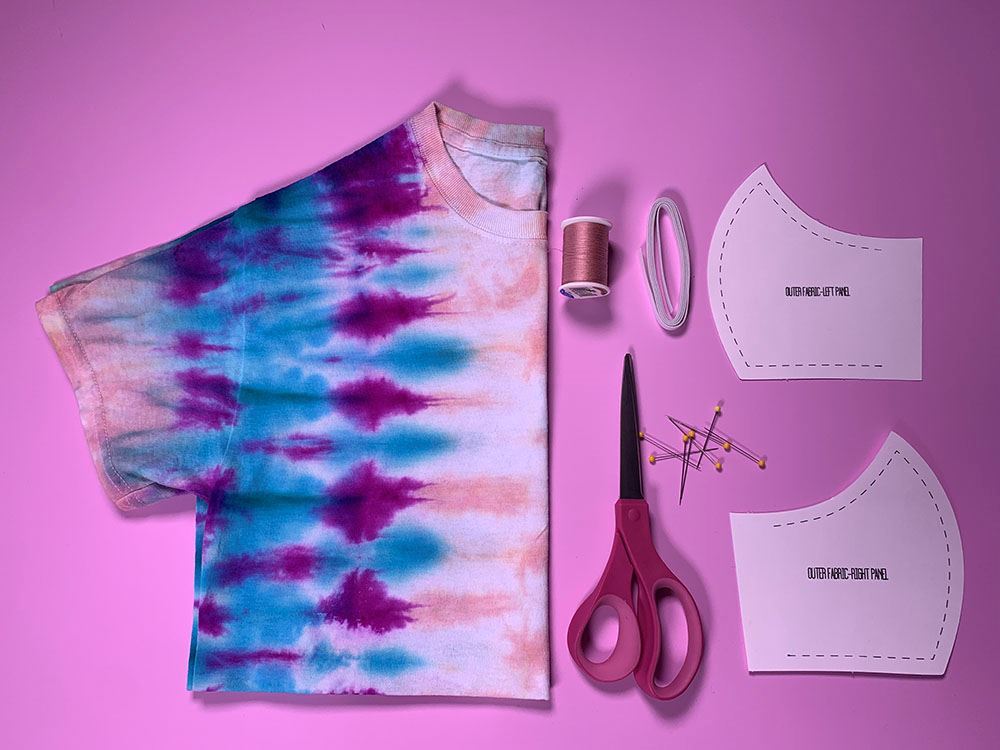
If you're like us and you already have some bright tie-dye shirts lying around, grab one of those to get started on your face mask! But you can also make your mask out of a plain white 100% cotton T-shirt or fabric first, then tie dye afterward. Tulip One-Step Tie Dye is nontoxic, so you don't have to stress about wearing the dyed fabric against your face. Find a pattern online that you like best and print out. Make sure it's large enough to cover your face, and that you have a pattern that includes a liner and an outer layer.
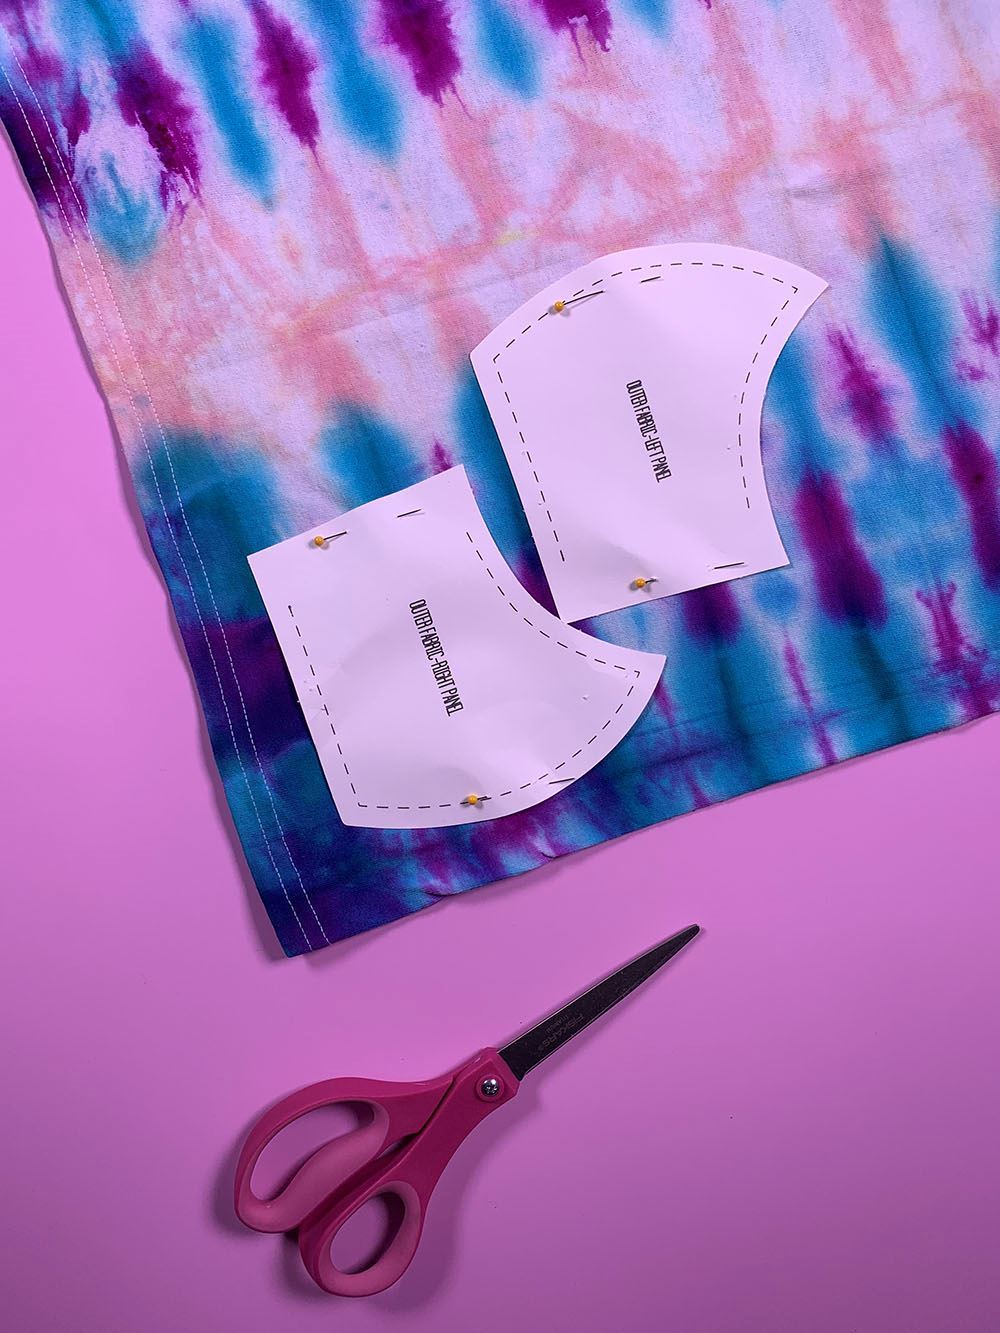
Lay your tie-dye T-shirt out flat and pin the patterns through both layers to hold in place while you cut out. The great thing about using a T-shirt is you automatically have two layers (you'll need two pieces for each pattern)! If you're using a swatch of fabric instead, make sure to fold in half and cut through both layers.
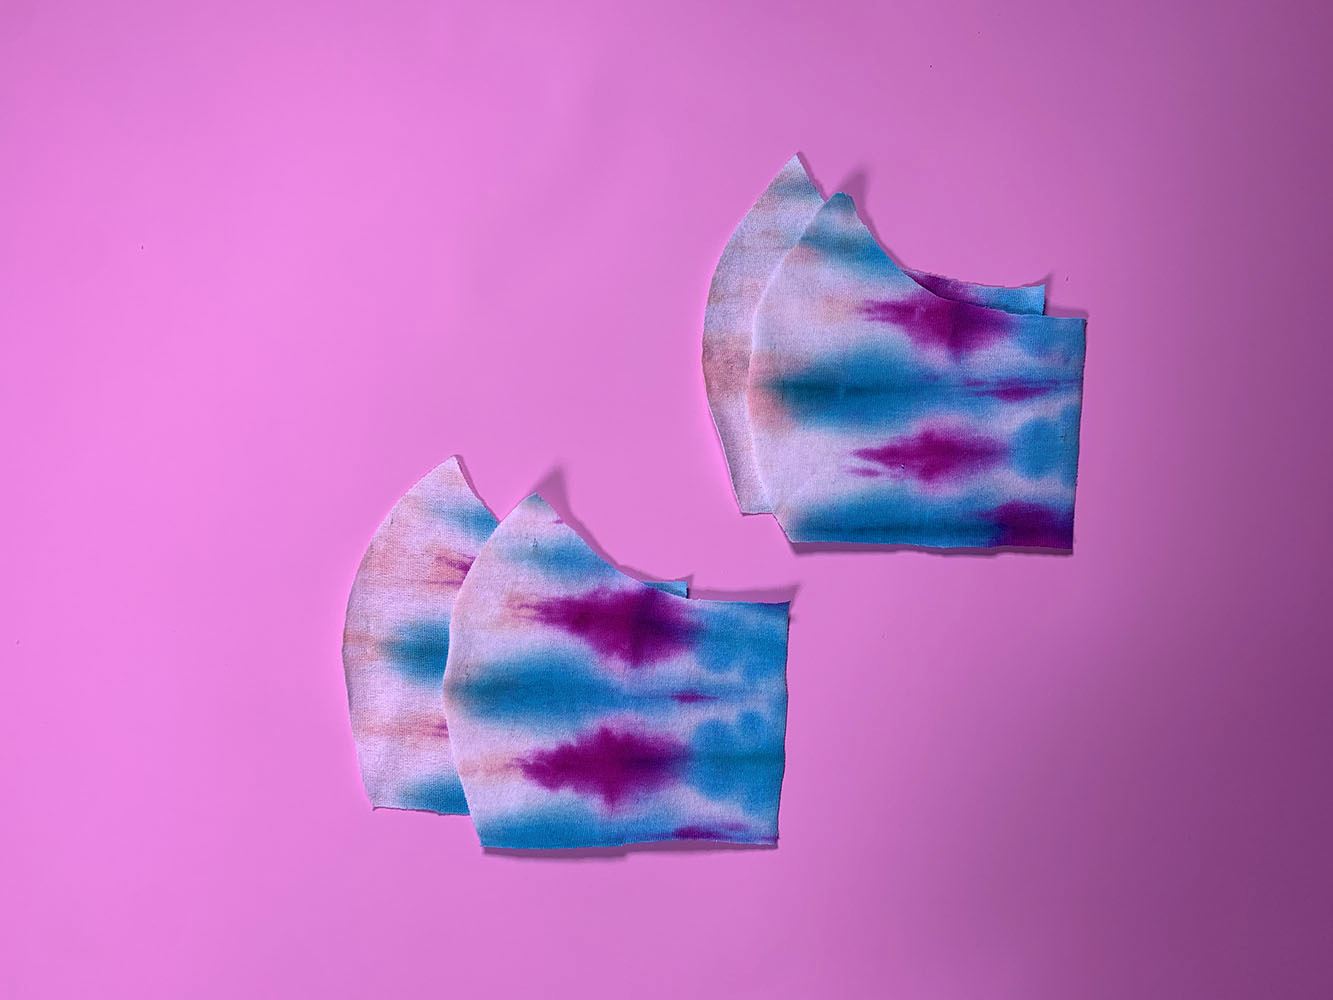
You should have two pieces for the inner layer and two for the outer layer.
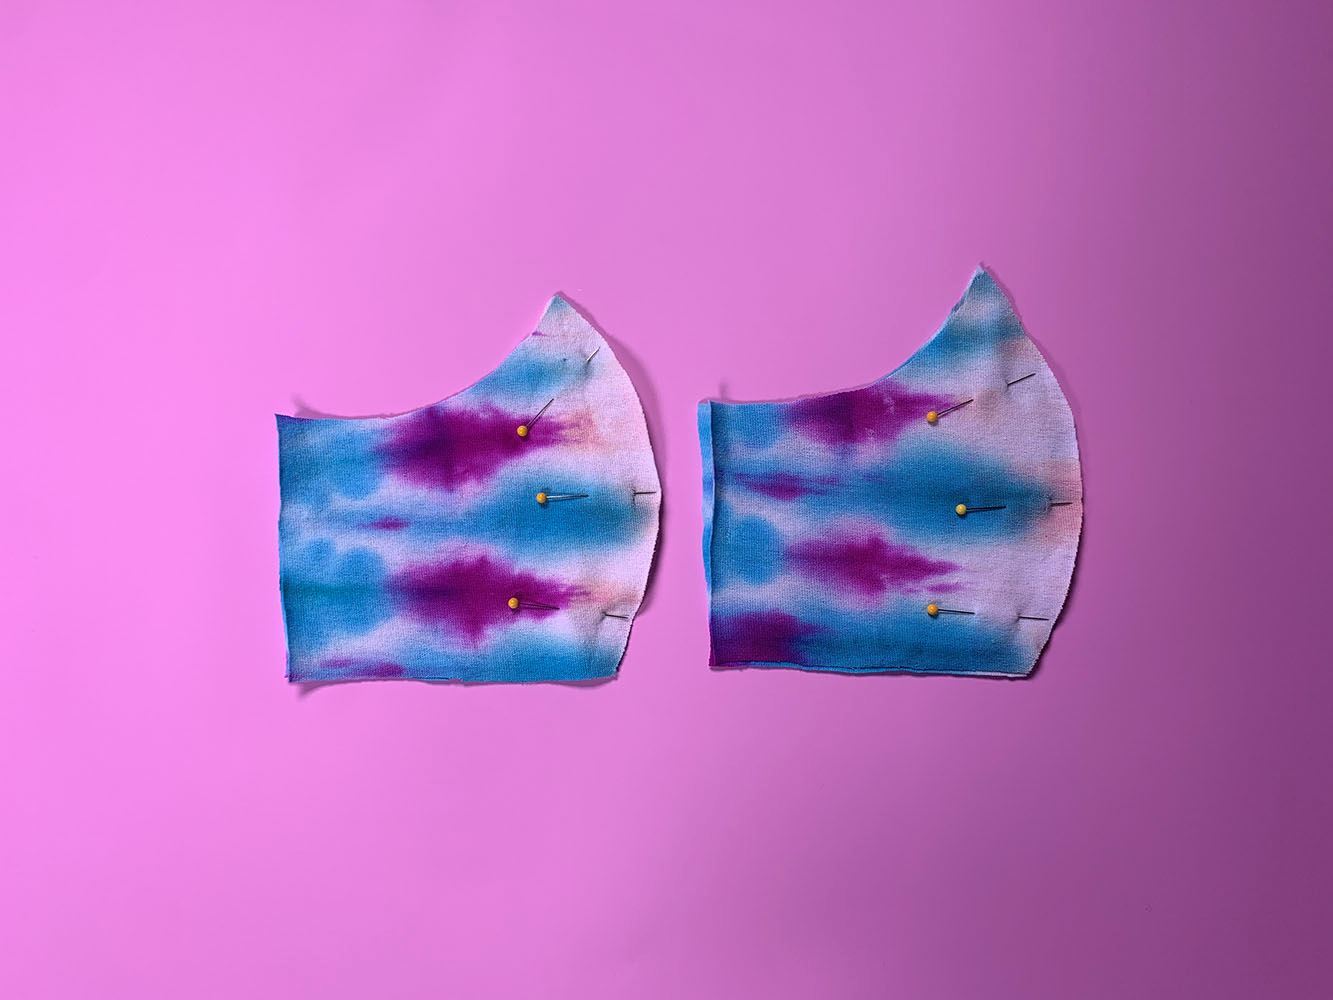
Place right sides together for both the inner and outer layers and use sewing pins to hold in place. Stitch along the curved edge, leaving at least a 3/8-inch seam.
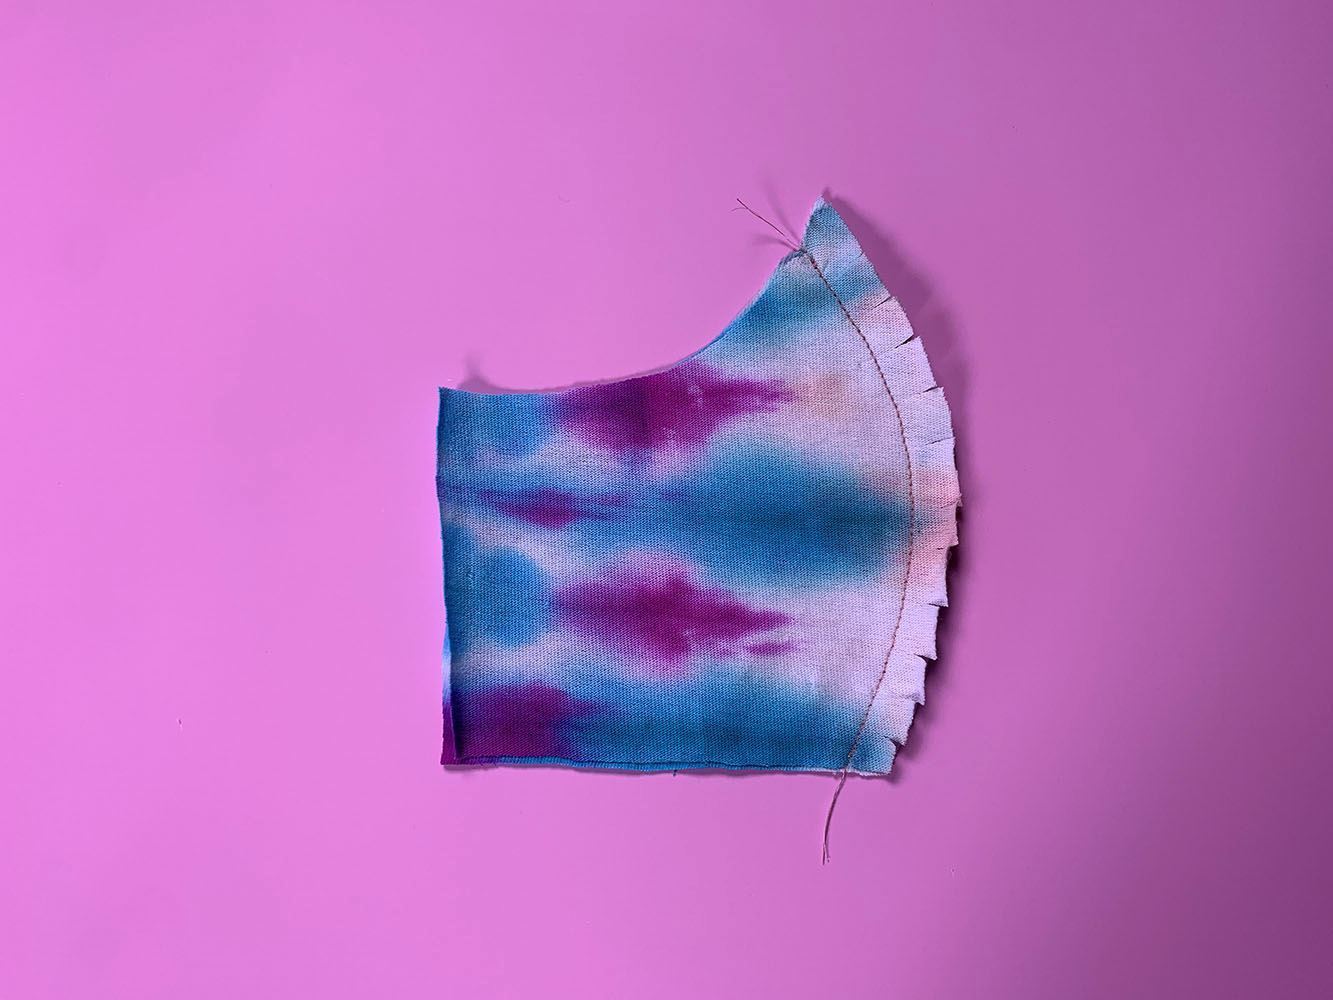
Use your scissors to make cuts along the seam of the section you just sewed, then iron to one side (to help hold in place) and do a top stitch along this clipped section. Make sure to do this for both the inner and outer layers of your mask.
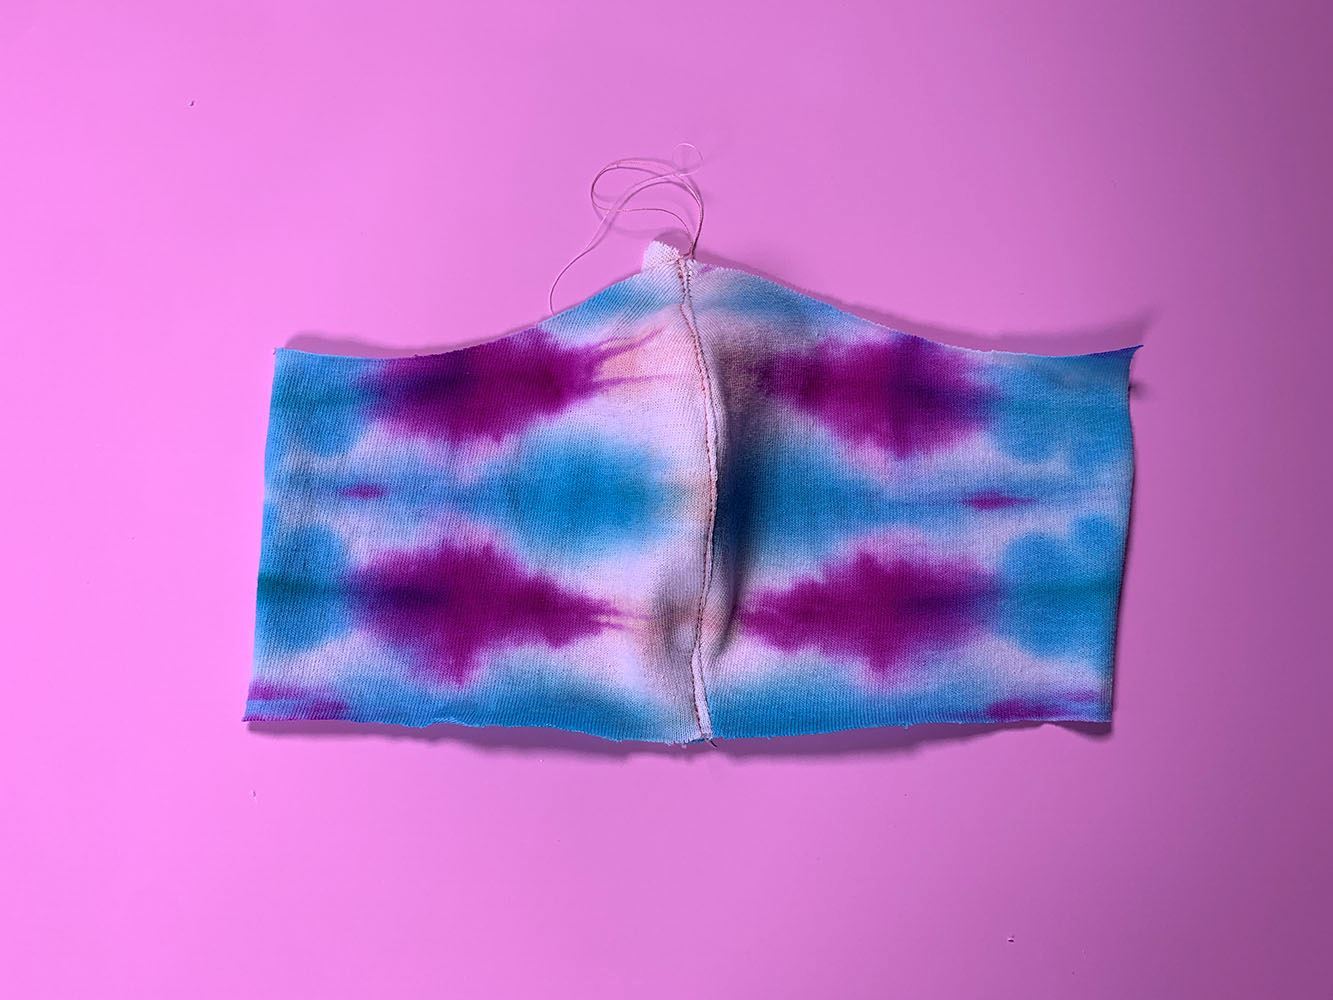
Your mask should look like this so far (right side facing outward).
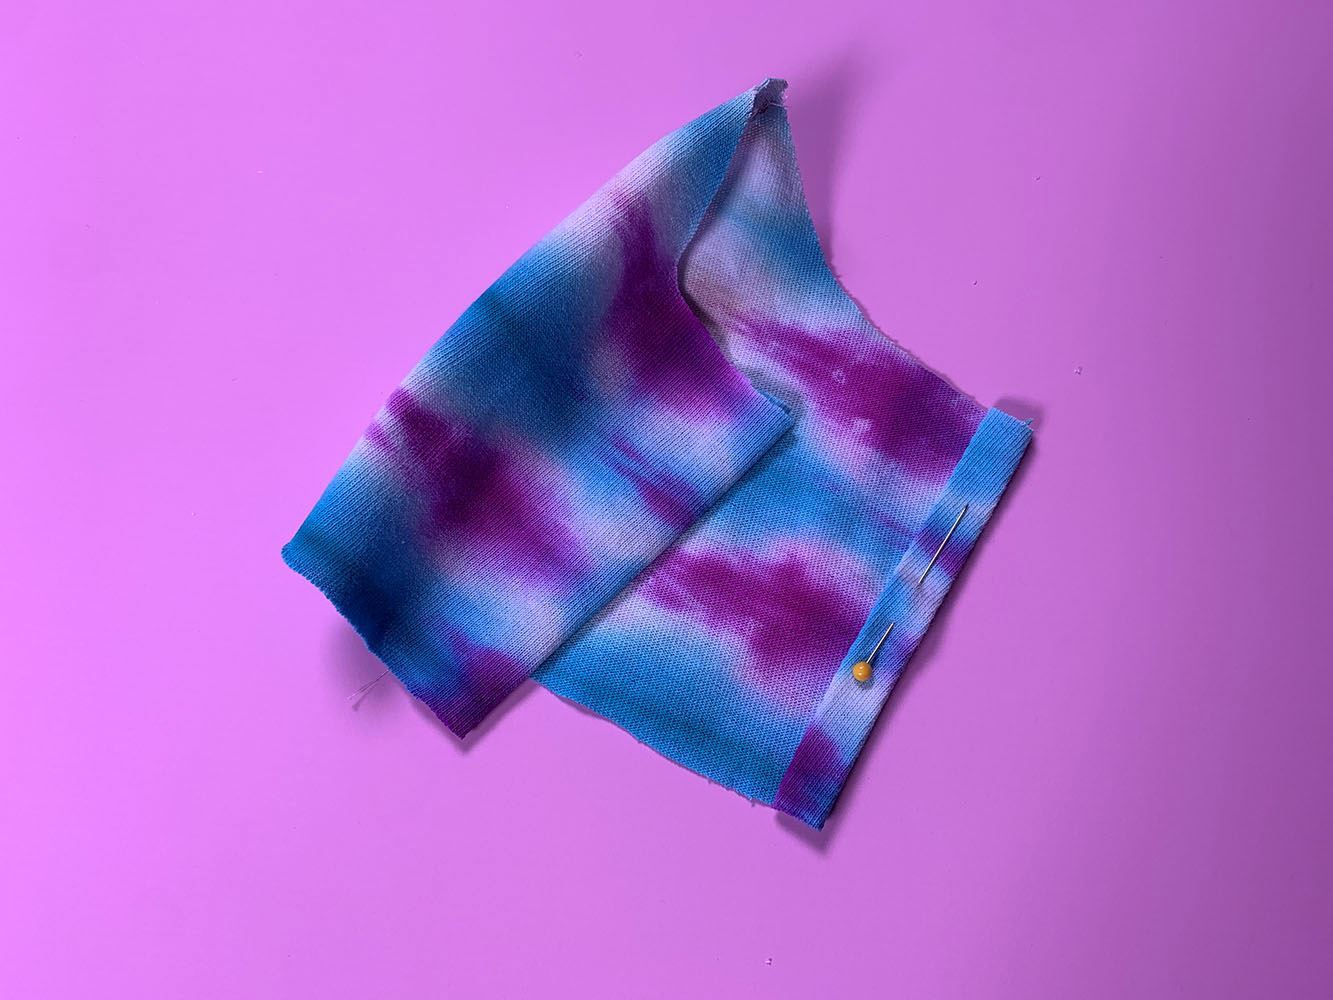
For your inner layer, fold side edges over and over again, then iron to hold in place. Stitch along each edge to secure.
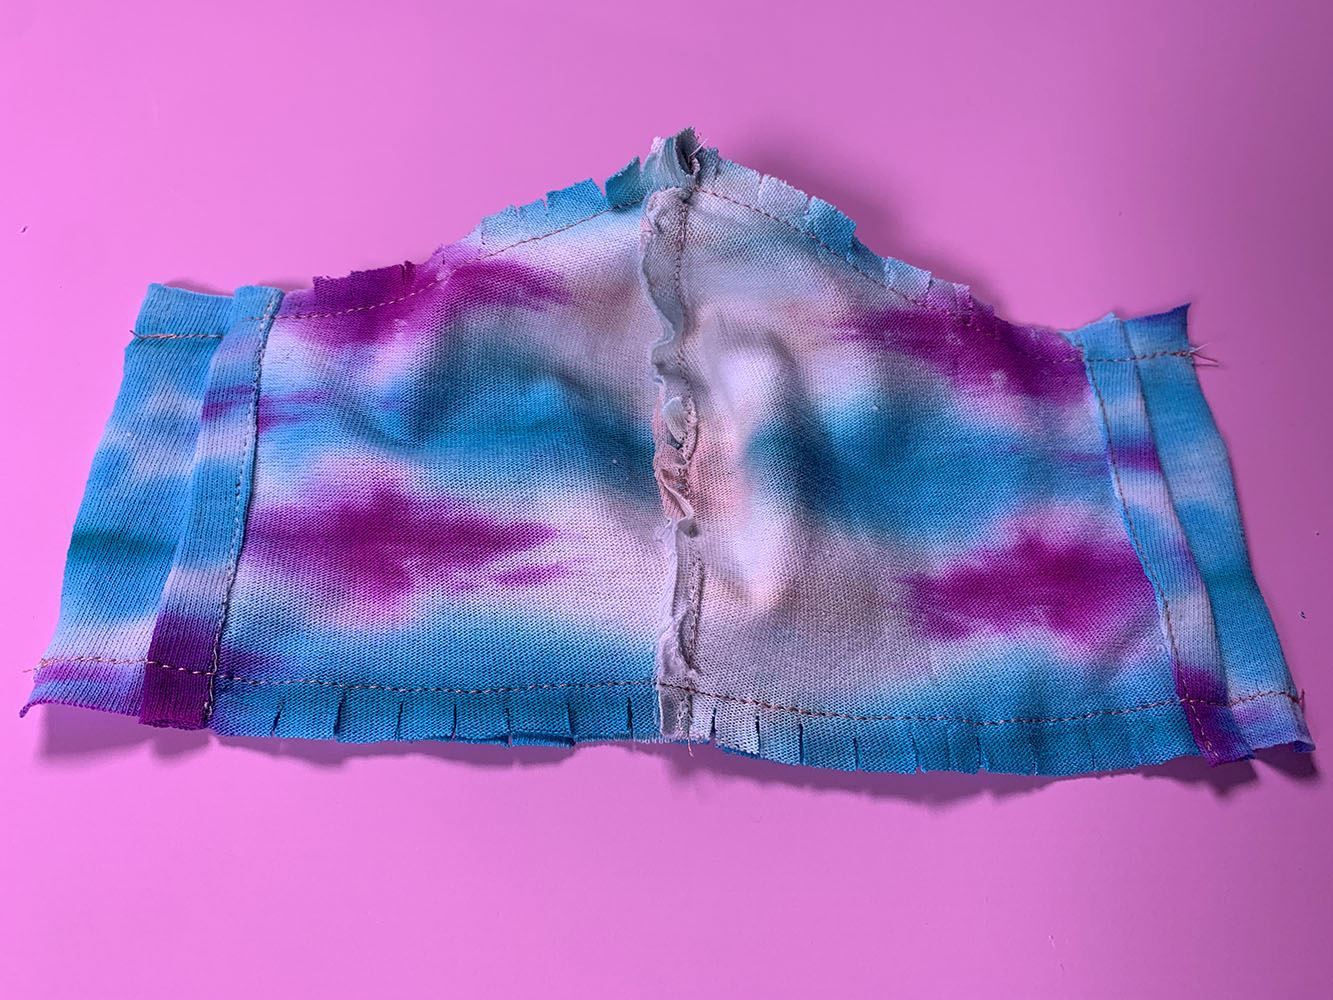
Place your inner and outer layers right sides together, aligning the center seams. Stitch along the curved top edges and the bottom edges, leaving another 3/8-inch seam allowance on each side. Use your scissors to make cuts along these seams as done before.
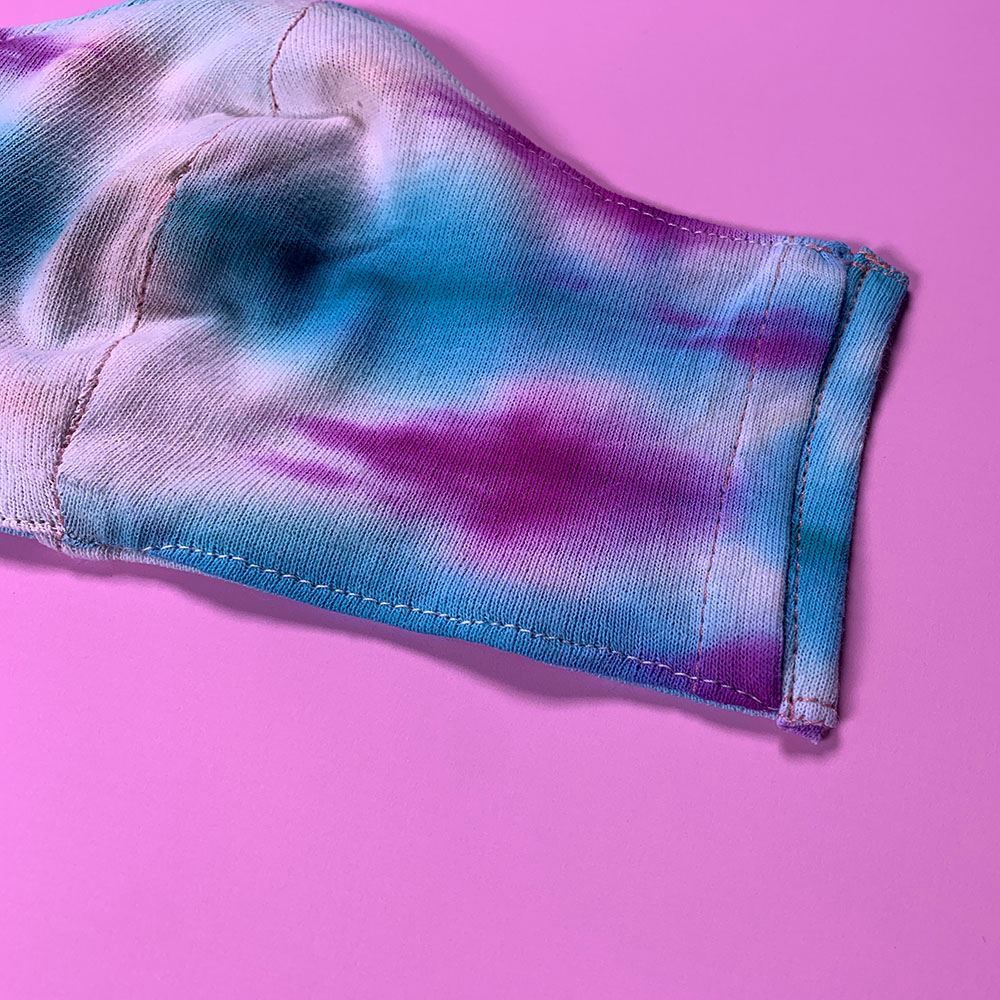
Turn your mask right side out and fold over each raw side edge once, then once more. Stitch in place to form the ear loop holders.
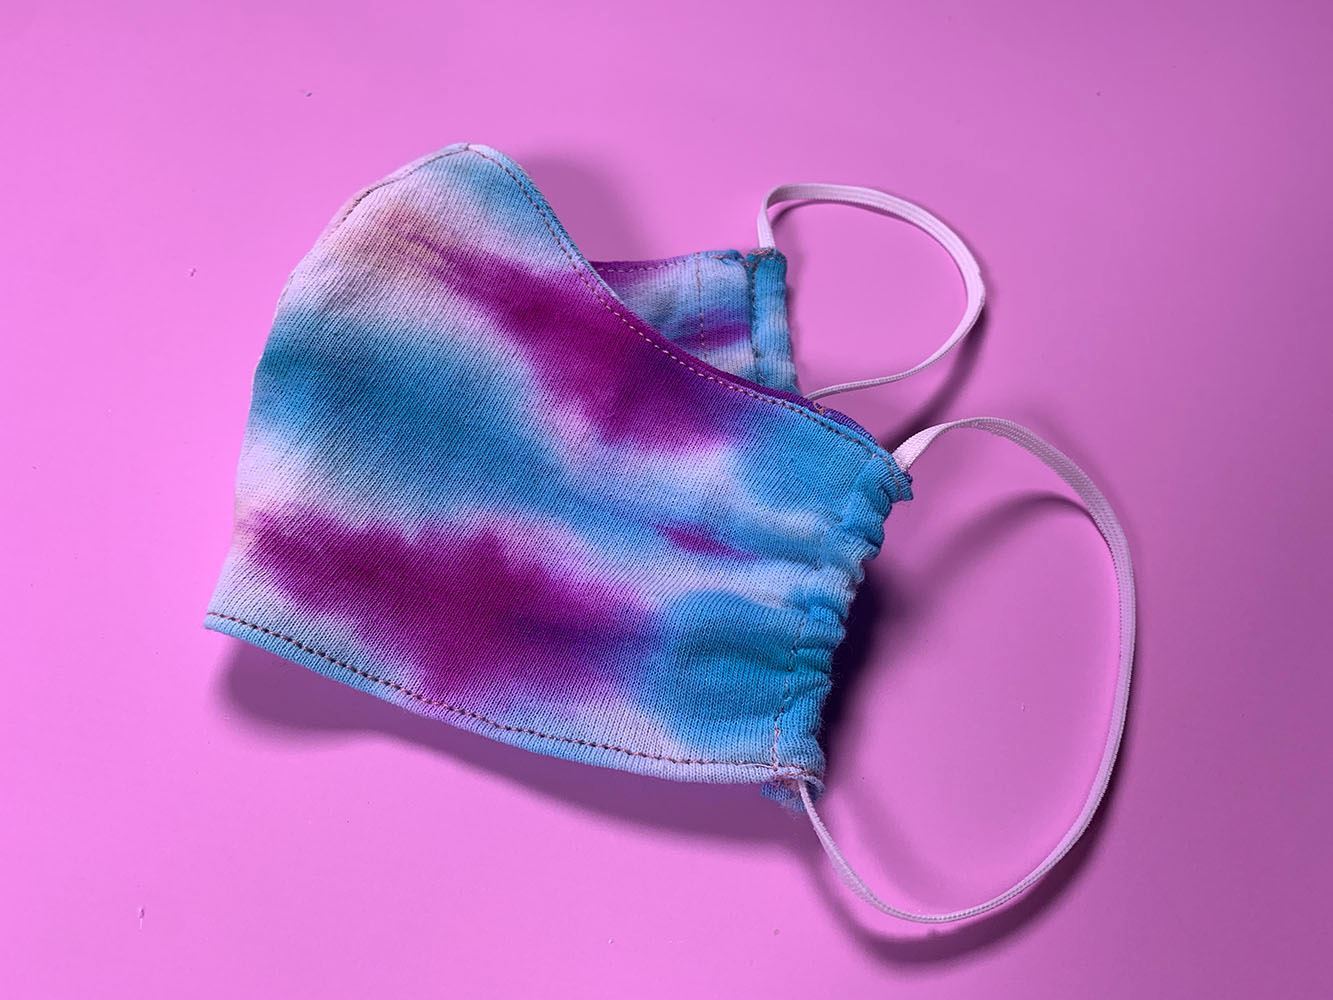
String a section of elastic (about 8 inches long - but measure your ear for a more accurate length needed) through each ear loop holder you just created. Tip: It helps to fasten a safety pin to one end of the elastic and pull it through the ear loop holder. Overlap each end of the elastic strand about an inch to create a continuous loop, then stitch in place. Now you have bright, washable tie-dye face mask you can use whenever you need to head out and about!
Pin This Project


