DIY Americana Tie-Dye T-shirt
Published Date June 25, 2020
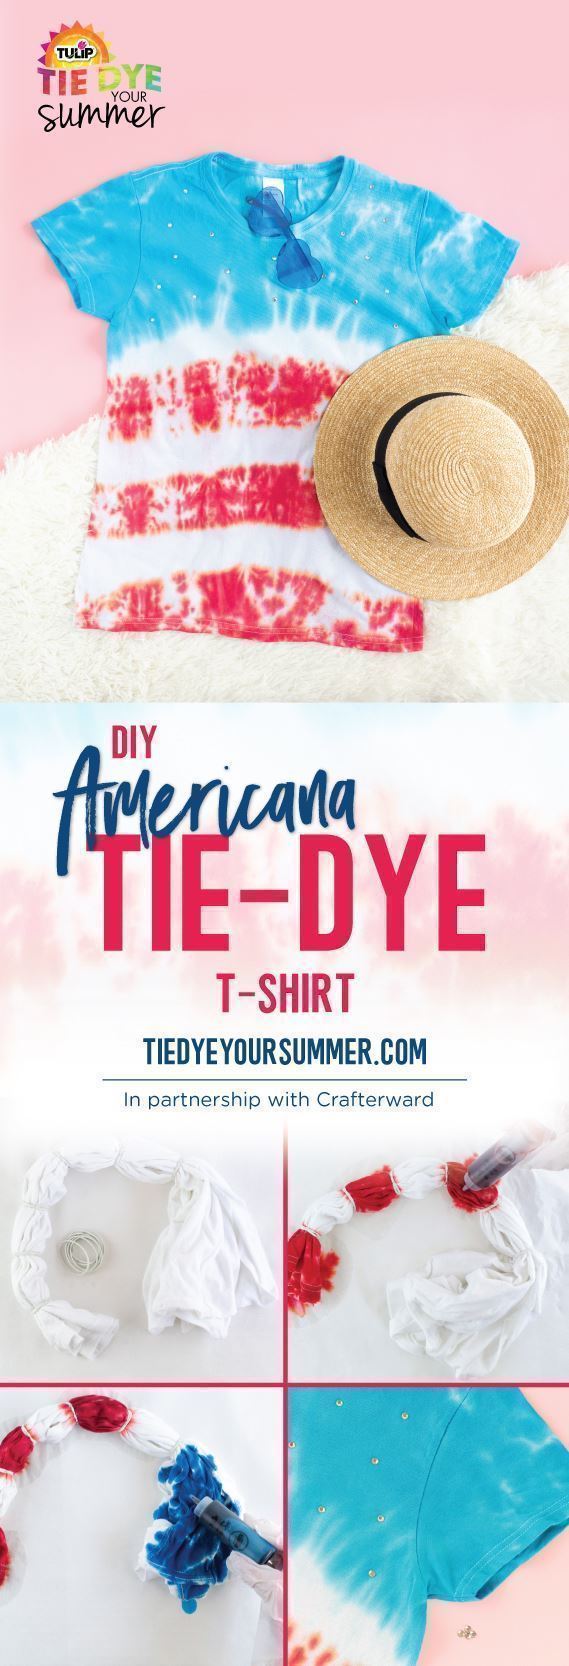
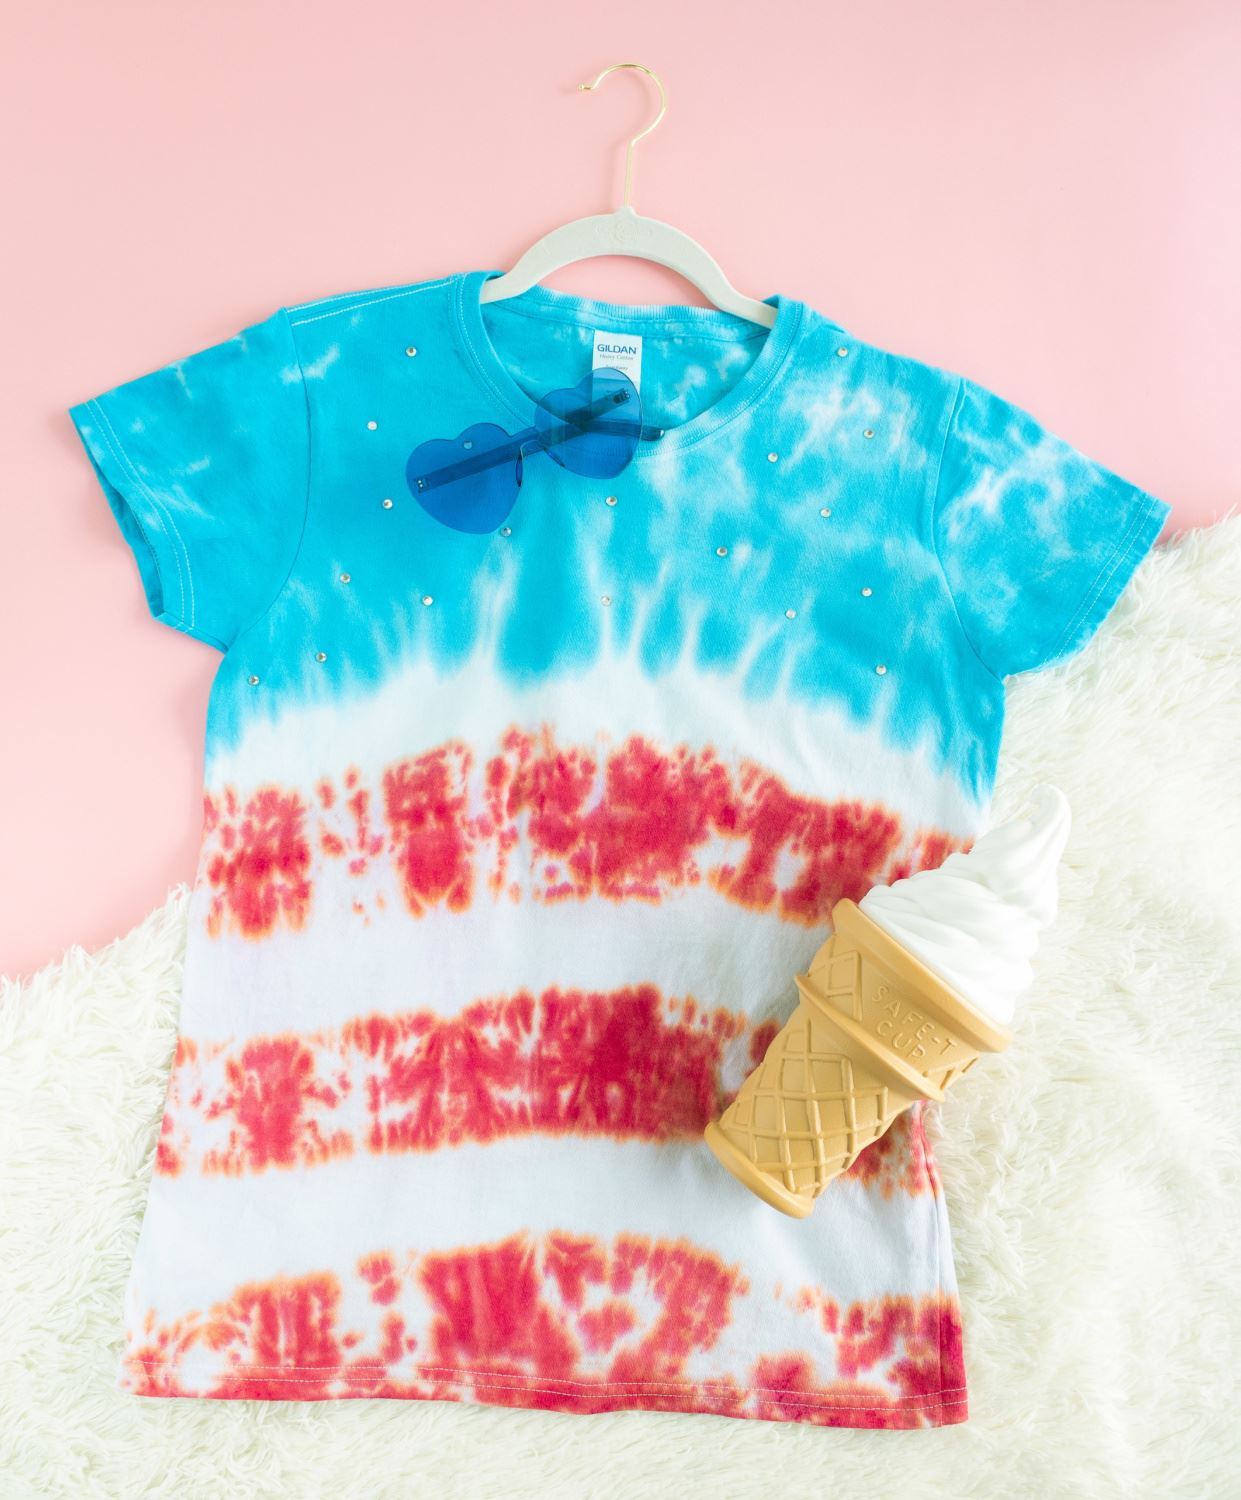
Fourth of July is just around the corner, and however you’re celebrating this year, do it with some extra red, white & blue flair! Get patriotic with the Tulip Americana One-Step Tie-Dye Kit, which not only includes tie dye in shades of blue and red, but iron-on crystals and transfers so you can make embellished tie-dye creations that are awesomely Americana. Crafterward shows you how to DIY your own twinkling flag-inspired tie-dye T-shirt that you can sport on the Fourth and all summer long.
What you need:
- Tulip Americana One-Step Tie-Dye Kit
- White 100% cotton T-shirt
- Iron or heat-setting tool
- Thin cloth
- Disposable plastic table cover
- Sealable plastic bag
Prewash T-shirt and cover work surface
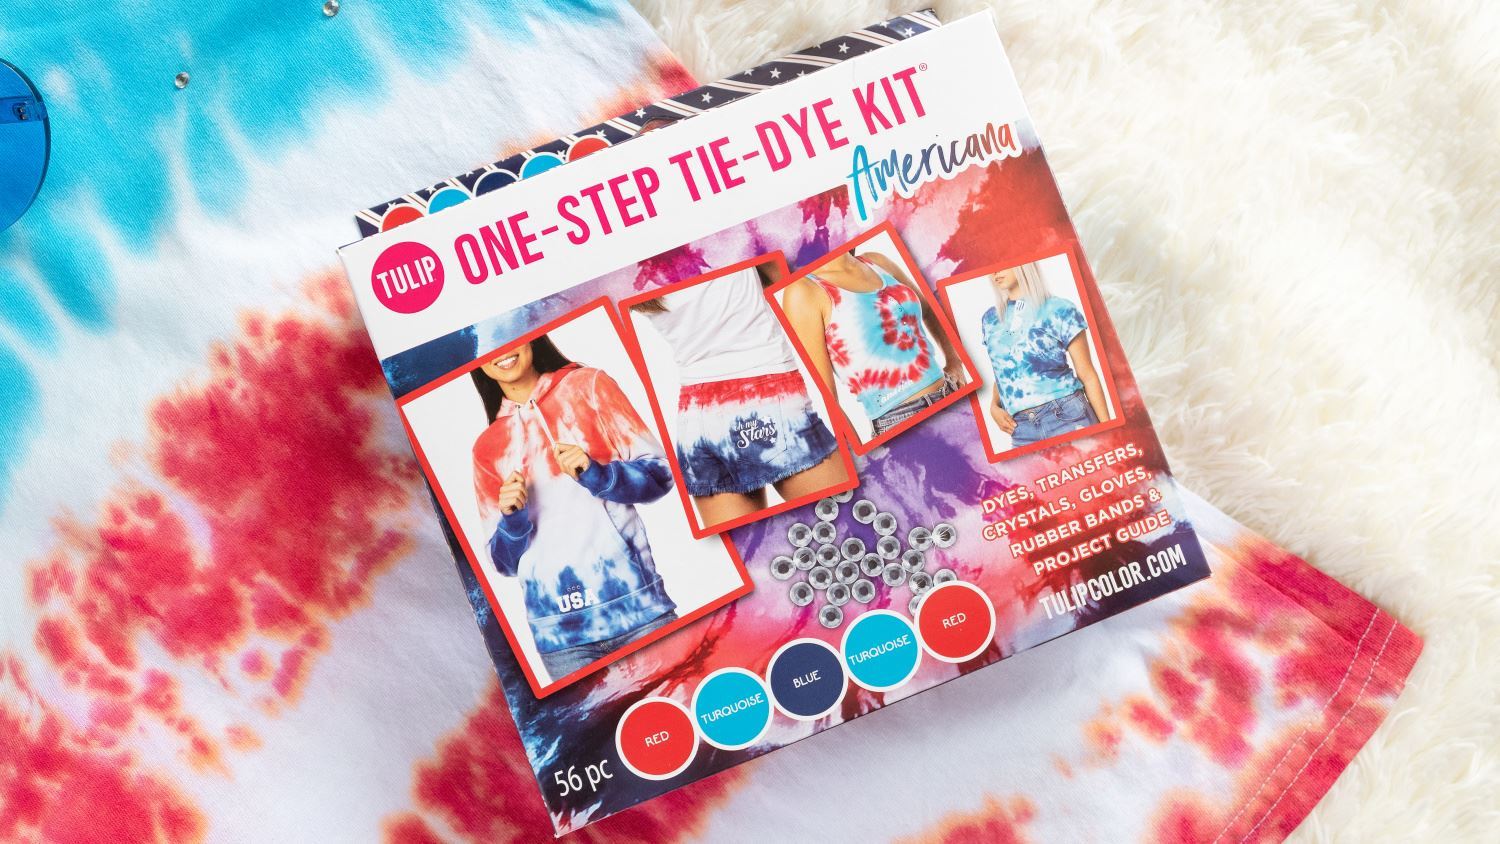
Your Americana One-Step Tie-Dye Kit comes with all of the embellishments you need to make your own stars & stripes tie-dye T-shirt and other patriotic tie-dye creations. First you’ll want to tie dye your T-shirt before ironing on crystals or transfers. Wash your shirt (without fabric softener) and leave it damp. Make sure to cover your work surface with a disposable plastic cover before getting started on your tie dye!
Pleat T-shirt and secure with rubber bands
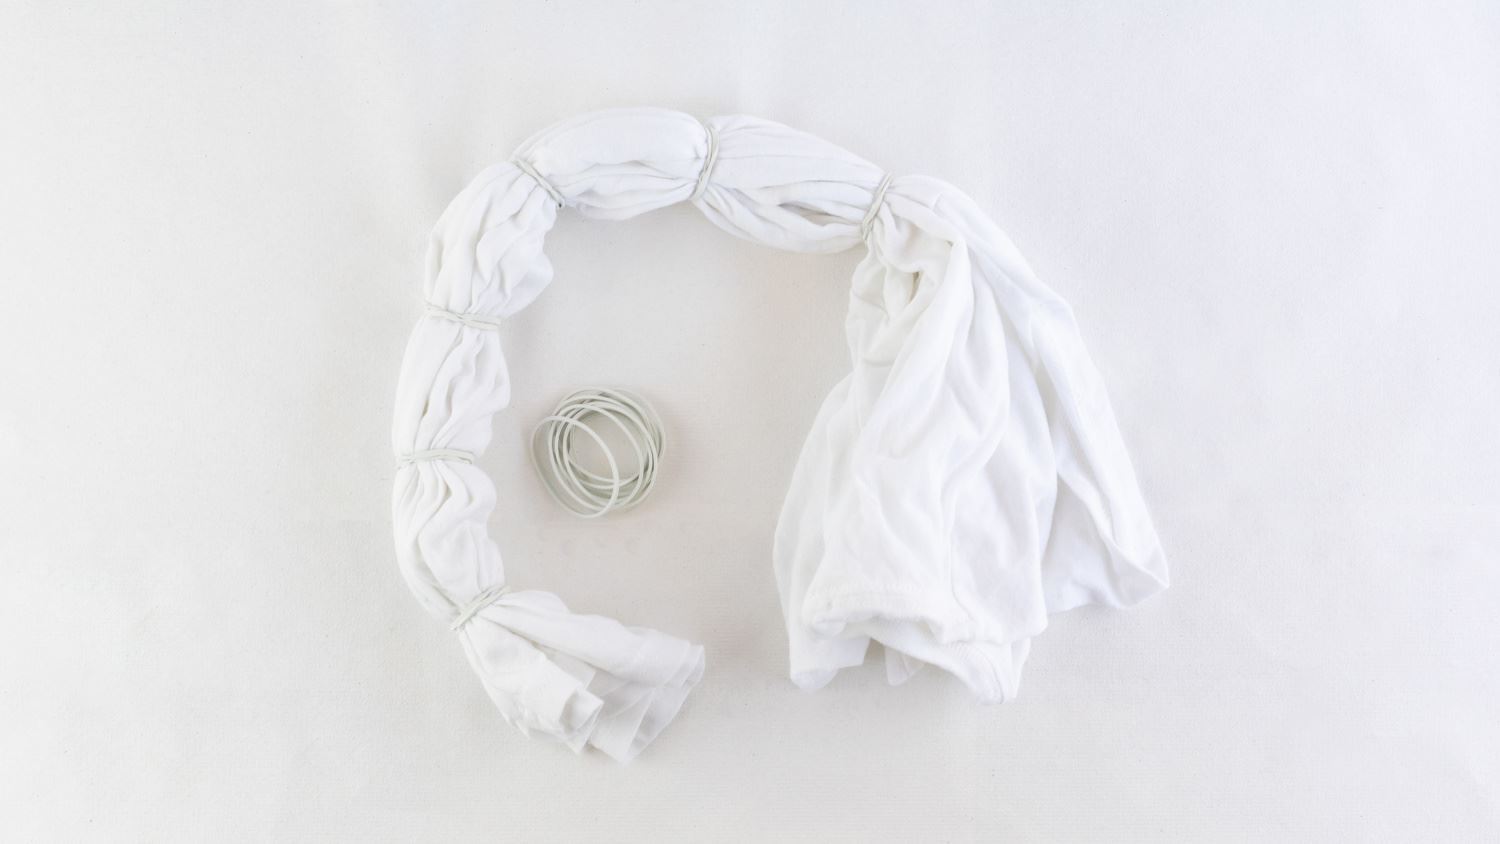
Lay your damp shirt out on your covered work surface and pleat it horizontally from the bottom hem to the shoulders using the stripes tie-dye technique. Secure your pleated shirt with rubber bands from your kit, evenly spacing your rubber bands about 2 inches apart. Add as many rubber bands as stripes you want to create, leaving a larger section of loose fabric at the top.
Apply red and turquoise dyes to bound T-shirt
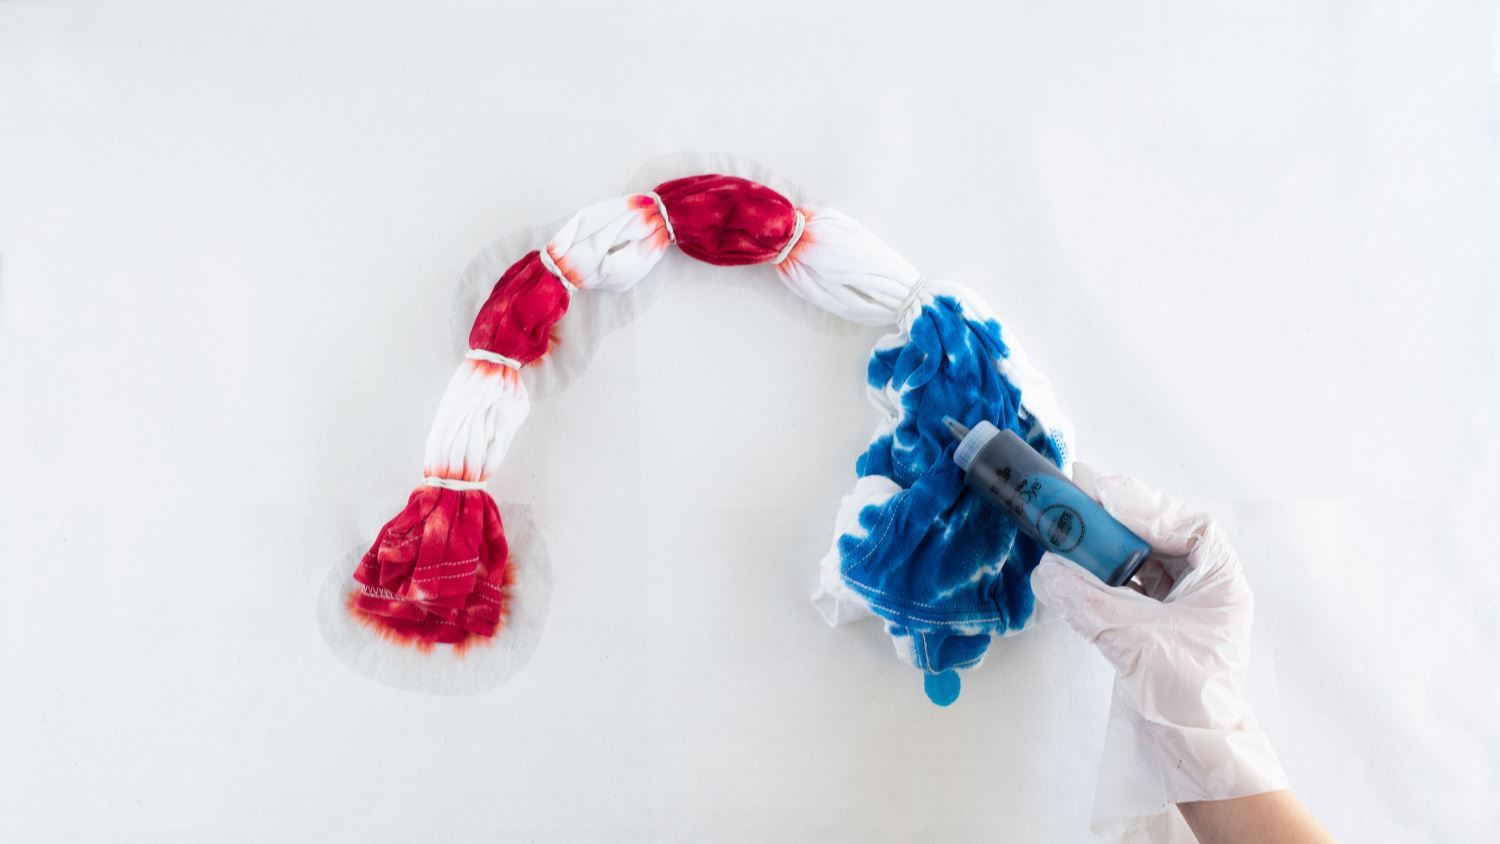
Mix your red and turquoise dye with water according to instructions, then apply red dye to every other banded section. Apply turquoise dye to the top of the T-shirt, leaving the fabric crumpled a bit as you apply the dye. Make sure to rotate your bound T-shirt as you add dye so you get all sides. Once you’ve added the dyes, place your shirt into a sealable plastic bag and allow to set for the time recommended. Then remove the rubber bands, rinse and launder according to instructions.
Heat set crystals onto T-shirt
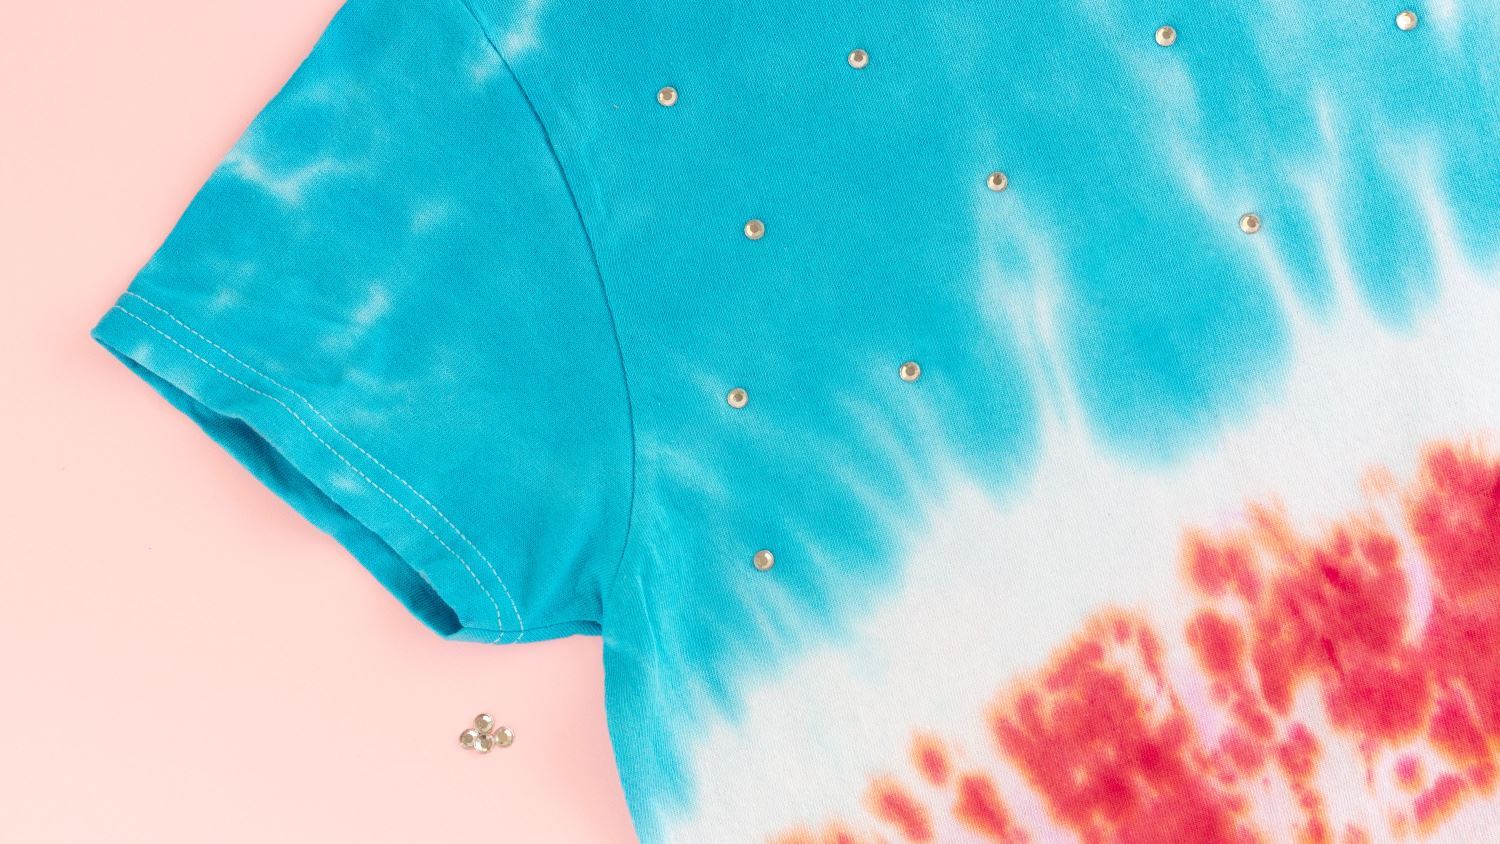
To heat set crystals onto the turquoise section of your shirt, first make sure your shirt is dry and ironed smooth. Place your crystals where you’d like them, and if using an iron, place a thin cloth over the top. Heat your iron without the steam setting on, then press the iron over the tops of the covered crystals, working in sections. Follow the instructions on your kit for full heat setting details. Check the crystals once they’ve cooled to make sure they are permanently set to the fabric, and add more heat if needed.
Tulip DIY Americana Tie-Dye T-shirt
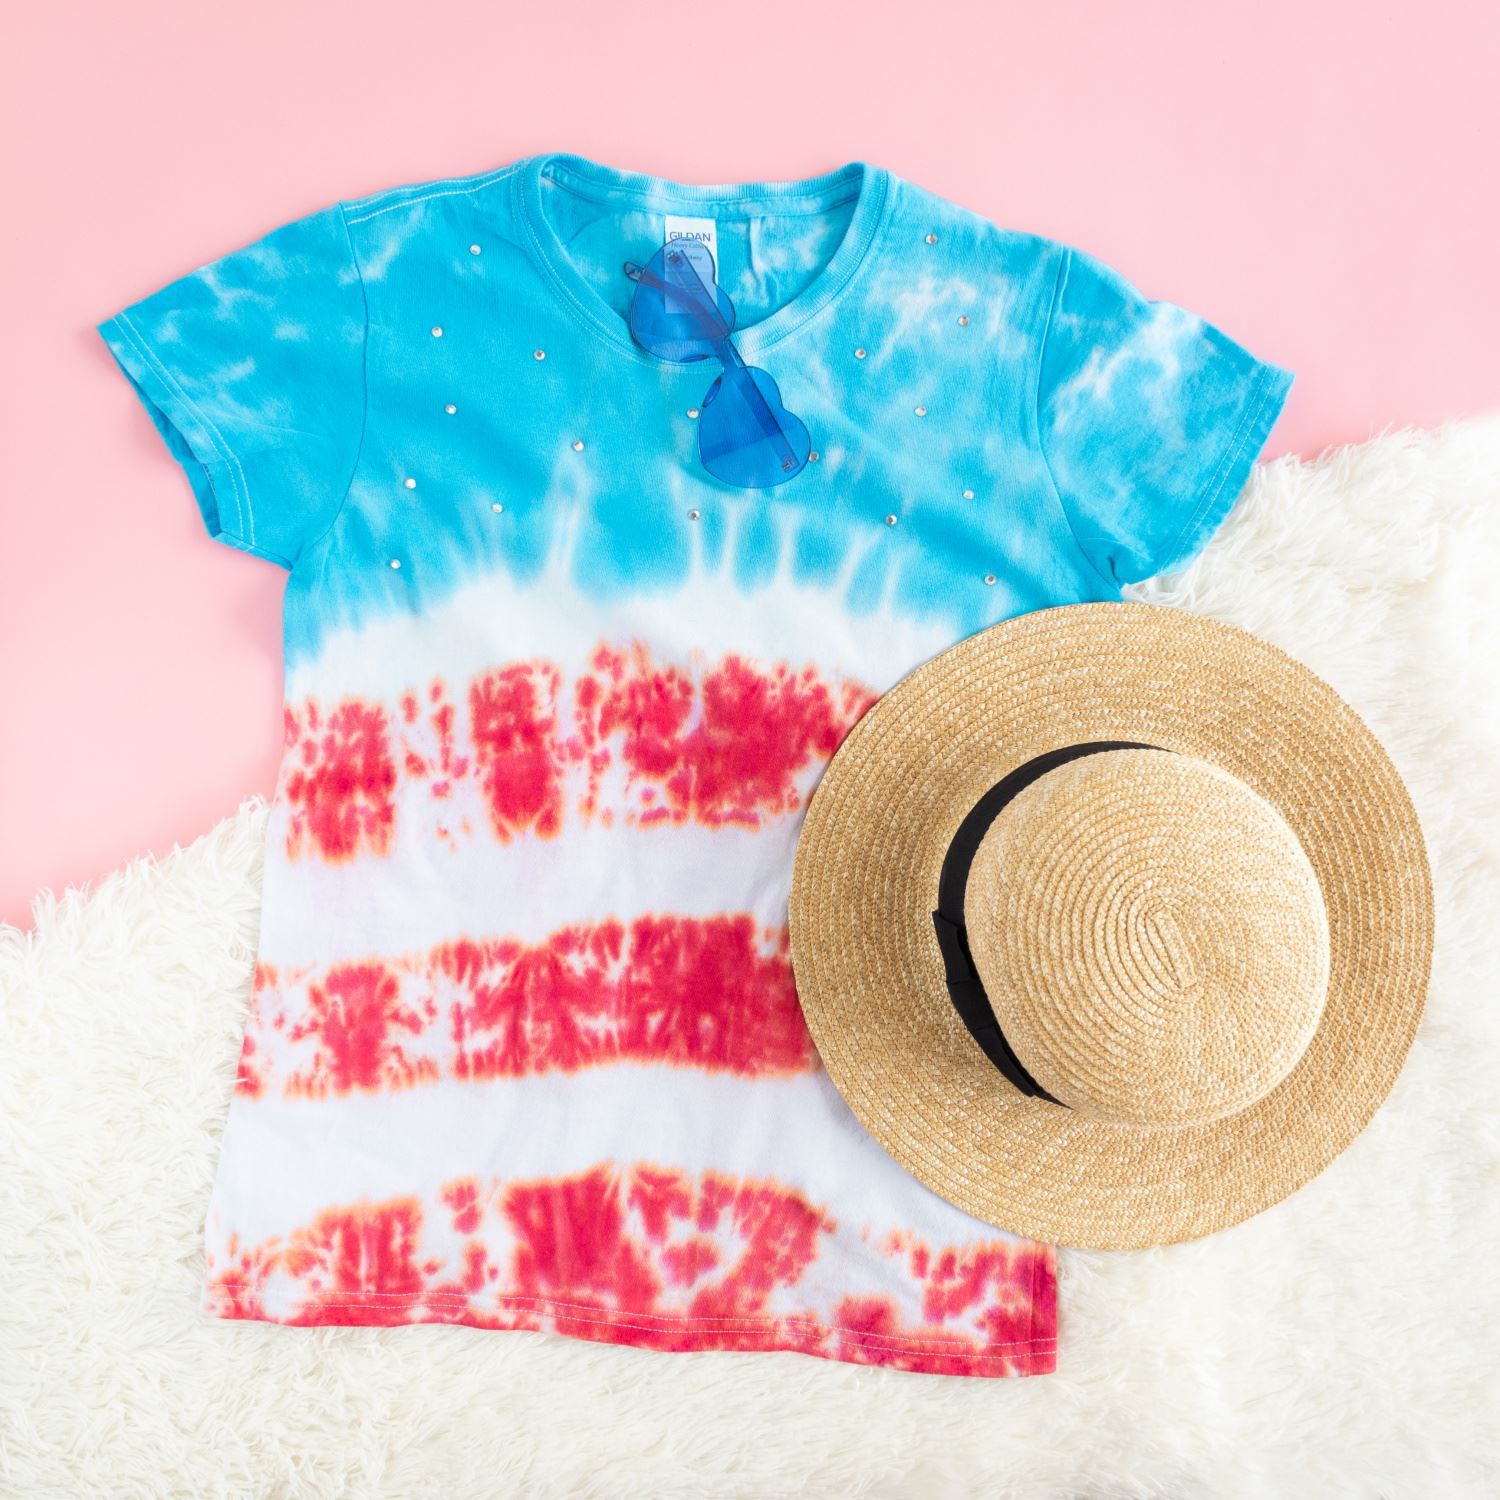
Once your crystals are in place, you’re ready to shine in star-spangled style for the Fourth! You can also add transfers, change up your striping and so much more. Make your Americana tie-dye experience completely your own!
Pin This Project
