Colorful Christmas Fabric Gift Wrap & Matching Ornaments
Published Date November 10, 2024
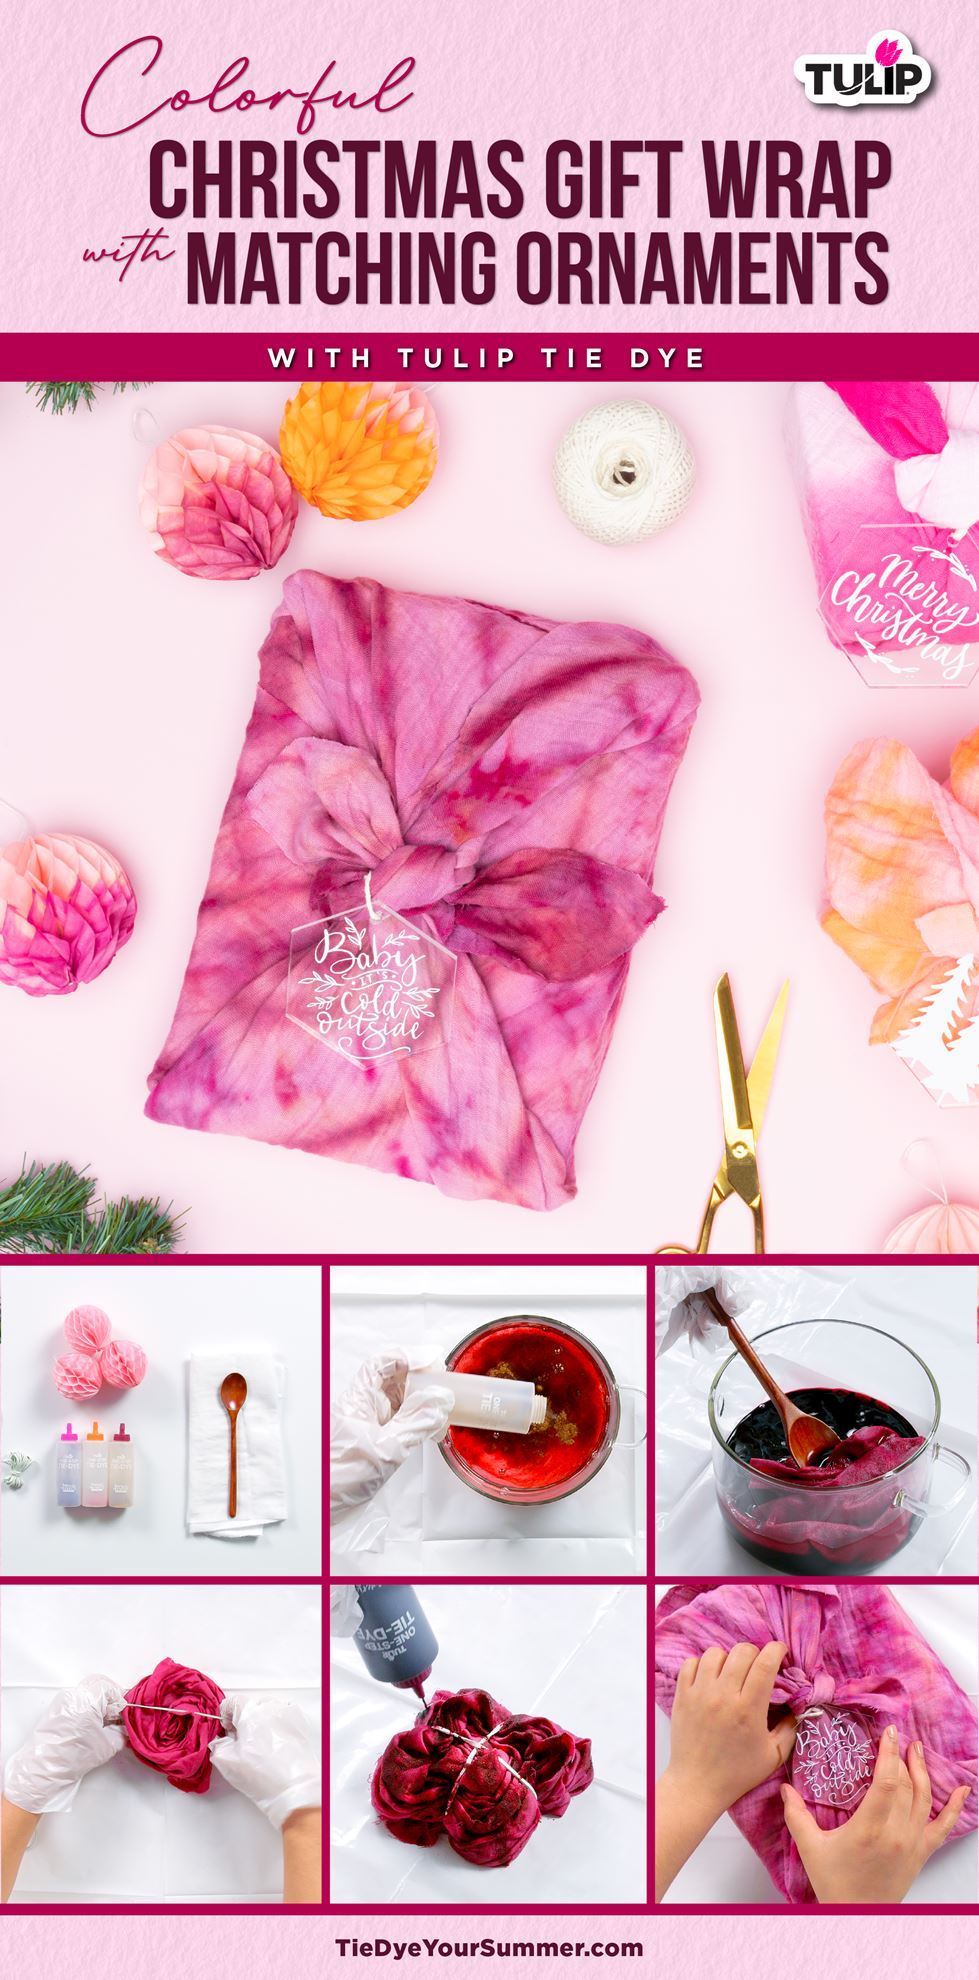
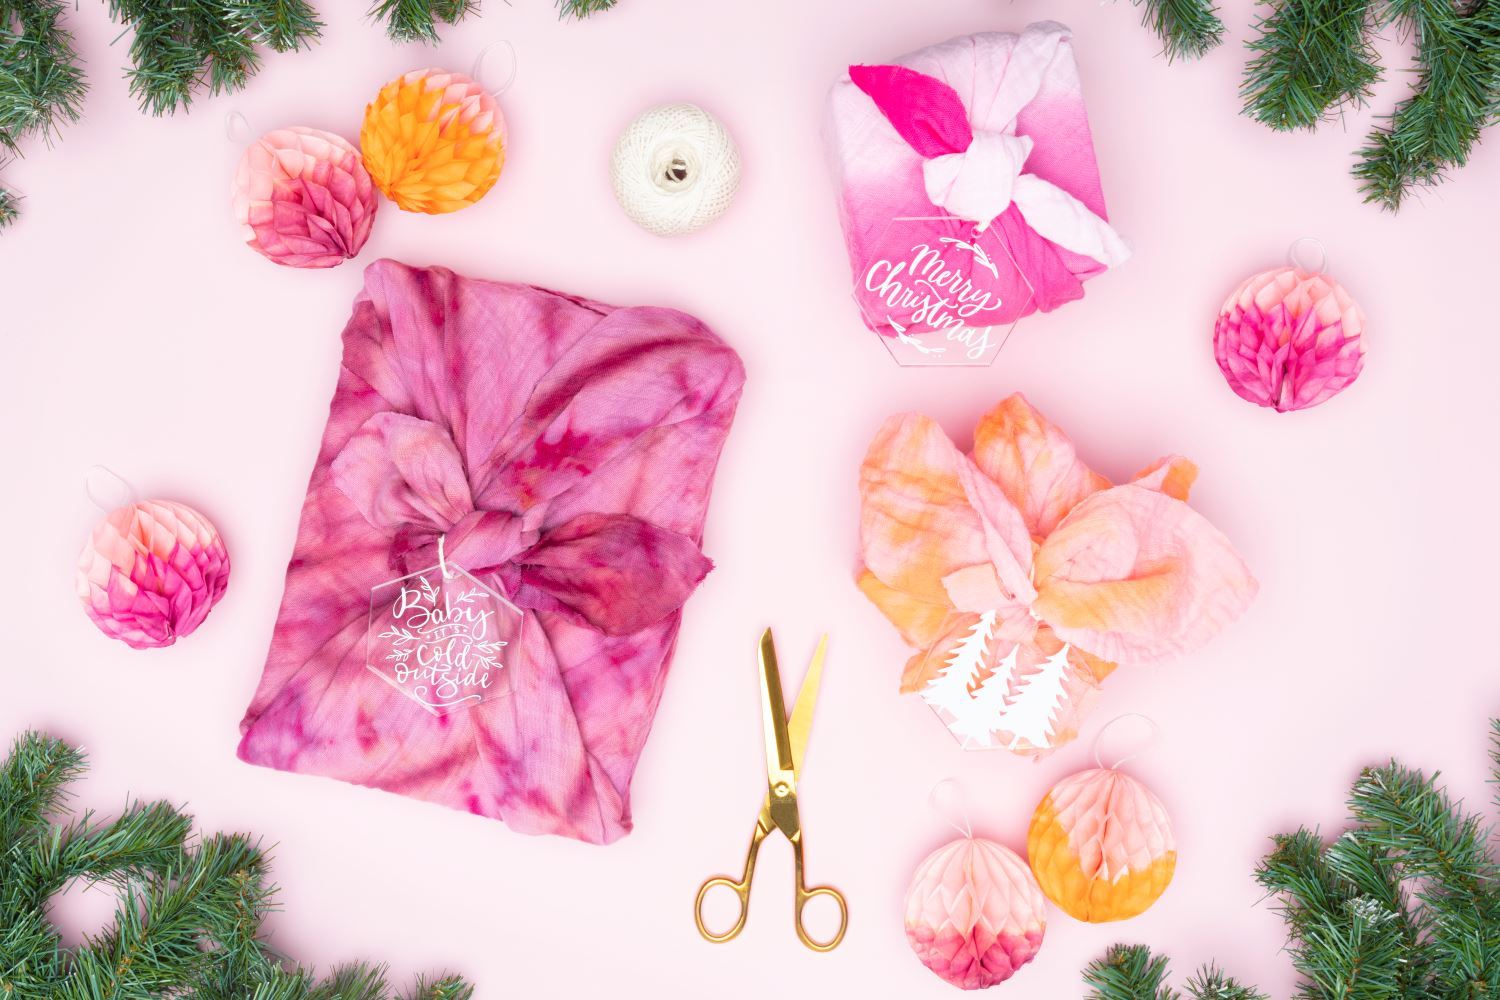
Looking to try something different this holiday season? Up your gift-wrapping game with Tulip! This furoshiki-inspired gift wrap uses fabric that’s been dyed with Tulip One-Step Tie Dye for a totally unique take on Christmas. And bonus: the leftover dye is perfect for making matching ornaments. In this tutorial, we will be using the spiral tie-dye technique with pretty pink shades, but feel free to use your favorite colors and techniques for a more personalized approach. Christmas is about to get even more colorful!
What you need:
- Tulip One-Step Tie-Dye Kit in your favorite colors (This project features dye in Wine, Fuchsia, and Orange)
- Protective Gloves
- Rubber Bands
- White cotton fabric, cut large enough to wrap your present
- Wooden spoon
- Paper Christmas ornaments
Prepare the dye solution.
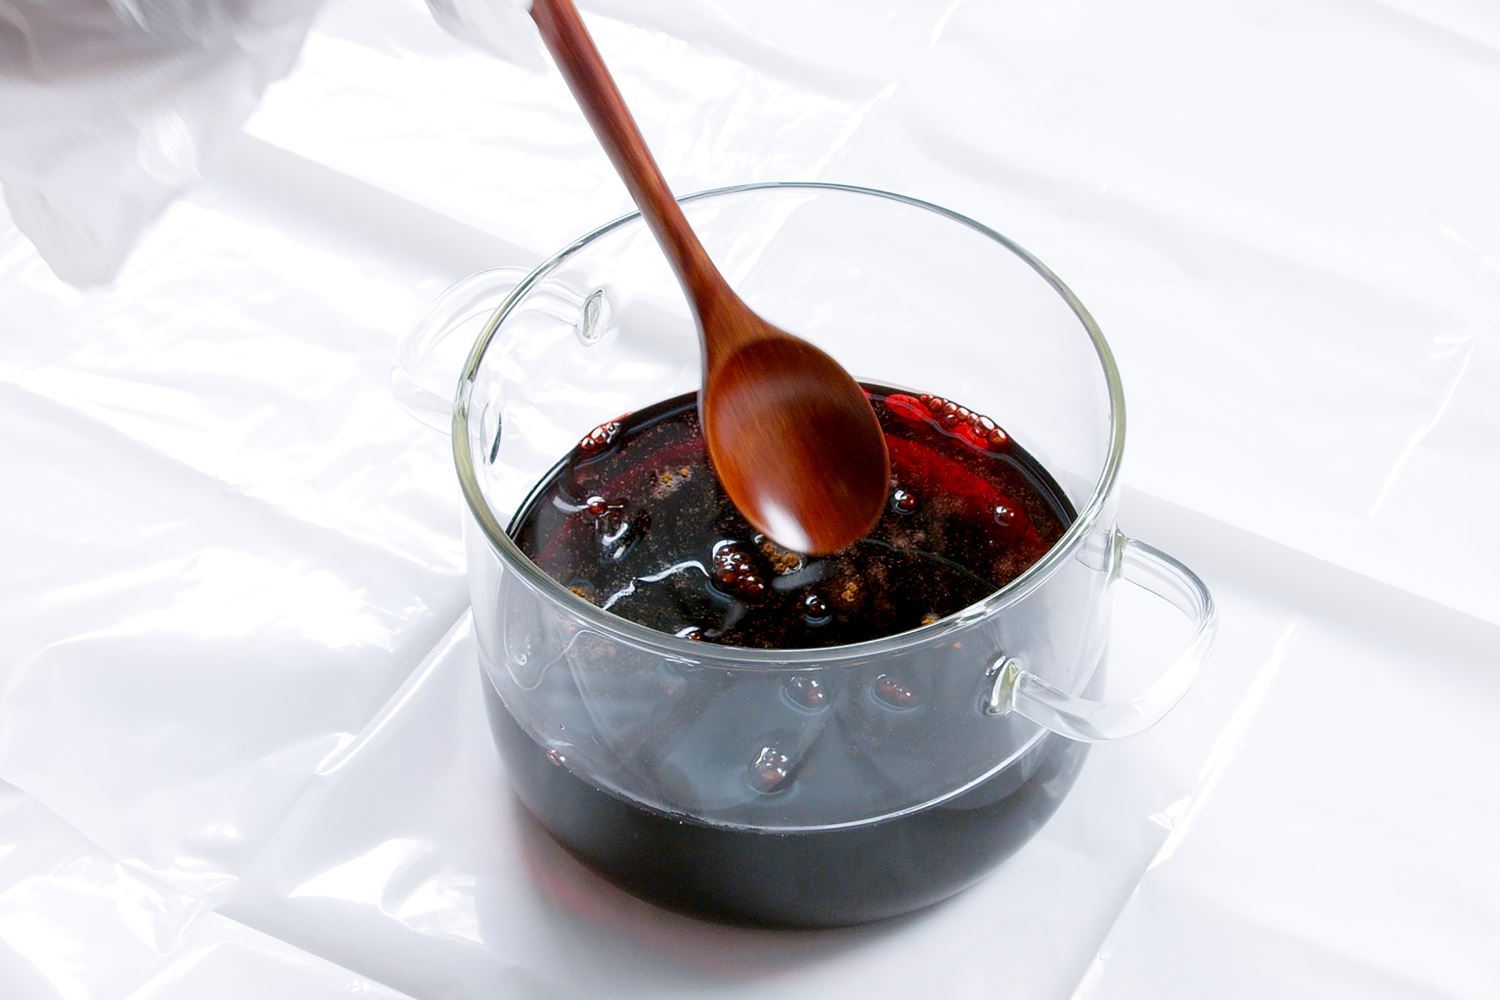
Before you get started on this project, wash the fabric without fabric softeners. Mix the Wine-colored dye solution in by adding water to the dye bottle up to the fill line. Replace the cap and shake for 1 minute or until the dye is completely dissolved. Pour the Fuchsia-colored dye powder and water into a bowl and stir with a wooden spoon.
Dye entire fabric in a large bowl, wringing out the excess dye.
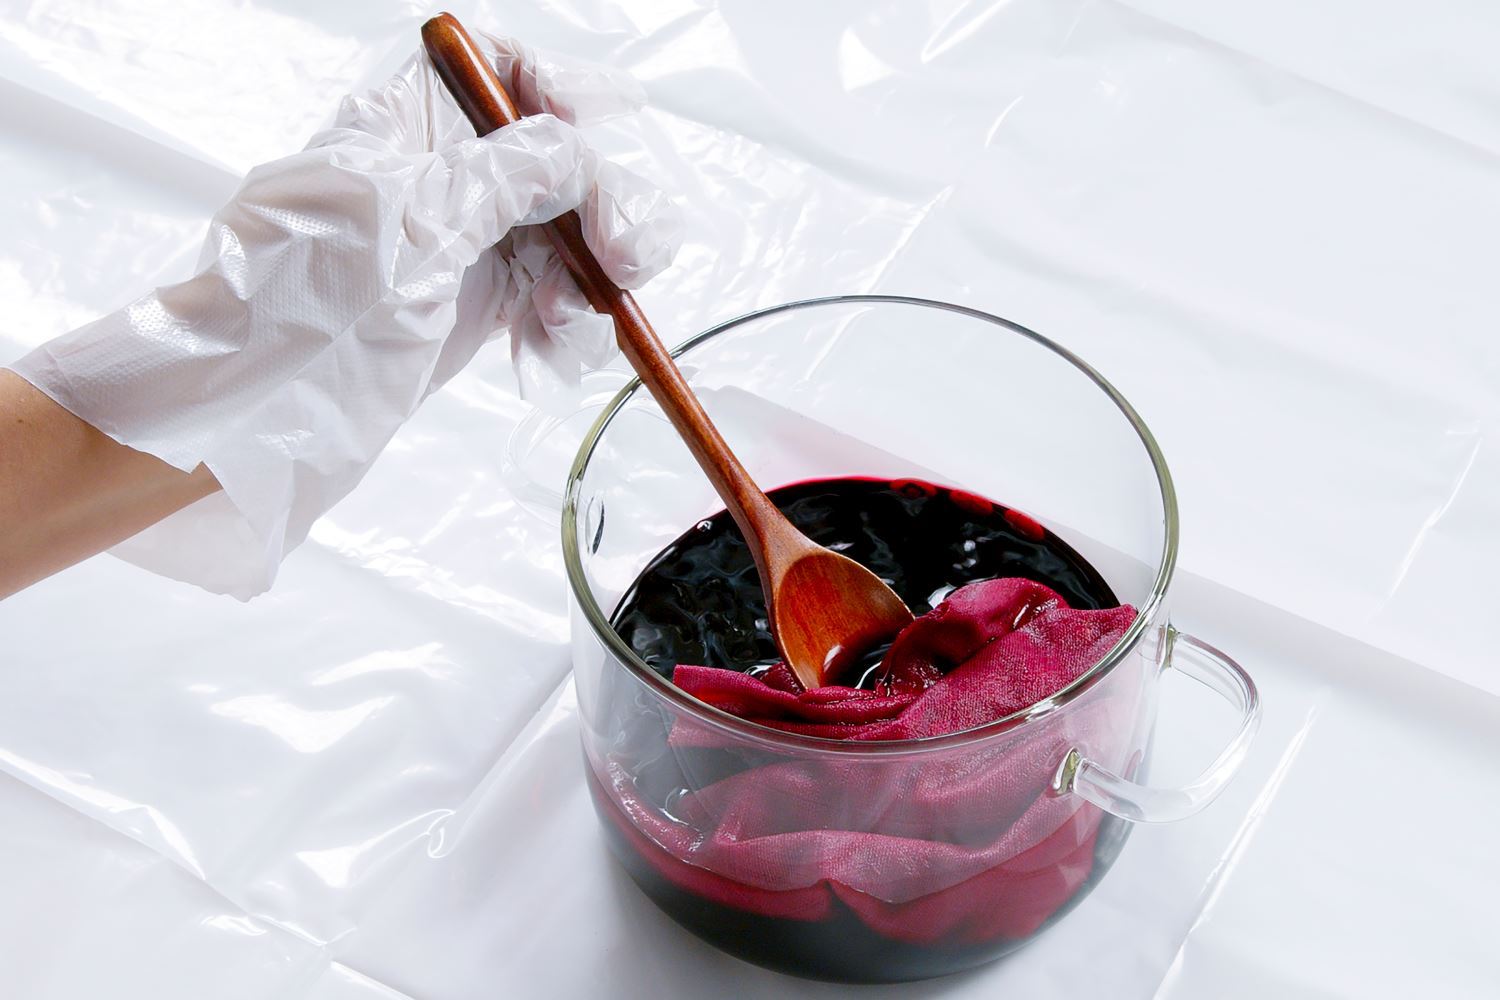
Place the fabric into the bowl containing Fuchsia dye. Ensure that the fabric is entirely saturated with dye by moving it around with the spoon. Carefully wring out excess dye and transfer the fabric onto a protected work surface.
Twist fabric into a spiral and secure with rubber bands.
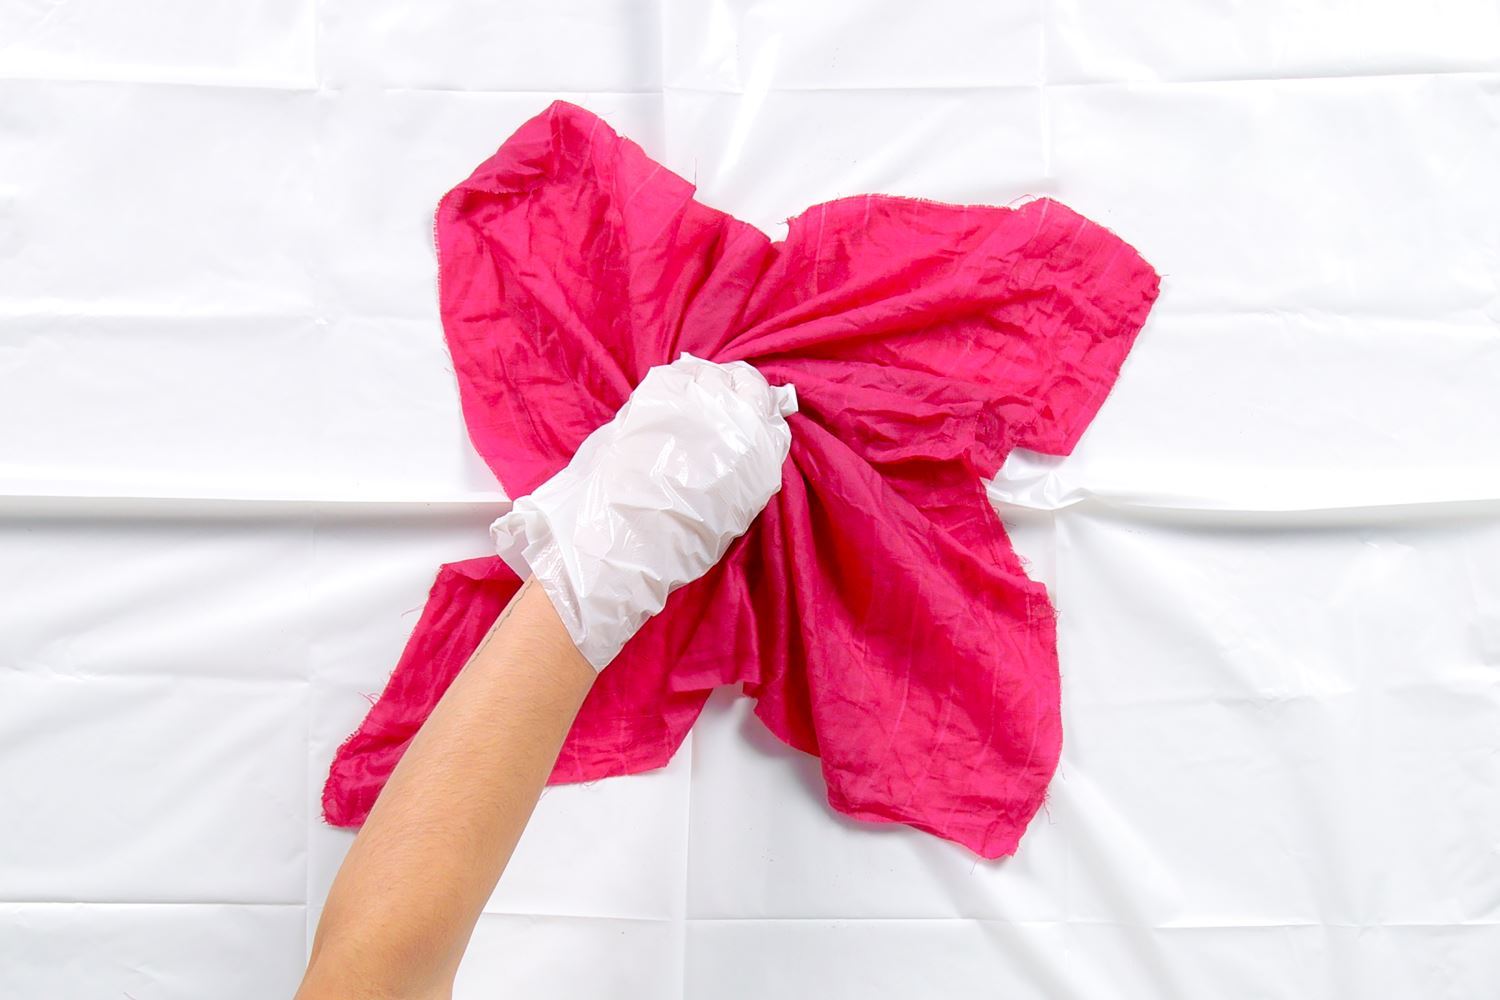
Pinch the fabric at its center and twist into a swirl. Keep twisting the fabric tightly until the entire piece is formed into a spiral shape. Secure with rubber bands.
Apply darker dye onto both sides of the spiral, then wrap in plastic to set.
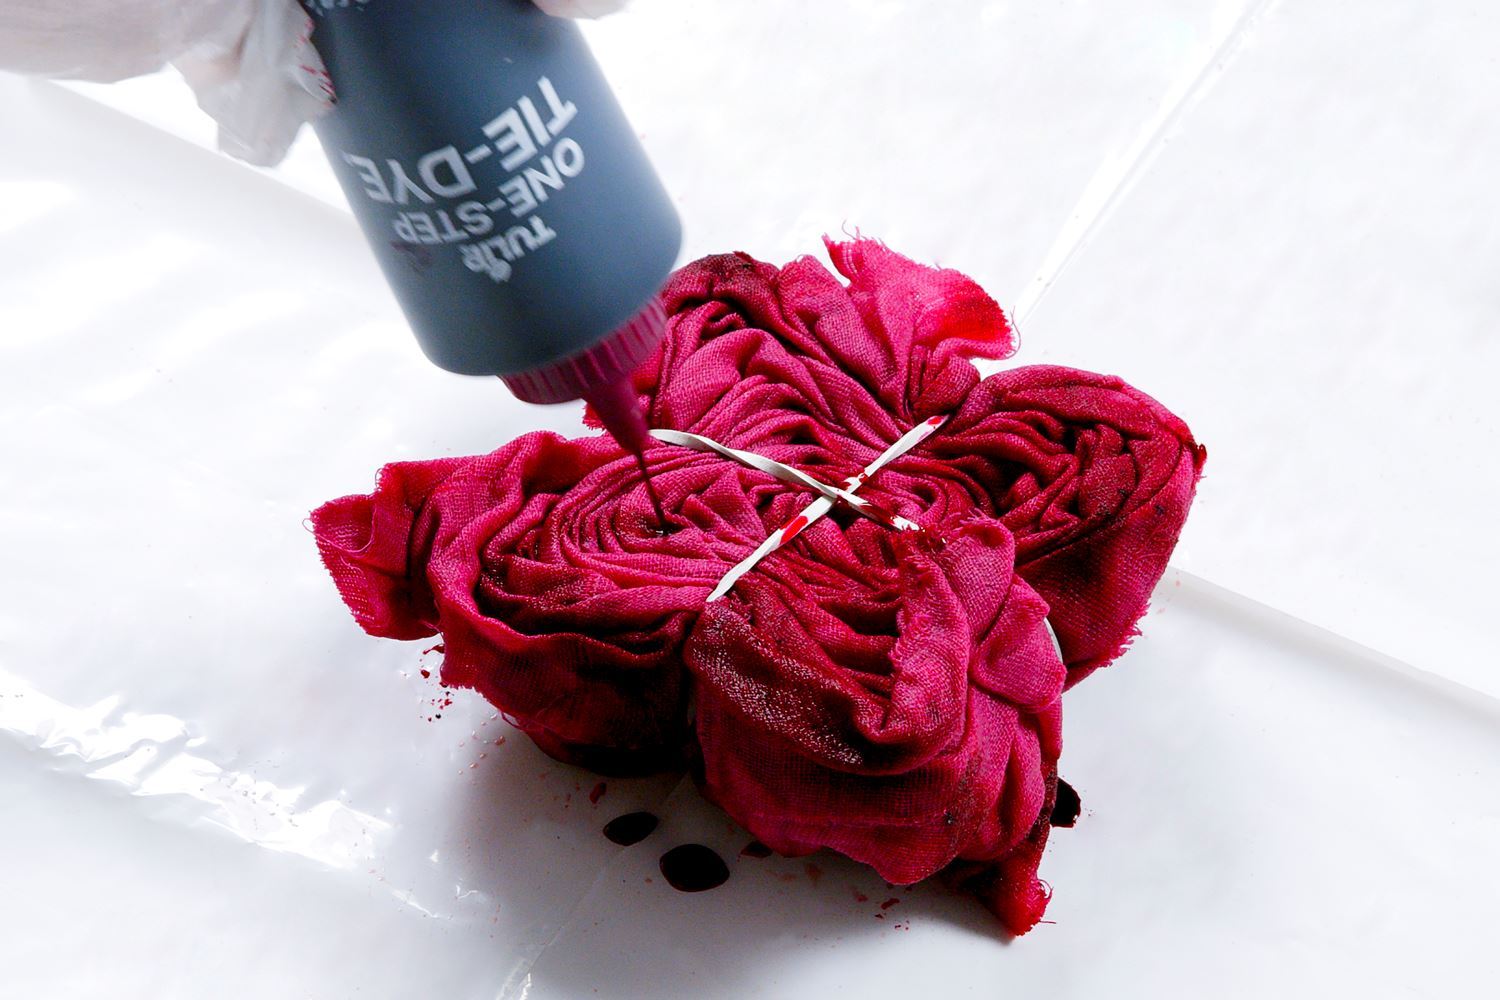
Apply Wine-colored dye onto the spiral, then flip it over and apply dye to the back. Place your project into a plastic bag and let set for 6-8 hours. Once your dye has fully processed, remove the rubber bands and check out your spiral tie dye! Rinse, wash and dry according to the instruction guide.
Place your present in the center of the fabric at a 45-degree angle
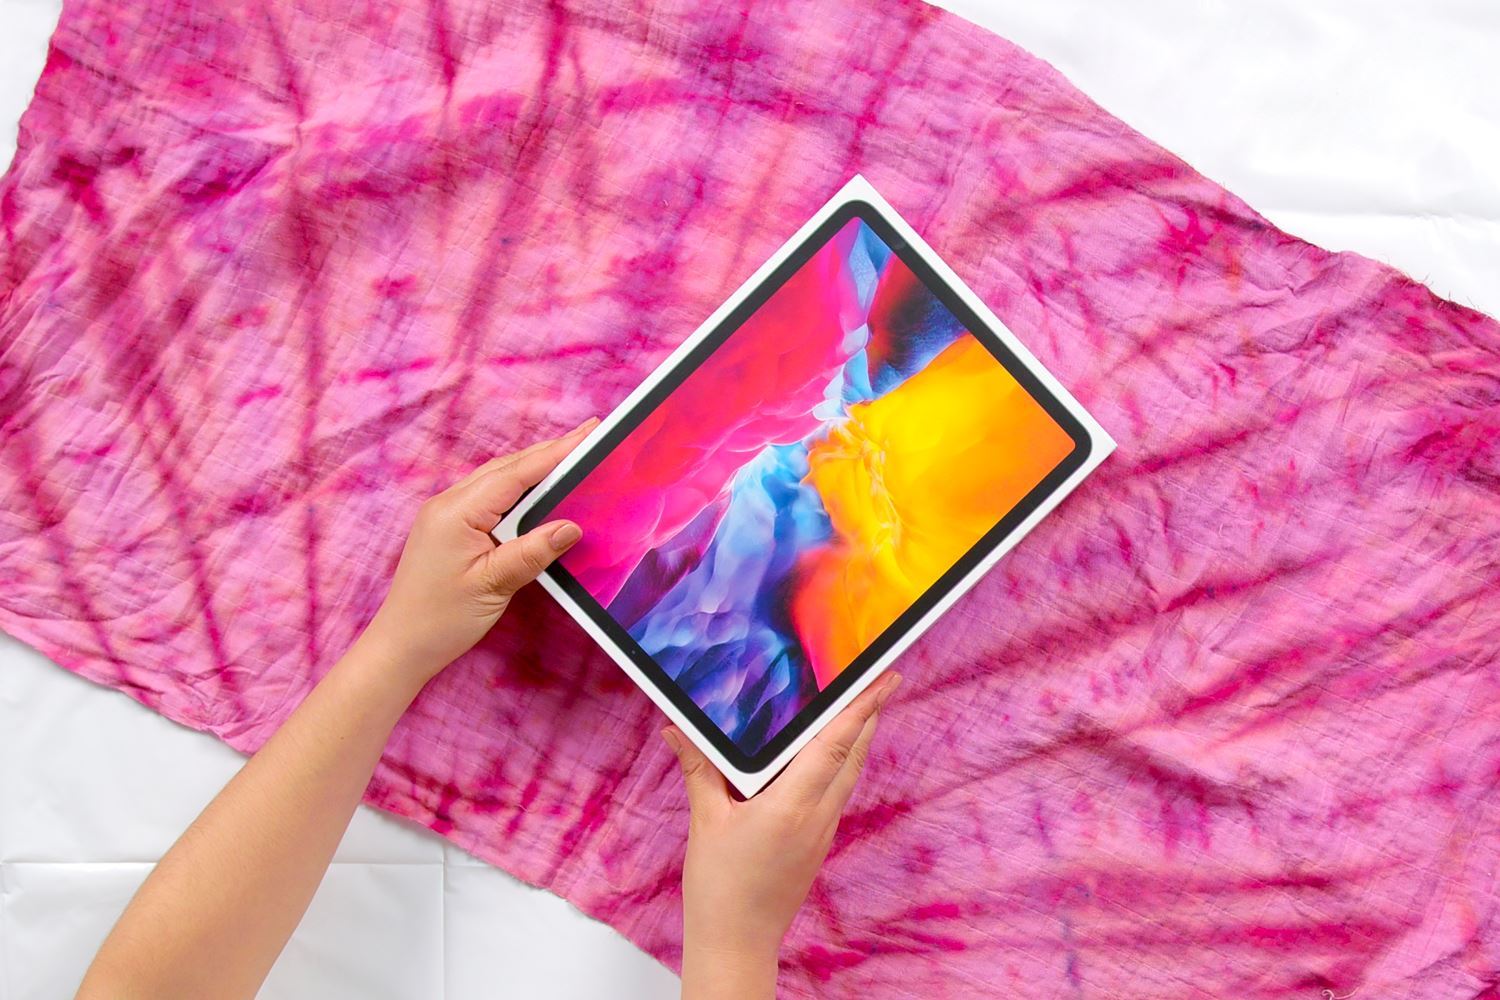
Once you’re done tie dyeing, it’s time to get wrapping! To get started, lay the fabric flat and place your present in the center of the fabric at a 45-degree angle.
Fold one corner of the wrap across the gift, then the other.
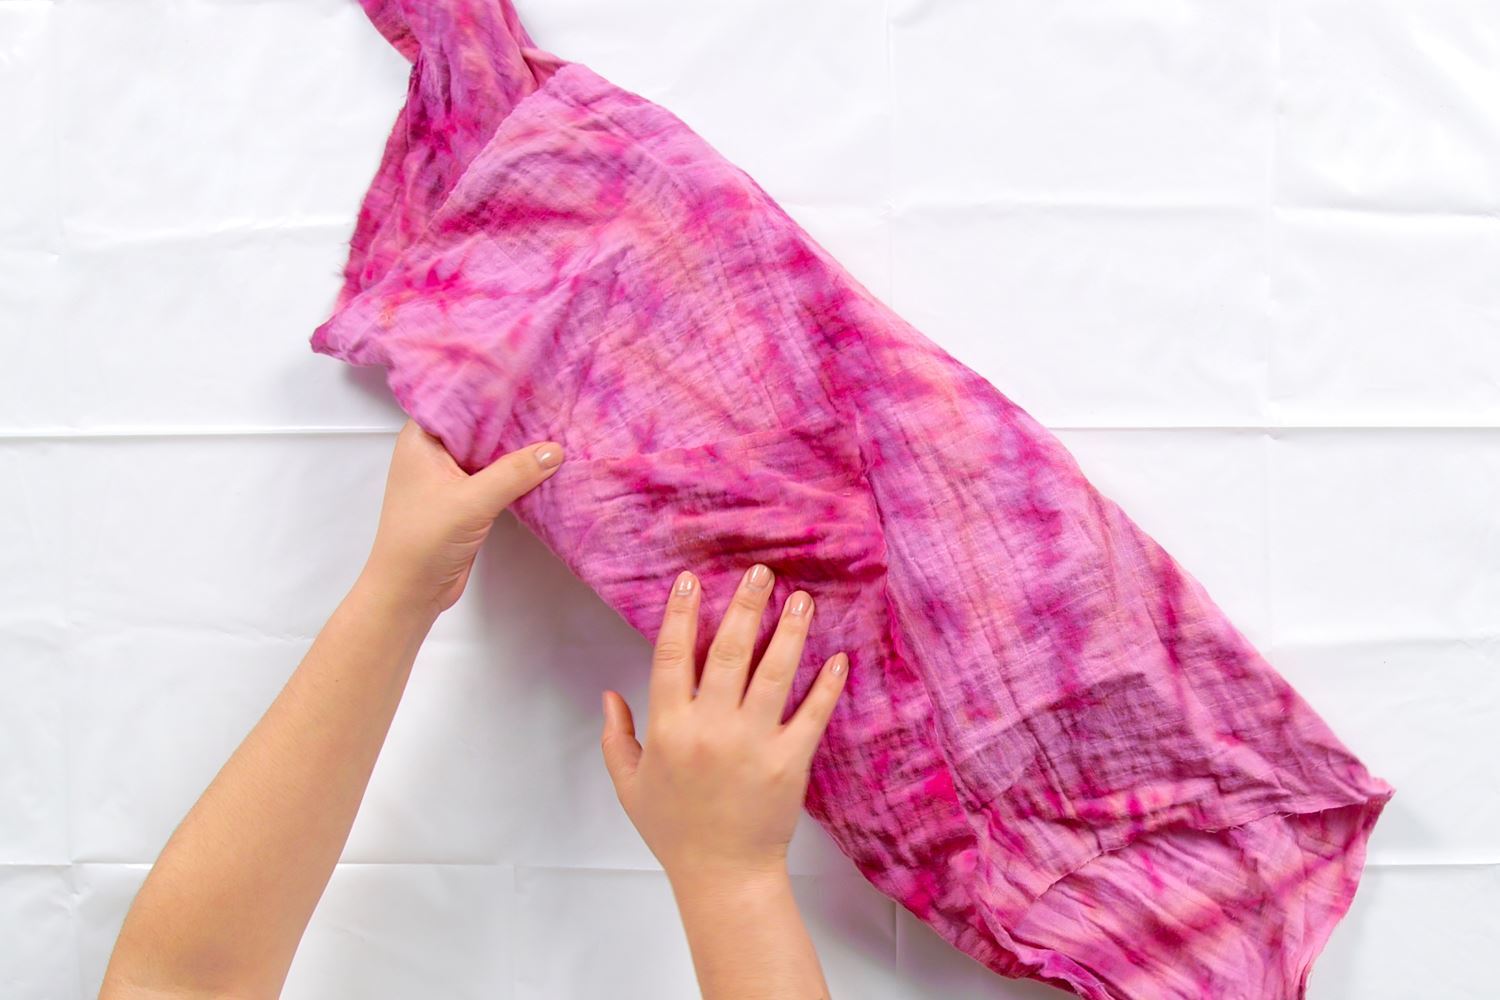
Fold one corner of the wrap across the gift, then the other, tucking the excess underneath if necessary.
Pull the other two corners together and tie into a double knot.
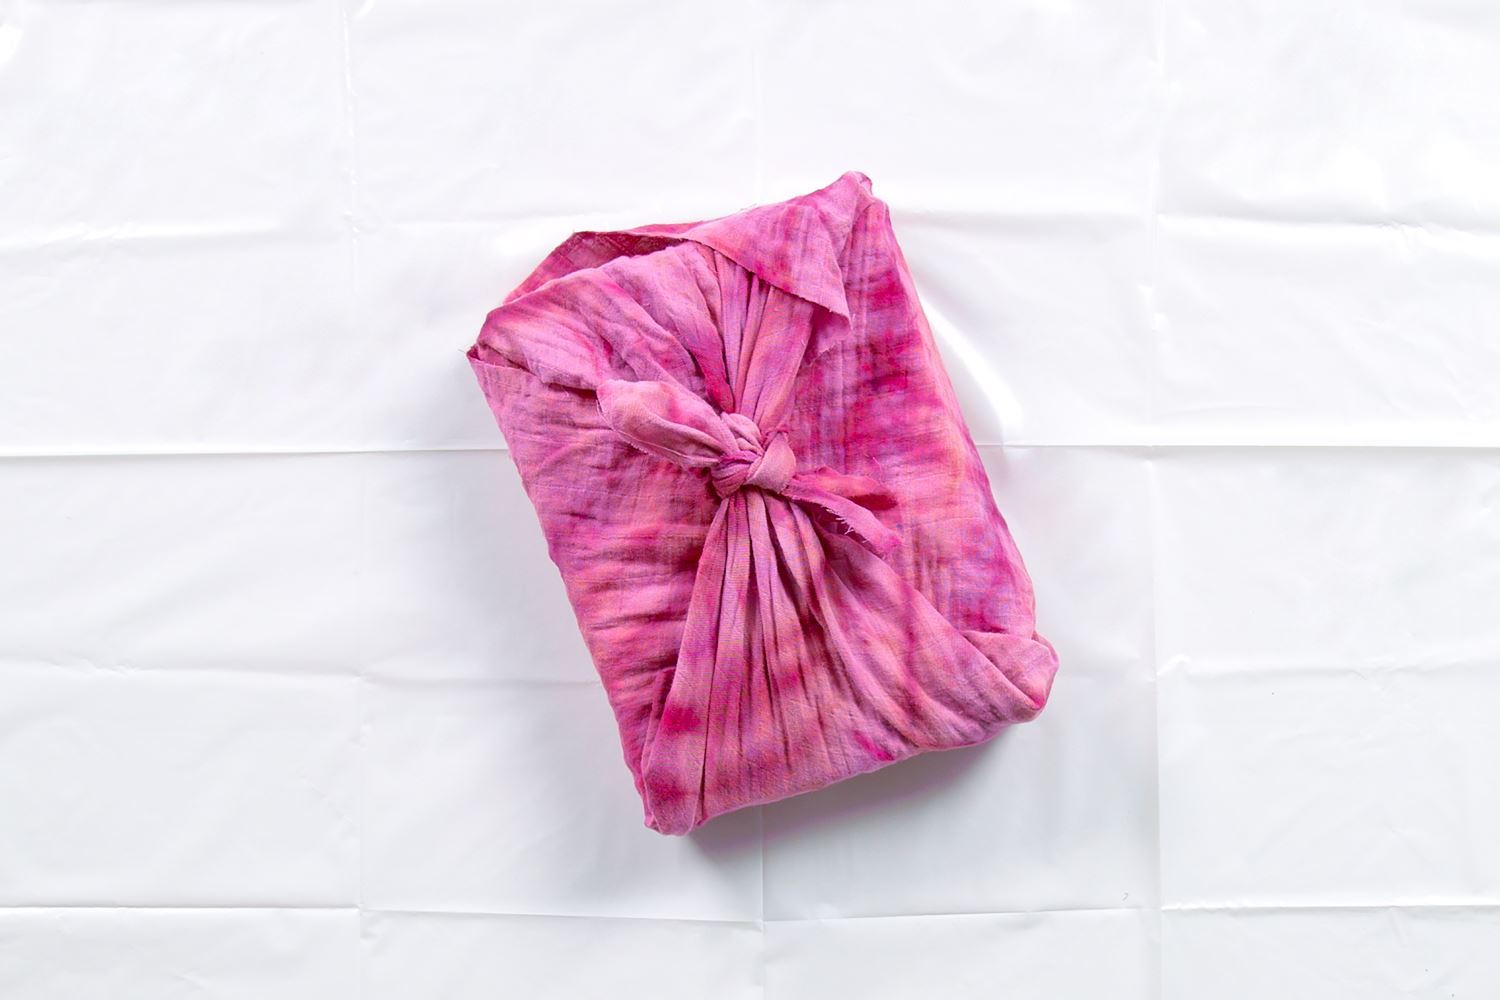
Pull the remaining two corners of the wrap together and tie into a double knot and add a gift tag for an extra-personalized touch. Your furokishi-inspired wrap is now complete! This reusable fabric gift wrap is a great eco-friendly alternative to paper gift wrap. Try using a variety of techniques and dyes for a colorful Christmas!
Dip paper ornaments into dye and allow to dry completely.
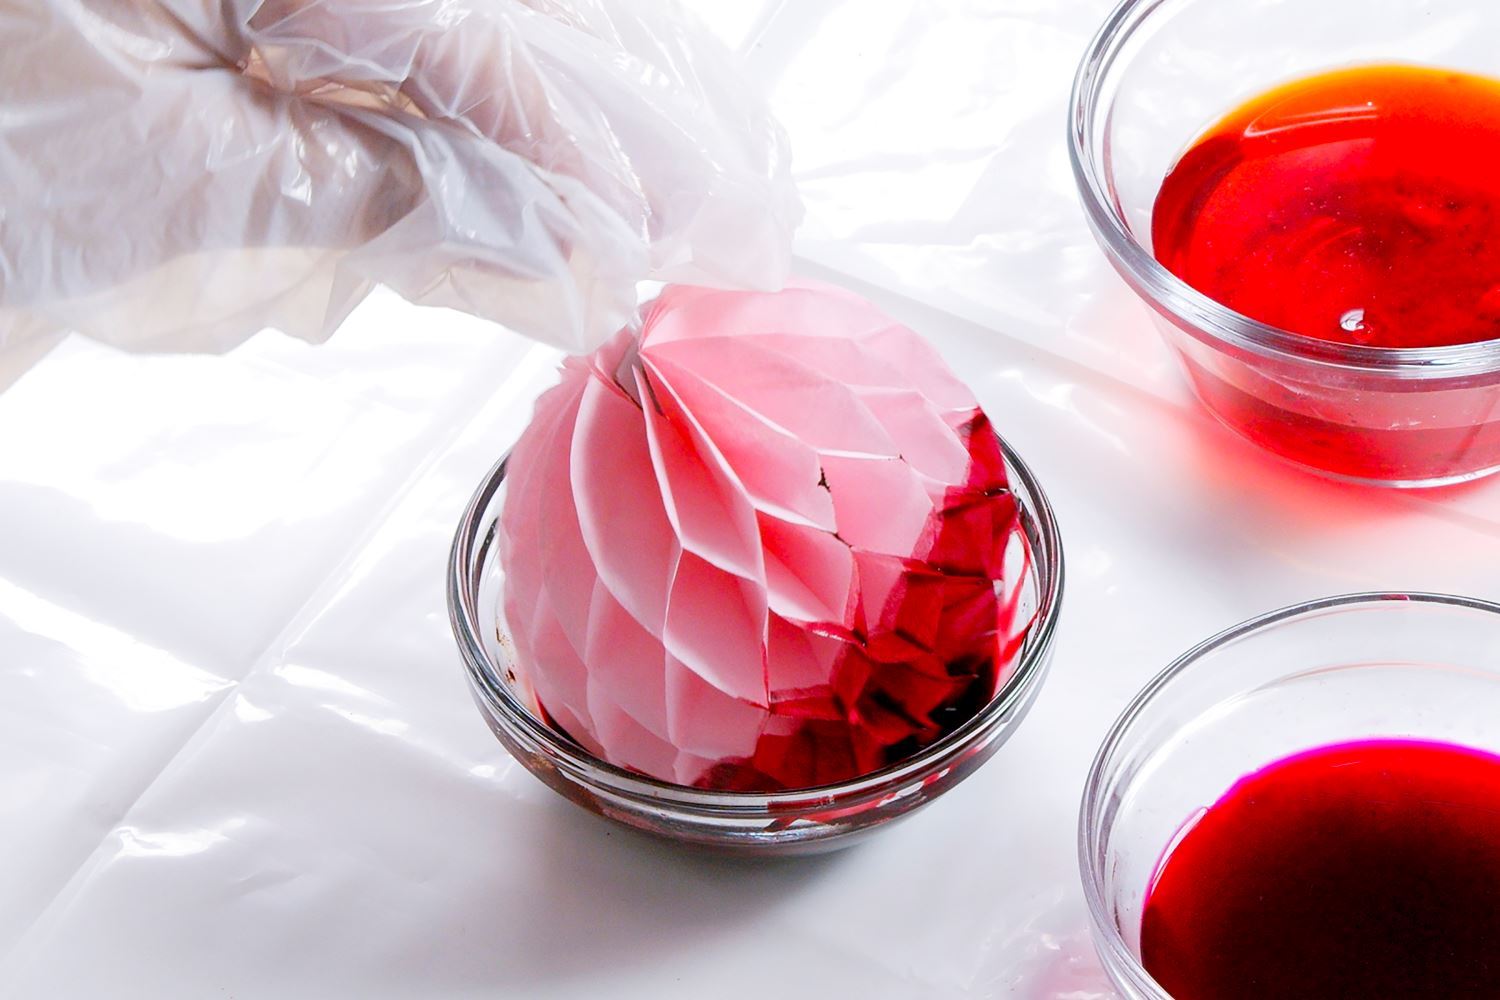
Don’t ditch that extra dye—use it for custom dip-dyed ornaments! Transfer the remaining dye into small bowls, then dip paper ornaments into the dye. Allow them to dry completely on a wire or plastic rack so that excess dye doesn’t pool. That’s it! Your matching ornaments are now ready for the tree.
What other tie-dye techniques will you try for the holiday season? Show us your colorful crafts on social @TulipColorCrafts!
Pin This Project
