We're all a little (or a LOT) sad to see summer go ... the end of summer means back to school, back to routines, back to life being crazy busy! One good thing about heading back to school though (at least for the college crew) is a new dorm room, and a new opportunity to turn your space into the coolest spot on campus.
Check out this list of easy dorm room DIYs using Tulip One-Step Tie Dye and get ready to add some color and creativity that'll keep you inspired all year long.
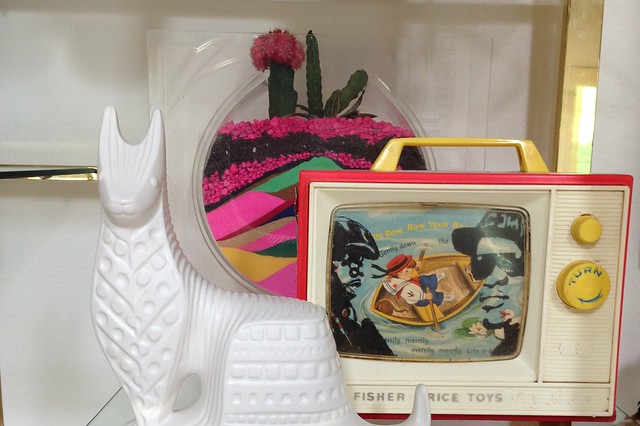
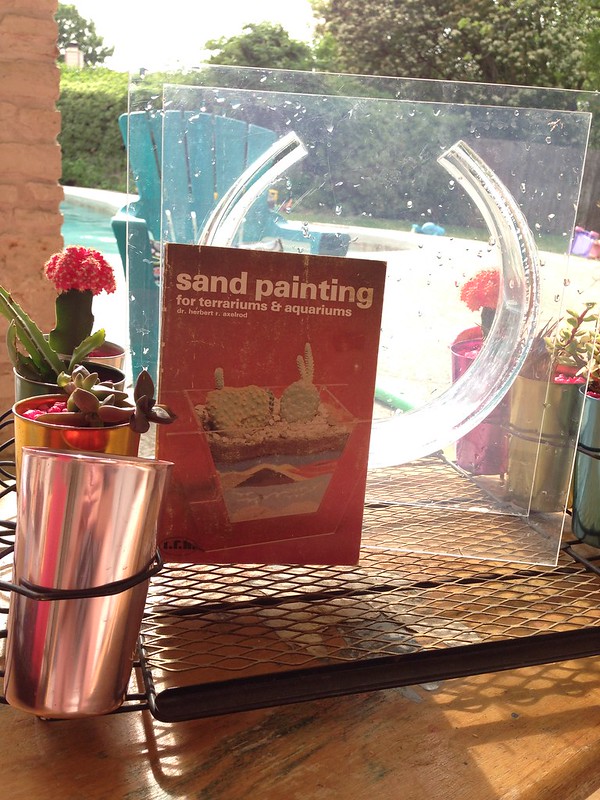
On a recent trip to the beach I was inspired by sand. Sure tan, natural colored sand is fine, but colored sand is clearly better when it comes to crafting. I have used colored sand in my crafty adventures before to
flock ceramic deer and to
paint groovy mushroom pictures, but this time I wanted to make my own sand.
Lucky for the me the lovely and talented
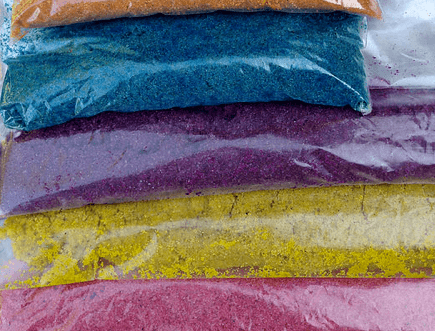
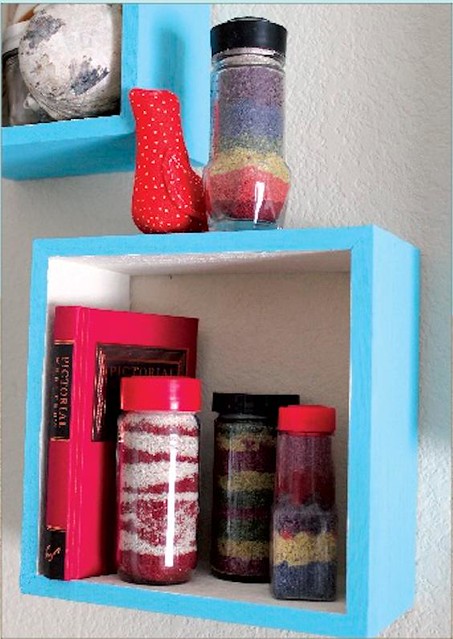
Carolina Moore was a guest contributor to the final issue of
Kids Crafts 1-2-3. She had a great tutorial for dying your own sand pictured above.
SUPPLIES
– Sand
– Plastic Baggies
– Decorative Jar
– Disposable spoon
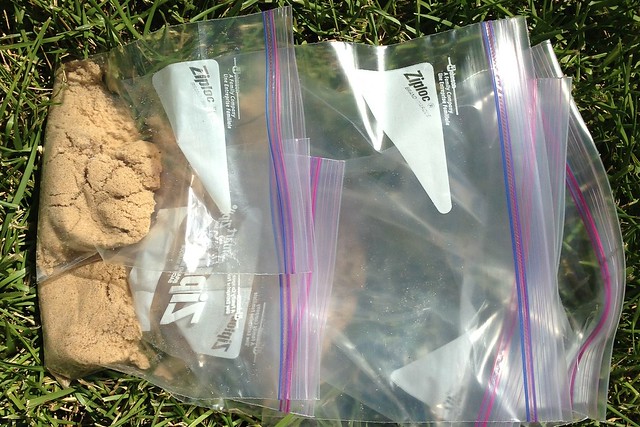
Divide your play sand into several small baggies. Next mix your dye.

Add a different color of dye to each baggie. Massage the dye into the sand and set aside to dry.
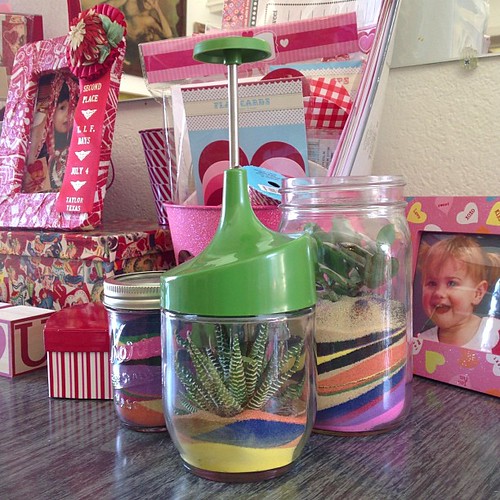
Gather your container and formulate a sand painting plan. When your sand is dry there are several methods on which you can add it to your container to form unique and intricate designs.
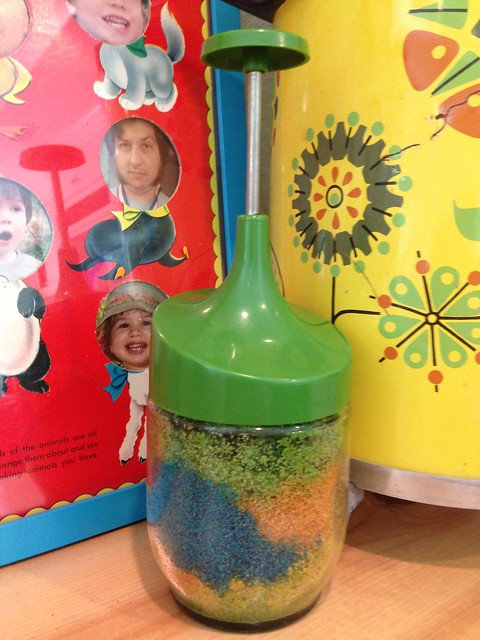
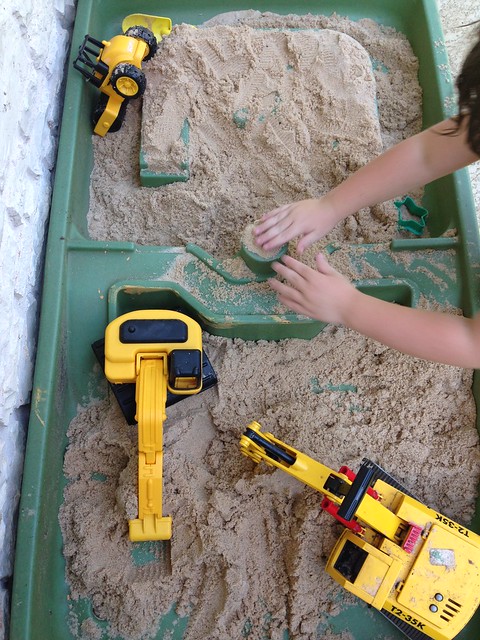
Fill your container and admire.
Did I mention that the kids love playing with craft sand as much as play sand? This is some sand art made with the kids a few years back. Please note that this sand and the top picture was not sand I made. HOWEVER - I'm dying to try making another batch of colored sand using the new Neon Tulip Dye!
Check out more fun from Jennifer Perkins on
her blog.
Head over to our TIE DYE YOUR SUMMER site for even more inspiration, how-to's, and fun videos to get you mega-inspired for some DIY summer fun!
Next time you have some leftover
Tulip One-Step tie dye from your tie dye party, squeeze that dye on an old cotton shirt in your closet and turn that shirt totally new accessory you'll want to wear everywhere! This project is great for giving a punch to your little black summer dress or for adding a pop over a plain tee!
 Supplies:
– cotton tie dye shirt dyed with
Tulip One-Step Tie Dye – Fabric Scissors
–
Aleene's Fabric Fusion

Cut 1" strips from the body as shown. You'll want to stop just short of the arms.

Stretch out the strips, pulling as tightly as you can.
Here's the t-shirt yarn we made from the stretched fabric! So fun.

Next, cut a 1" section off one of the sleeves.
Then cut the strip in half.
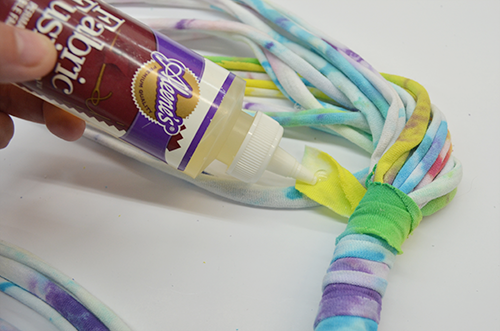
Wrap strip around looped t-shirts and glue with Fabric Fusion to secure. Let dry.
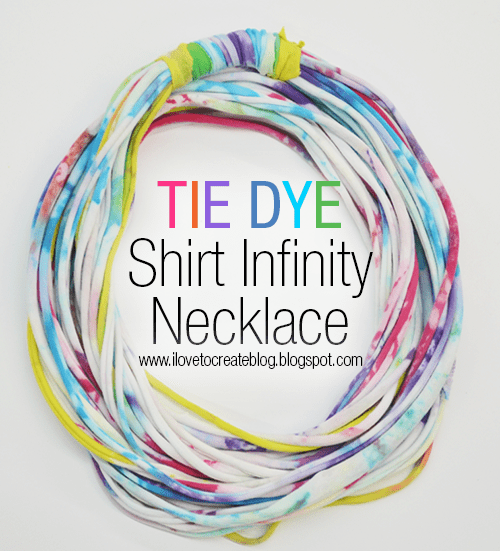
Wear it long or double it up and wear it layered! I love this project cause it's perfect for a girl's night in craft project...easy and simple and everyone can make one!
And I even created a fun little graphic that you can pin and share! Happy crafting.
Head over to our
TIE DYE YOUR SUMMER site for even more inspiration, how-to's, and fun videos to get you mega-inspired for some DIY summer fun!
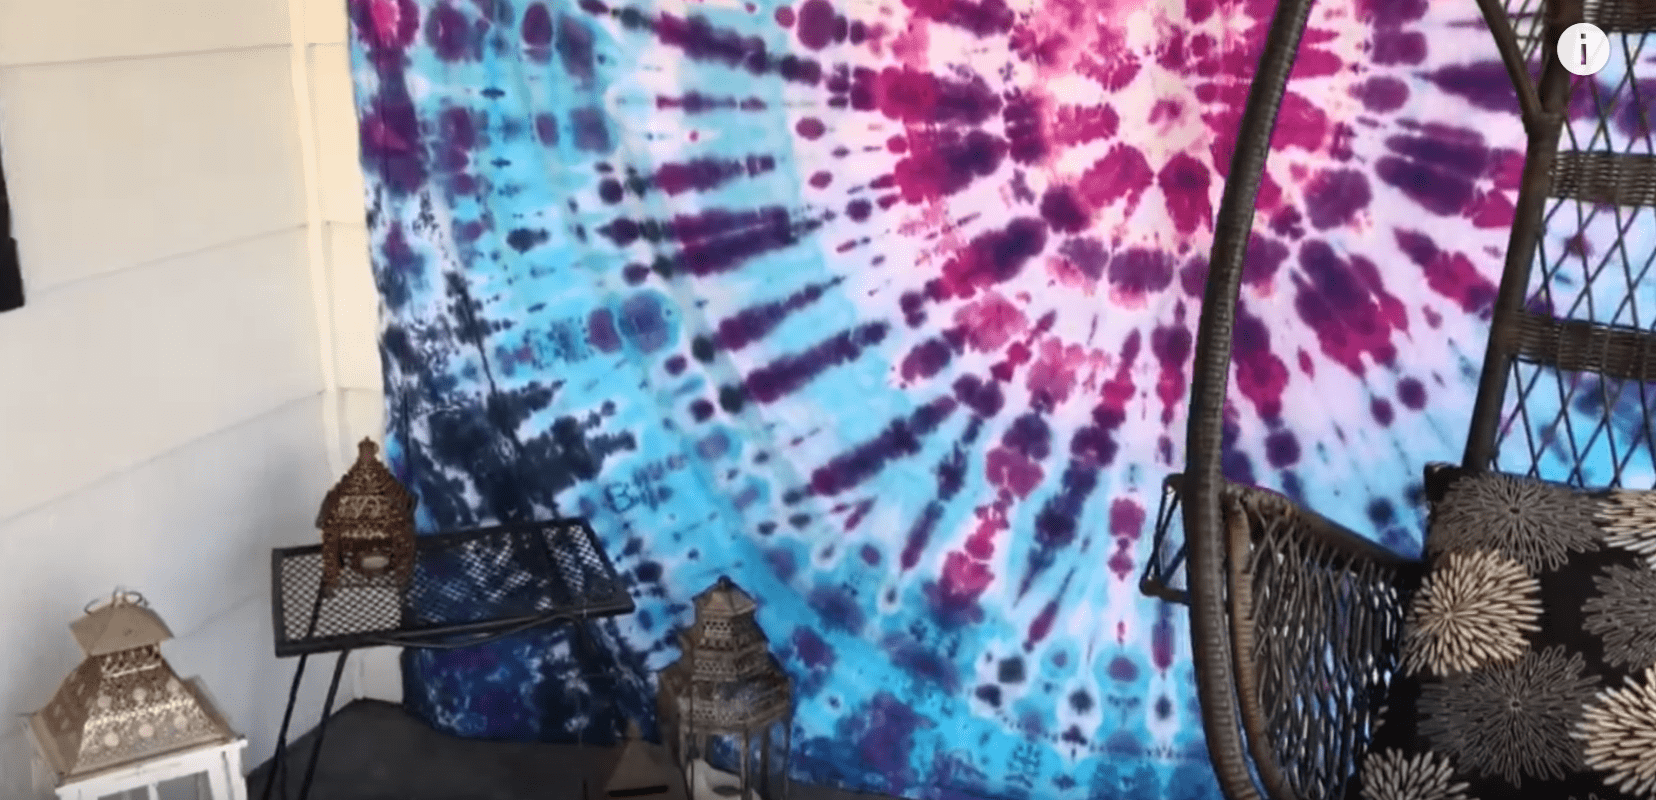
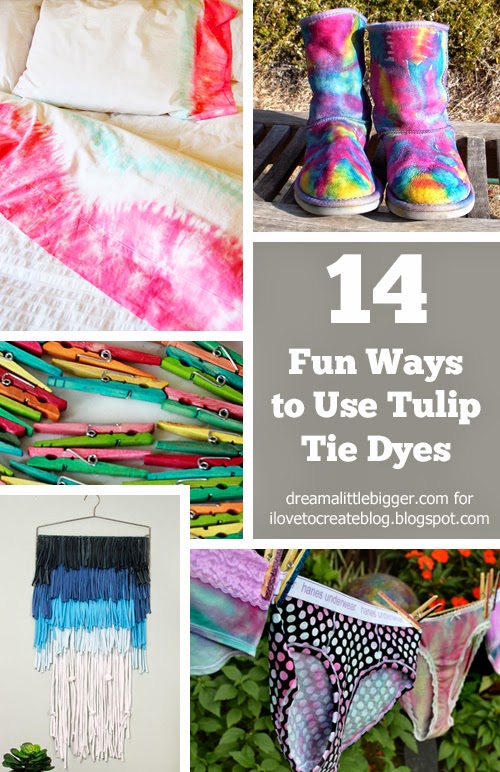
It's no secret that I am crazy about tie-dye and one of the biggest reasons I love being an iLoveToCreate blogger is for all of the tie-dye projects I get to do! And if you think tie-dye is just for tee shirts, well, you've got another thing coming!
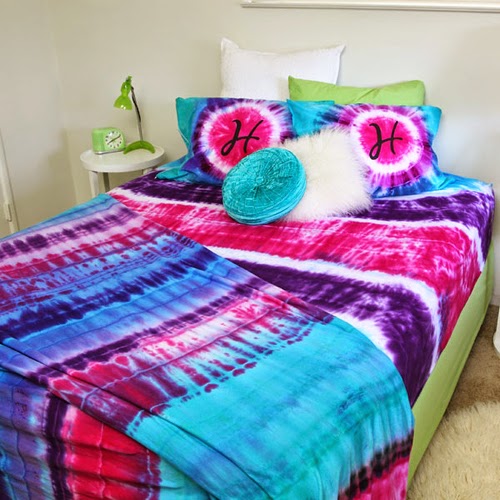
First up, are you looking to add some color to your bedroom? Why not tie-dye everything?! Get the directions from the iLoveToCreate website:
Dreaming in Color Tie-Dye Bedding.
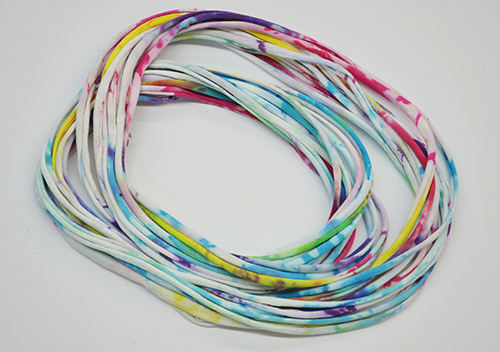
Okay, so this one is by me BUT I had gotten so much interest in this project and the end results wound up being so awesome that I just have to share. Did you know you can tie-dye your embroidery floss? Get the deets to make your own variegated floss:
Variegate Your Own Floss
To be honest I've never owned a pair of Uggs because I kind of think they're Ugg-ly. BUT I love the way an old and wonr out pair can be totally reinvigorated (and the back tag saved from dye) with this interesting repurpose from HubPages.
How to Tie-Dye Ugg Boots.
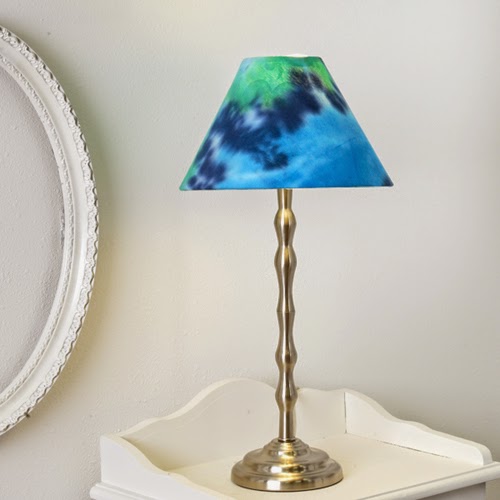
Sometimes finding the perfect accent lamp shade is impossible. So why not DIY and dye your shade to something awesome, eye-catching and totally unique all at the same time? Full directions to make your own (which looks smashing in a mostly white room, too, does it not?) at iLoveToCreate:
Shades of Moody Blues
Okay, so maybe a laundry sack isn't inherently a fun item BUT this laundry sack totally is. I like this for several reasons... it's totally simple to make and it's eye catching which means that if and when the kids toss this around in their messy closet floor you'll be able to spy it pretty quickly. Fab and fun tutorial from Life Your Way:
Make a Pillowcase Laundry Sack.
Fringe art is crazy super hot but all I can think of seeing tutorials for are yarn. Which is awesome if you knit or crochet, but what if you don't? Do you really want to buy 4 skeins of yarn that you have no use for after you've taken out only 1/4 of it? But everybody has old tee shirts they can repurpose! I am in LOVE with this piece from Home-ology, Modern Vintage and I'm sure you are to. Get the DIY:
Tie-Dye Textile Wall Art
With tie-dye being so hot this summer, why the heck would you not want to bring this awesome trend into your home decor? Check out how Designs by Studio C did just that with this amazing tie-dyed upholstery bench.
Tie-Dyeing Fabric for a Bench Seat
I absolutely LOVE Frida Kahlo and almost all of my college art projects that dealt with using an artist as inspiration or to imitate as our own self portrait always went straight to the talented Miss Kahlo. So when I saw that Megan Nicolay tie-dyed up some doo-dads for a Kahlo-like 'do I thought it was just about the neatest thing I'd seen in ages! See how to rock this look:
How to Make Friday-Style Braids
Yet another iLoveToCreate post, this time from the talented Aunt Peaches, bringing color into your every day life. I mean, why in the world should hanging things be dull?
Two-Tone Tie-Dye Clothespins.
Leave it to the talented Crafty Chica to take on dyeing real roses. Yep, this super crafty lady actually tie-dyed roses! LOVE! See how to tie-dye up your own:
Make Tie-Dyed Roses
So if the first round of tie-dyed bed linens wasn't quite your thing, why not go a bit more subtle? Design Love Fest knocks this DIY out of the park super hardcore. In fact, I would snap these babies up in the store had I seen them. Perfection! Learn how to make your own:
Tie-Dyed Sheets and Pillowcases
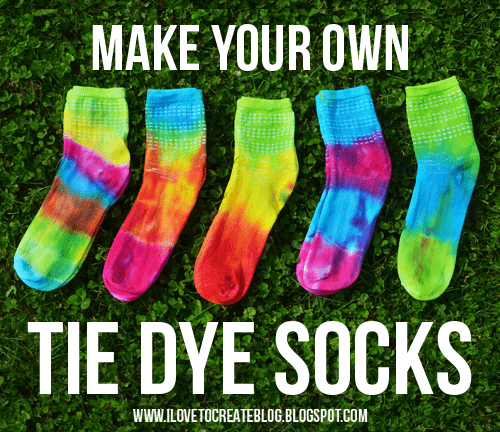
I had one reason that I wanted to get back into tie-dyeing as an adult... I wanted to knock out some awesome socks! See how to do just that in the fab tutorial here at iLoveToCreate but remember, you need all cotton socks to achieve these amazingly bright colors!
How to Make Tie-Dye Rainbow Socks
Rag quilts are tops in my books. Add in tie-dye and I'm all about it. See how to make this fab throw, picnic blanket or bedding accessory with a super tutorial from My 3 Monsters:
Tie-Dye Picnic Quilt
Big props to one Miss Jaderbomb who totally rocked the tie-dye and panties. The idea is simple but the results are super fun. And while I've made loads of these under the seams cuties, I've never been brave enough to post a DIY - which makes this my favorite tutorial of this entire roundup! Get the tute:
Cute Tie-Dyed Undies Tutorial
Thanks so much for checking this roundup of tie-dyed awesome sauce. Head on over to my blog for even more round ups, tie-dye goodness and craft tutorials galore! Dream a Little Bigger
Head over to our TIE DYE YOUR SUMMER site for even more inspiration, how-to's, and fun videos to get you mega-inspired for some DIY summer fun!
I know it's still winter in a lot of places (sorry, East coast), but one sure way to hurry up spring and summer is to make yourself a pair of one-of-a-kind tie dye socks using
Tulip One-Step Tie-Dye! If these socks don't SCREAM warmer weather, I don't know what does! Here's how you can create your own vibrant pair for every day of the week!!!!
What you need:
– White cotton socks
Inside the package, you will find rubber bands. Wrap your socks as desired with the rubber bands. As you can see, I didn't have much a rhyme or reason. In the words of Bobby Brown, "That's My Prerogative".
Next I thoroughly wet my socks...

...then I wrung them out in the sink. Getting the socks wet helps the dye sink into the fibers!

Mix up your dyes and shake them well to dissolve all the powders! I used color water to mix mine.
Now the fun part!!! Dyeing!!! Lay out your surface cover to protect your work surface and go to town, saturating your socks well with the dye! I wanted a lot of vibrant colors colliding on my socks. I did opt for colors in color wheel order...from experience orange next to green dye produces brown. That was not a color combo I wanted on my socks!

Here's the socks in all their glory! I just knew they were going to turn out fab!
Picky crafter tip: If you are super concerned about your colors mixing, use a cooling rack! A cooling rack will keep the socks elevated, while the dye colors drip below. This way the dye colors won't roll around and accidentally seep onto your other socks. I'm not super picky, so I didn't mind if the colors bled off onto the other socks!
Now fold over the surface cover and let your socks sit 6-8 hours or overnight. This way, you colors will stay ultra vibrant and strong!
Remove the socks from the plastic wrap and rinse out the dye from each pair of socks. Keep rinsing the socks until the the water from the socks runs clear.
Remove the rubber bands from the socks and wash the socks in the washing machine on cold. Add a little detergent to the cycle. Line dry the socks or put them in the dryer. You may want to wash your tie dye socks separately from your other clothes, just to be on the safe side. You wouldn't want there to still be a trace of dye that got off on your other clothes!
And here's the finished result! I love how they turned out!!! So vibrant and fun. You may notice that there's some white areas on the socks. That is the elastic (plastic) that doesn't retail the dye!
Even though this part did not dye, I still think they are really cool...I think it actually makes the socks more interesting!
Which pair do you think looks the coolest???
Save
Save