Container Tie-Dye Technique
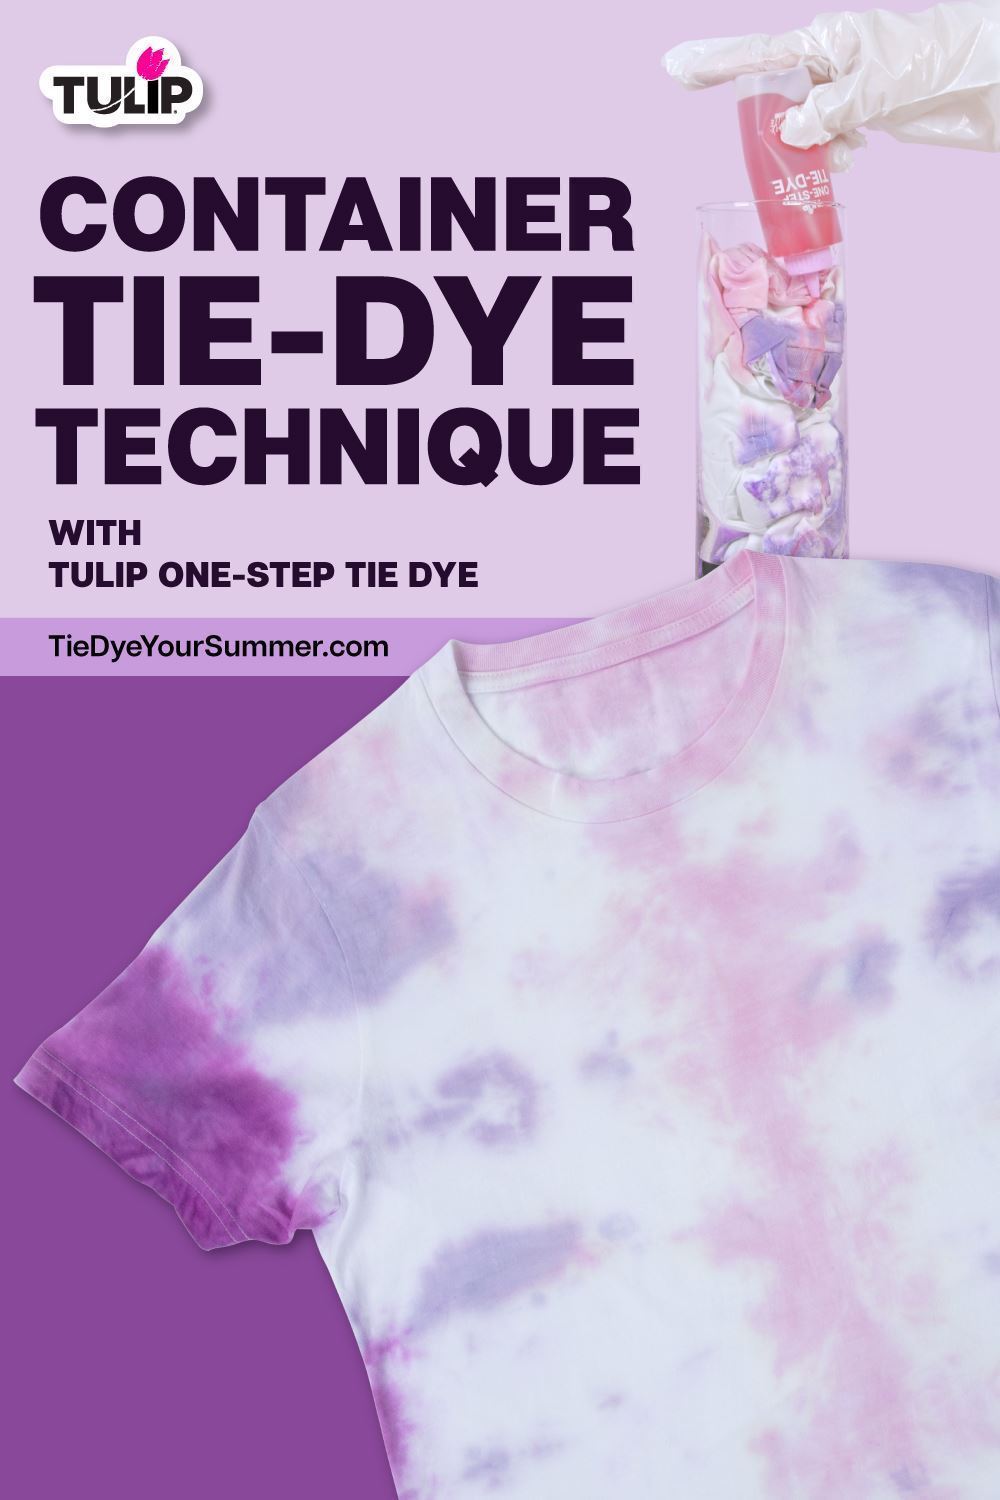
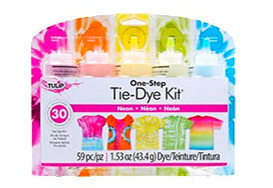
We can’t contain our excitement over this fun new tie-dye technique! The container tie-dye technique offers an easy, mess-free tie-dye experience— just apply your favorite Tulip One-Step Tie Dyes and let your project set in its container for unique tie-dye designs! This simple technique is great for crafters of any experience level. Check out our step-by-step tutorial and try this tie-dye technique for yourself!
Step 1: Prepare your project
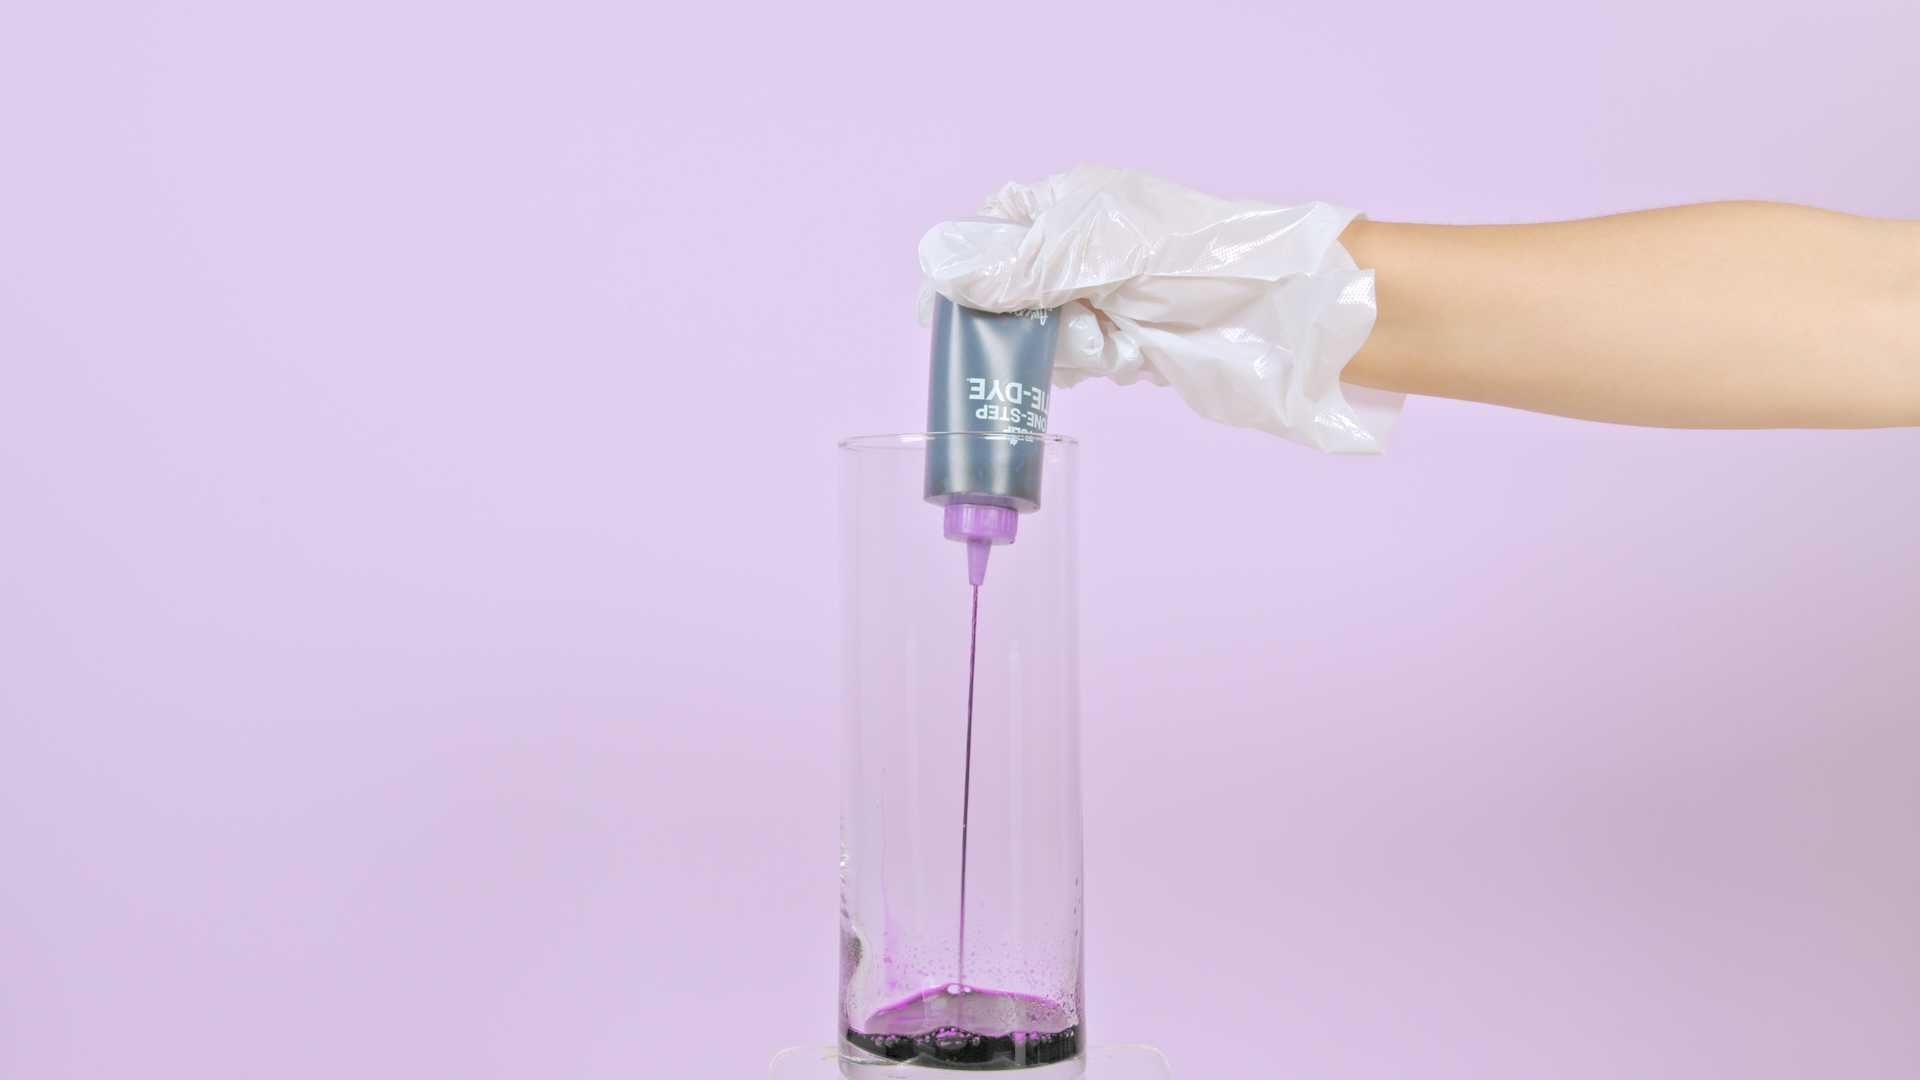
Before you get started on your container tie-dye project, prewash the substrate that you’ll be dyeing and leave damp. Prepare your tie-dye solutions by adding water to the dye bottles, filling to the neck. Replace the cap tightly and shake well until dye powder is fully dissolved. Pour one color of dye directly into your container.
Step 2: Place shirt in container
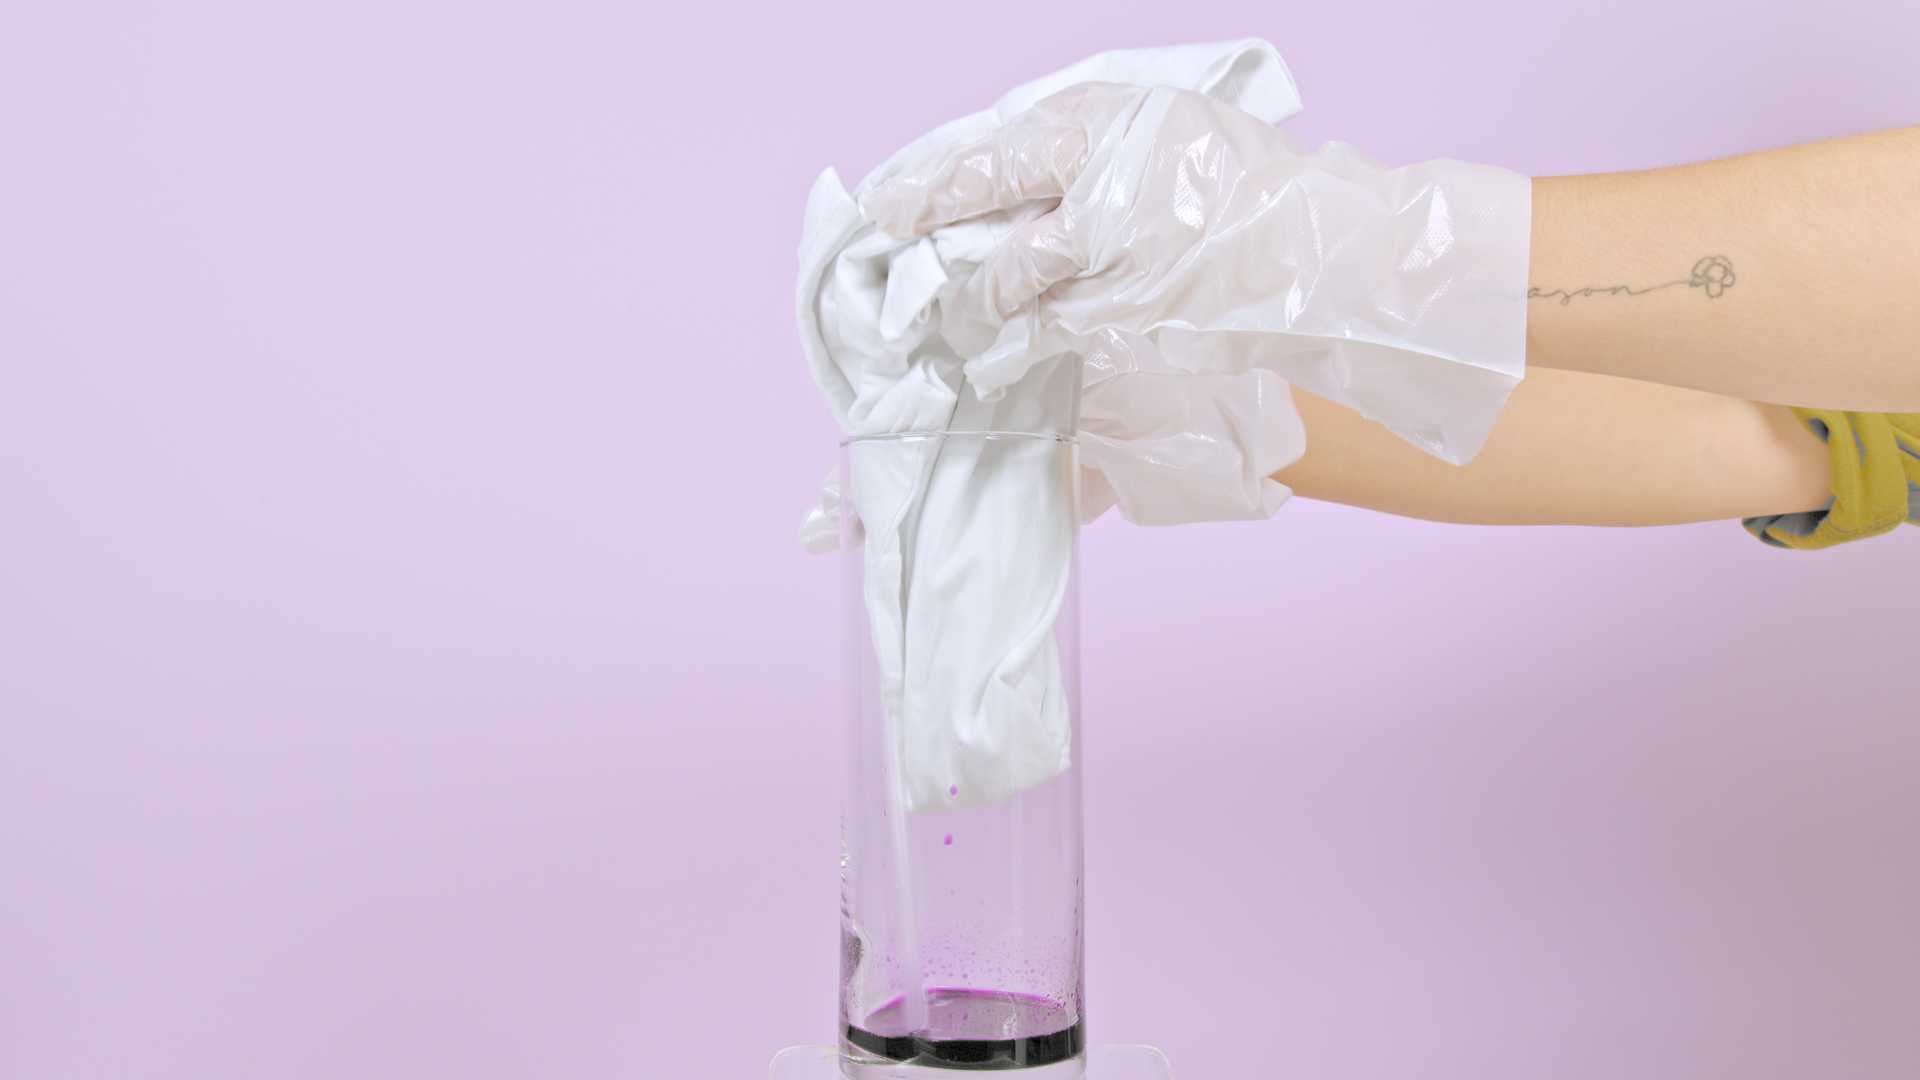
Scrunch your shirt and place it into the container. It’s important that your substrate is damp for this step so that the dye can flow throughout the project. Your container tie-dye shirt will begin to absorb the dyes from the bottom up!
Step 3: Use straw to add dye
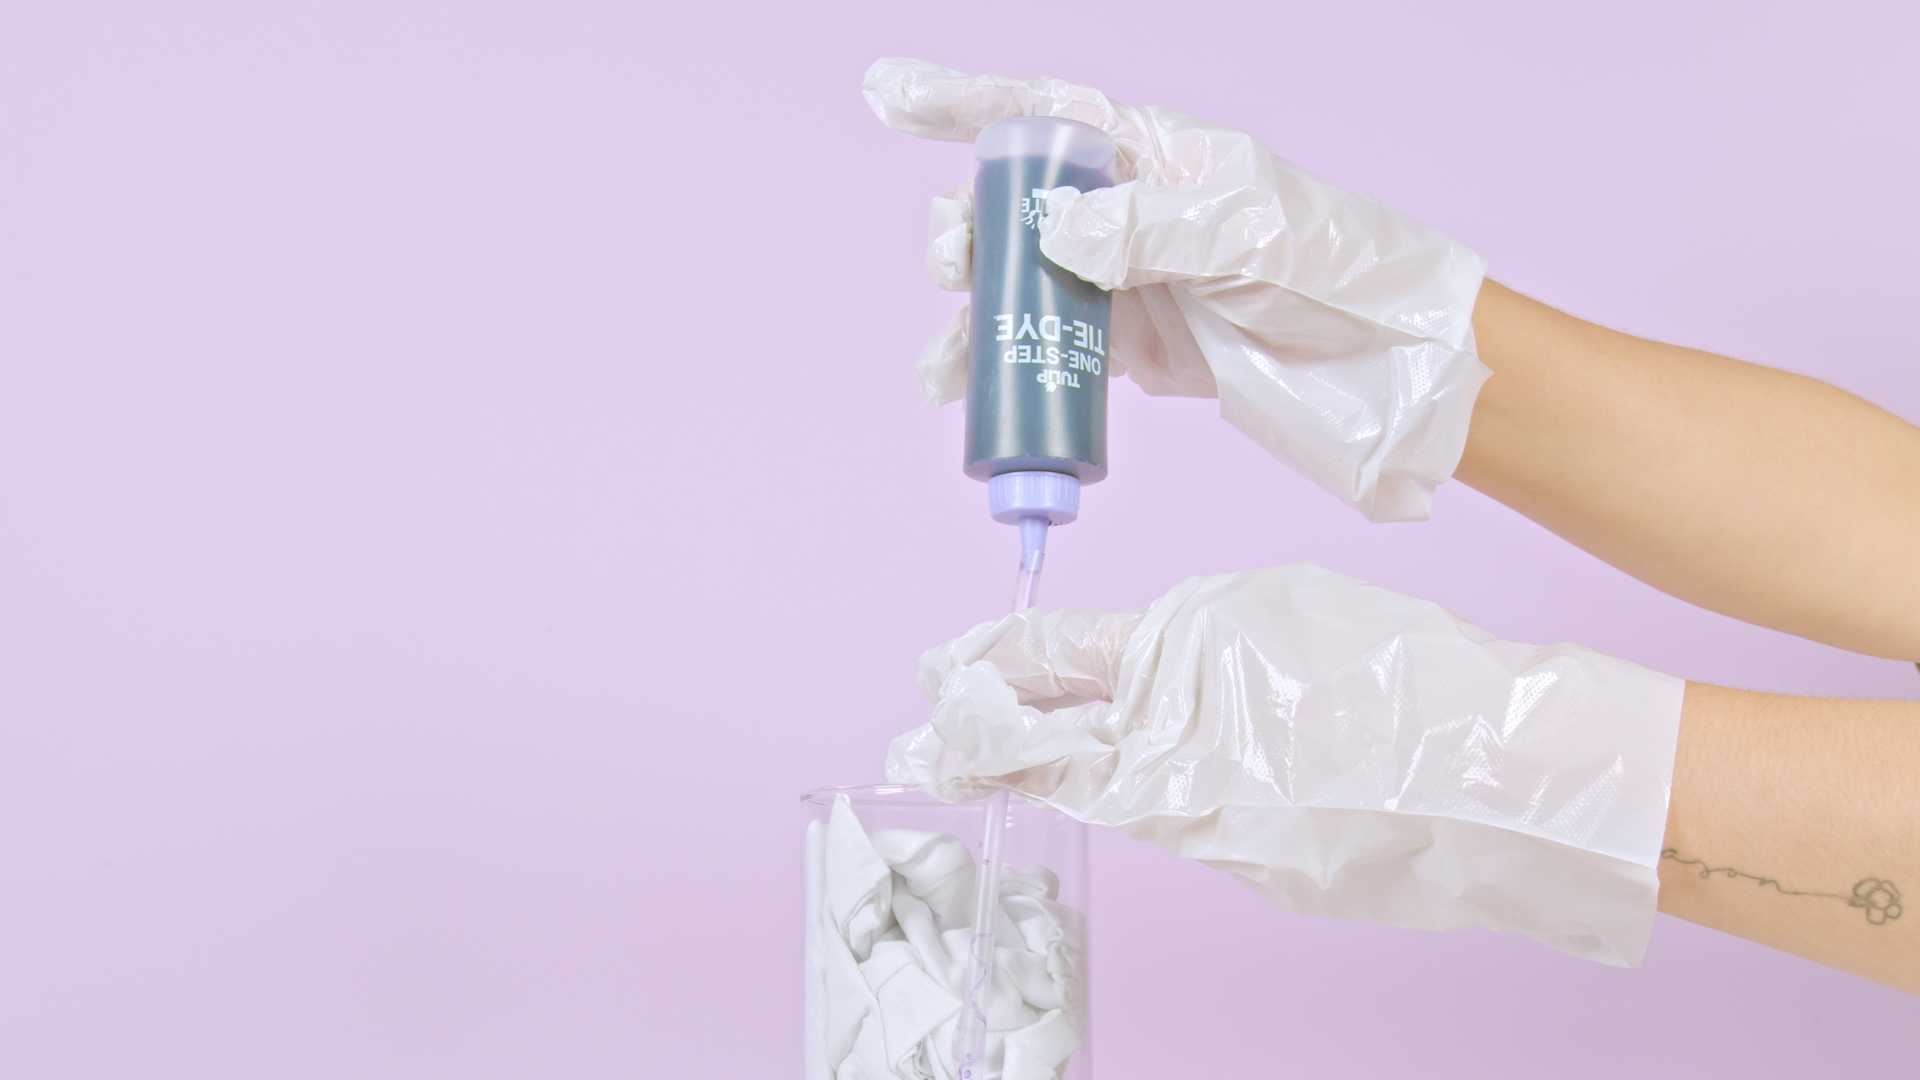
This step will help disperse the dyes more evenly across your container tie-dye project. Place a straw into your container and pour a second dye color through the straw. Manually move the straw around to ensure the dyes penetrate the folds and crevices of the shirt.
Step 4: Apply more dye
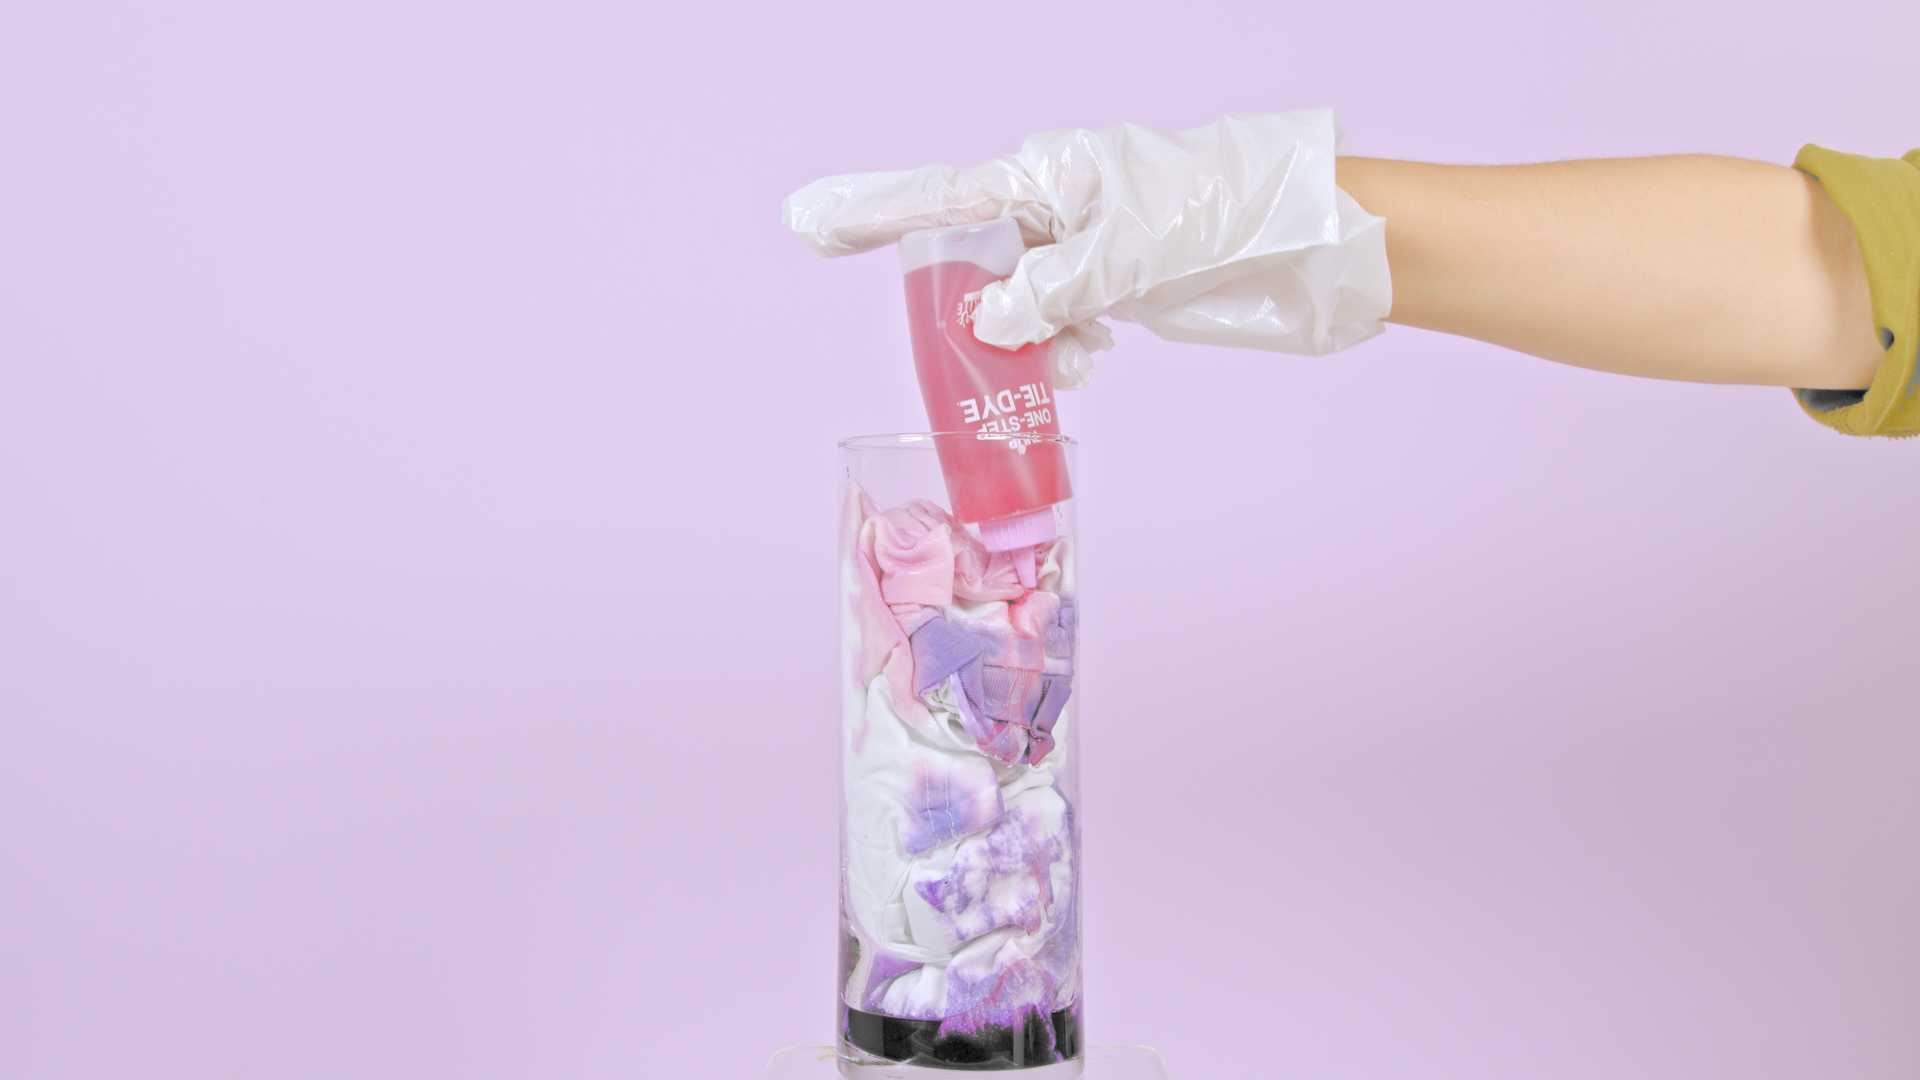
Apply a third color of dye to your container tie-dye project. The dye on top will be pulled downward throughout the damp shirt— gravity will do the work for you!
Step 5: Cover and let set
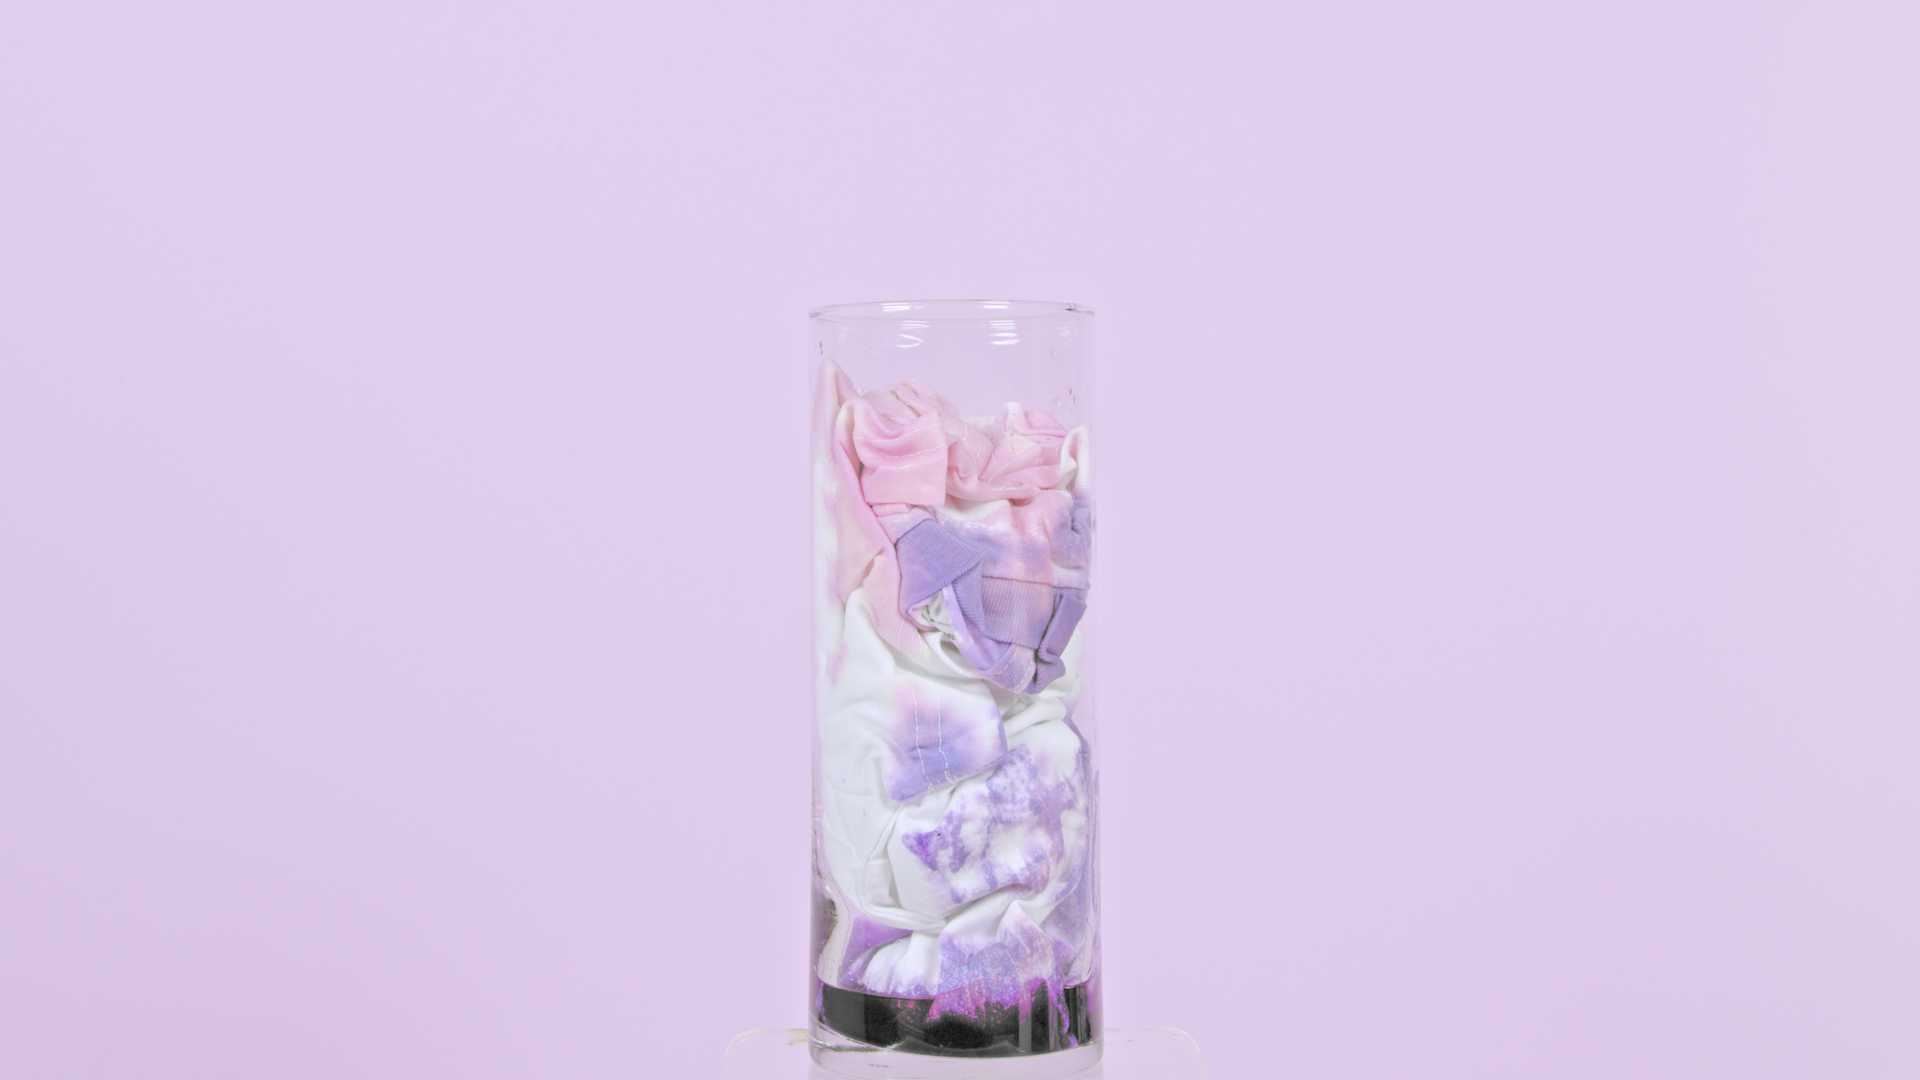
Once you’ve finished applying your dyes, cover your project with plastic wrap (or a lid, if your container comes with one) and allow your container tie-dye to set for 6-8 hours or overnight for more vibrant results.
Step 6: Rinse, wash, dry, & reveal!
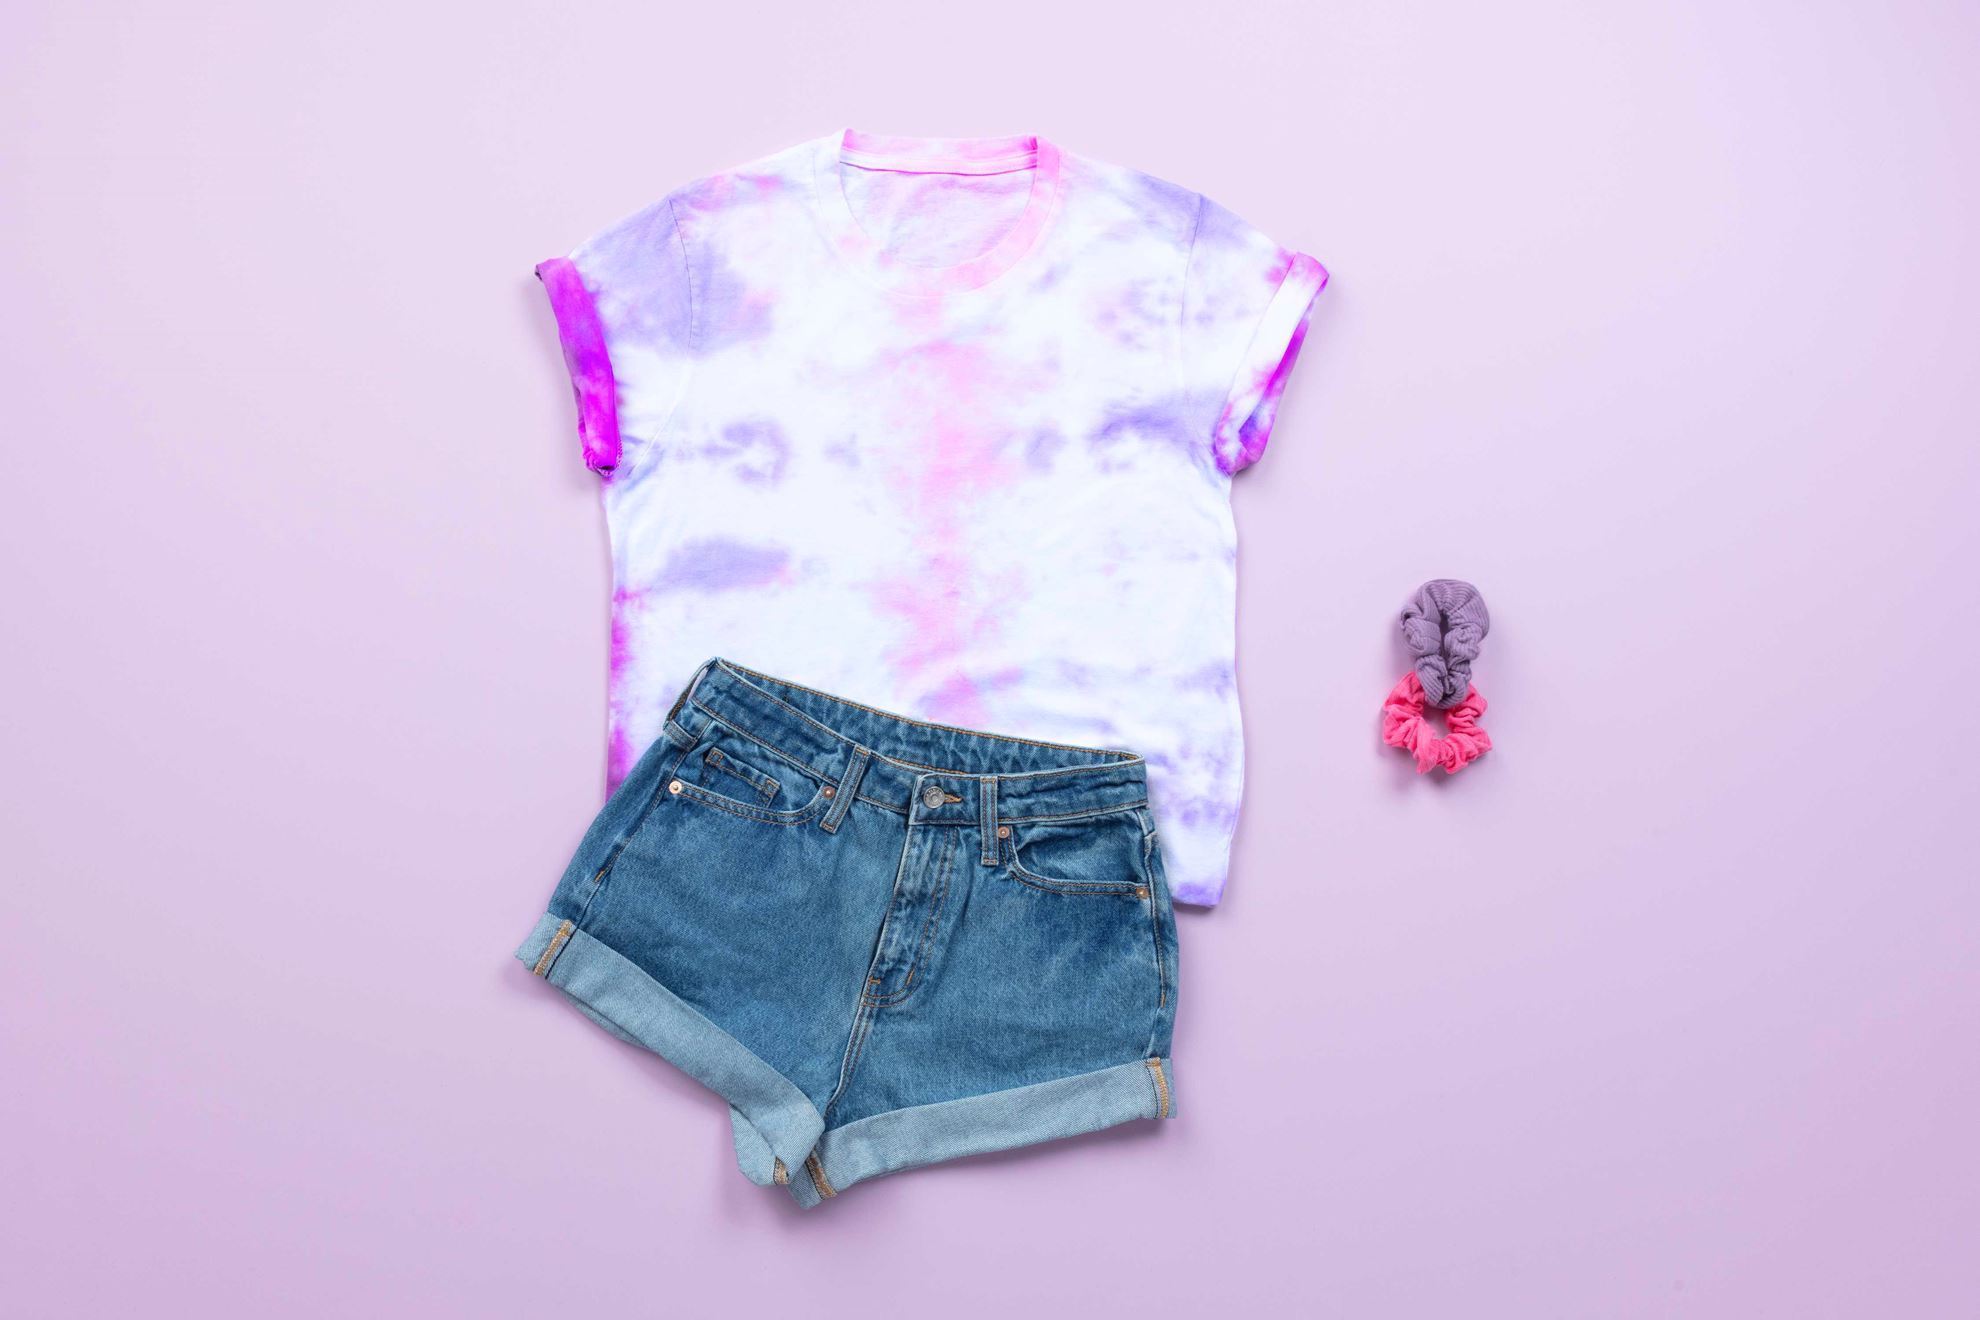
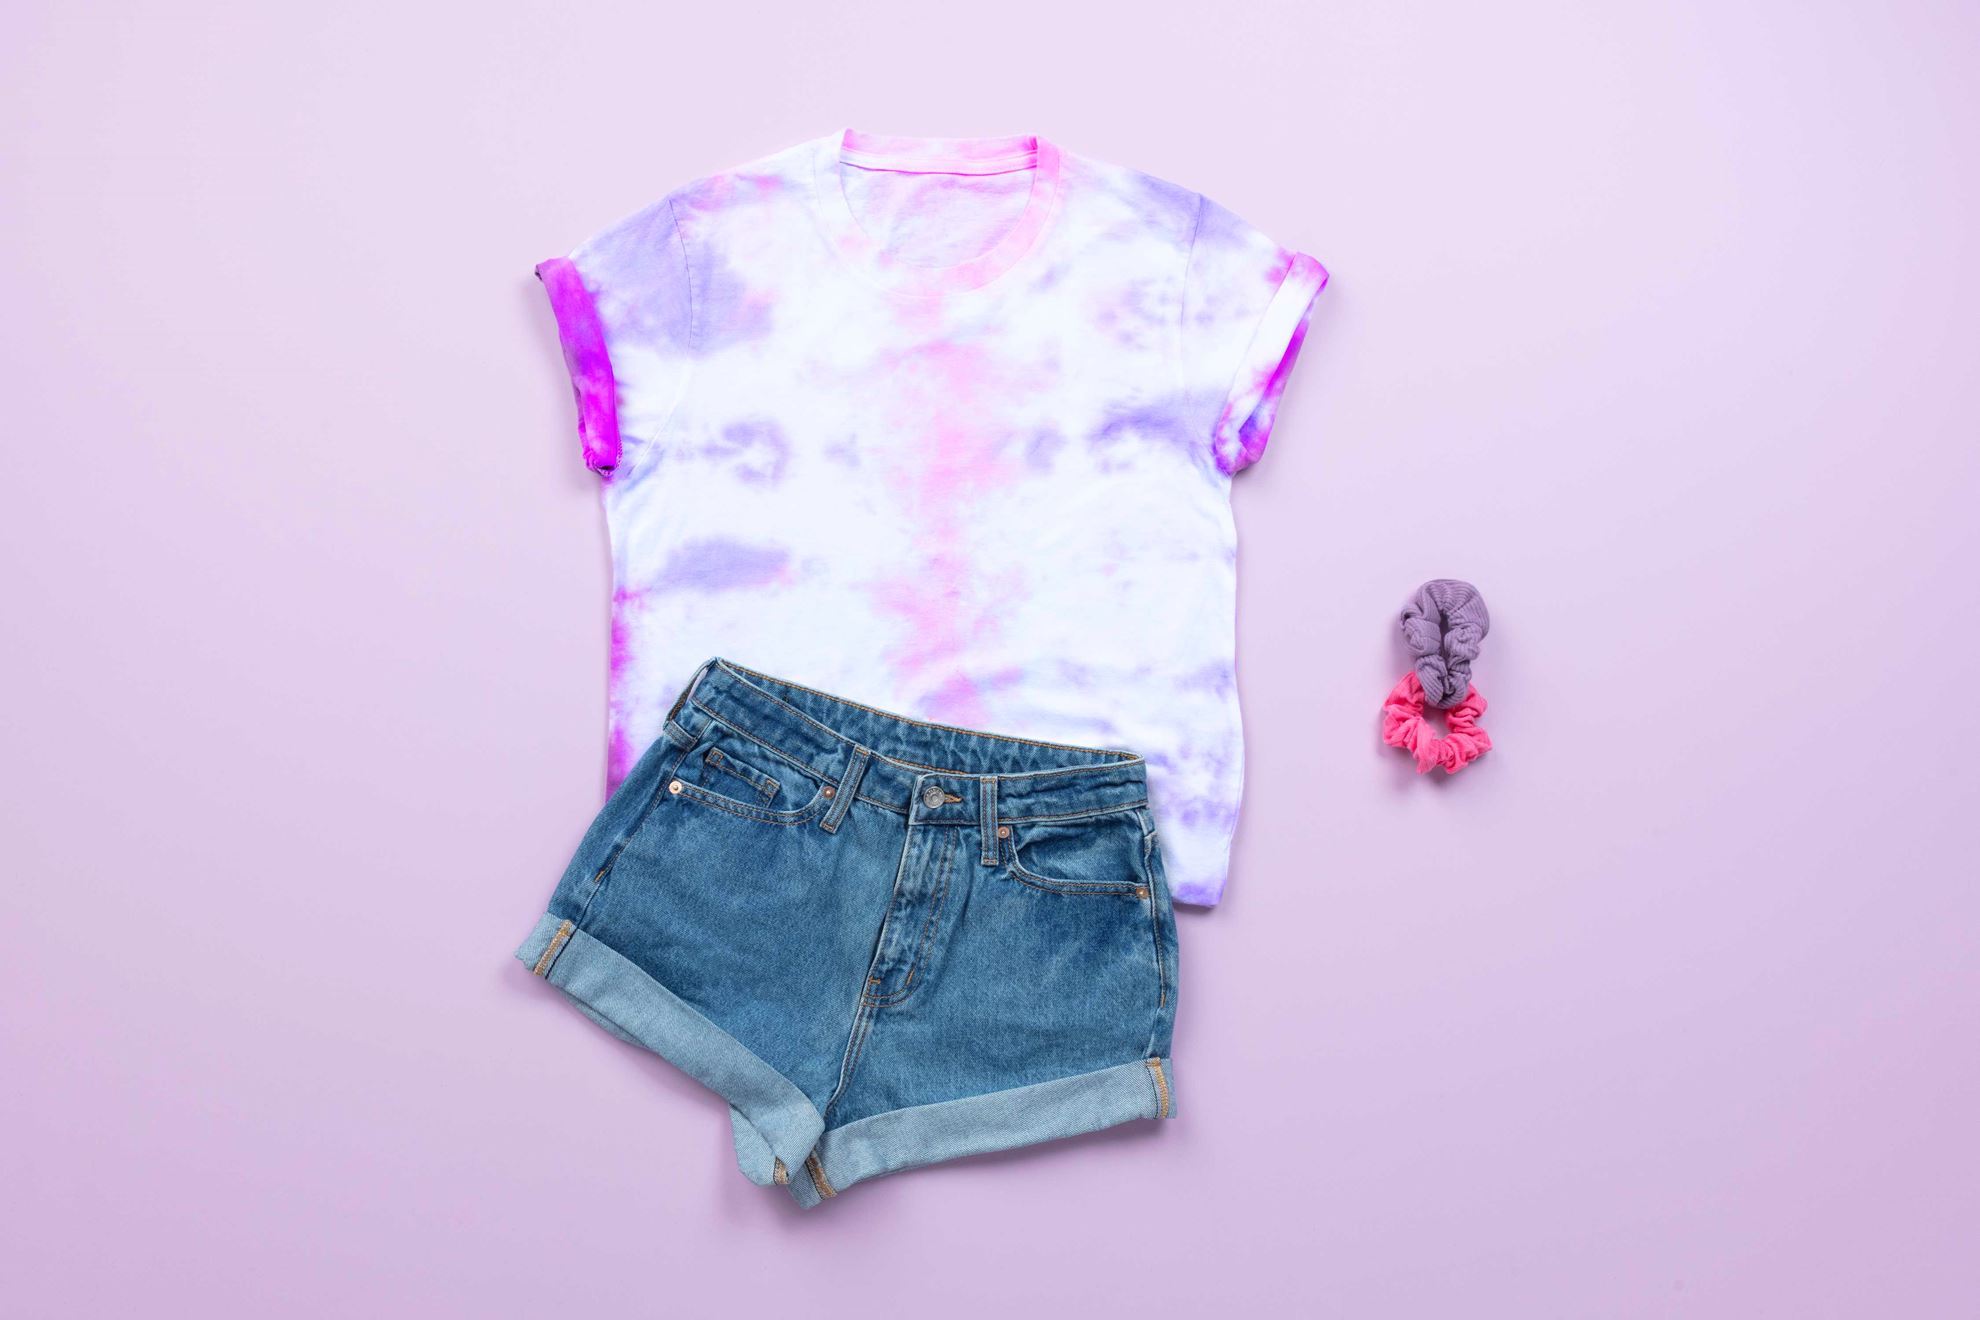
Rinse, wash in cool water with a little laundry detergent, dry, and reveal your container tie-dye tee! This easy tie-dye technique is fun for the whole family— and cleanup is a breeze!
Will you be trying this mess-free container tie-dye technique? Show your container tie-dye creations and tag us on social media @TulipColorCrafts!
Pin This Project

