You can delete and/or block cookies by modifying the settings on your browser. Learn more

Step 1:
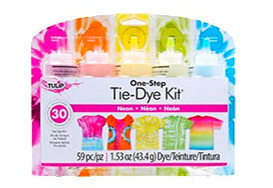
Once you have your item to tie dye, you do not have to presoak it in soda ash because Tulip One-Step Dyes already have soda ash in the mix. However, you should prewash your fabric before tie dyeing, especially if it’s new. New fabrics are coated in a chemical called sizing to help keep them wrinkle and stain free, but sizing can block the dye from fully absorbing into the fabric. Wash fabrics without fabric softener, which can also block dye absorption. Leave your T-shirt or fabric item damp for the tie-dye process.

Step 2:
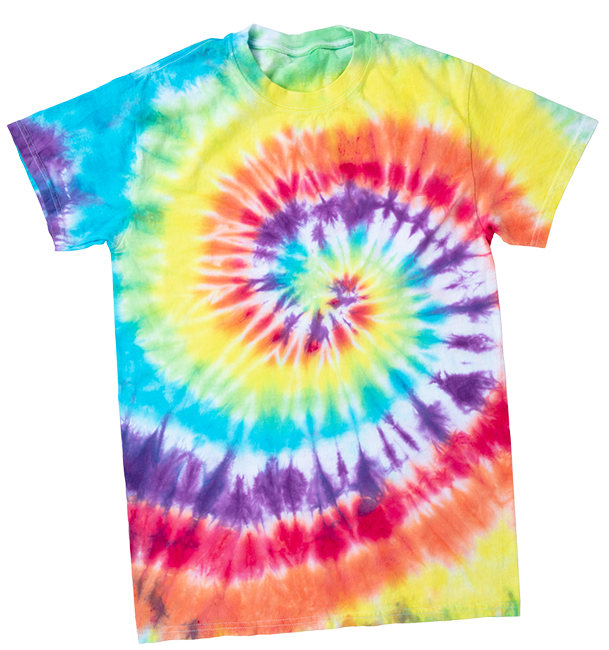
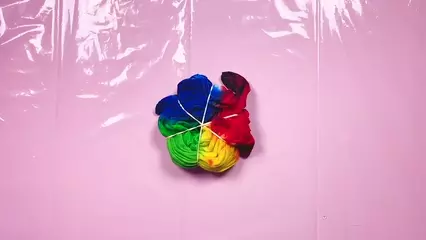
Lay your damp T-shirt (or fabric) out flat onto your covered word surface. For a perfect center spiral, locate the center of the collar and the section just under the sleeves. This is your center point for your spiral tie dye! Pinch the fabric at this point and twist into a swirl. Keep twisting the fabric tightly until the entire shirt is formed into a spiral shape. Use 3 rubber bands to hold your spiraled shirt in place, crisscrossing the rubber bands to create 6 wedge shapes.
Step 3:
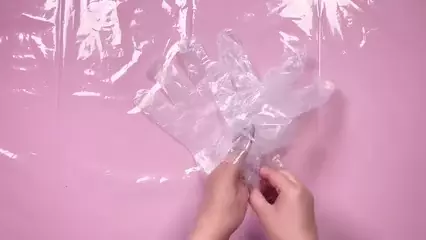
Wearing the plastic gloves from your kit, place your project on a wire rack if using. You can apply as many dye colors as wedge shapes created with the rubber bands, or as few as one dye color. There’s no wrong way to tie dye! However you decide to apply your dyes, flip over your spiral and match the dyes in the same color pattern on the back.
Step 4:
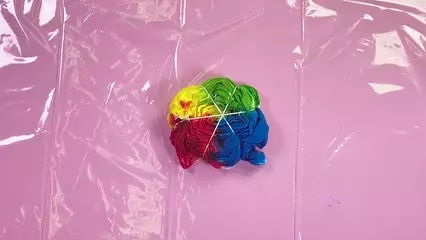
Place your dyed project into a sealable plastic bag or wrap in plastic wrap to keep it damp while the dye completely processes. This will take 6 to 8 hours or overnight if you want to give it some extra time. Note: It’s important for the fabric to remain damp while the dye sets so it can fully absorb into the fabric fibers.
Step 5:
Once your dye has fully processed, remove the rubber bands and check out your spiral tie dye! Rinse, wash and dry according to your instruction guide.
Pin This Project


